DISCLAIMER: I regret to inform you that I do not have a decent photography set-up (something that will hopefully be redressed in the future budget permitting) and so am using a small handheld camera and taking photos on my desk - the results are not fantastic but are the best I can manage currently!
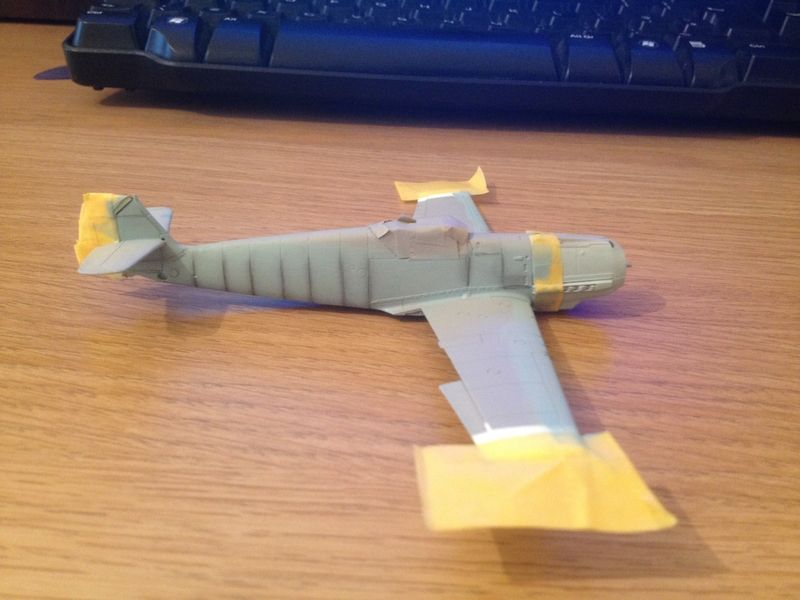
So here it is so far:
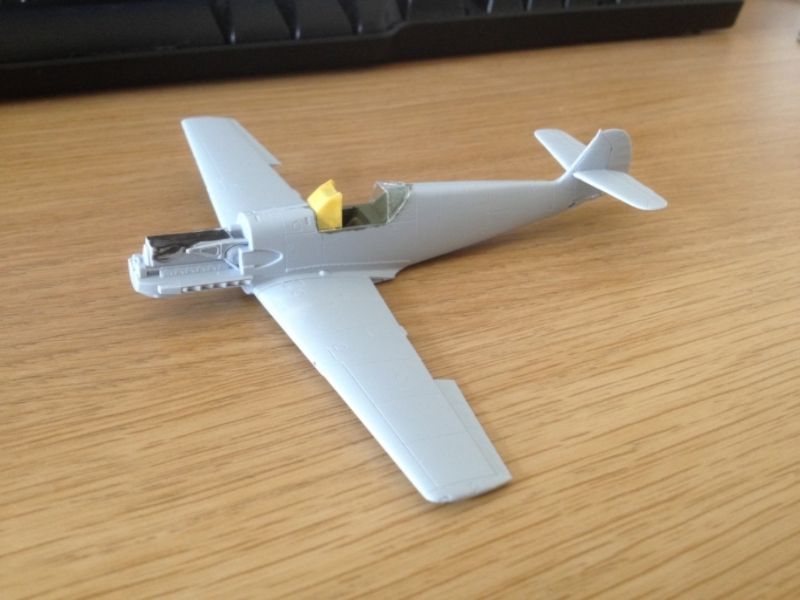
I am actually pretty pleased with the interior detail I managed to get on this kit. There was a lot of detail to pick out, so a study of some photos on Google followed and I got a pretty decent match (as far as the kit would allow). Had I known about this forum then, I would have taken more photos, but alas...
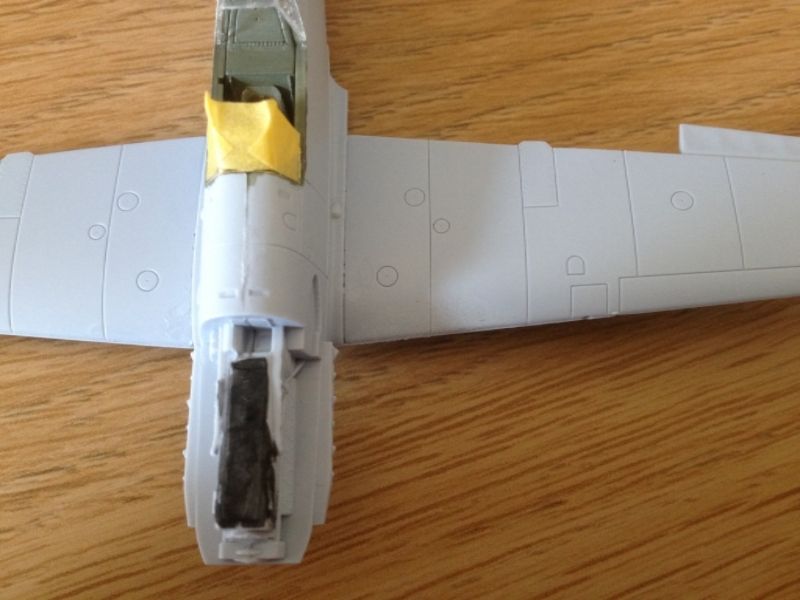
I must confess to a bit of a cheat. I have no plans to paint the engine block, as the whole thing will be covered up (the thought of trying to open up the front to display it had occurred but was discounted due to the fact that the engine was not really detailed enough, and I did not want to scratch build anything on my first kit. That will be on my second of which more to come soon!) and so I thought I would stick a coat of black on the top without primer and see if it looked acceptable when closed up. Needless to say it did not, and a lesson was duly learned - DO NOT TAKE SHORT CUTS! So the plan now is to fill the gaps on the model, mask off the canopy and then undercoat the whole thing. I will then paint the engine before sealing it up.
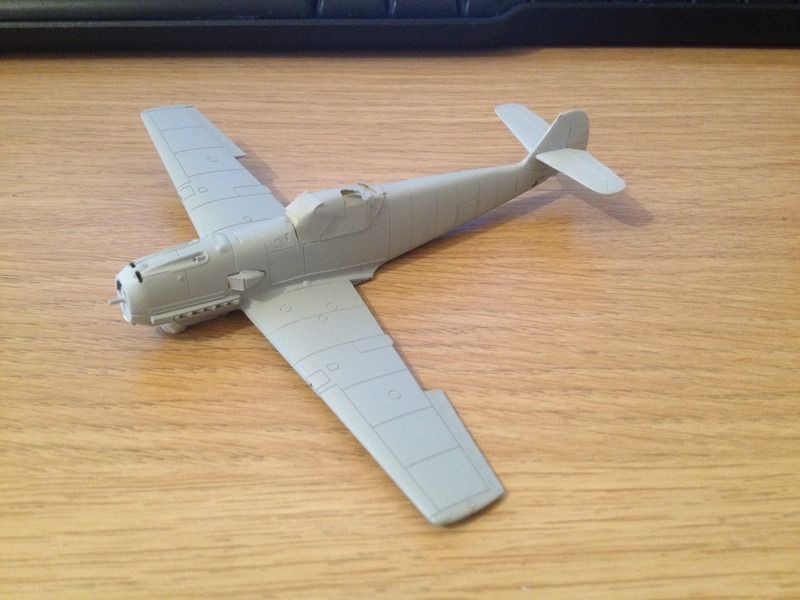
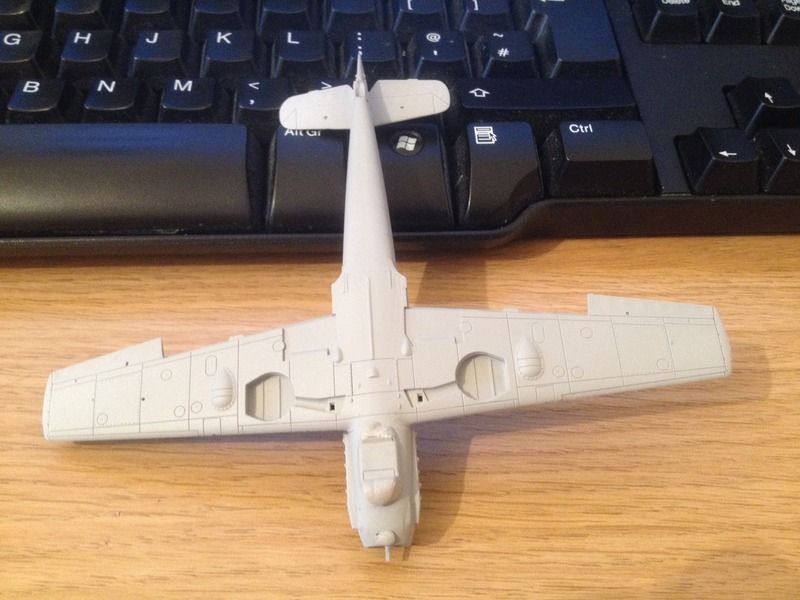
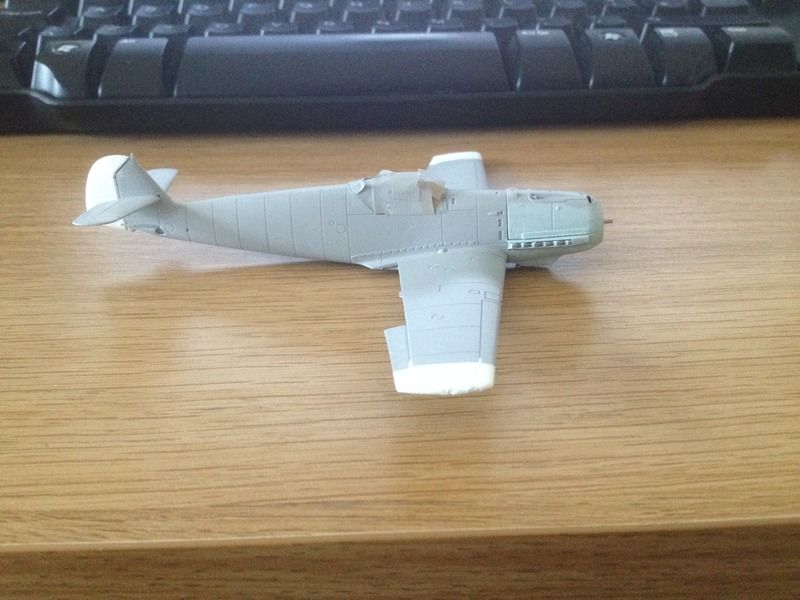
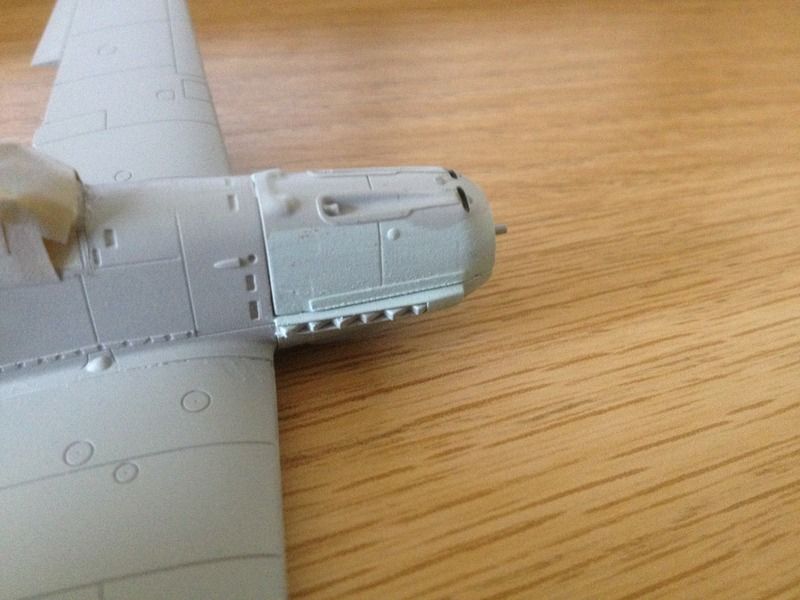
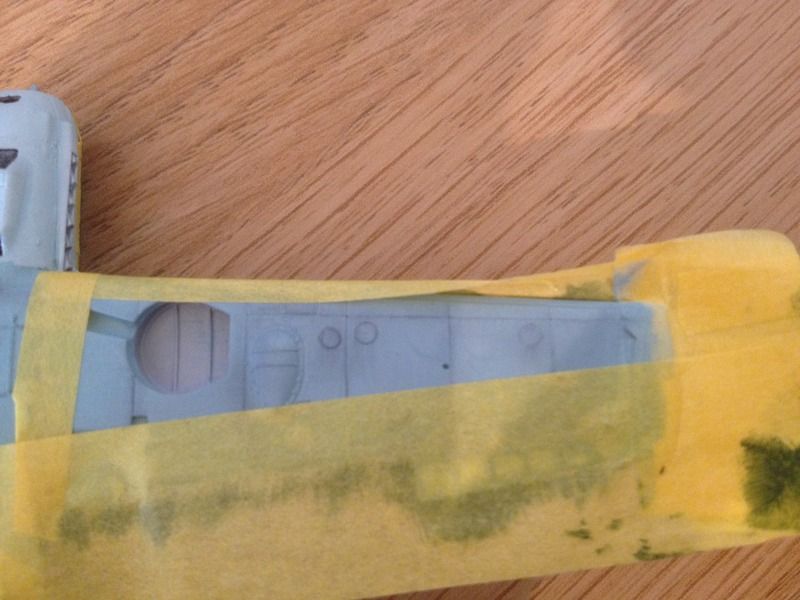
There should not be too much filling to do on this kit, as the fit is so good. There are however a few problem areas. It is hard to make out from this photograph, but in front of the canopy there is a small gap which will need filling, as well as the join between the fuselage halves:
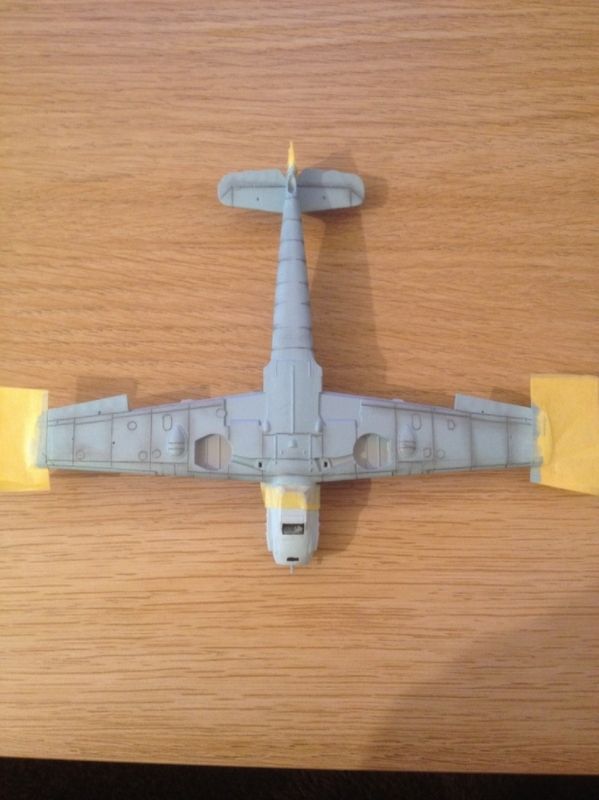
You can also see the gap down the wing root that will need some attention.
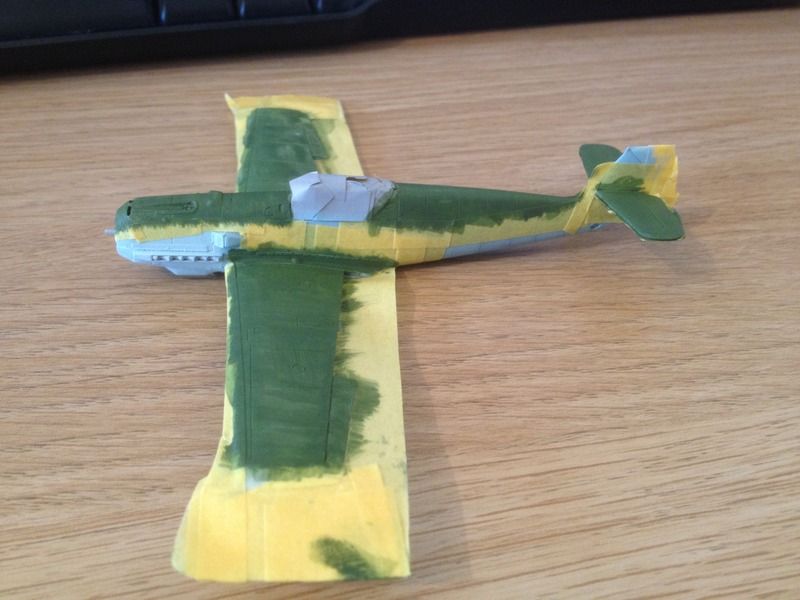
The spinner has been given several thin coats of Humbrol 34 and I think it needs one more to give it the finish I am looking for. This is prior to adding the green pattern.
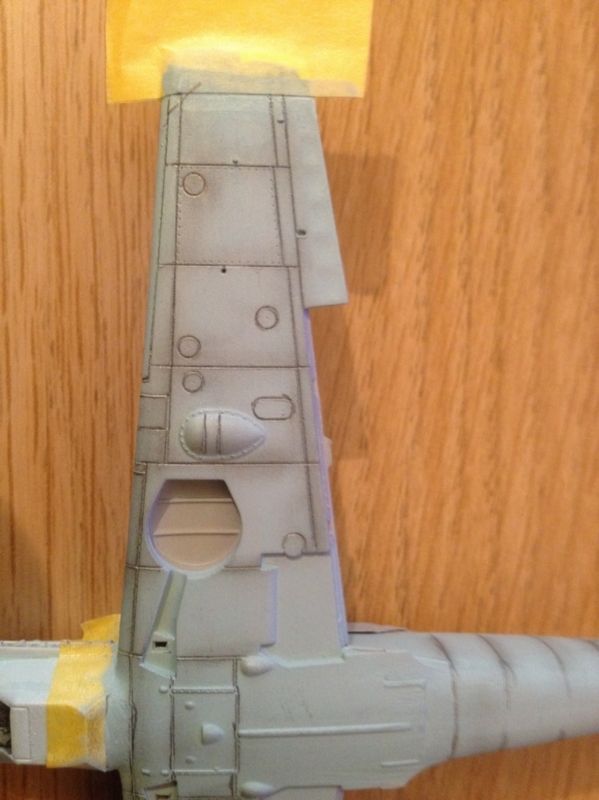
So the plan now is to get on with the filling before undercoating the whole lot. Updates soon! (hopefully...)