SBO's workshop

Show us a view of your workbench / work in progress and build reports too.
User avatar
SBO
The Bug Has Well And Truly Bitten
Posts: 285
Joined: October 9th, 2015, 3:04 pm

SBO's workshop

Post by SBO »

So after getting back into the hobby full time the first kit that I have decided to have a bash at is the Airfix 1/72 Messerschmitt BF109E-4. Seems like a great little kit and I haven't had too many problems with it so far - thought I would let you all see my progress. Constructive criticism is not just welcomed but wanted! Thanks :grin:

DISCLAIMER: I regret to inform you that I do not have a decent photography set-up (something that will hopefully be redressed in the future budget permitting) and so am using a small handheld camera and taking photos on my desk - the results are not fantastic but are the best I can manage currently!

So here it is so far:
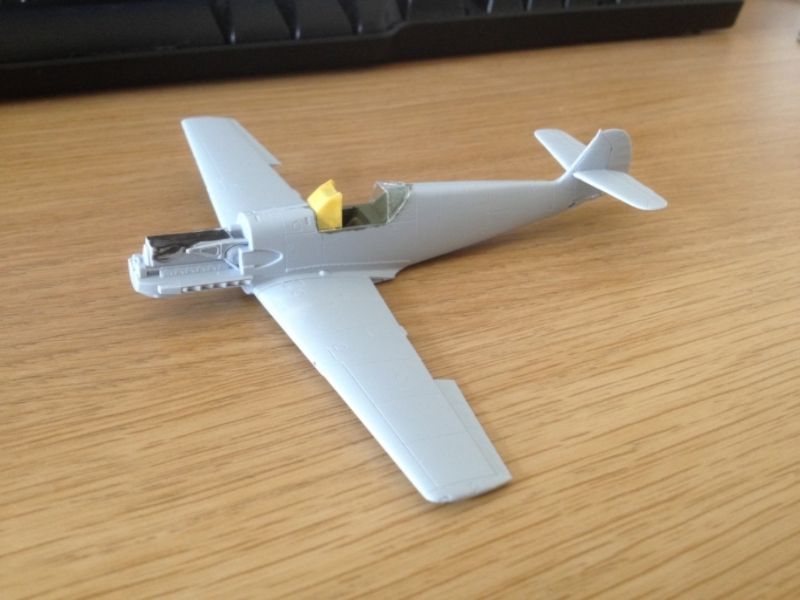
Image

I am actually pretty pleased with the interior detail I managed to get on this kit. There was a lot of detail to pick out, so a study of some photos on Google followed and I got a pretty decent match (as far as the kit would allow). Had I known about this forum then, I would have taken more photos, but alas...
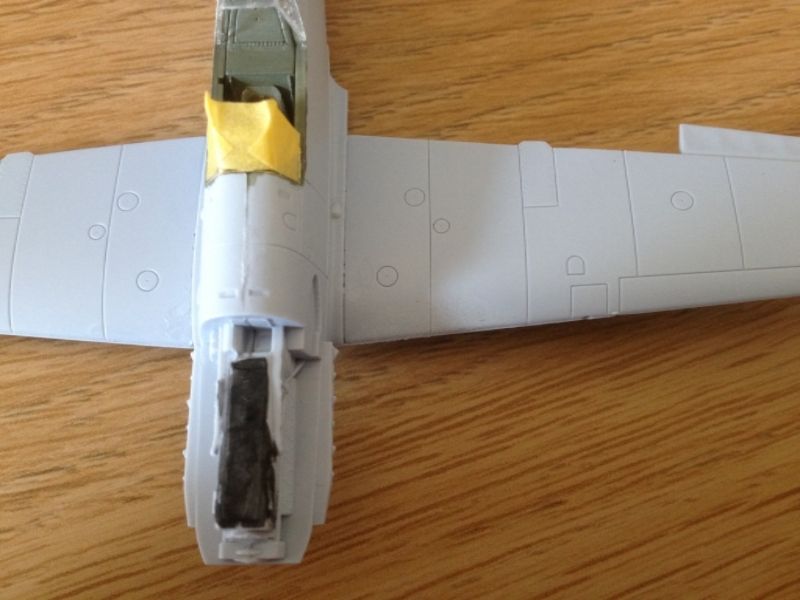
I must confess to a bit of a cheat. I have no plans to paint the engine block, as the whole thing will be covered up (the thought of trying to open up the front to display it had occurred but was discounted due to the fact that the engine was not really detailed enough, and I did not want to scratch build anything on my first kit. That will be on my second of which more to come soon!) and so I thought I would stick a coat of black on the top without primer and see if it looked acceptable when closed up. Needless to say it did not, and a lesson was duly learned - DO NOT TAKE SHORT CUTS! So the plan now is to fill the gaps on the model, mask off the canopy and then undercoat the whole thing. I will then paint the engine before sealing it up.

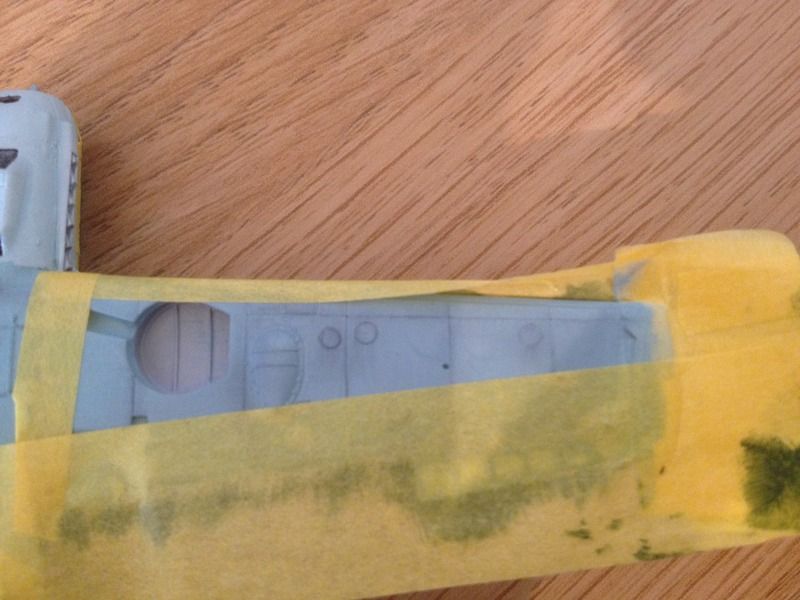
There should not be too much filling to do on this kit, as the fit is so good. There are however a few problem areas. It is hard to make out from this photograph, but in front of the canopy there is a small gap which will need filling, as well as the join between the fuselage halves:
Image
You can also see the gap down the wing root that will need some attention.

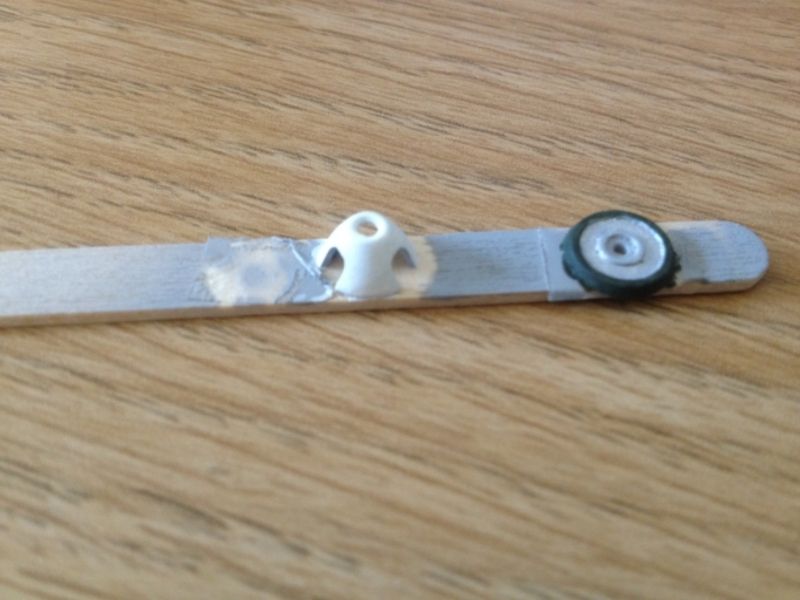
The spinner has been given several thin coats of Humbrol 34 and I think it needs one more to give it the finish I am looking for. This is prior to adding the green pattern.
Image

So the plan now is to get on with the filling before undercoating the whole lot. Updates soon! (hopefully...)
My modelling Facebook page: https://www.facebook.com/mattscalemodels/
User avatar
iggie
Modelling Gent and Scholar
Posts: 23415
Joined: July 31st, 2013, 11:04 am
Location: North Somercotes, Lincolnshire
Contact:

Re: SBO's workshop

Post by iggie »

Looks good!
Best wishes

Jim
If you can walk away from a landing, it's a good landing. If you use the airplane the next day, it's an outstanding landing
"Never put off till tomorrow, what you can do the day after tomorrow"
User avatar
Purplethistle
Delusional Miniature Killer
Posts: 4680
Joined: July 10th, 2014, 1:03 am
Location: Glasgow

Re: SBO's workshop

Post by Purplethistle »

If your re-introduction to modelling is a new tool kit, one important thing to know is "You have not lost the knack of fitting the fuselage halves together!" The new tool kits have so much more crammed into cockpits and engine bays now that it is like trying to close a womans suitcase!
"Spits, SLUFS and Rock 'n' Roll"
User avatar
SBO
The Bug Has Well And Truly Bitten
Posts: 285
Joined: October 9th, 2015, 3:04 pm

Re: SBO's workshop

Post by SBO »

Hahahahaha! Many attempts have I had at closing my better half's suitcase...

Less attempts have I had at new tool fuselages though, so will bear your advice in mind in future - thanks! It is interesting for me to see how these kits have moved on. I remember building them as a boy and basically being able to see clear daylight through the gaps where the wings joined etc. and so now that it is a case of small gaps that look more like large recessed panel lines it feels like a massive move forward. I have never built a Tamiya kit though and I hear that for their newer kits you don't really even need glue such is the fit quality! Having looked at the engine cowling on this and dry-fitting it, I think there is a slight issue which may need to be resolved with a touch of sanding, though hopefully not too much. If all goes to plan should be able to update this over the next few dates with a bit more progress!
My modelling Facebook page: https://www.facebook.com/mattscalemodels/
User avatar
Stuart
Raider of the Lost Ark Royal
Posts: 19401
Joined: February 25th, 2013, 4:55 pm
Location: North Wales
Contact:

Re: SBO's workshop

Post by Stuart »

Welcome to the forum SBO!

You're doing a nice job on that 109. I'm building that kit at the moment too, although it's the Tropical version. I had the same thoughts as you in regards to the engine - enough of it can be seen to need paint.

Looking forward to seeing how you progress.

Cheers

Stuart
Stuart Templeton I may not be good but I'm slow...

My Blog: https://stuartsscalemodels.blogspot.com/
User avatar
Dazzled
Modelling Gent and Scholar
Posts: 9592
Joined: October 1st, 2011, 11:08 pm
Location: Mid Glamorgan, South Wales
Contact:

Re: SBO's workshop

Post by Dazzled »

Purplethistle wrote:If your re-introduction to modelling is a new tool kit, one important thing to know is "You have not lost the knack of fitting the fuselage halves together!" The new tool kits have so much more crammed into cockpits and engine bays now that it is like trying to close a womans suitcase!
It helps if you sit on it.

The suitcase, that is. Please don't sit on your model :ha:
COLD WAR S.I.G. LEADER

Wherever there's danger, wherever there's trouble, wherever there's important work to be done....I'll be somewhere else building a model!
User avatar
SBO
The Bug Has Well And Truly Bitten
Posts: 285
Joined: October 9th, 2015, 3:04 pm

Re: SBO's workshop

Post by SBO »

Good lord, I cannot think of many things worse than sitting on a model...the sickening crunch as all that hard work collapses into a post-impressionist sculpture... :???: I'll have to be careful! :ha: :ha:

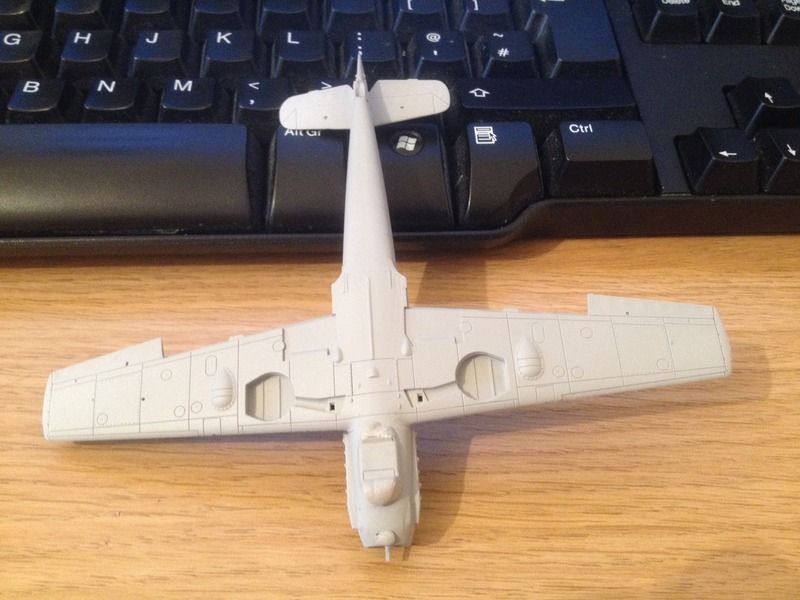
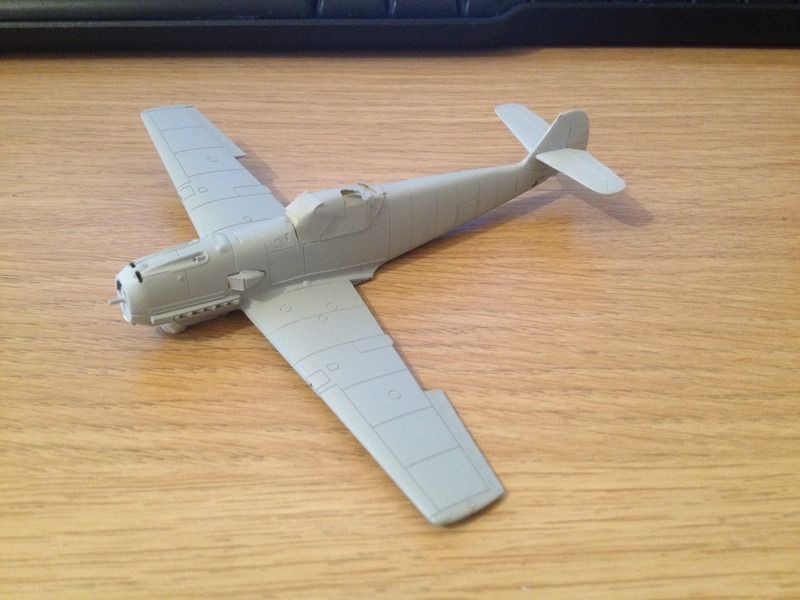
Work has continued at a, shall we say, 'gentlemanly' pace on the BF109. I have managed to get it all sealed up and under coated, though I had a little disaster in that while spraying it I nearly dropped it. My reflexes sprang into action and I caught it, but not before leaving horrible fingerprints on either side of the fuselage. Thankfully I managed to fix this little horror show by gently sanding it back with tamiya 3000 grit sanding sponge and respraying the affected area. Here it is, in all its grey glory:

Image
Image

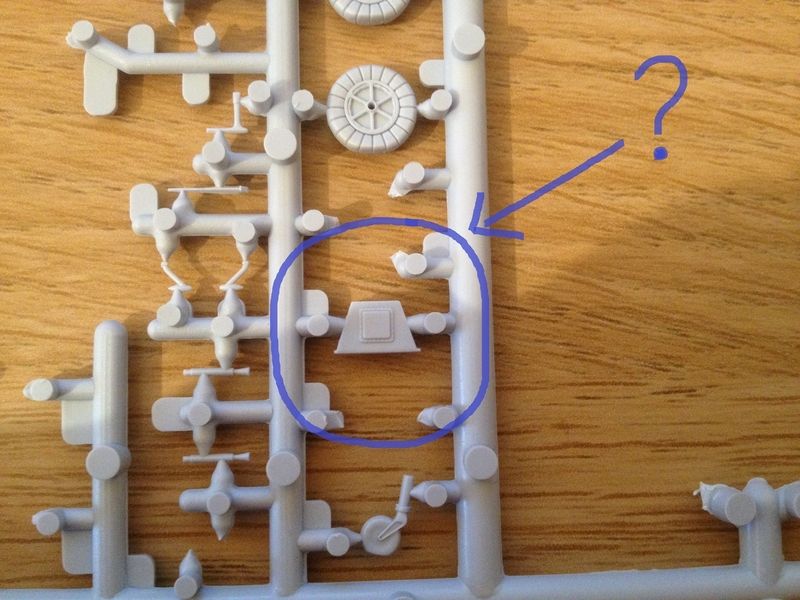
Hopefully work can continue apace. Unfortunately I have a quandary in that after checking the sprues I found this piece:

Image

I was convinced it was armour plating for behind the pilots head, but no matter how hard I scoured the instructions I could not find it. Research has since revealed that yes, it is armour plating for the cockpit, and that no, the piece is not mentioned anywhere in the instructions. Thankfully it seems that the aircraft the kit provides markings for, Oberleutnant Franz Von Werra's BF109E-4, was not equipped with this armour plating, or at least not in the summer of 1940. It would still have been nice of Airfix to mention the piece though - a massive oversight on their part. A real shame, because otherwise this kit has been a joy. I cannot tell you the sinking feeling I had when I thought I had missed a piece out and it was too late to go back (canopy attached you see)!

Anyway, will hopefully have something to update you with soon.

Until next time,

SBO :grin:
My modelling Facebook page: https://www.facebook.com/mattscalemodels/
User avatar
SBO
The Bug Has Well And Truly Bitten
Posts: 285
Joined: October 9th, 2015, 3:04 pm

Re: SBO's workshop

Post by SBO »

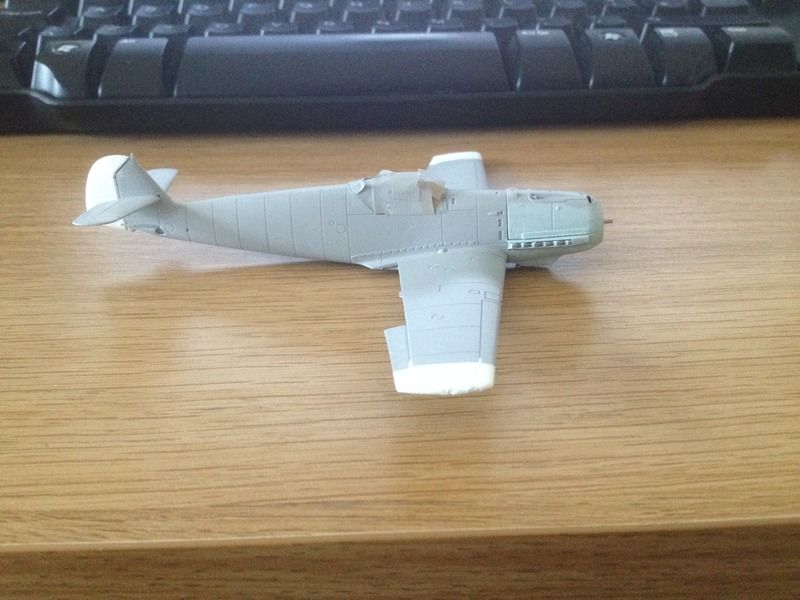
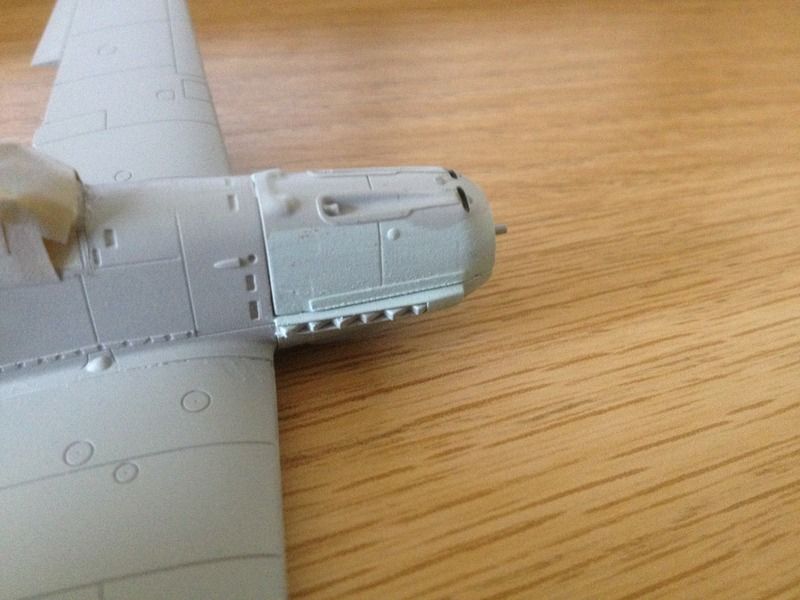
The work has been a little slow on the Messerschmitt. I have gotten the white wing tips and tail done, but I am having trouble with the colours for both the nose and the fuselage - the colour call out asks for a 50/50 mix of Hu's 34 and 65 for the nose section. When I mixed this I thought it actually looked more suitable for the main body, and that it needs to be greyer for the nose. Therefore work has stopped while I try and come up with a more suitable mix. Anyone got any suggestions?!?

Image
Image
My modelling Facebook page: https://www.facebook.com/mattscalemodels/
User avatar
SBO
The Bug Has Well And Truly Bitten
Posts: 285
Joined: October 9th, 2015, 3:04 pm

Re: SBO's workshop

Post by SBO »

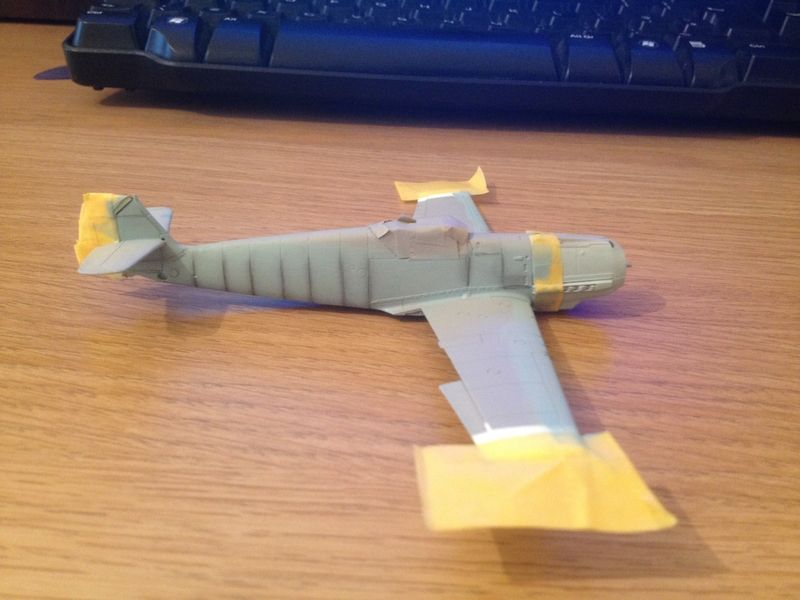
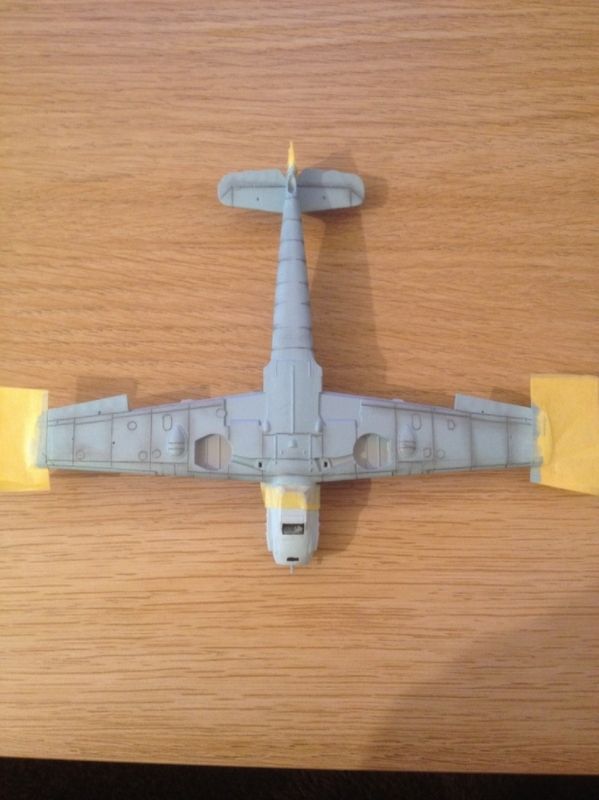
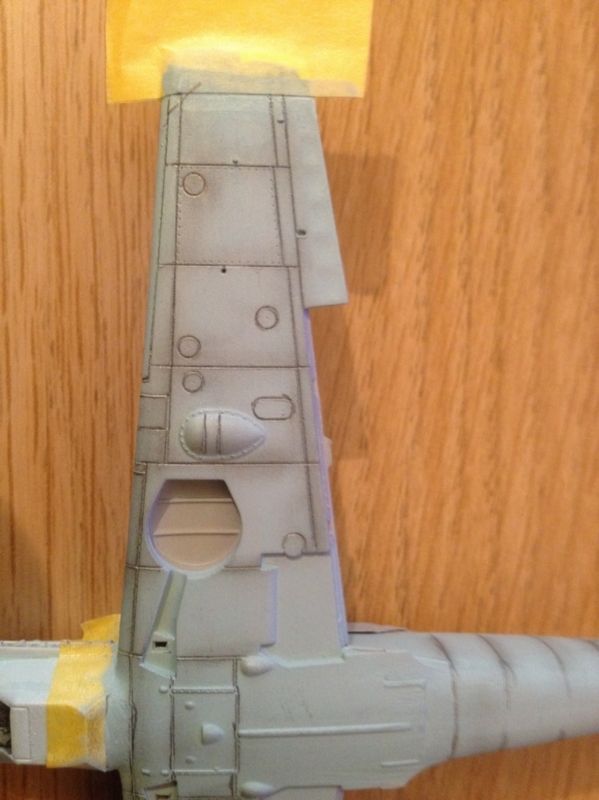
Work continues apace! In the end I managed to get the nose section a little greyer, though not noticeably so. I am satisfied with it, however, and so got on with the rest of it. The sides and underneath have been given two coats of Hu 65 and are ready for the last. I have tried a new technique (for me) in running a 4B pencil along the panel lines before blending them in gently with a cotton bud. I did this to try and get a pre-shading effect without using an airbrush. I am intrigued to see how it will turn out after the final coat of Hu 65.

Image
Image

A close up of the wing to give a better idea:
Image

Elsewhere on the bench I am working up to starting the Airfix 1/72 Bf110 (the shop I bought these two kits from was flogging them off at discount prices or else I would have been doing a Spitfire - one wonders whether they had overestimated the number of kits they would need for the Battle of Britain anniversary!). After having had a look at the interior, there is NO detail there whatsoever so, in a first for me, I have order some plasticard and am going to try and scratch build some. As soon as it arrives I will make a start and put up some pictures of my progress.

Until next time!

'As you say in England, I must fly!!!'
My modelling Facebook page: https://www.facebook.com/mattscalemodels/
ShaunW
NOT the sheep
Posts: 26180
Joined: November 26th, 2011, 6:11 pm
Location: Pontefract West Yorkshire

Re: SBO's workshop

Post by ShaunW »

Nice one SBO, you are doing sterling work with that '109. In my opinion the kit is one of the best of the Airfix new tools apart from the sprue gates, which I found to be overly thick, causing me to break or damage some of the smaller parts whilst attempting to remove them.
Doing - Tamiya 1/35th Universal Carrier.

Work is the curse of the modelling classes!
IPMS#12300
User avatar
SBO
The Bug Has Well And Truly Bitten
Posts: 285
Joined: October 9th, 2015, 3:04 pm

Re: SBO's workshop

Post by SBO »

ShaunW wrote:Nice one SBO, you are doing sterling work with that '109. In my opinion the kit is one of the best of the Airfix new tools apart from the sprue gates, which I found to be overly thick, causing me to break or damage some of the smaller parts whilst attempting to remove them.
Thank you very much! Have to agree with the sprue gates. I have left a lot of the smaller parts (pitot tube etc.) on there as I am a bit apprehensive about them. Ordinarily I would paint the smaller parts before taking them off the sprue but am worried that when I detach them it will marr the paint work :???:
My modelling Facebook page: https://www.facebook.com/mattscalemodels/
ShaunW
NOT the sheep
Posts: 26180
Joined: November 26th, 2011, 6:11 pm
Location: Pontefract West Yorkshire

Re: SBO's workshop

Post by ShaunW »

If I recall correctly, I knackered and/or lost into hyperspace when they pinged off, both cannon barrels, the radio mast and the aileron mass balances. The gun barrels and mast were replaced with scratch built items and the mass balances were sourced from the remains of an unbuilt Heller '109K kit.
Doing - Tamiya 1/35th Universal Carrier.

Work is the curse of the modelling classes!
IPMS#12300
User avatar
SBO
The Bug Has Well And Truly Bitten
Posts: 285
Joined: October 9th, 2015, 3:04 pm

Re: SBO's workshop

Post by SBO »

ShaunW wrote:If I recall correctly, I knackered and/or lost into hyperspace when they pinged off, both cannon barrels, the radio mast and the aileron mass balances. The gun barrels and mast were replaced with scratch built items and the mass balances were sourced from the remains of an unbuilt Heller '109K kit.
Crikey; sounds like the carpet monster was hungry that day. I shall have to be extra careful :shock: They really are overly sized the sprue gates though. I had not really noticed until you mentioned it, even though I did encounter the associated difficulties. I went back and looked, and you were absolutely correct. Certainly something for others to bear in mind if starting this kit.

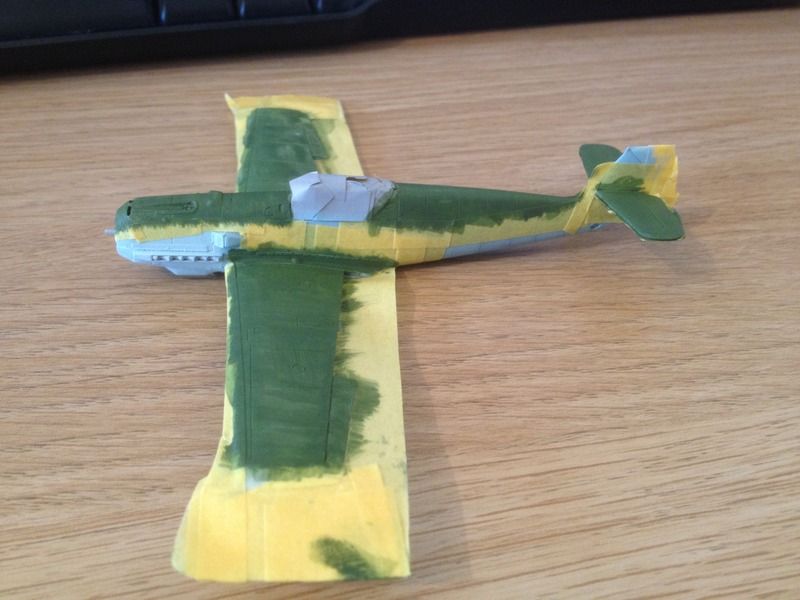
Tiny parts aside, however, I have managed to get the main body of the aircraft to that stage where it looks like a complete mess. I have been finding that my inner child is rushing to the surface and I just cannot wait to peel all that masking off...must...resist...temptation...

Image

I have attempted to take a close-up of the underside to reveal how the panel line pre-shading technique worked out. I am very happy with it actually, though I don't think it is going to show through on the darker colours. Will still give it a go though.

Image
My modelling Facebook page: https://www.facebook.com/mattscalemodels/
ShaunW
NOT the sheep
Posts: 26180
Joined: November 26th, 2011, 6:11 pm
Location: Pontefract West Yorkshire

Re: SBO's workshop

Post by ShaunW »

These Airfix NT kits seem to be made for panel line shading with their almost Matchbox like panel lines. What are you using for the panel line wash?
Doing - Tamiya 1/35th Universal Carrier.

Work is the curse of the modelling classes!
IPMS#12300
User avatar
SBO
The Bug Has Well And Truly Bitten
Posts: 285
Joined: October 9th, 2015, 3:04 pm

Re: SBO's workshop

Post by SBO »

ShaunW wrote:These Airfix NT kits seem to be made for panel line shading with their almost Matchbox like panel lines. What are you using for the panel line wash?
So far nothing! I am happy with the underside, though as I was saying I don't think the pencil technique is going to show through on the darker colours so I have been mulling over the idea of a wash. I don't know whether to make one or scrape together the funds to buy one :???: I am in a bit of a pickle since at the minute I am unemployed while labouring over the remnants of a 40,000 word thesis, which has the net result of me having to be very picky about what I spend the tiny amount of money I have on. I was wanting to buy some weathering powders, so have to weigh this up against the panel line wash. It is a very frustrating position to be in as I would much rather just buy both!!!
My modelling Facebook page: https://www.facebook.com/mattscalemodels/
Post Reply

Return to “Workbench Window”