The main reason for building this model was to practice scribing. I had attempted it before but I never finished a model. With this kit I just wanted to have some fun and I was not going to attempt something too difficult. There are many boo-boos such as the different registration number markings on the tail and engine cowling (the decals broke and I just cobbled others together) but I had fun none the less.
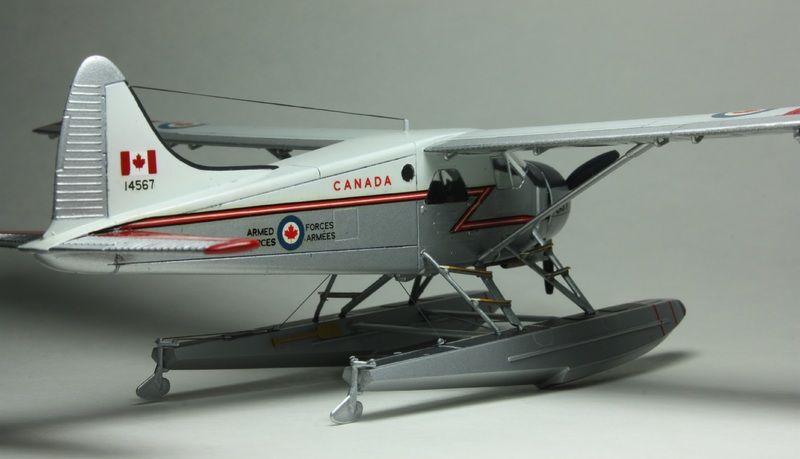
I added some details such as the oars, elastic and stretch thread for rigging and fancied up the floats. The prop came from an old Mitsubishi Zero I had in the spares box. The hardest thing about the model was the float struts. They would not fit right so I made my own rear struts from wire and plastic. They never lined up correctly.

Funny, the models devoid of detail seem to be the most enjoyable to build. Maybe it's because I am not worried about destroying all the beautiful detail found in the high end kits.
It's a fun little kit to build.
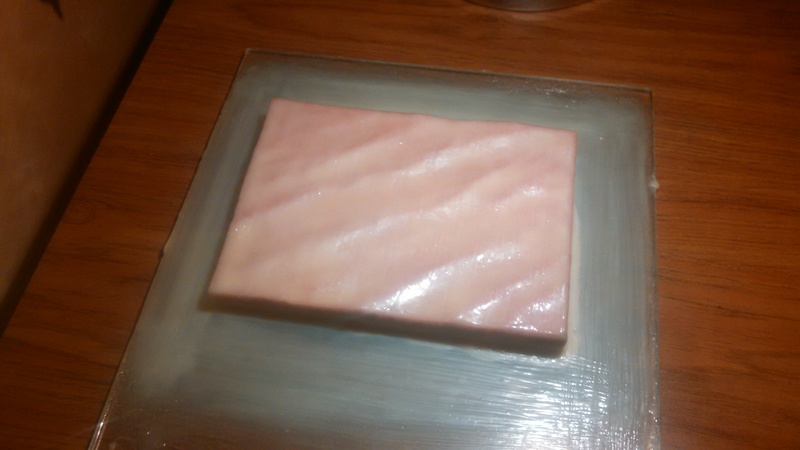
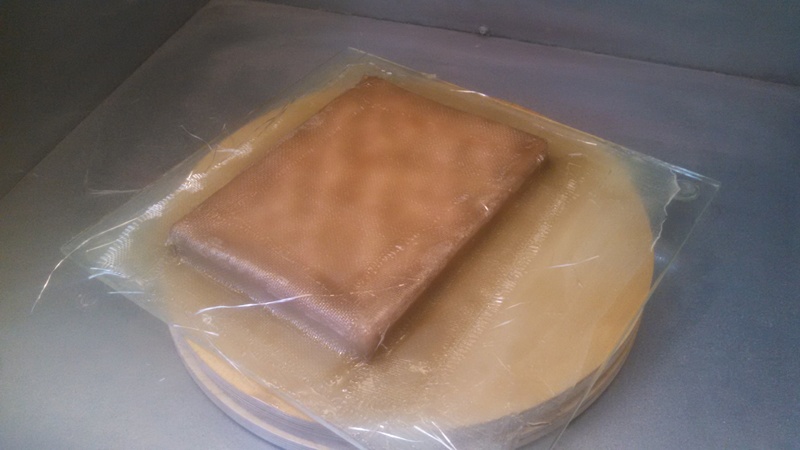
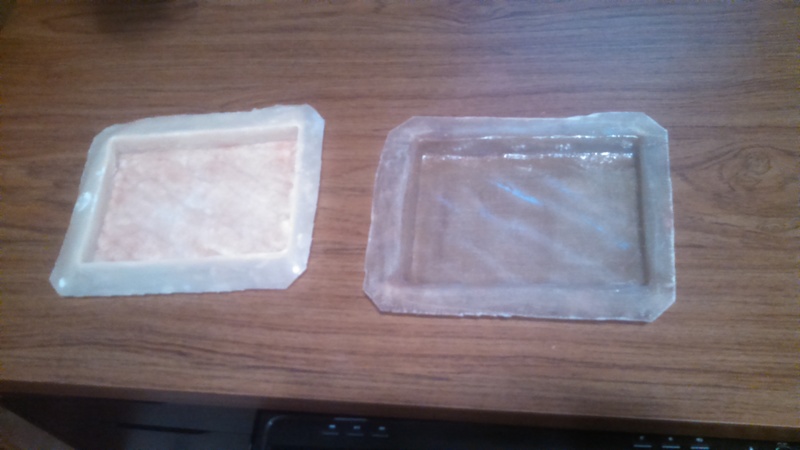
I am in the process not of making a water base out of resin to display it on. We will see how that turns out. It's another thing I have not tried before.
Cheers,
Paul