+1 from me Paul, that really looks good.skypirate wrote:Lovely work all round that Macchi!
cheers,
David
Paul's Attempts
-
ShaunW
- NOT the sheep
- Posts: 26188
- Joined: November 26th, 2011, 6:11 pm
- Location: Pontefract West Yorkshire
Re: Paul's Attempts
Doing - Tamiya 1/35th Universal Carrier.
Work is the curse of the modelling classes!
IPMS#12300
Work is the curse of the modelling classes!
IPMS#12300
-
Marek

- Modelling Gent and Scholar
- Posts: 2455
- Joined: May 1st, 2011, 8:03 am
- Location: Madison, WI
- Contact:
Re: Paul's Attempts
and plus one from me. Italian thoroughbred looks very well.

Re: Paul's Attempts
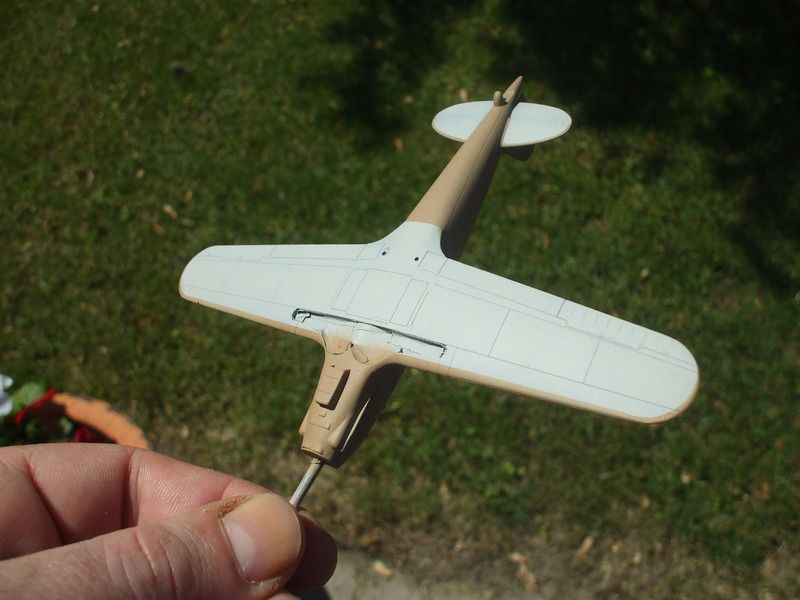
The Macchi is coming along. I sprayed on the primer coat and although the wing/fuselage joint did not look to bad before the primer, after it looked horrible. I ended up filling it in and ended up losing the detail in the wing root. I was too lazy to re-scribe as I find it quite difficult to scribe the concave sections so I just left it.

I tried pre-shading for the first time. The pre-shading really turned into almost just spraying the thing black as opposed to just the panel lines!
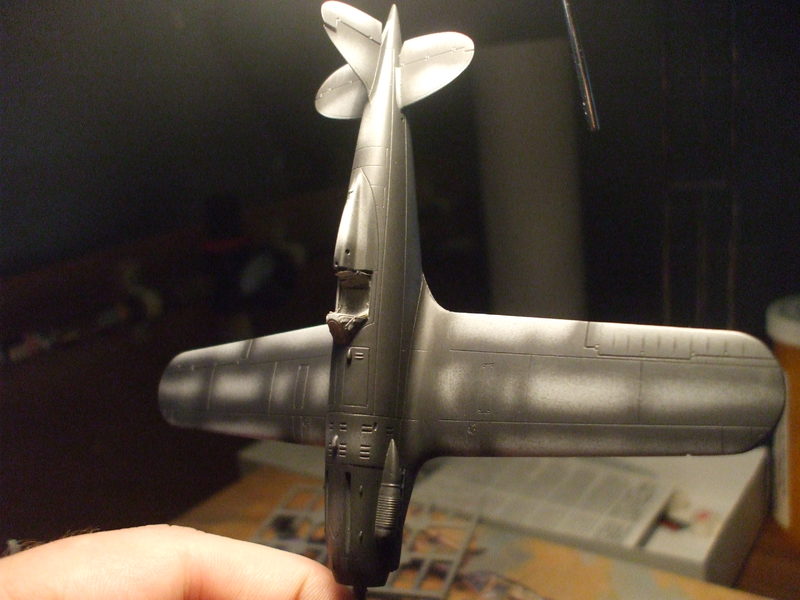
I sprayed Model Master Acryl Light Sea Grey with a pinch of white on the underside. I was a little too heavy handed and covered almost all the pre-shading in the process. I was a little more reserved on the top and it worked out better. This was a fun technique and I will be using it more.
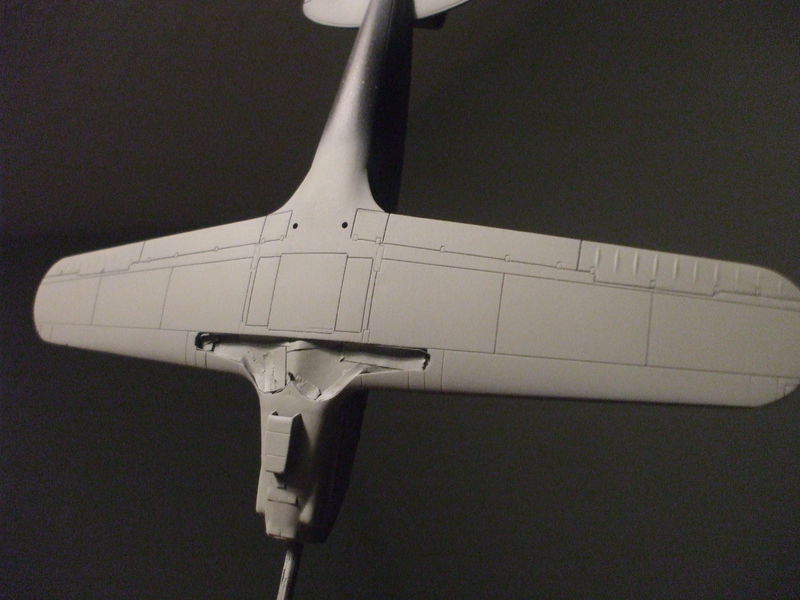
The bottom is masked and ready for the topside colours.
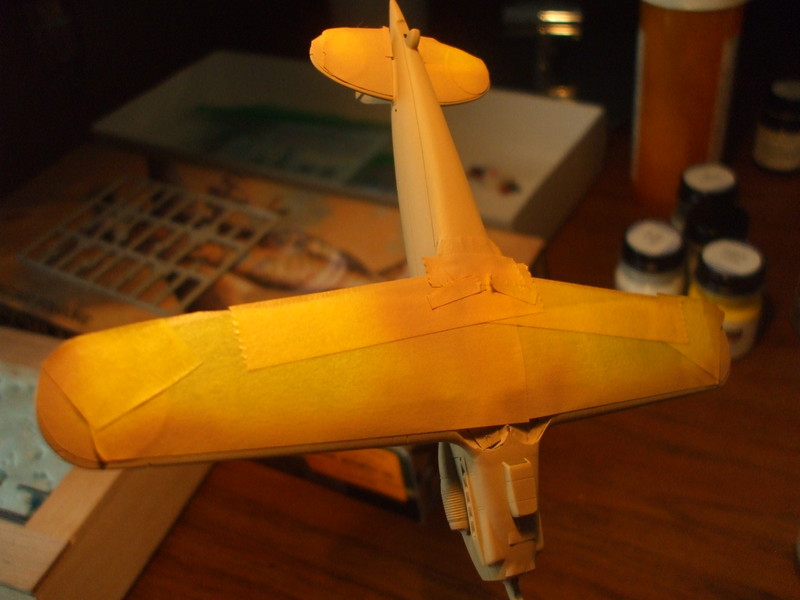
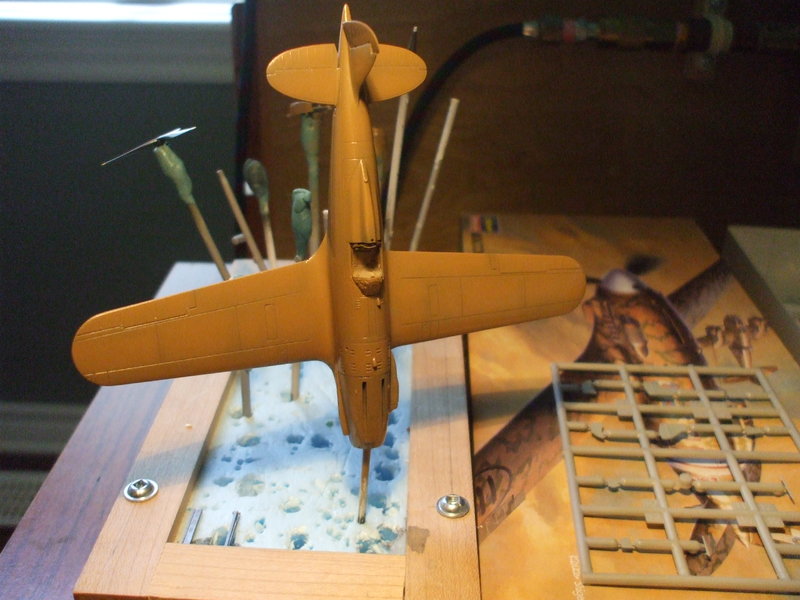
I used Model Master Acyrl Dark Tan with some Light Sea Grey, Chrome Yellow and White thrown in there for the colour.
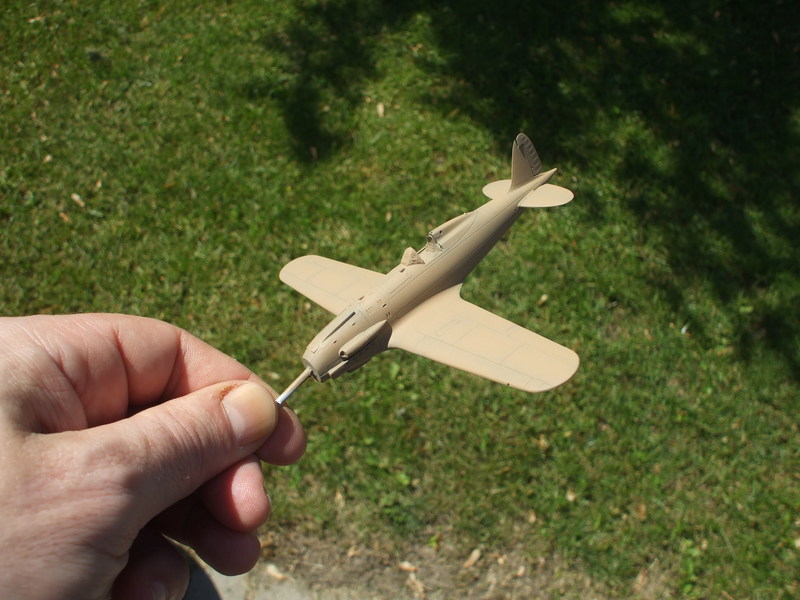
Future gloss coat is applied (I guess it is now called klear, but my bottle is quite old) and I will wait a day for it to cure before I start the decals and weathering. I have had some problems in the past when I was cleaning up the enamel wash and the thinner has taken off the clear coat. Even when using Tamiya clear coats. Frustrating when you are so near the end of the build. No patience!
Hope your (almost) summer weekend weather is as nice as here. Time to go out for a bit. Sorry for those on the other side where it is not so warm now.
I tried pre-shading for the first time. The pre-shading really turned into almost just spraying the thing black as opposed to just the panel lines!
I sprayed Model Master Acryl Light Sea Grey with a pinch of white on the underside. I was a little too heavy handed and covered almost all the pre-shading in the process. I was a little more reserved on the top and it worked out better. This was a fun technique and I will be using it more.
The bottom is masked and ready for the topside colours.
I used Model Master Acyrl Dark Tan with some Light Sea Grey, Chrome Yellow and White thrown in there for the colour.
Future gloss coat is applied (I guess it is now called klear, but my bottle is quite old) and I will wait a day for it to cure before I start the decals and weathering. I have had some problems in the past when I was cleaning up the enamel wash and the thinner has taken off the clear coat. Even when using Tamiya clear coats. Frustrating when you are so near the end of the build. No patience!
Hope your (almost) summer weekend weather is as nice as here. Time to go out for a bit. Sorry for those on the other side where it is not so warm now.
Paul
This is it. The moment we should have trained for.
This is it. The moment we should have trained for.
-
ShaunW
- NOT the sheep
- Posts: 26188
- Joined: November 26th, 2011, 6:11 pm
- Location: Pontefract West Yorkshire
Re: Paul's Attempts
Wow that looks good Paul, a great bit of painting! The weather has turned a little crap where I am at the moment (north of England) but the forecast is for a return to better summer temperatures later in the week, yay 
Doing - Tamiya 1/35th Universal Carrier.
Work is the curse of the modelling classes!
IPMS#12300
Work is the curse of the modelling classes!
IPMS#12300
Re: Paul's Attempts
Thanks Shaun. Hopefully you got the sun you wanted.
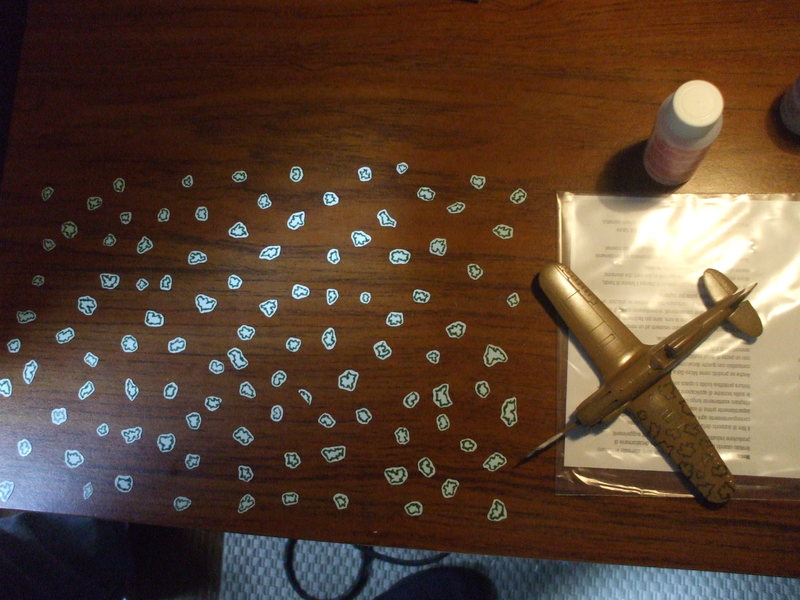
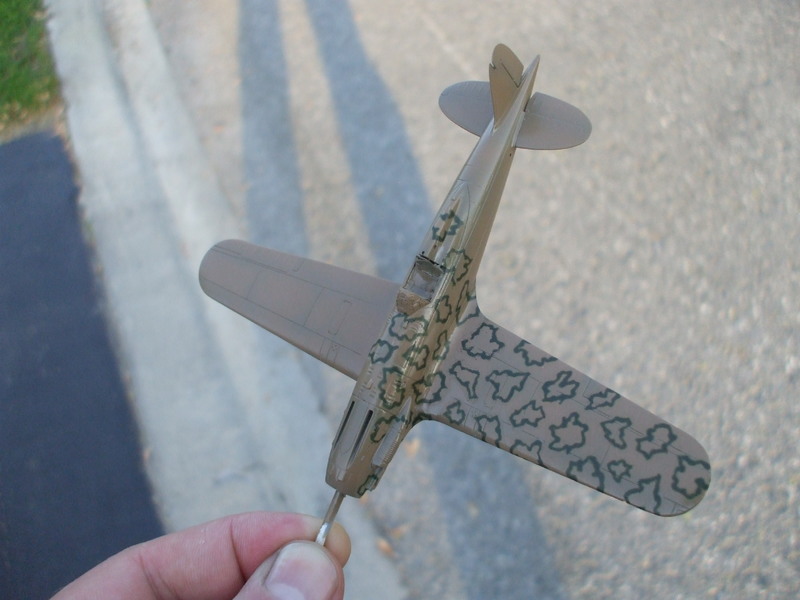
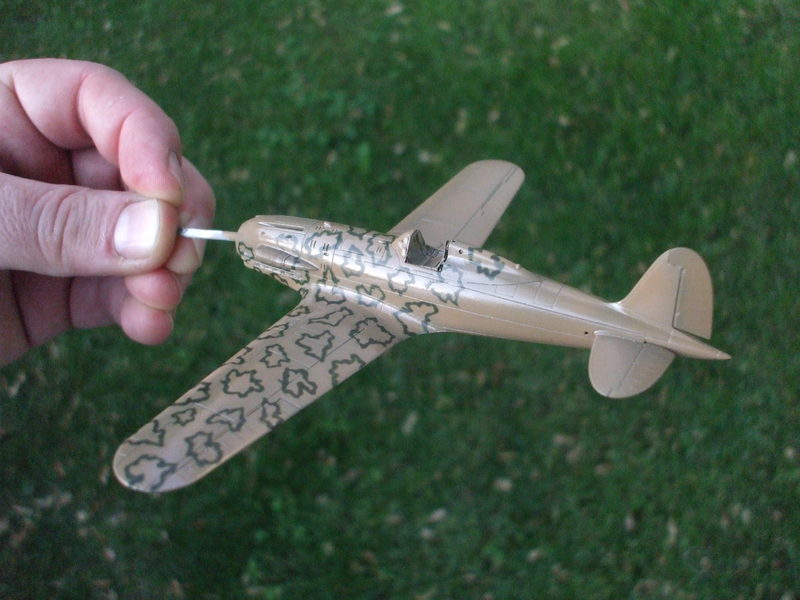
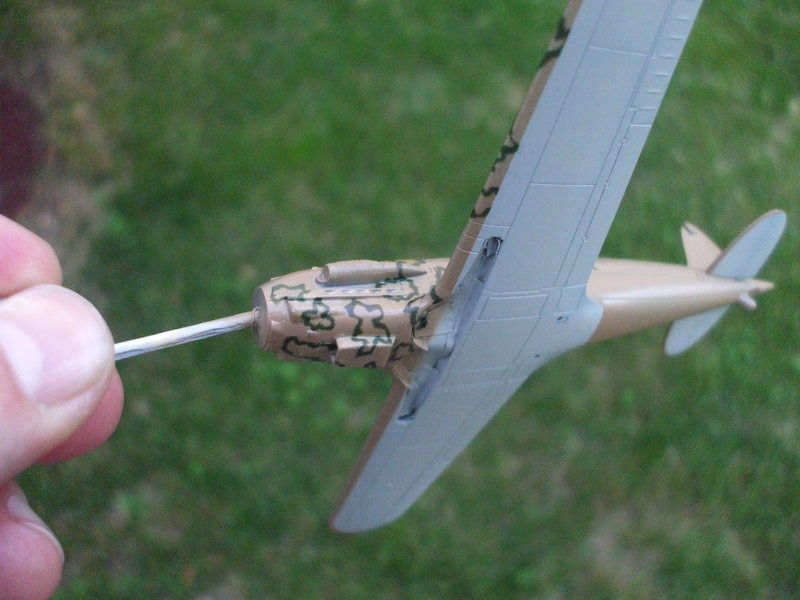
I did a little bit more work this weekend. It does not look like much but it is slow work (at least for me). I have been putting the Mike Grant decals, starting on the wing and working my way in. I cut out all the individual decals so I could arrange the sizes and shapes I want to use in a particular location. The decals have worked a treat so far.
Cheers,
Paul
This is it. The moment we should have trained for.
This is it. The moment we should have trained for.
-
Marek
- Modelling Gent and Scholar
- Posts: 2455
- Joined: May 1st, 2011, 8:03 am
- Location: Madison, WI
- Contact:
Re: Paul's Attempts
Wow, that decals are like a lego for the Brave ones  . Results are amazing though.
-
Clashcityrocker

- Modelling Gent and Scholar
- Posts: 10815
- Joined: May 1st, 2011, 12:31 am
- Location: Adelaide. South Australia
Re: Paul's Attempts
Very nice work with the decals. They seem to go around all the lumps, bumps, and corners with no trouble at all. looking good.
Nigel
Nigel
-
iggie

- Modelling Gent and Scholar
- Posts: 23434
- Joined: July 31st, 2013, 11:04 am
- Location: North Somercotes, Lincolnshire
- Contact:
Re: Paul's Attempts
Very effective use of the decals; much easier than painting them individually!
Best wishes
Jim
If you can walk away from a landing, it's a good landing. If you use the airplane the next day, it's an outstanding landing
"Never put off till tomorrow, what you can do the day after tomorrow"
Jim
If you can walk away from a landing, it's a good landing. If you use the airplane the next day, it's an outstanding landing
"Never put off till tomorrow, what you can do the day after tomorrow"
-
dollar19
- Modelling Gent and Scholar
- Posts: 1342
- Joined: May 1st, 2011, 1:11 am
- Location: Bristol, Va. USA
Re: Paul's Attempts
Awesome results with the decals! I've shied away from Italian aircraft because of their paint schemes. Now that I see how your's is faring I just might have to give one a go.
-
skypirate

- Modelling Gent and Scholar
- Posts: 7299
- Joined: May 1st, 2011, 6:13 am
- Location: Port Macquarie, Australia
Re: Paul's Attempts
That Mike Grant fellow has a lot to answer for! - all good!
Your model is already a wonderful palette for those decals.
cheers,
David
Your model is already a wonderful palette for those decals.
cheers,
David
Re: Paul's Attempts
Amazing work on the camou scheme,well tidy mun.
-
Canuck2016

- Active Participant
- Posts: 535
- Joined: March 6th, 2016, 4:03 pm
Re: Paul's Attempts
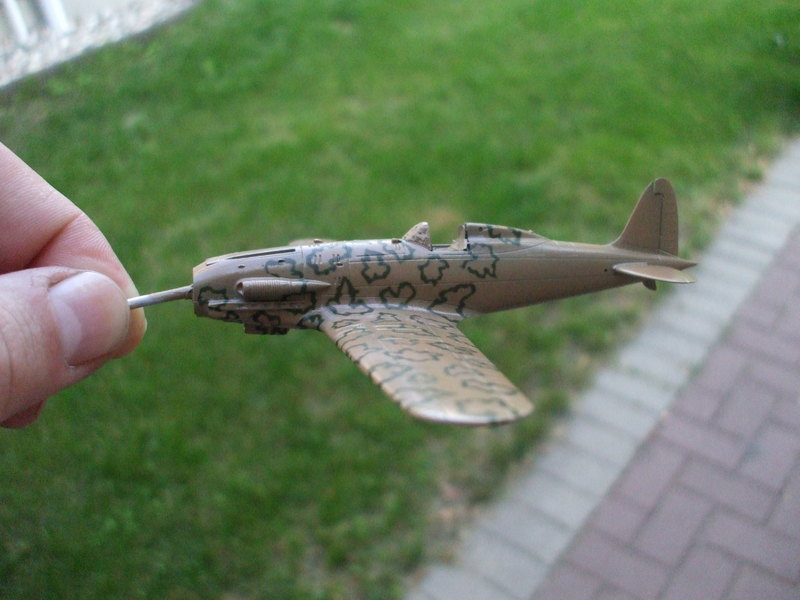
Looks great, Paul! Sharp paint job as always, and the pre-shading looks very effective without being overdone. The "smoke ring" decals look excellent!
-
ShaunW
- NOT the sheep
- Posts: 26188
- Joined: November 26th, 2011, 6:11 pm
- Location: Pontefract West Yorkshire
Re: Paul's Attempts
Excellent work, Paul. Those Mike Grant smoke ring decals look the business (I have a set in 1/48th) and certainly are much easier than applying the effect by brush or airbrush.
Doing - Tamiya 1/35th Universal Carrier.
Work is the curse of the modelling classes!
IPMS#12300
Work is the curse of the modelling classes!
IPMS#12300
-
Migrant

- Happily Landed after Many Circuits and Bumps
- Posts: 2428
- Joined: April 5th, 2011, 8:33 pm
- Location: Calgary, Canada
Re: Paul's Attempts
Looks great Paul, glad those smoke-rings are working out for you ;)
Re: Paul's Attempts
Thanks Marek.Marek wrote:Wow, that decals are like a lego for the Brave ones
Yeah. The decals are very thin and some micro set and micro sol lays them down nicely. A little cut here and there to help them settle once in a while works too.Clashcityrocker wrote:Very nice work with the decals. They seem to go around all the lumps, bumps, and corners with no trouble at all. looking good.
Nigel
They are really good decals. I don't have the talent or patience to do this by airbrush yet. Funny thing is I thought it would be easy to get a nice random and even pattern but even that is harder than I anticipated. Hard to be random when you are being deliberate!iggie wrote:Very effective use of the decals; much easier than painting them individually!
They simplified things greatly.dollar19 wrote:Awesome results with the decals! I've shied away from Italian aircraft because of their paint schemes. Now that I see how your's is faring I just might have to give one a go.
This is my first stab at an Italian aircraft and camo. Would not have happened without the decals.dollar19 wrote:Awesome results with the decals! I've shied away from Italian aircraft because of their paint schemes. Now that I see how your's is faring I just might have to give one a go.
Thank you Celt.celt wrote:Amazing work on the camou scheme,well tidy mun.
Thanks Fred. Looking forward to your new installment as well.Canuck2016 wrote:Looks great, Paul! Sharp paint job as always, and the pre-shading looks very effective without being overdone. The "smoke ring" decals look excellent!
As I said, I could not have done this without the decals. They are thin and settle down well. The instructions say they are delicate and that is very true. I do not think there is any layer on top of the colour of the decal. Too much scrubbing and you can remove the rings. Also do not do a wash until after they have been sealed. I was a little impatient and tried to add a little enamel wash over the dust filter and when I used a little mineral spirits to remove the excess, it (very effectively I must say) removed the decal. I was warned but me being stupid from time to time doesn't help. Great decals but when you use them make sure you seal them before moving on.ShaunW wrote:Excellent work, Paul. Those Mike Grant smoke ring decals look the business (I have a set in 1/48th) and certainly are much easier than applying the effect by brush or airbrush.
They did the trick very nicely MikeMigrant wrote:Looks great Paul, glad those smoke-rings are working out for you ;)
Paul
This is it. The moment we should have trained for.
This is it. The moment we should have trained for.