
I got the Lotus through Amazon - less than £60 as far as I remember with free delivery - took about 3 weeks to get here, locally it would have cost £120 and that was way beyond my budget
The Lotus is a fantastic kit to build, but you have to order the JPS logos as Tamiya does not include them
Mike_H's Window bench
Re: Mike_H's Window bench
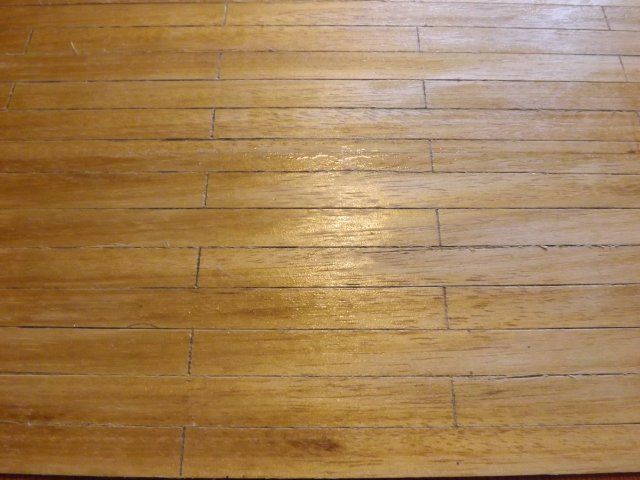
Making the decking look like planks
Horizontal
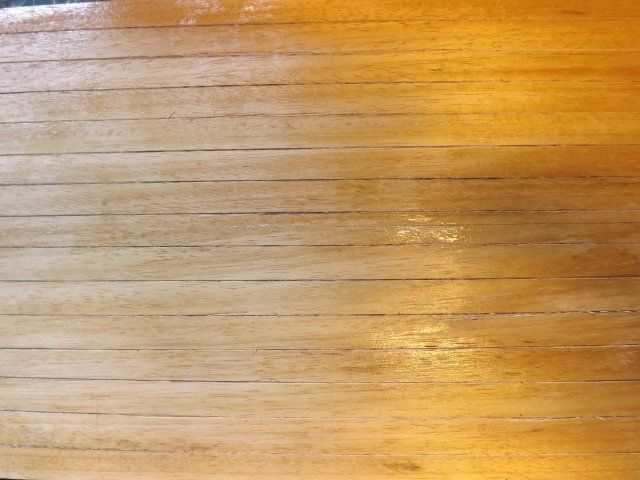
Vertical
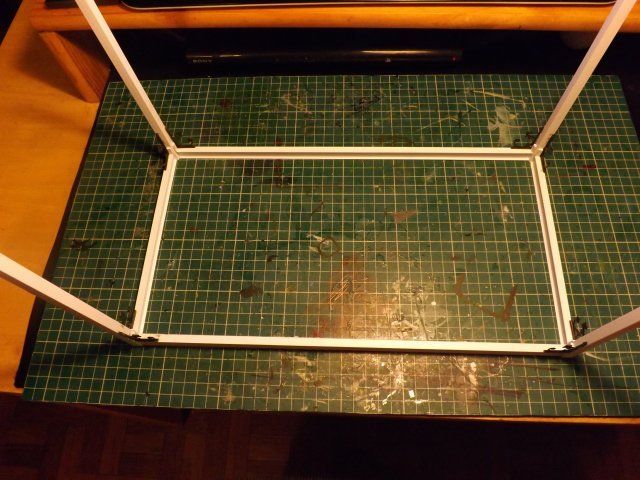
Side frame done
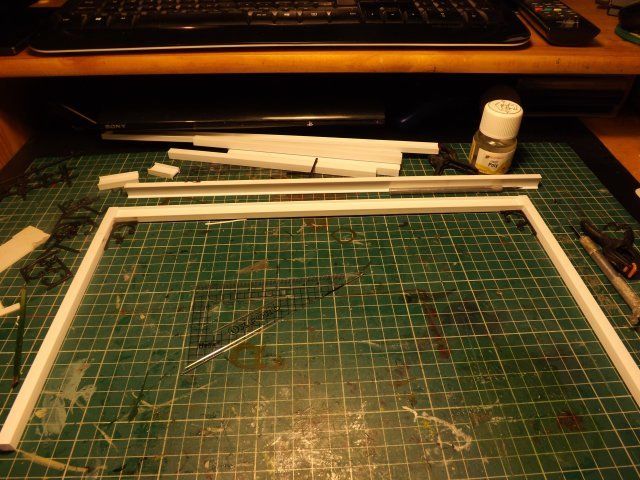
Ready for paint after a suitable curing time
Horizontal

Vertical

Side frame done

Ready for paint after a suitable curing time

-
ShaunW
- NOT the sheep
- Posts: 26188
- Joined: November 26th, 2011, 6:11 pm
- Location: Pontefract West Yorkshire
Re: Mike_H's Window bench
Interesting bit of construction going on here Mike. Should look good when it's done.
Doing - Tamiya 1/35th Universal Carrier.
Work is the curse of the modelling classes!
IPMS#12300
Work is the curse of the modelling classes!
IPMS#12300
Re: Mike_H's Window bench
All done and installed
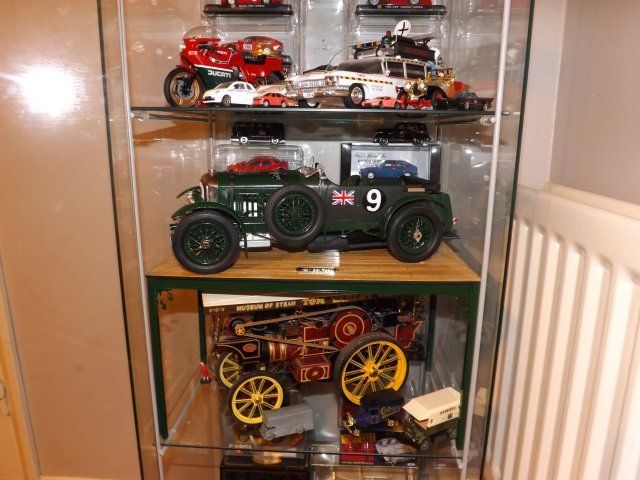
Now where am I going to put the rest.........

Now where am I going to put the rest.........
-
ShaunW
- NOT the sheep
- Posts: 26188
- Joined: November 26th, 2011, 6:11 pm
- Location: Pontefract West Yorkshire
Re: Mike_H's Window bench
Wow, that is very neat. A top bit of DIY work 
Doing - Tamiya 1/35th Universal Carrier.
Work is the curse of the modelling classes!
IPMS#12300
Work is the curse of the modelling classes!
IPMS#12300
-
iggie

- Modelling Gent and Scholar
- Posts: 23438
- Joined: July 31st, 2013, 11:04 am
- Location: North Somercotes, Lincolnshire
- Contact:
Re: Mike_H's Window bench
That's very smart! Far better than my glass and pipe insulation version 
Best wishes
Jim
If you can walk away from a landing, it's a good landing. If you use the airplane the next day, it's an outstanding landing
"Never put off till tomorrow, what you can do the day after tomorrow"
Jim
If you can walk away from a landing, it's a good landing. If you use the airplane the next day, it's an outstanding landing
"Never put off till tomorrow, what you can do the day after tomorrow"
-
Clashcityrocker

- Modelling Gent and Scholar
- Posts: 10823
- Joined: May 1st, 2011, 12:31 am
- Location: Adelaide. South Australia
Re: Mike_H's Window bench
Lovely shelf addition. I really like how you've done it in the same colour as the Bentley.
Nigel
Nigel
-
Sissel

- Modelling Lady and Scholar
- Posts: 4097
- Joined: October 31st, 2011, 12:39 pm
- Location: Island in Norway
Re: Mike_H's Window bench
That big Bentley... Wow! Fantastic work!
And great work on the decking.
I saw a couple of 30s Bentleys (one Le Mans with flag) on my London trip 2,5 years ago. Part of a show with old cars and Lamborghinis driving up the mall. Amazing cars.
And great work on the decking.
I saw a couple of 30s Bentleys (one Le Mans with flag) on my London trip 2,5 years ago. Part of a show with old cars and Lamborghinis driving up the mall. Amazing cars.
Confused as always, and somewhere in hiding on the Scandinavian peninsula...
Re: Mike_H's Window bench
Thank you all for your comments
A bit of repair work on the bench next I think - Humbrol spray acrylic gloss varnish and clear plastic do not mix
A bit of repair work on the bench next I think - Humbrol spray acrylic gloss varnish and clear plastic do not mix
-
iggie
- Modelling Gent and Scholar
- Posts: 23438
- Joined: July 31st, 2013, 11:04 am
- Location: North Somercotes, Lincolnshire
- Contact:
Re: Mike_H's Window bench
No they don't as I found to my cost.......you'd think it would be ok reallyMike_h wrote:Thank you all for your comments
A bit of repair work on the bench next I think - Humbrol spray acrylic gloss varnish and clear plastic do not mix
Best wishes
Jim
If you can walk away from a landing, it's a good landing. If you use the airplane the next day, it's an outstanding landing
"Never put off till tomorrow, what you can do the day after tomorrow"
Jim
If you can walk away from a landing, it's a good landing. If you use the airplane the next day, it's an outstanding landing
"Never put off till tomorrow, what you can do the day after tomorrow"
Re: Mike_H's Window bench
The tin says for plastic - a bit misleading I think as it even 'orange peels' solid plastic 
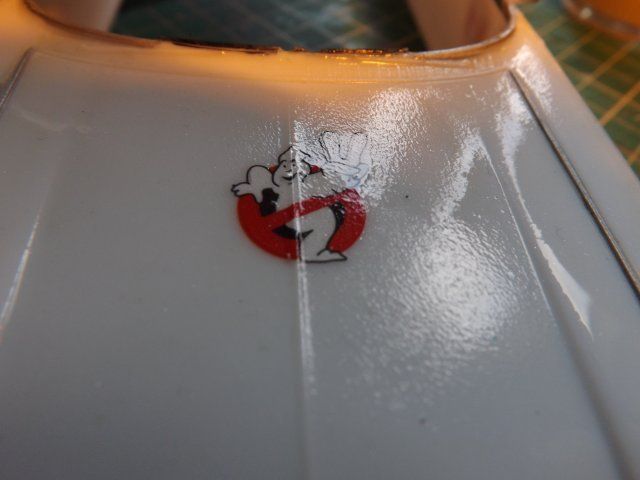
This is the injured party - completed it about 6 months ago but lost interest due to the ruined finish
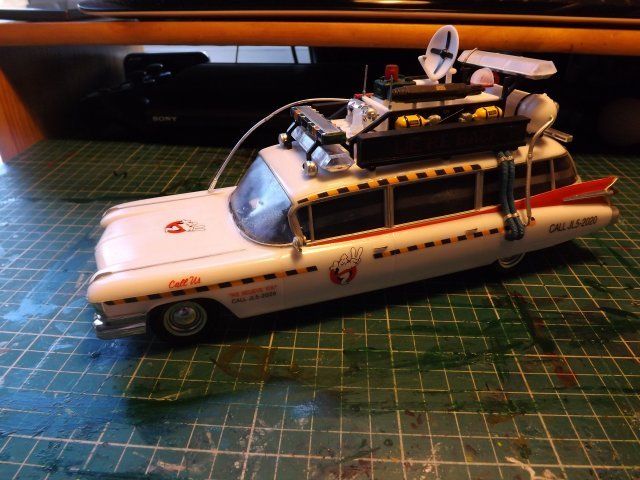
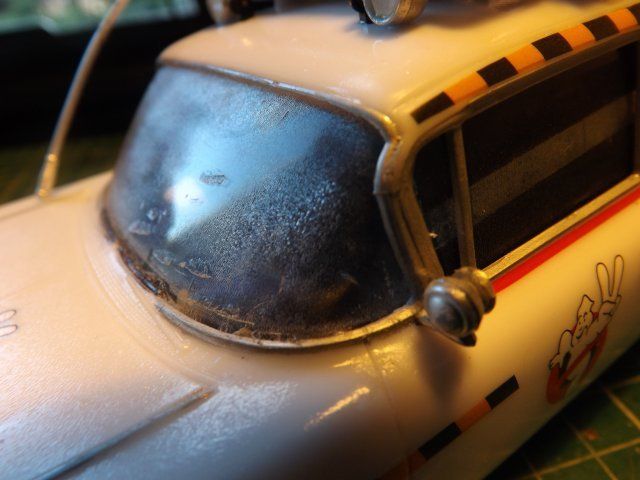
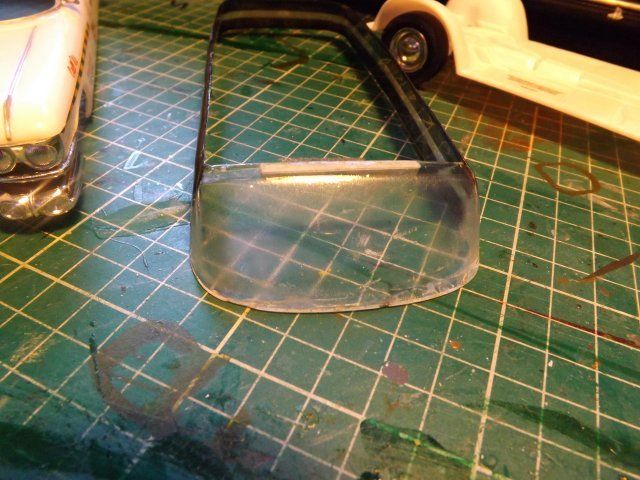
You can see how bad the clear parts are
Disassembled ready for treatment
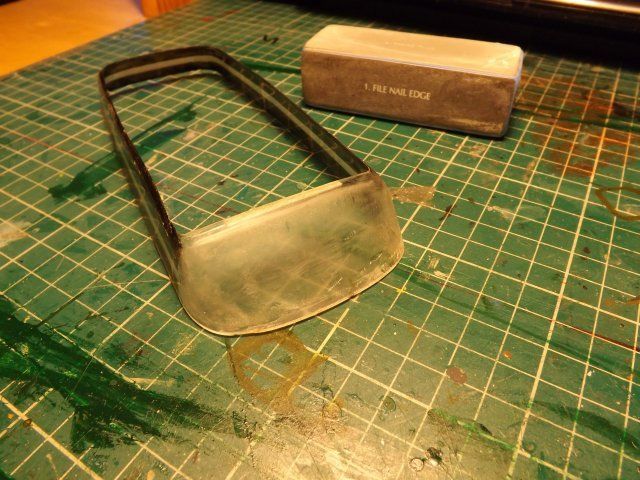
First coats of Pledge (formally Klear) applied and dry
Sanded smooth - these nail blocks are quite good
Not happy with this either
I have applied another thick coat of pledge and will let it cure overnight
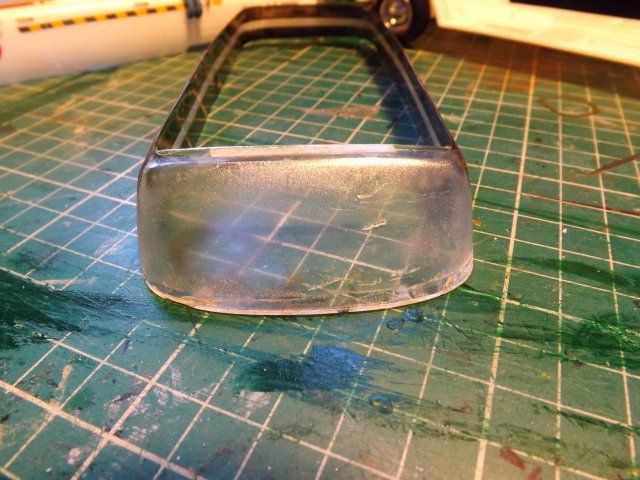
The backup plan is to carve a buck and crash mold a new screen
This is the injured party - completed it about 6 months ago but lost interest due to the ruined finish

You can see how bad the clear parts are

Disassembled ready for treatment

First coats of Pledge (formally Klear) applied and dry

Sanded smooth - these nail blocks are quite good

Not happy with this either

I have applied another thick coat of pledge and will let it cure overnight
The backup plan is to carve a buck and crash mold a new screen
Re: Mike_H's Window bench
Fail 

OK lets try making a new one
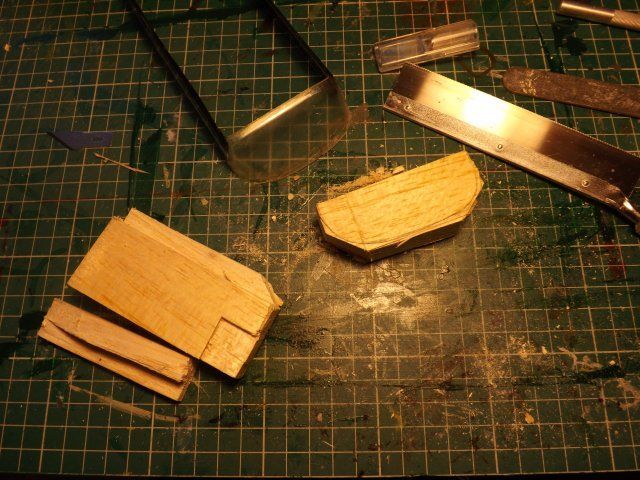
Need more light for carving - maybe it will be brighter tomorrow

OK lets try making a new one

Need more light for carving - maybe it will be brighter tomorrow
-
ShaunW
- NOT the sheep
- Posts: 26188
- Joined: November 26th, 2011, 6:11 pm
- Location: Pontefract West Yorkshire
Re: Mike_H's Window bench
The Ghostbusters car is really good apart from the screen. From personal experience long ago, I would never advise applying varnishes to clear parts - they definitely do not mix. Best of luck moulding a replacement.
Doing - Tamiya 1/35th Universal Carrier.
Work is the curse of the modelling classes!
IPMS#12300
Work is the curse of the modelling classes!
IPMS#12300
Re: Mike_H's Window bench
Well that was a complete failure on the crash moulding I wonder if I can make a cast from the plastic ?
Ecto 1a returned to display cabinet for now - in the shadows it looks OK
Time to make some space in there I think
Ecto 1a returned to display cabinet for now - in the shadows it looks OK
Time to make some space in there I think
Re: Mike_H's Window bench
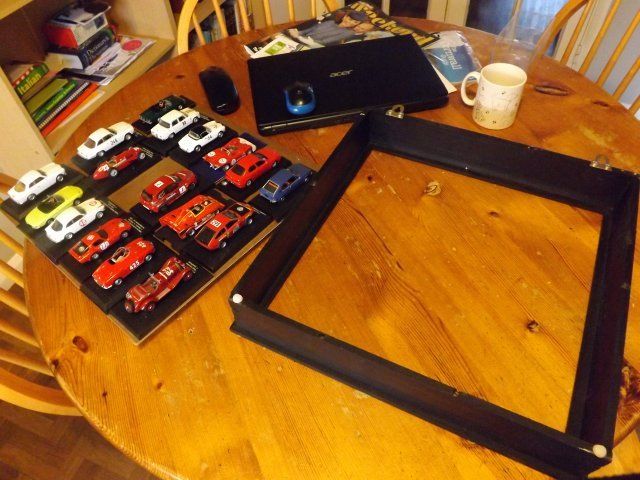
Decided to move all of my 1:43 Alfa Romeos (17 in all) from my display case and into a custom made one to make more room
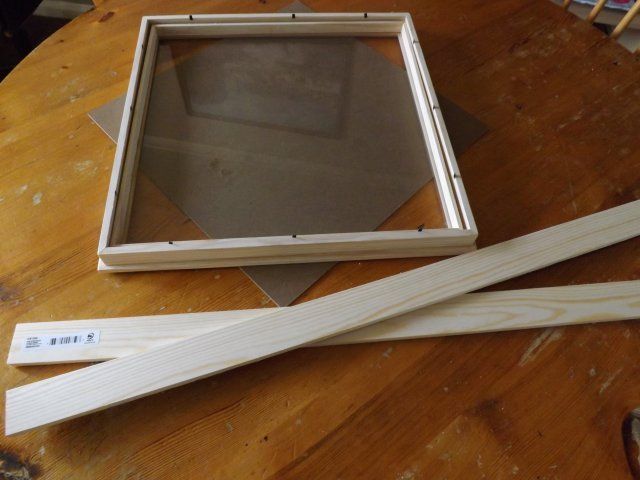
Cheap (£7) 16" X 16" Box picture frame purchased and some wood for the extension
Extensions cut and drilled ready for installation
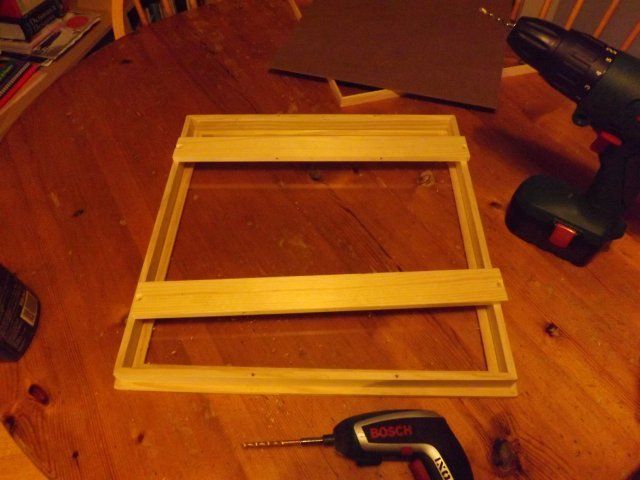
Glued and screwed
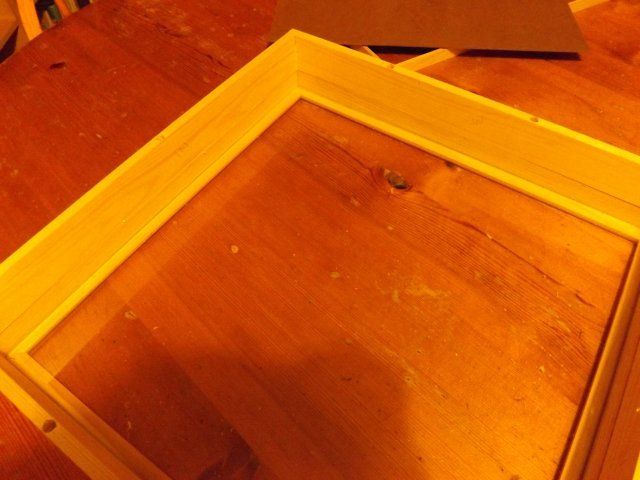
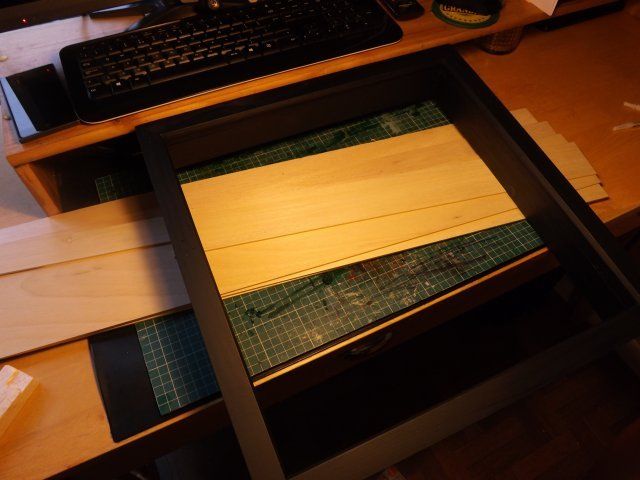
Painted matt black and inner frame material selected
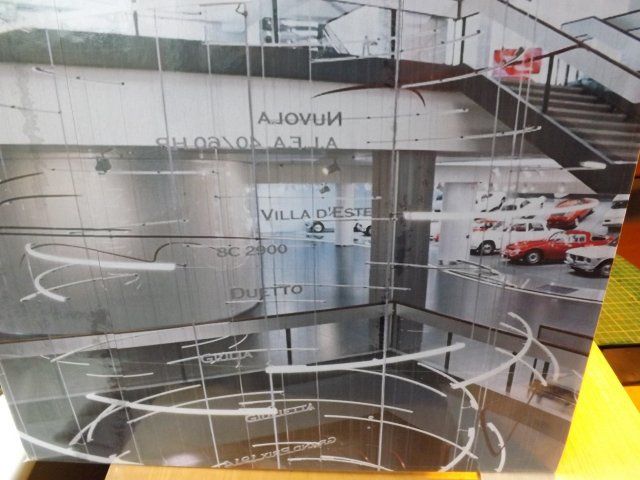
Backing plate picture printed and glued in place (Alfa Romeo museum)
Cars out of the cabinet and sturdy wall hangers attached
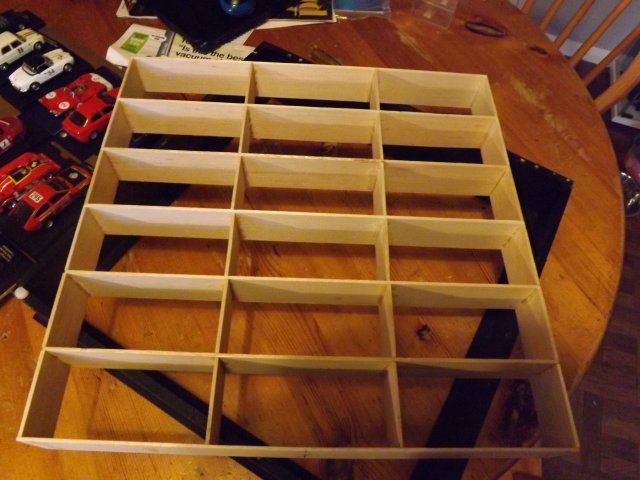
Inner frame made from sheet balsa, just super glued together, and ready for paint
All done and installed - the Alfa badge in the centre came from my old Alfasud
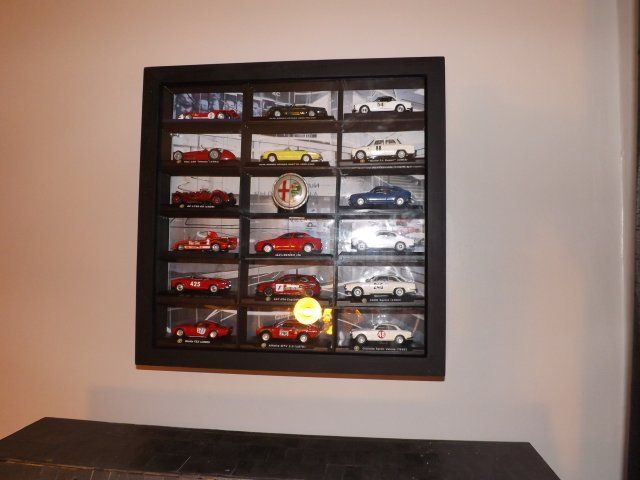
All in all I am very pleased with the results and it has freed up more space than I was expecting in the cabinet
My other half thinks the addition of some LED lighting would improve it
Cheap (£7) 16" X 16" Box picture frame purchased and some wood for the extension

Extensions cut and drilled ready for installation

Glued and screwed

Painted matt black and inner frame material selected

Backing plate picture printed and glued in place (Alfa Romeo museum)

Cars out of the cabinet and sturdy wall hangers attached

Inner frame made from sheet balsa, just super glued together, and ready for paint

All done and installed - the Alfa badge in the centre came from my old Alfasud

All in all I am very pleased with the results and it has freed up more space than I was expecting in the cabinet
My other half thinks the addition of some LED lighting would improve it