Pressing ahead . . .
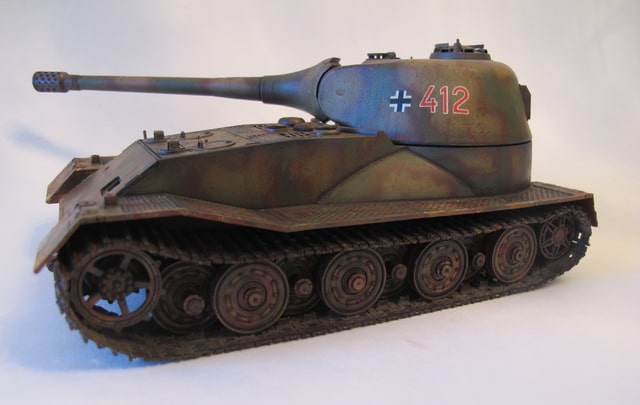
For s**ts and grins, I tried plopping the upper hull and turret onto the lower hull to get a sense of how it will look. This is the first kit I built which has working torsion bar suspension, and I have to say I don't care for it. The torsion bars are very flimsy, so the road wheels constantly moved around while I was trying to adjust the track. Once I had the track in place, I (foolishly) set the hull down right-side-up and failed to notice how much the suspension sagged under the weight. This left slack in the track, and it lifted away from the drive sprocket and idler. Bah. By the time I noticed, the track had set, and I didn't want to break it up and build it again. Looking at this photo, the whole thing looks too squat to me, but it matches the artwork on the box, so maybe it's OK. Anyhow, it's a "paper panzer", so who can say? I will mention that I had to trim some of the cleats to get the track to fit under the rear fender, so I really do think it's sitting too low. When I do the right side, I think I'll glue the suspension in position, but I'm now "locked in" to make it the same as the left side.
I do see the charm in having poseable suspension if you're building a diorama, but I prefer when manufacturers build a key into the suspension arm, with a matching hole in the hull (or vice versa). That way, it's easy to keep the suspension nice and straight, and at the right height. If you want to pose it otherwise, all you have to do is to snip off the key, and glue the arm in the desired position. I can't see any advantage to workable suspension unless you're building a motorized model.
Anyway, end of rant. Have a great weekend, everybody!