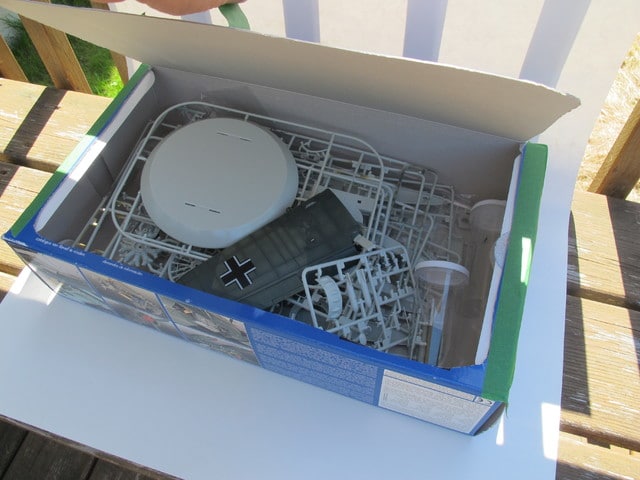
Good day, all. Progress has been slow, although I did finally finish the starboard wing. I won't bother you with photos, as it looks pretty much like the port one. However, I would like to share my idea for improving Revell's much-despised end-opening box. Just tape the ends of the box shut, then cut out three sides of a rectangle on the underside, leaving the fourth side uncut to act as a hinge. A tab of tape gives you a lifting handle, and hey presto, you have a lid! Easier than stuffing all the sprues through the narrow end of the box, and everything is much easier to see. Also, I found I'm less liable to accidentally knock parts off the sprue this way.
Have a great weekend!