Page 34 of 272
Re: iggie's modelling table
Posted: November 9th, 2017, 7:18 pm
by Stamford
That is insane! Well done keeping up the attention to detail - the mojo must have struggled along the way. Damned impressive beast.
Re: iggie's modelling table
Posted: November 9th, 2017, 7:43 pm
by Kitaholic
That is absolutely superb. Got the Wasp boxing of this kit so will be referring back here when I get round to it.
Re: iggie's modelling table
Posted: November 9th, 2017, 8:49 pm
by iggie
Thank you all again for your kind words

I have to say that it was a struggle sometimes to carry on with the repetitive stuff, when something new (and not involving PE

) was just over the page on the instructions

@Kit: I suspect the Wasp has even more walkways around the hull & superstructure than Iwo does, judging by the bits left on the sprues....either that or I missed a whole page out somewhere?

Re: iggie's modelling table
Posted: November 12th, 2017, 11:00 pm
by iggie
Re: iggie's modelling table
Posted: November 13th, 2017, 1:34 am
by jssel
Very nice build. A real classic
Re: iggie's modelling table
Posted: November 13th, 2017, 4:16 am
by Clashcityrocker
Nice to see this one all fits together as I have that same boxing. Looks good.
Nigel
Re: iggie's modelling table
Posted: November 13th, 2017, 1:37 pm
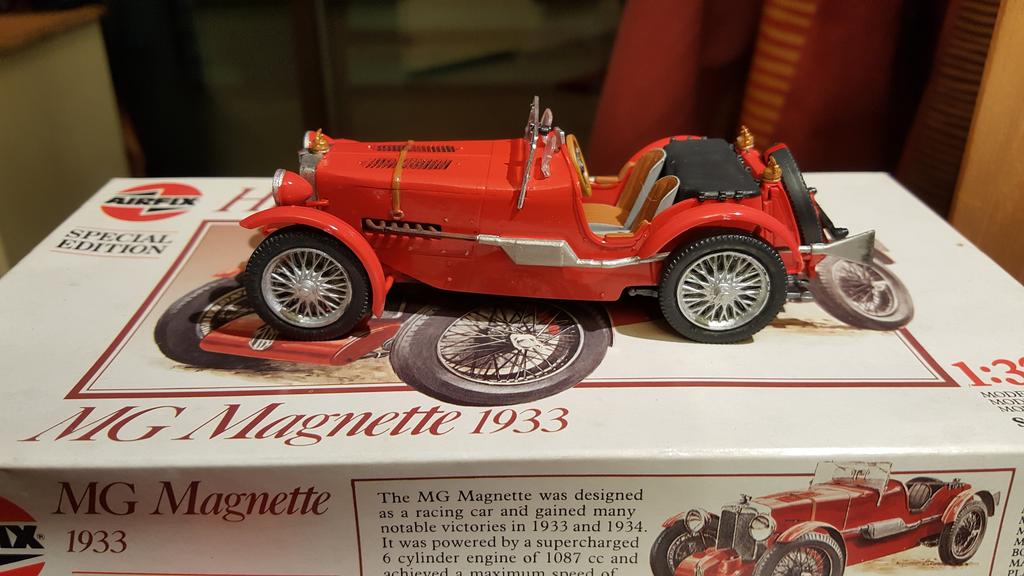
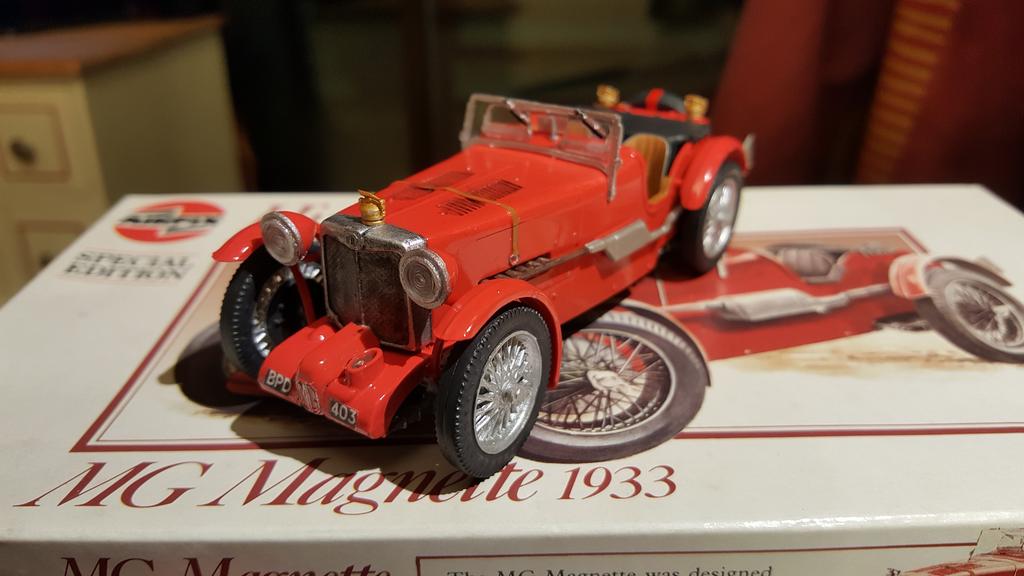
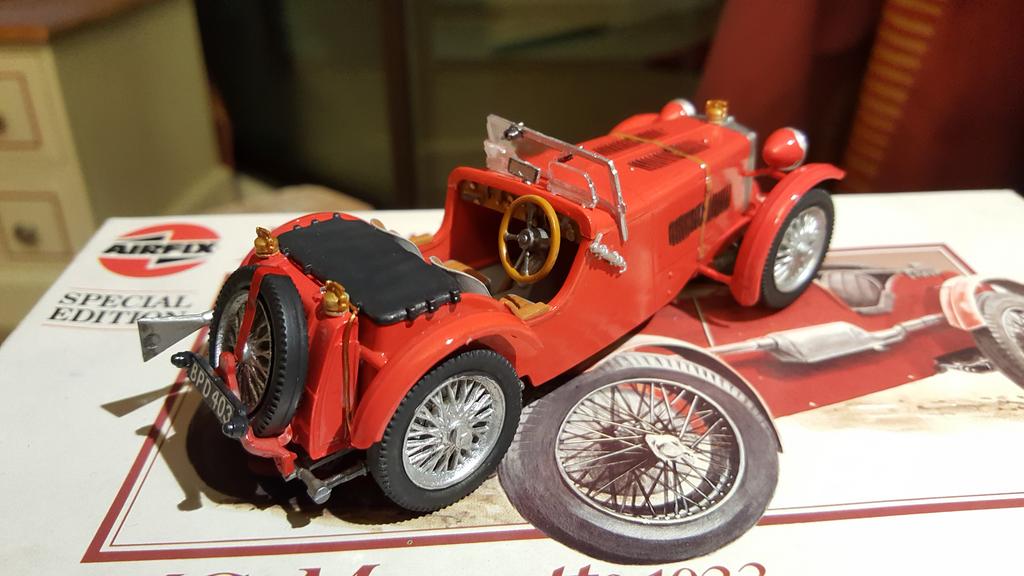
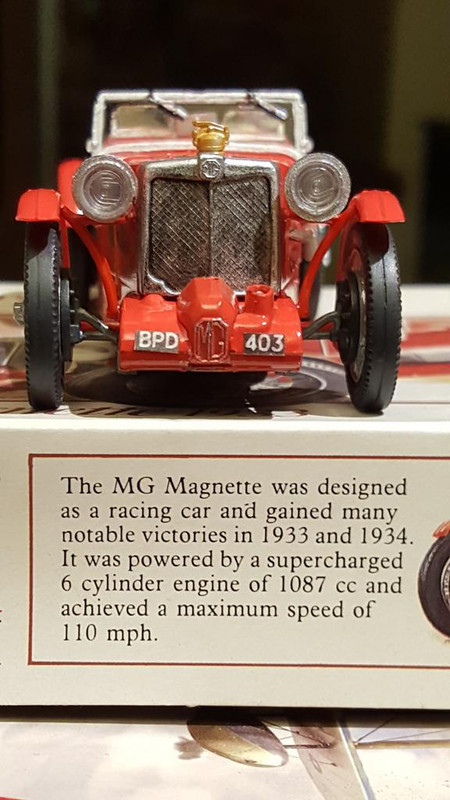
by ShaunW
What a great looking classic MG, Iggie. I'm also an enthusiast for the marque and own a MGF VVC. In fact I got caught speeding in it last week, so I was very happy about that as you can imagine. I get to go on a speed awareness course now to keep the points off my licence and I will be relieved of £85.00 for the privilege. Wonderful

Re: iggie's modelling table
Posted: November 14th, 2017, 1:49 am
by Softscience
Dang! That is cool! I'd love to have a go at something like that.
Re: iggie's modelling table
Posted: November 14th, 2017, 10:14 pm
by TobyC
That MG is stunning.
Re: iggie's modelling table
Posted: November 14th, 2017, 11:02 pm
by iggie
Thank you Gents, I'm glad you like it
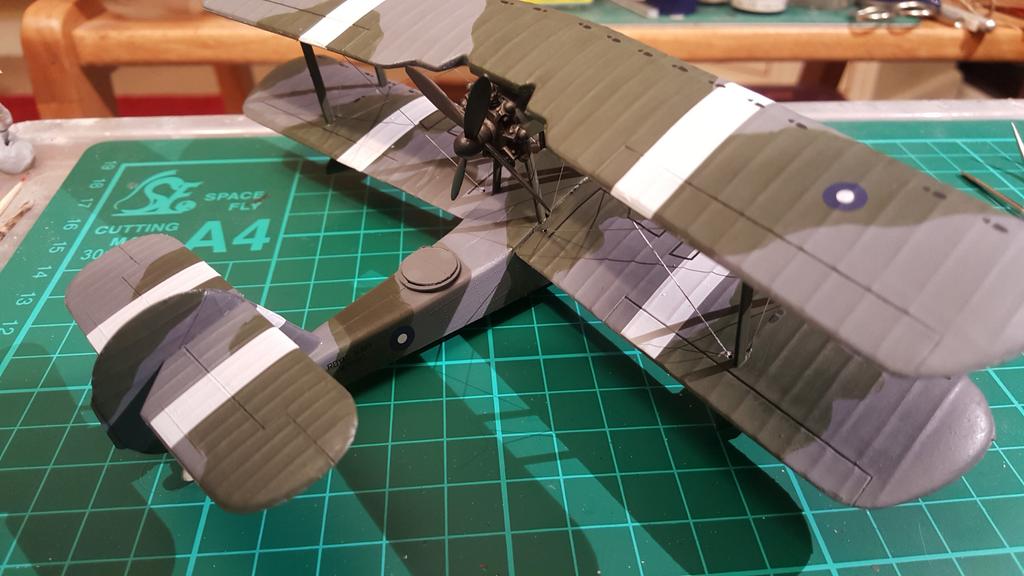
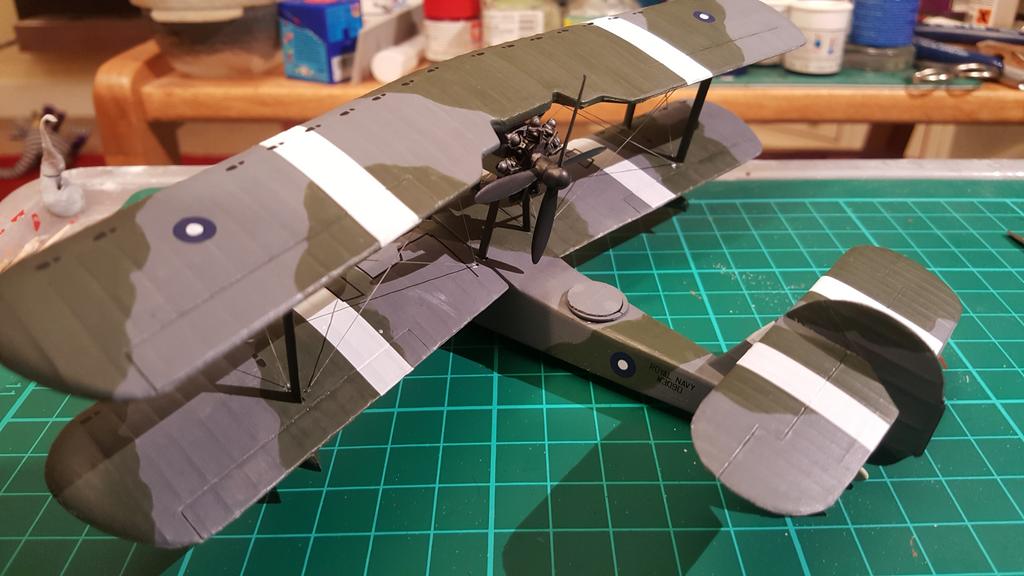
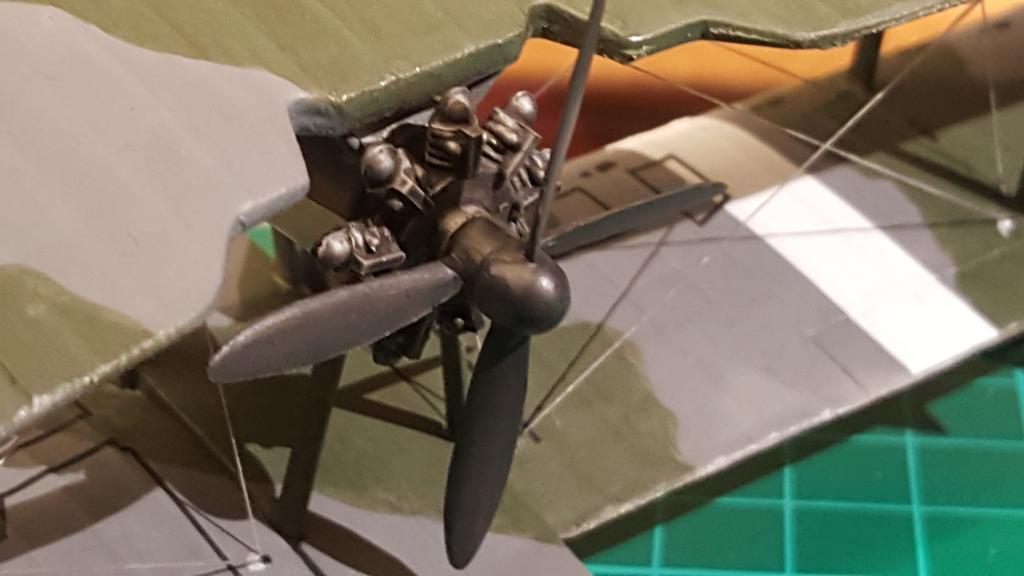
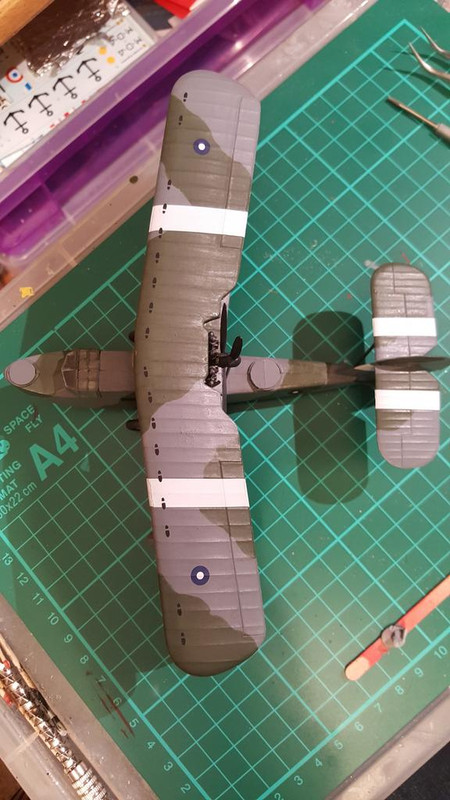
It was nice to get back to a small and relatively straight forward build after the mammoth Iwo Jima!
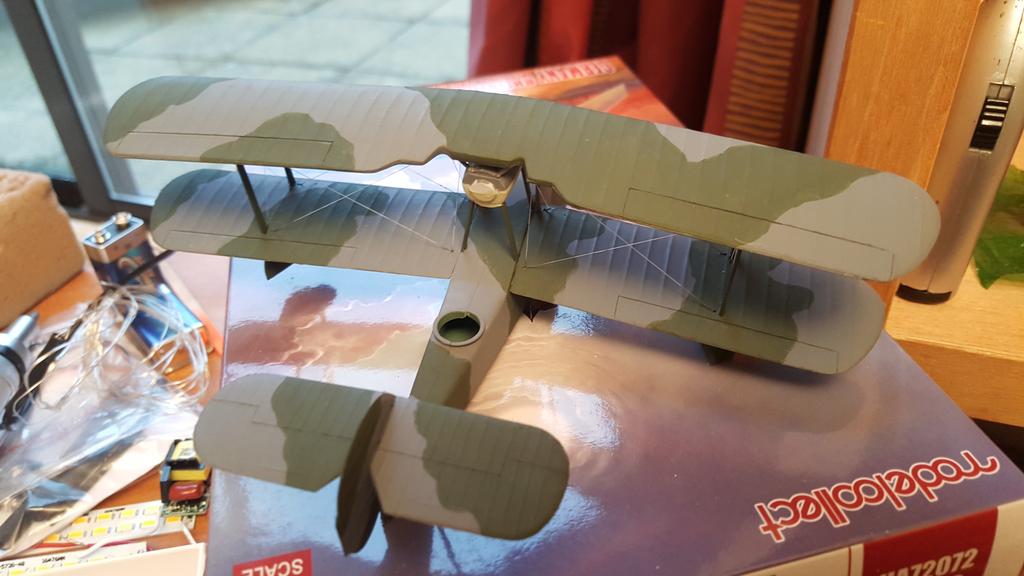
For my next trick:
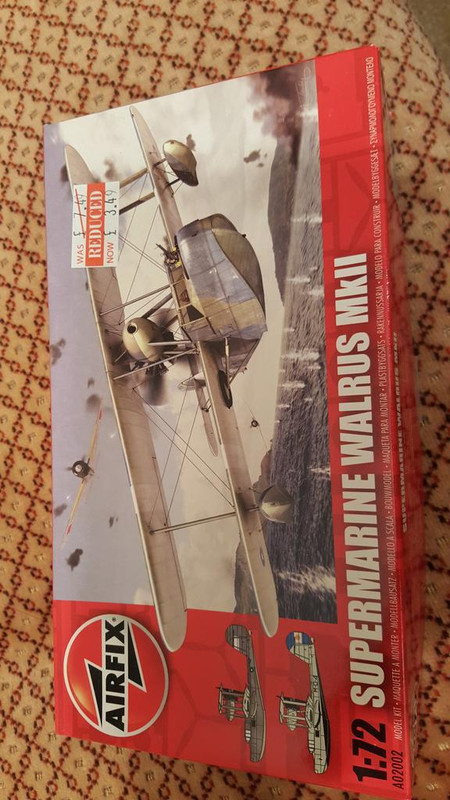
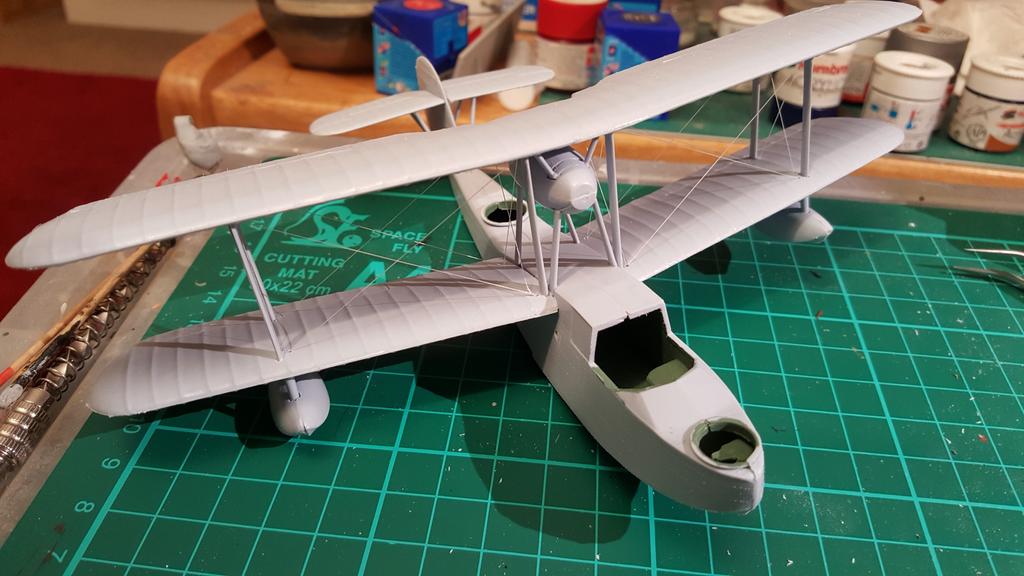
I started this rather ancient kit yesterday evening and this is the progress as of about half an hour ago. Strictly OOB apart from the rigging
Paint starts tomorrow
Re: iggie's modelling table
Posted: November 15th, 2017, 11:06 pm
by Ratch
Quick work

Re: iggie's modelling table
Posted: November 16th, 2017, 6:19 am
by PropWash
NIce work on that MG, Iggie.
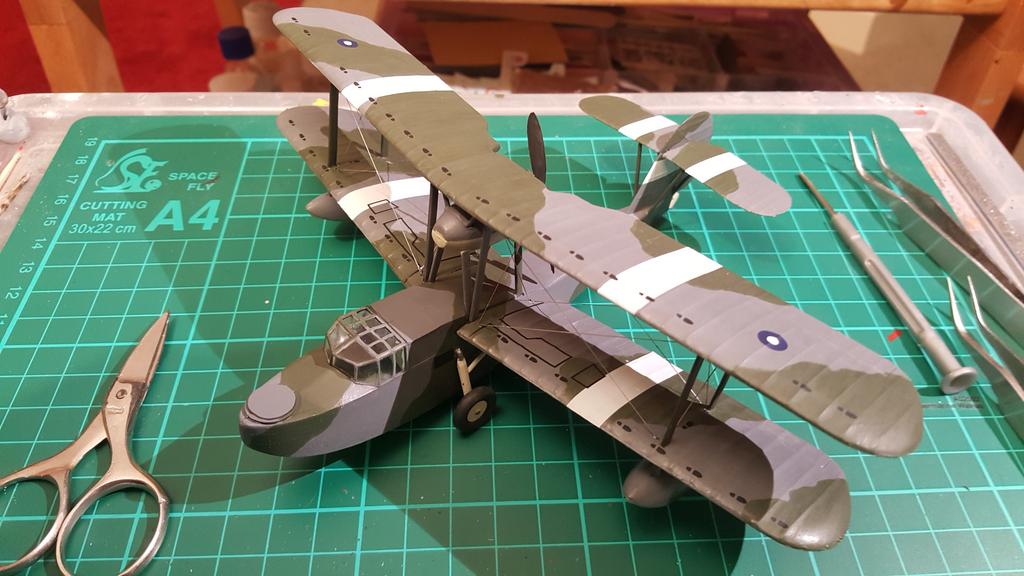
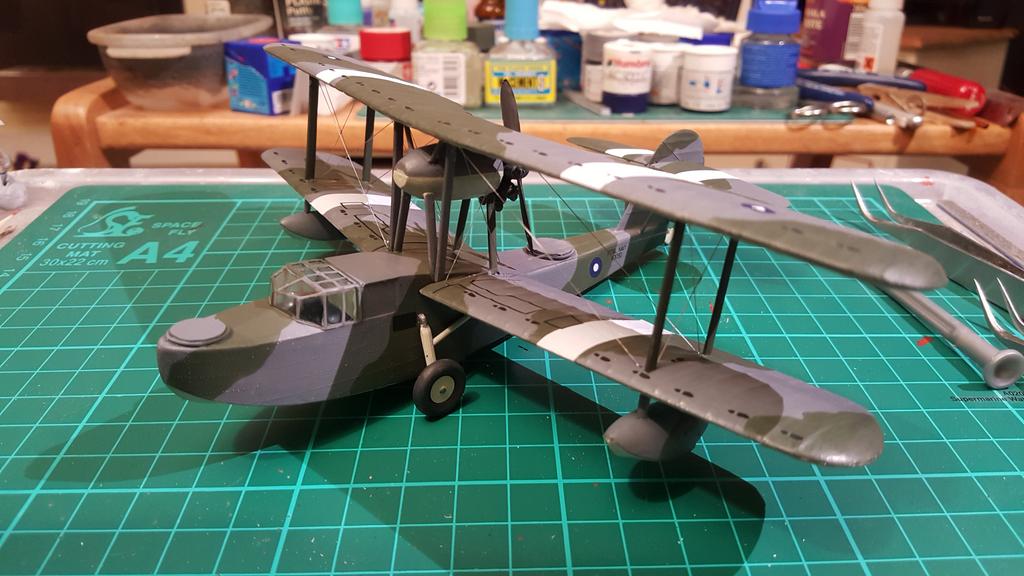
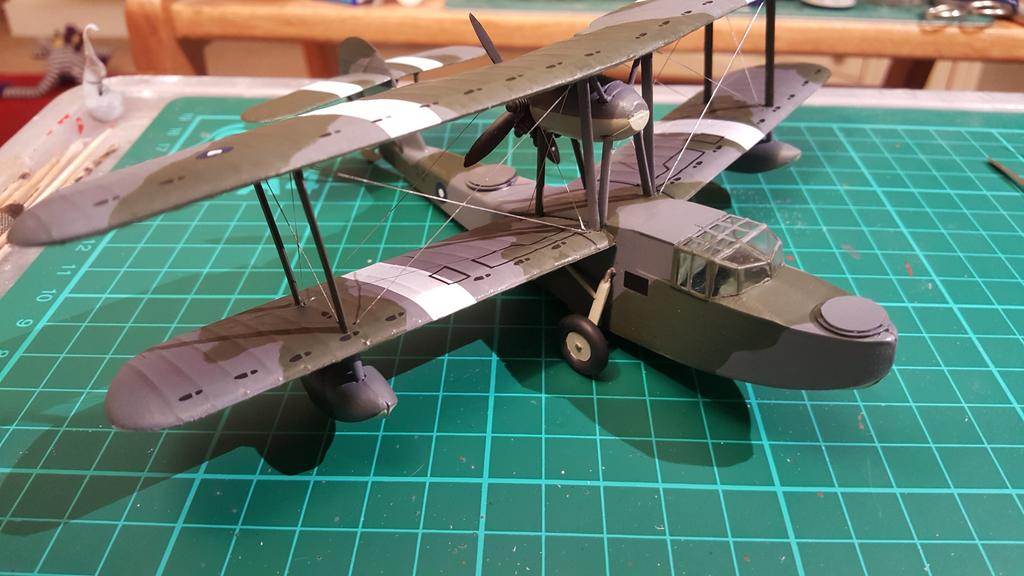
I also like the progress on the Walrus. What do you use for rigging?
Re: iggie's modelling table
Posted: November 16th, 2017, 6:27 am
by skypirate
Love the MG!
And that is fast work on the Walrus! Including rigging!
Don't know how you do it!
David
Re: iggie's modelling table
Posted: November 16th, 2017, 5:11 pm
by iggie
Thanks folks!
PropWash wrote:NIce work on that MG, Iggie.
I also like the progress on the Walrus. What do you use for rigging?
The rigging on the Walrus is 'knitting-in' (or Shirring) elastic; it comes in 200m reels (so good for at least a couple of squadrons

) for £2.50
Available from the online auction site (UK):
http://www.ebay.co.uk/itm/Clear-Shirrin ... SwLVZVs4NG
The advantage with the Walrus even in 1/72 is that the wings come in two parts each, an upper and lower piece to each wing. That makes it easier to drill holes and not have too much clean up to do around them like you get with solid wings on smaller planes. The downside is that you need to assemble the lower wing upper surfaces to the fuselage
before adding the lower surface (if that makes sense) to allow threading of the elastic. The upper wing can be assembled after threading enough elastic through the holes such that it will reach easily (and without stretching it) the required holes in the lower wing.....
I suppose, thinking about it, that you could do the reverse; thread the elastic through the lower wing first, assemble the lower wing in full, and then thread the elastic through the required holes in the upper wing...D'oh!
Anyway, hope that helps!
Re: iggie's modelling table
Posted: November 19th, 2017, 8:17 pm
by iggie