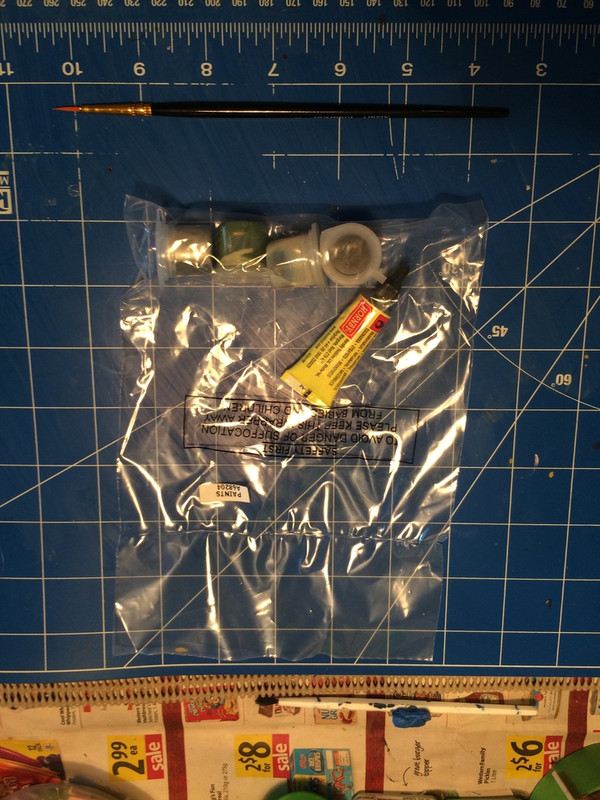
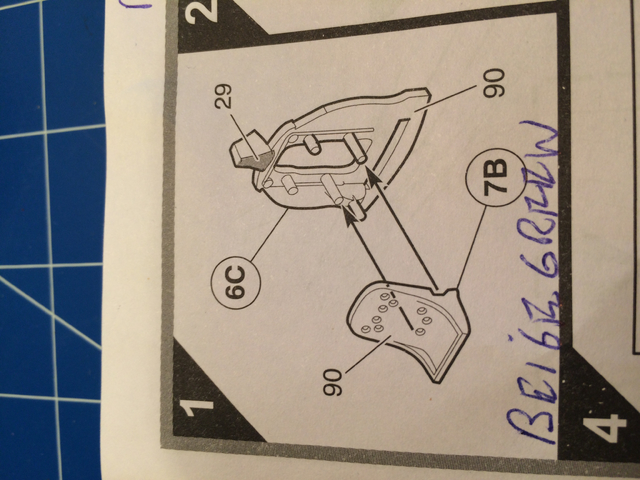
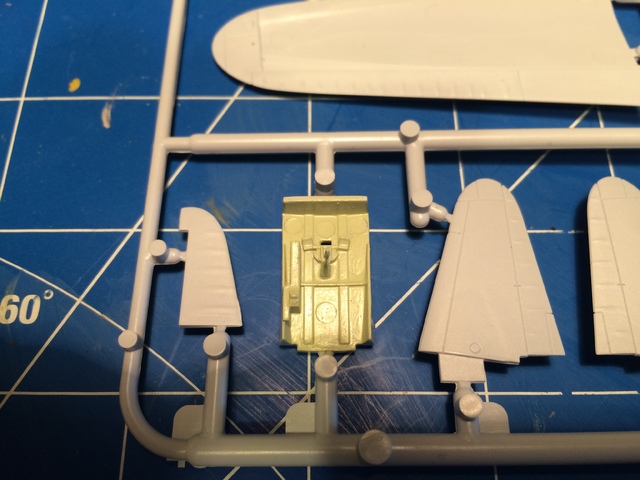
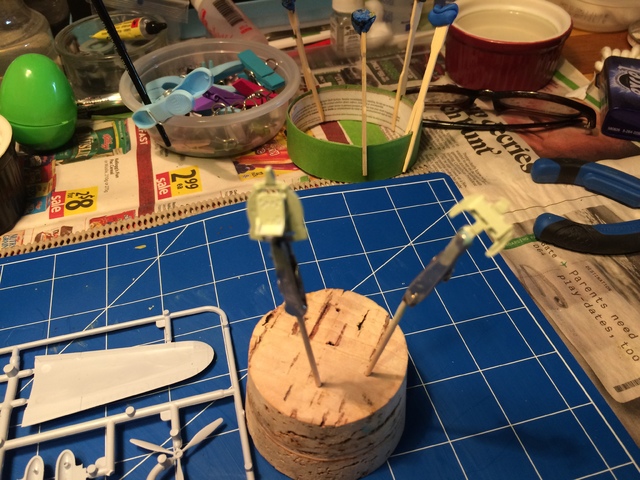
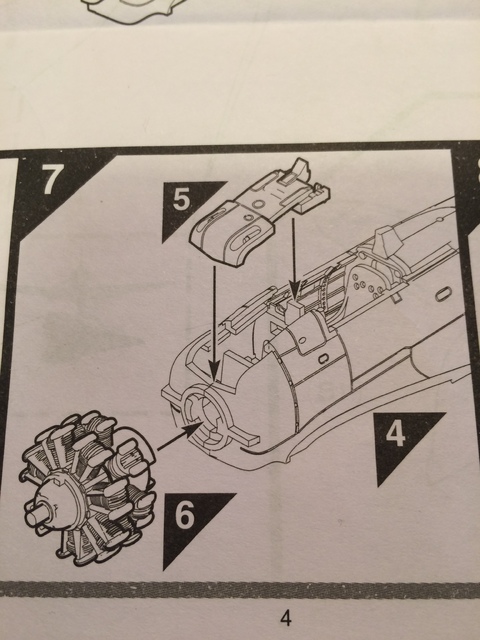
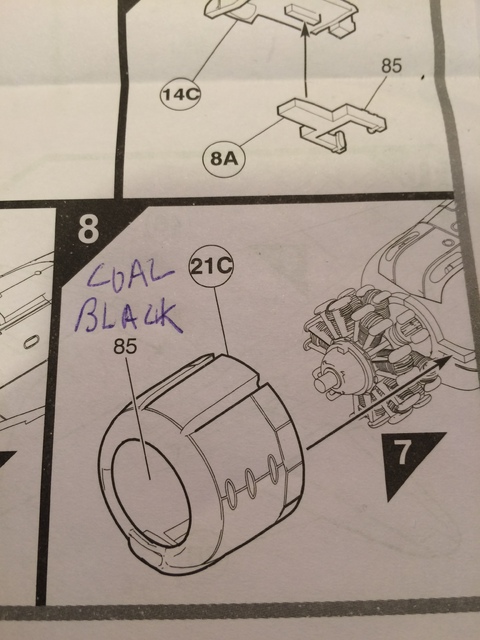
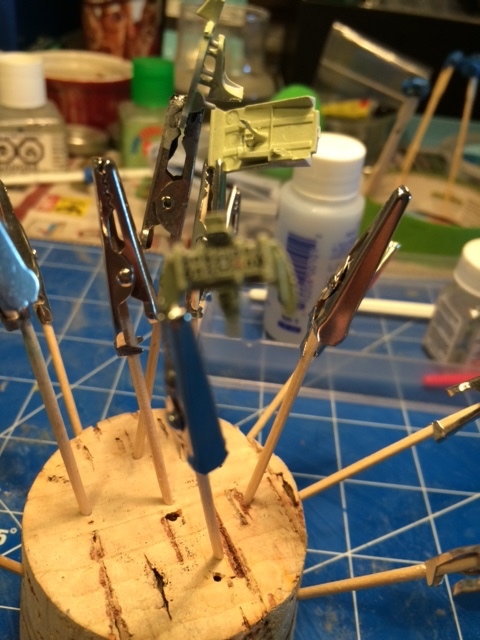
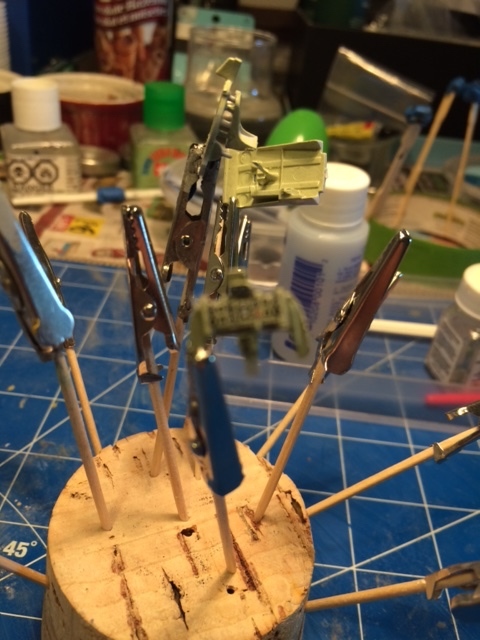
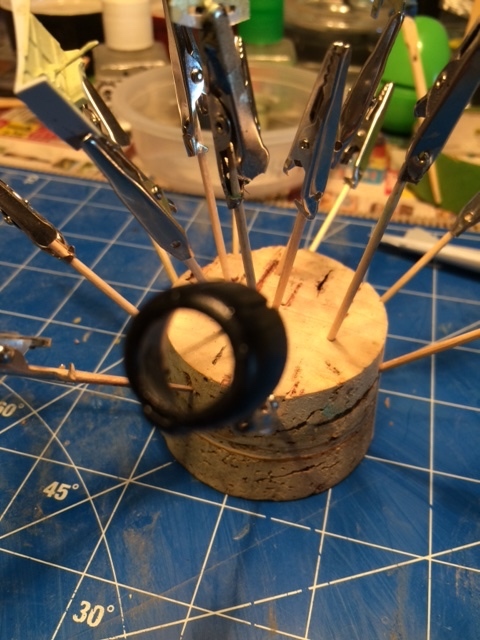
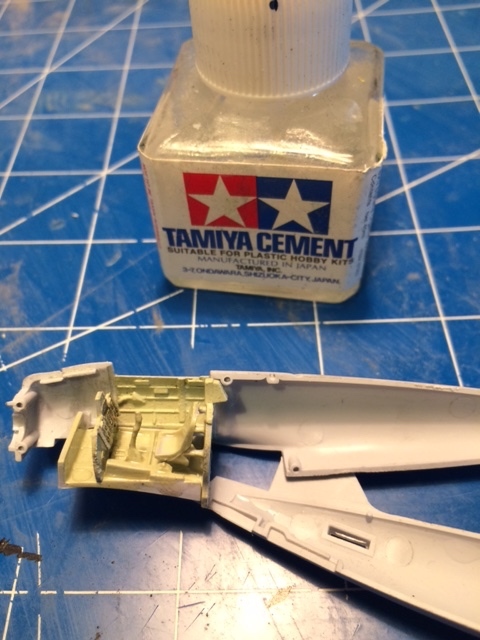
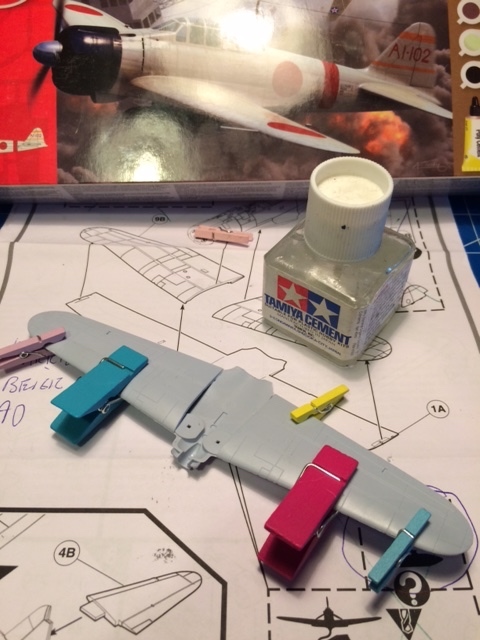
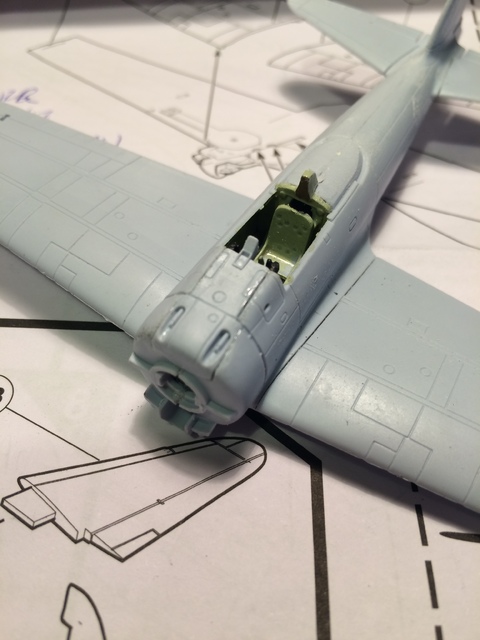
Step 7 and 8: I have prep the parts in this steps with paint but i will not glue on until i glue/paint the main body of the plane for easy of paint since it
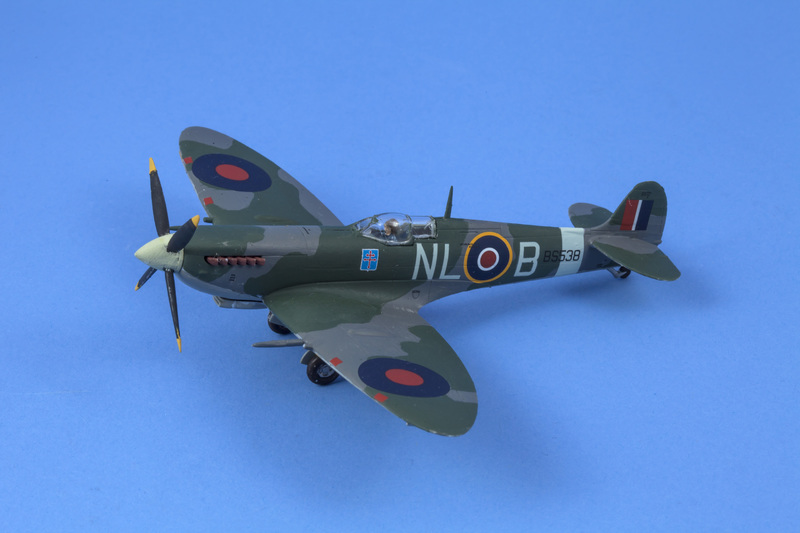
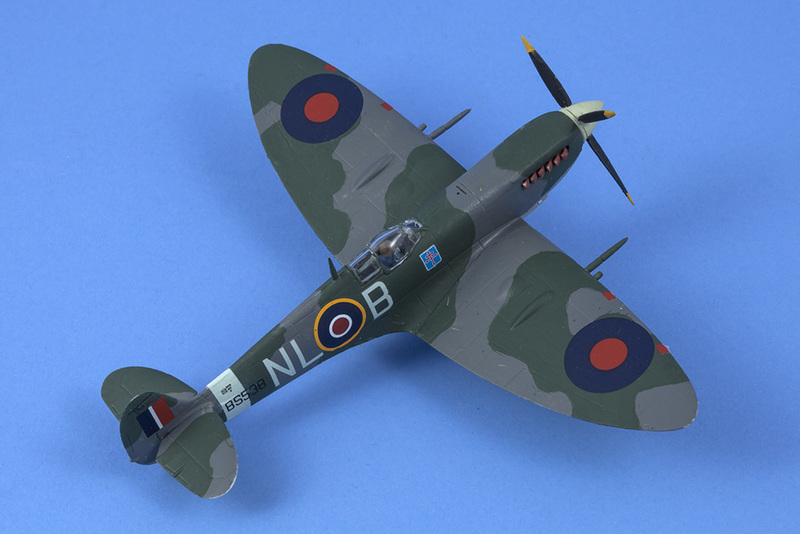
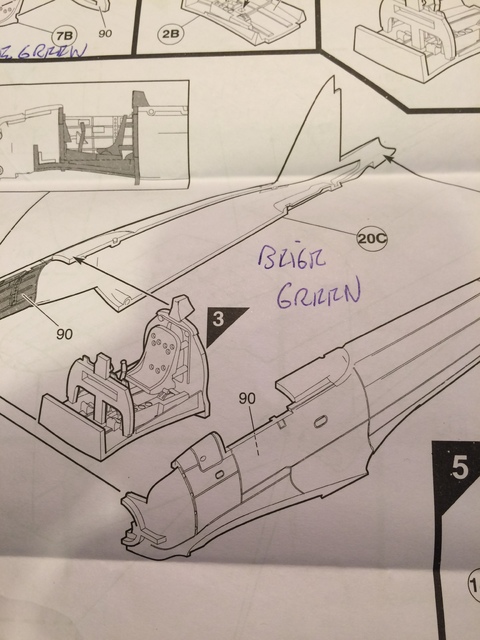
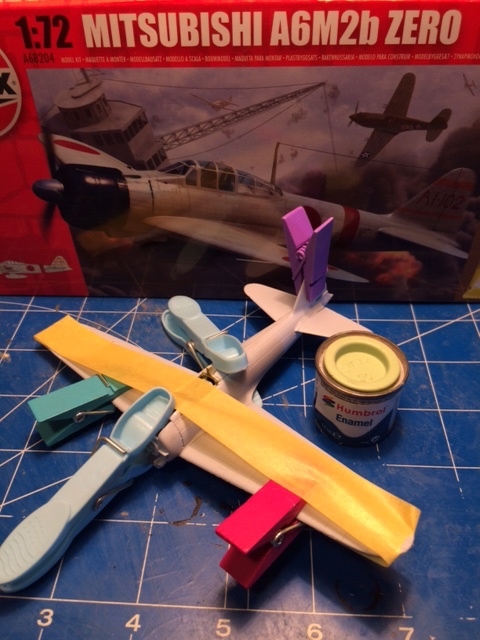
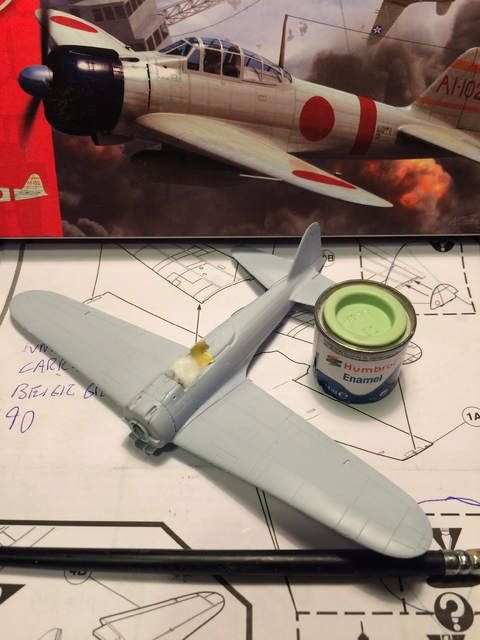
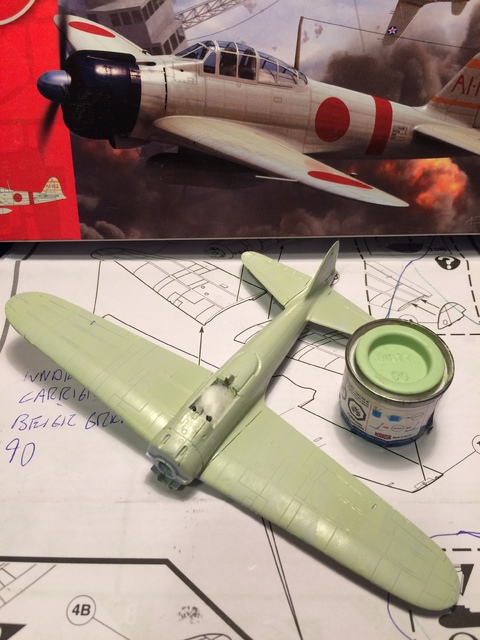
one colour camo. I am not sure this 90 Humbrol beige green is dark enough to be accurate however Airfix recommend this paint.
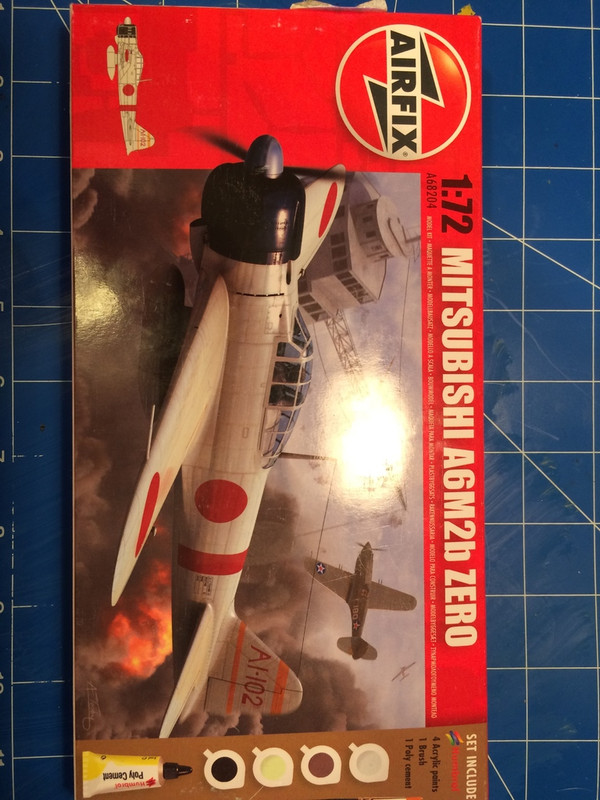
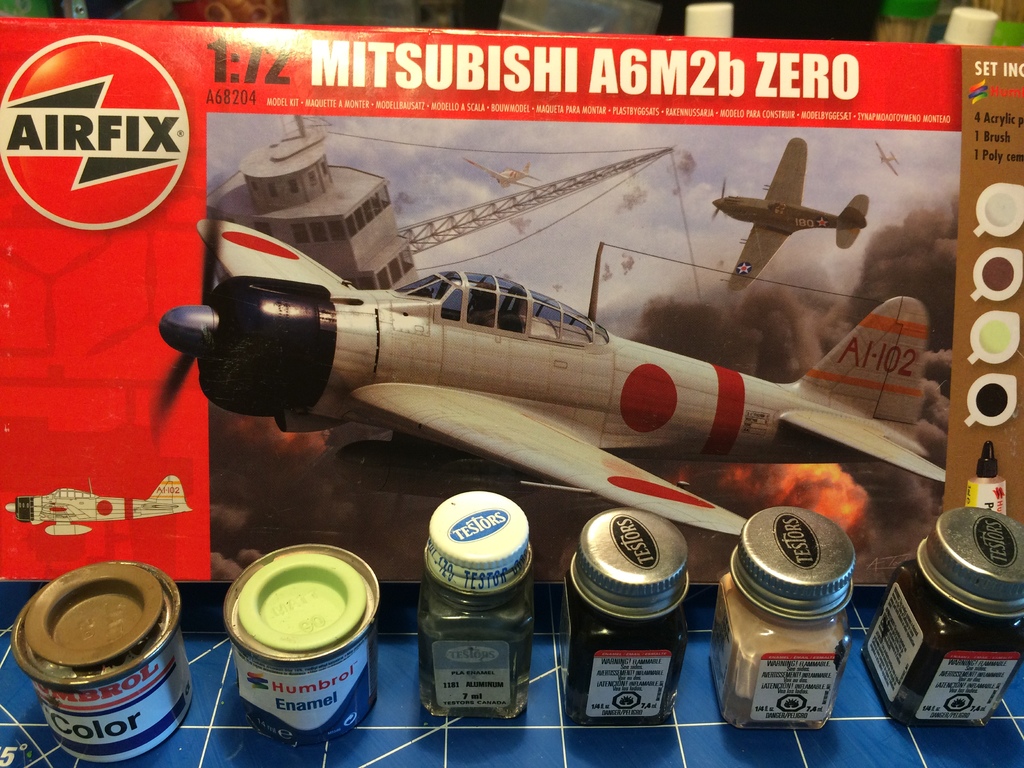
Yes, it is nice kit. I am trying to take my time on this one. Only one Duh!! so far.
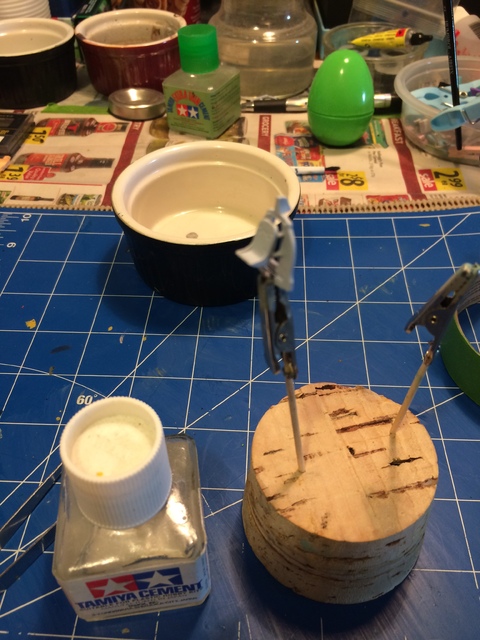
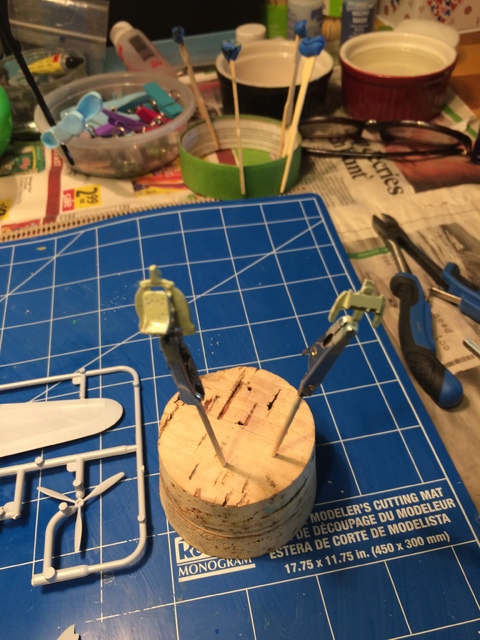
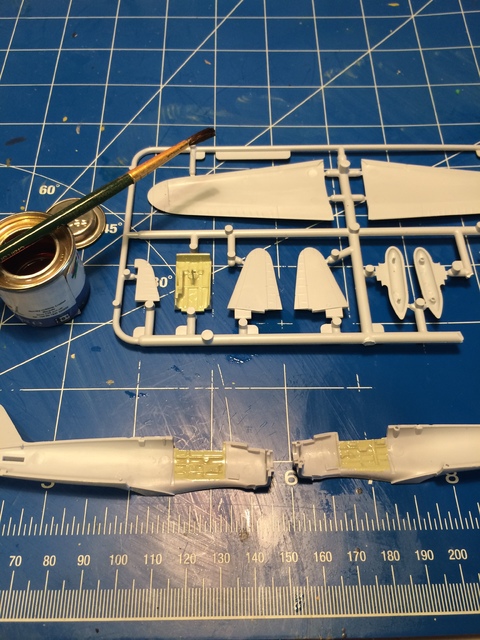
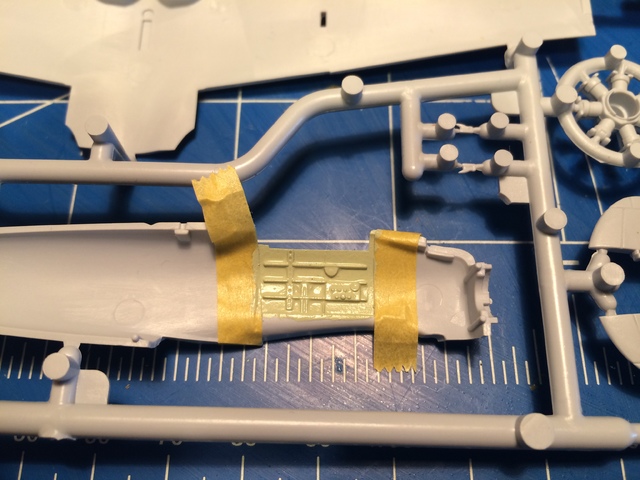
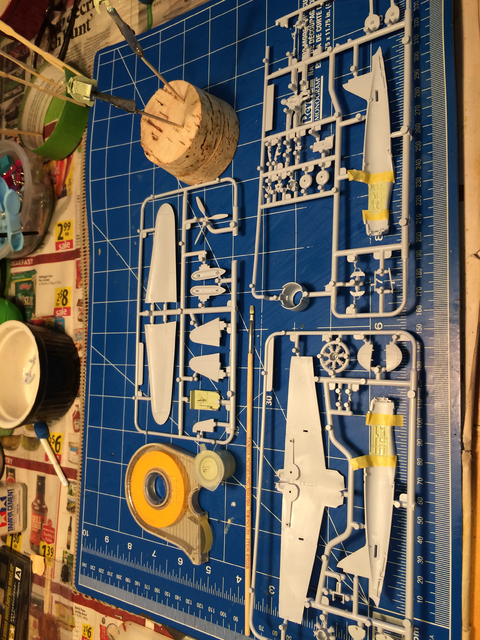
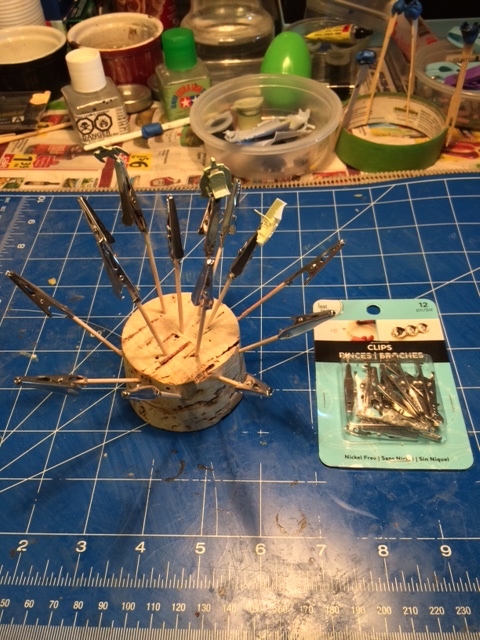
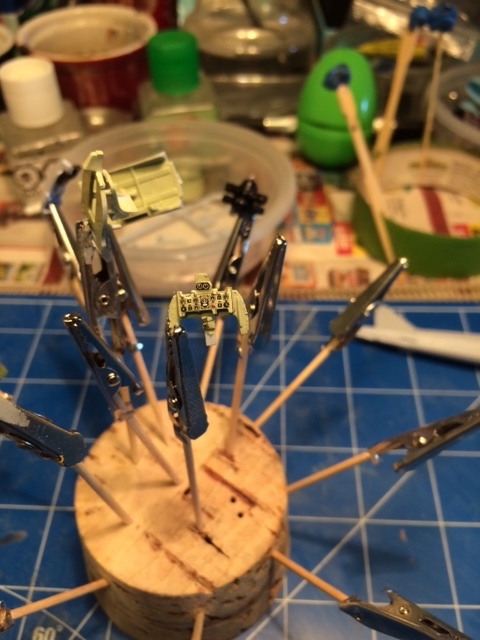
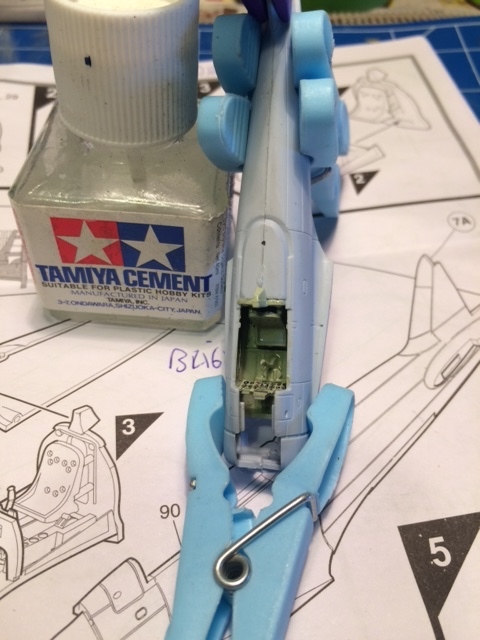
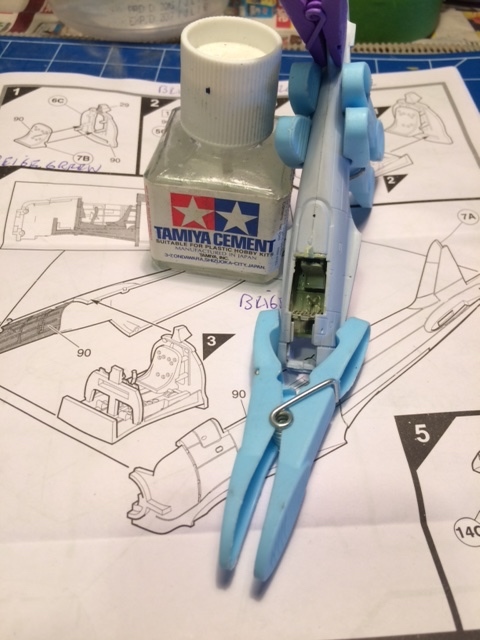
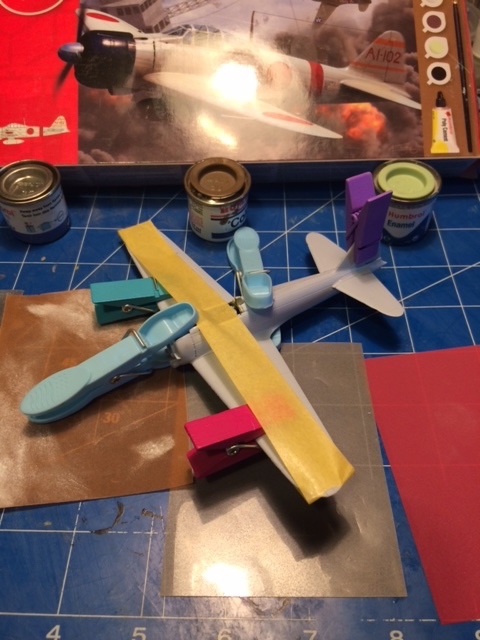
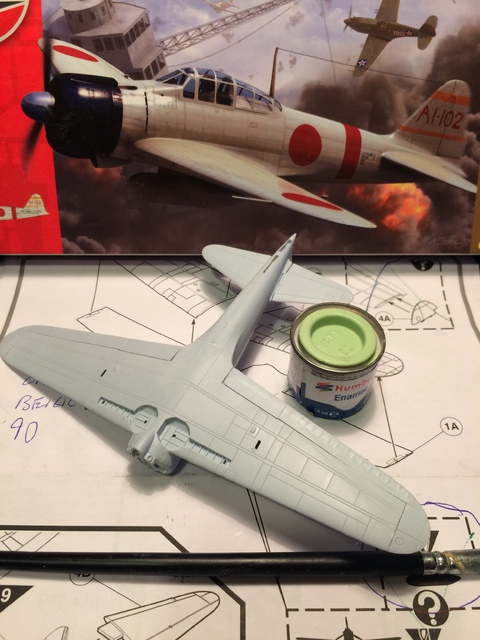
I just finished prep work for paint and first thin coat of paint.
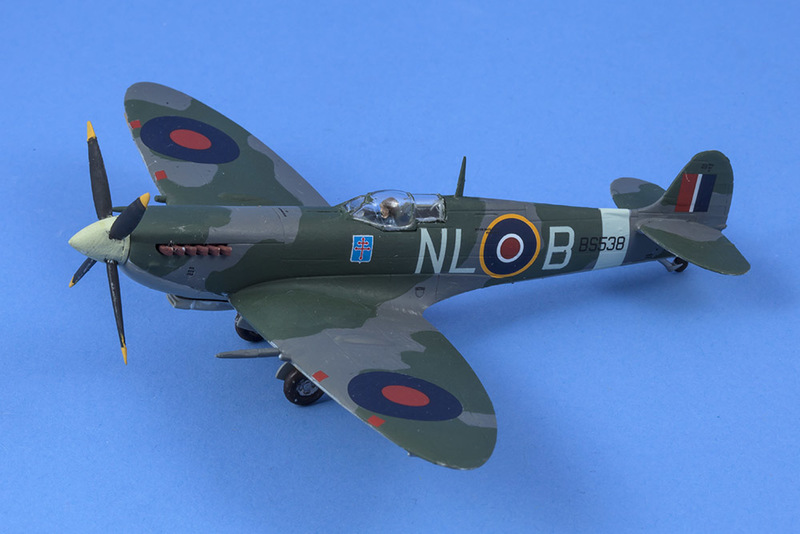
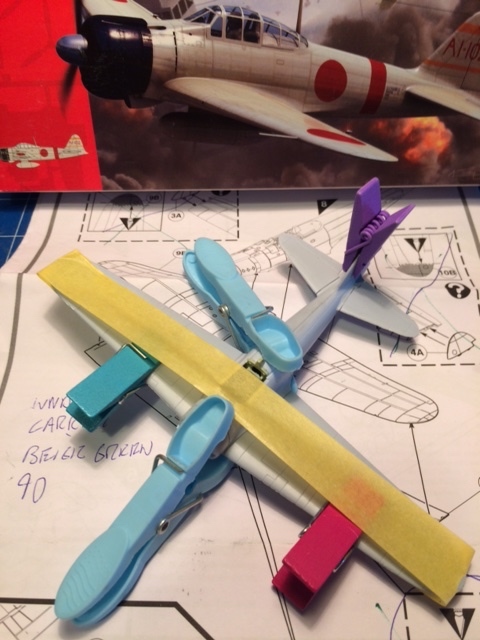
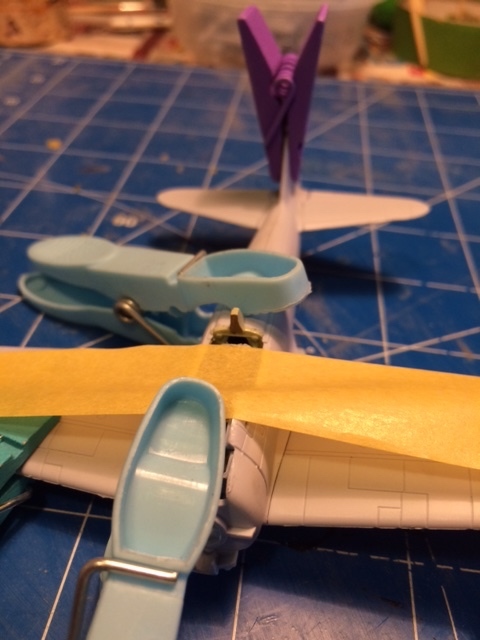
Was about to post more build pictures. As i am in a 24 hour flyover waiting for paint to dry. Tommorow nascar/Stampeders and paint landing gear/tires/pilot
and try to mask canopy and paint. I need parafilm or eduard mask kit!
Nah, you don't need masks. Tamiya 5mm yellow tape, a pair of tweezers and a pair of scissors and most especially a pair of uncaffeinated hands. It works, as our British friends here like to say 'a treat'. I have usually found masking canopies a great zone to get into. Leave them on till after wax and/or dull cote. You can't go wrong.
I have try making mask out of my 5mm taimya tape. I saw video show apply tape/mark lines with pencil/cut shape with knives/twezzers and apply and paint.
I have tried, i need practice cutting and marking out canopy lines. Last build too much paint/major paint bleed and it was enamal! Duh!
And I like my coffee strong, or very steady hands. I saw video on youtube Owen from Quickkit Airfix suggest painting with acrylics and you can clean up mess
with sharped sprue.
I will try making masking canopy out of my tape more and maybe with practice i will get better at it. I dislike masking canopy and painting them.
My two 109's fared better, I used eduard masking kits on them painted/matted no problem. Going to use acrylics for canopy lines when I try to make
a half decent canopy masking. Migrant use parafilm so i thought i would try it...
I dislike canopy masking and painting them. One thing I am not good at. I do not have very steady hand to free hand it. OK with twezzering on the pre-made stuff, just
knife an edge and rub on with a toothpick or paint handle. I just have kitchen scissors not sharp or fine.
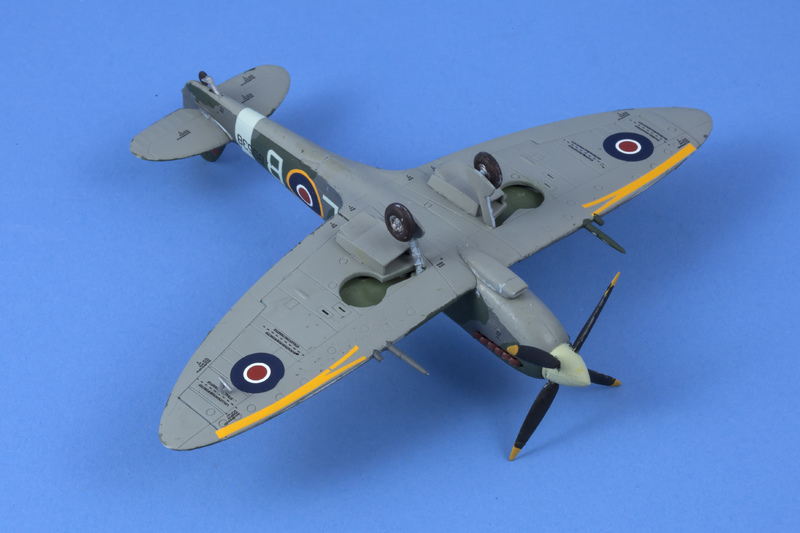
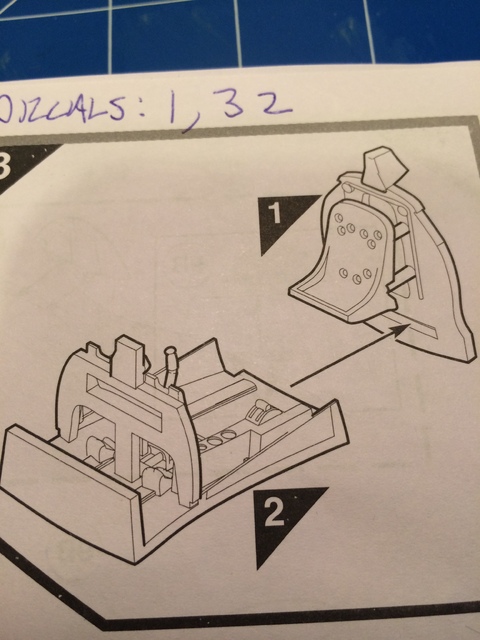
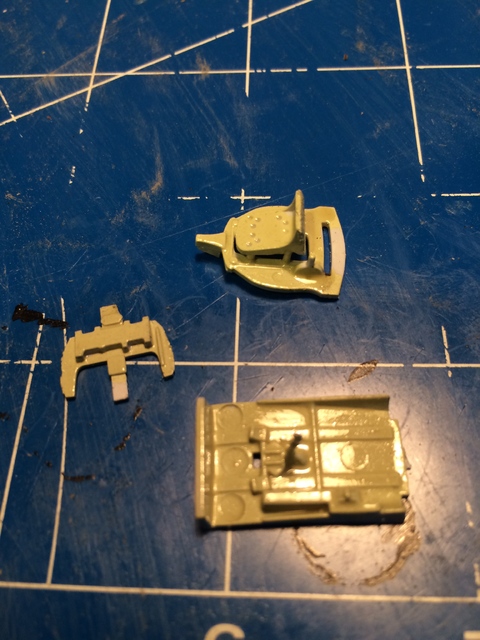
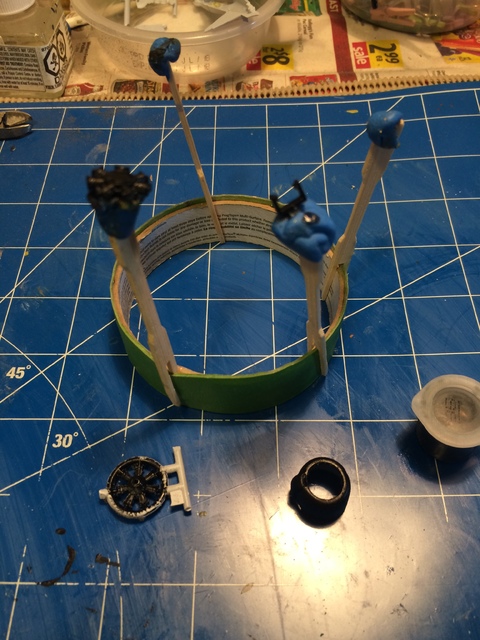
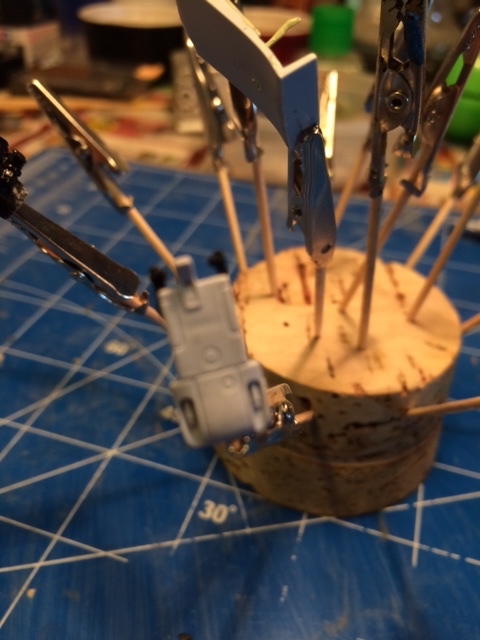
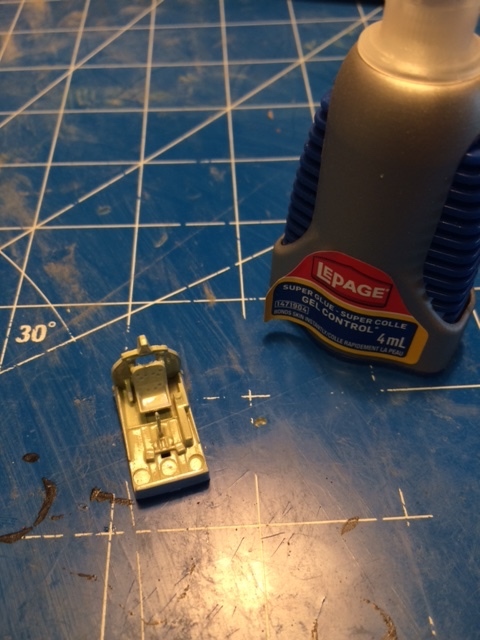
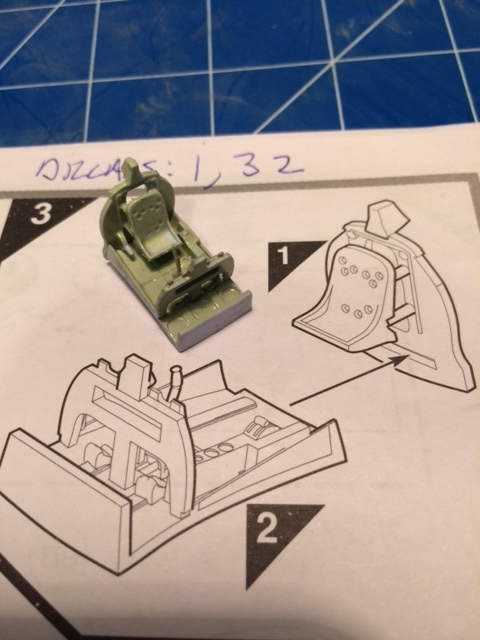
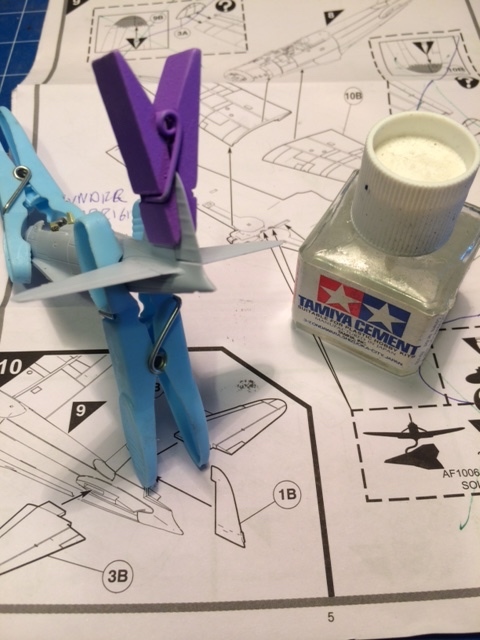
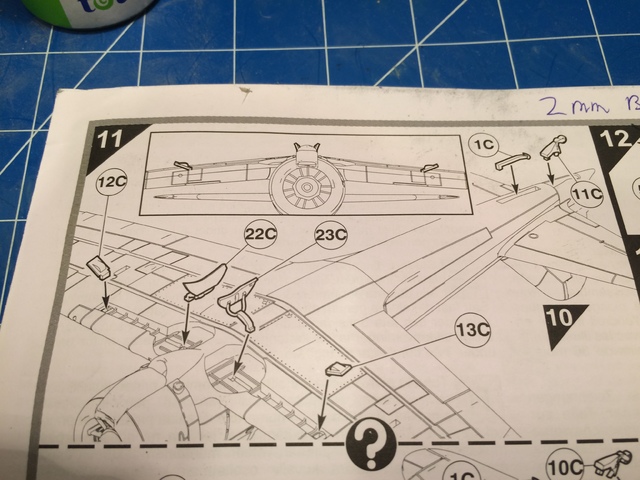
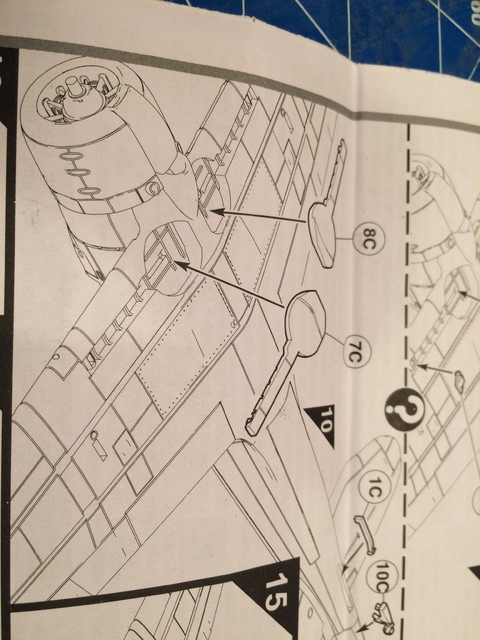
Step 11 to 17: While plane's paint is drying, I will prep/paint landing gear/ pilot and canopy
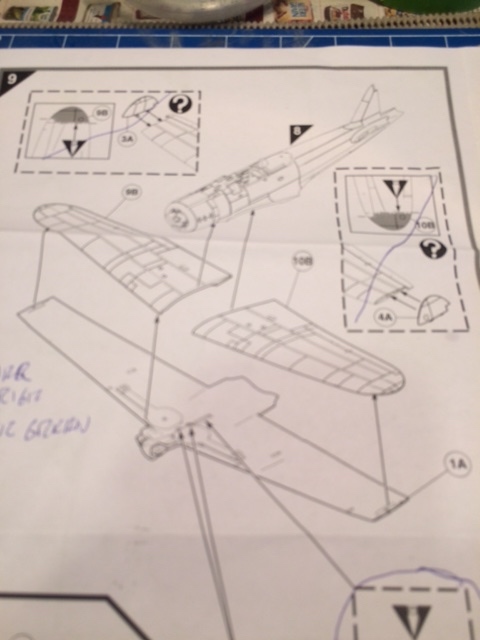
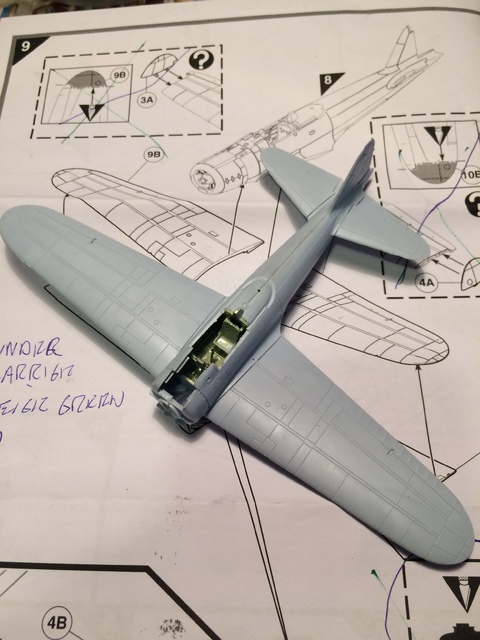
I did not cut out the slot for the drop tank before attaching wing to fuselage. I may take the "wimp" option and landing gear up but did not drill holes
for stand. Did not have 2 mm for my pin drill.
Wimp option:
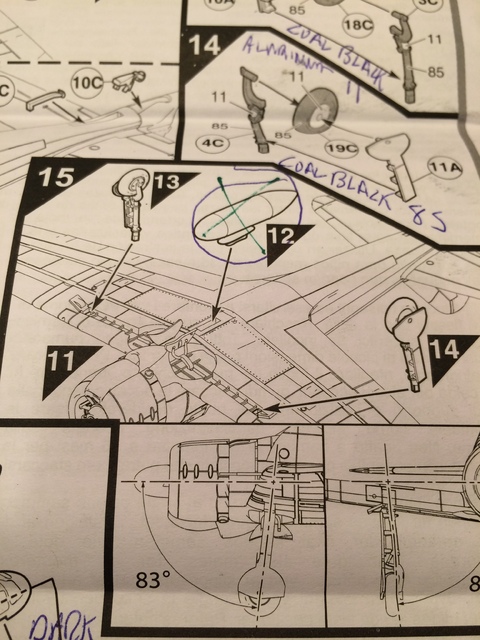
Step 12 is out did not cut slot for drop tank. Step 13, 14 and 15 installing the landing gear.
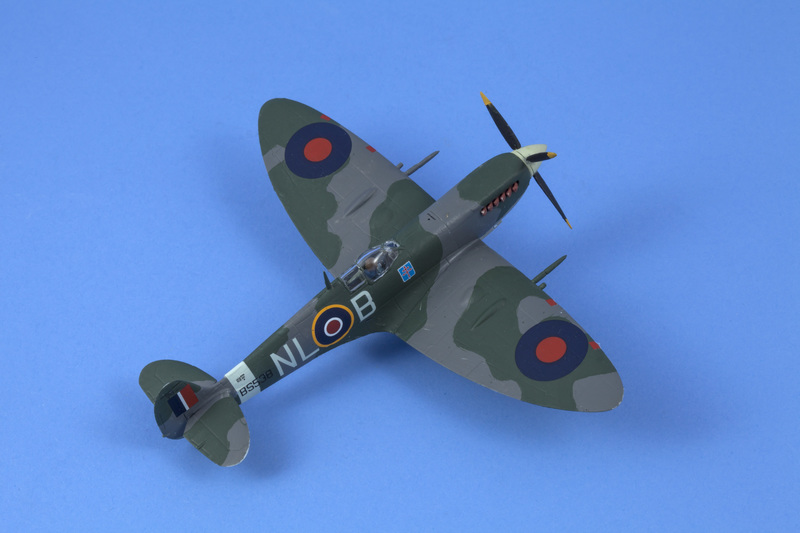
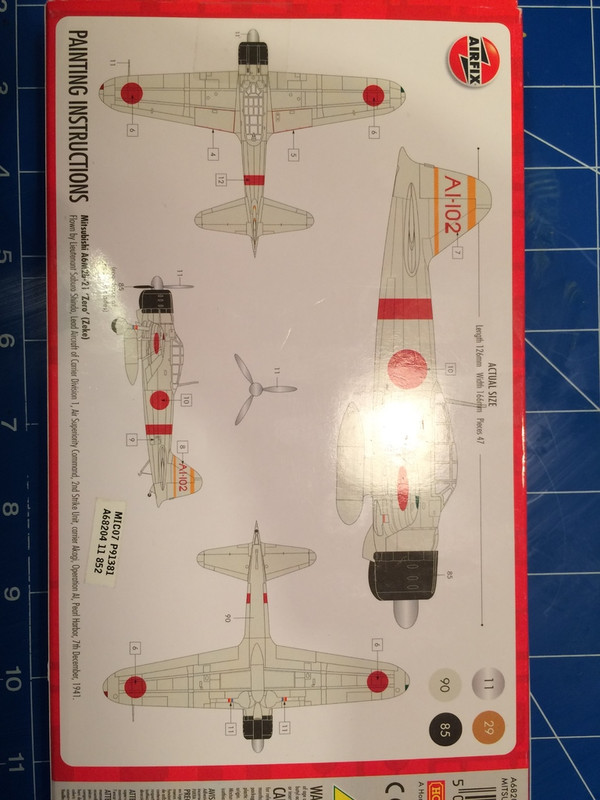
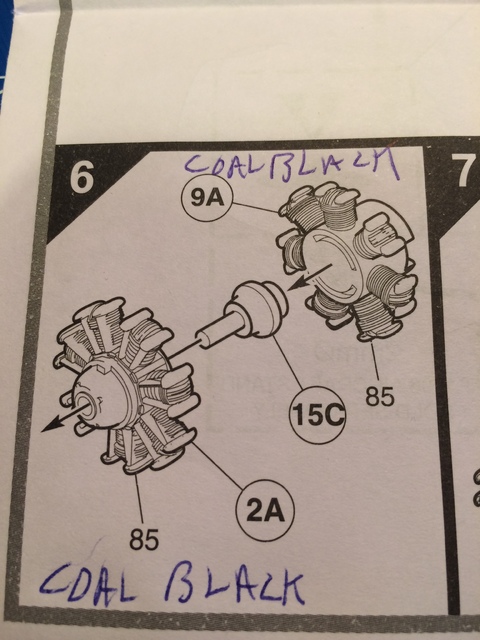
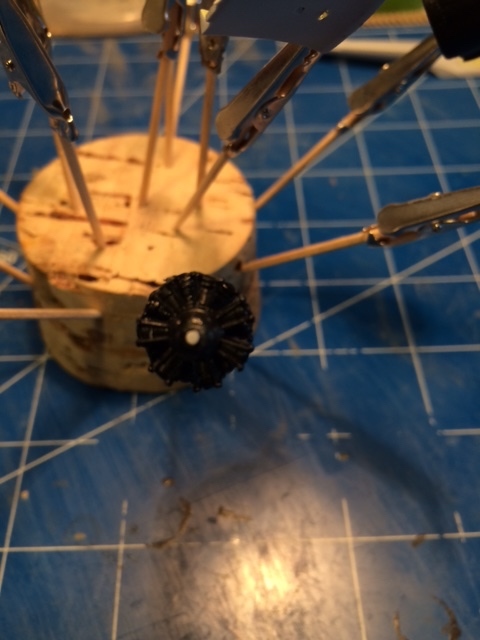
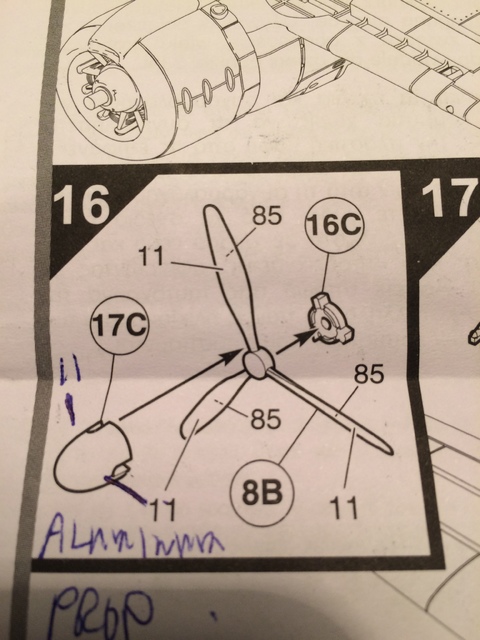
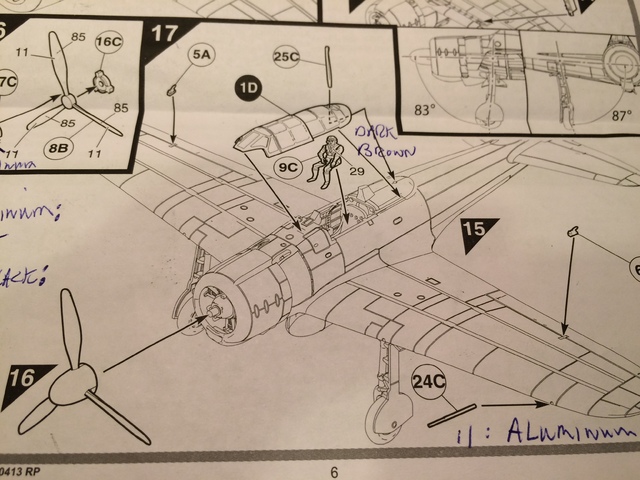
The front of the prop is to be painted Aluminum and backside Coal black as far as the paint guide states.
I may do the decal before putting on prop/canopy/pilot and small parts. I have trouble painting the pilot and canopy lines. practice practice practice
Tora! Tora! Tora! is on TV Whole bunch of Zeros and p-40 and few B-17
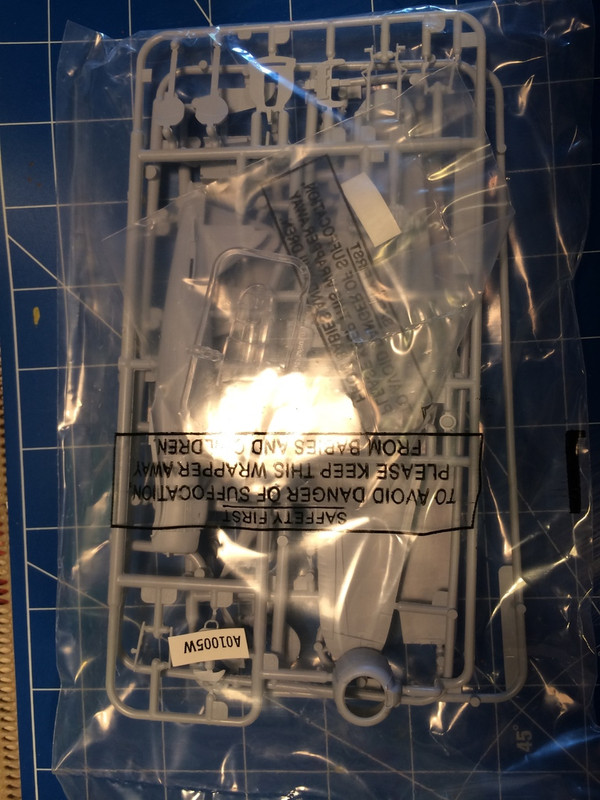
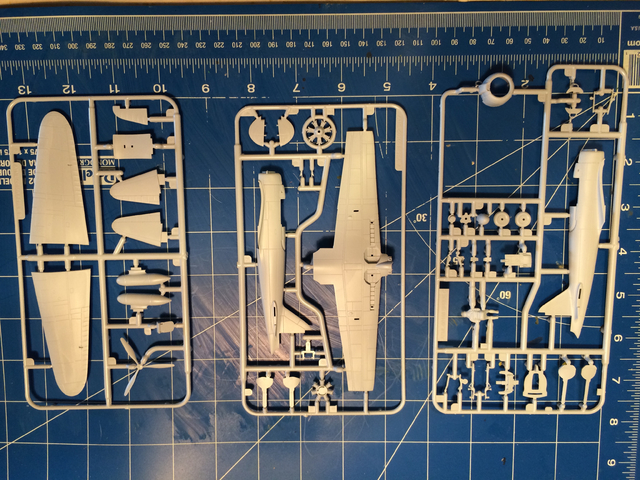
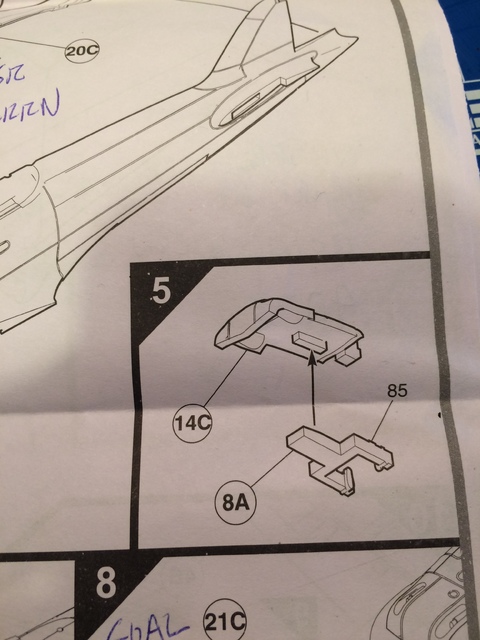
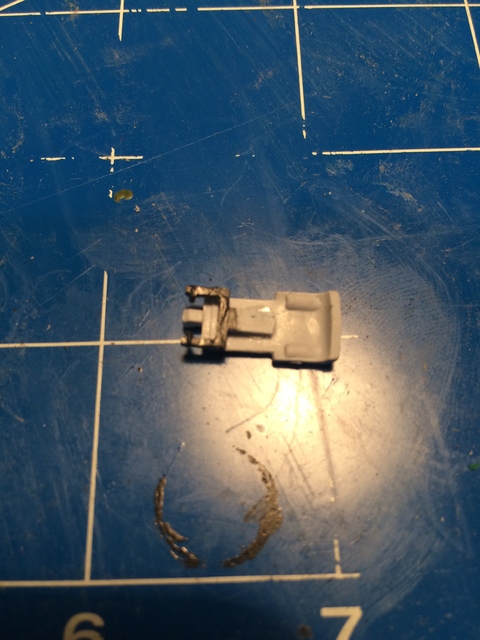
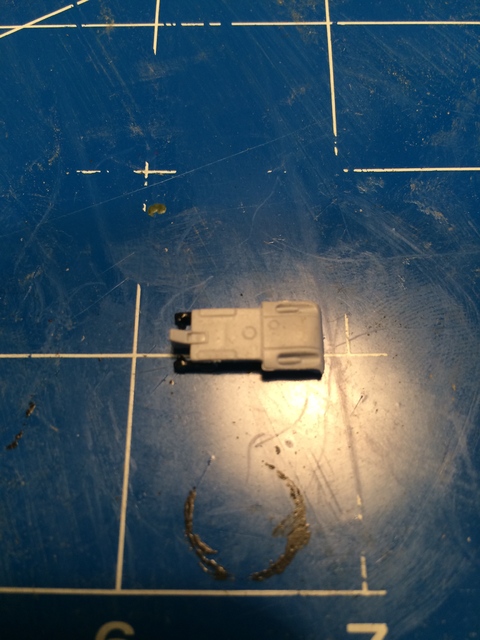
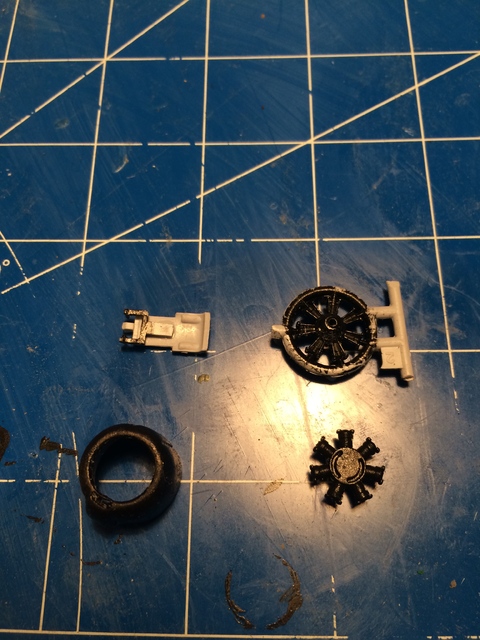
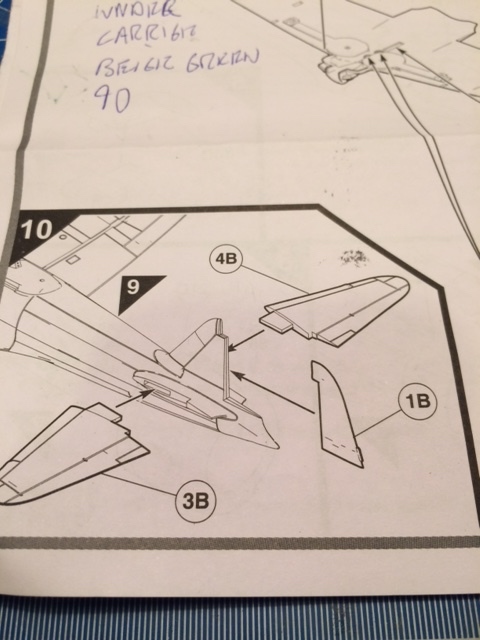
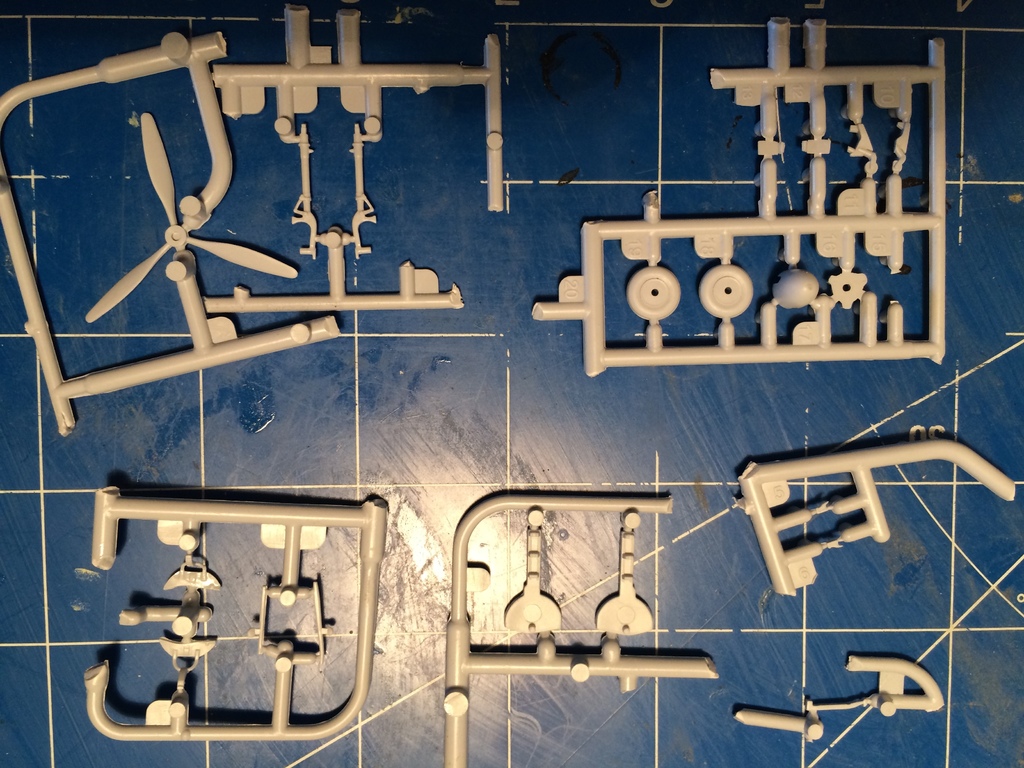
Here are the remaining parts for the final steps:
This are the option step parts: the drop tank, wheels up and wing tip folded. Wish i try to cut slot for drop tank.
Paint guide say to paint the prop the front Aluminum and back Coal black. Is this accurate for the zero??