Page 13 of 30
Re: Michael's Modellers Mucking About
Posted: November 19th, 2017, 5:39 pm
by Michael modeller 48
No worries Shawn, thanks for you help/advice!
Until now I did not have this blistering problem with Tamiya clear and my humbrol enamels.
I might buy a timer/clock for my workbench. I just want to model and get bored waiting
(don’t want to have two build going on when waiting for the paint to dry).
Before the p-40 and Ju-52 my tank when well! A church lady has another kit for me too!
i might do this airplane to reset....
Re: Michael's Modellers Mucking About
Posted: November 22nd, 2017, 2:45 am
by Michael modeller 48
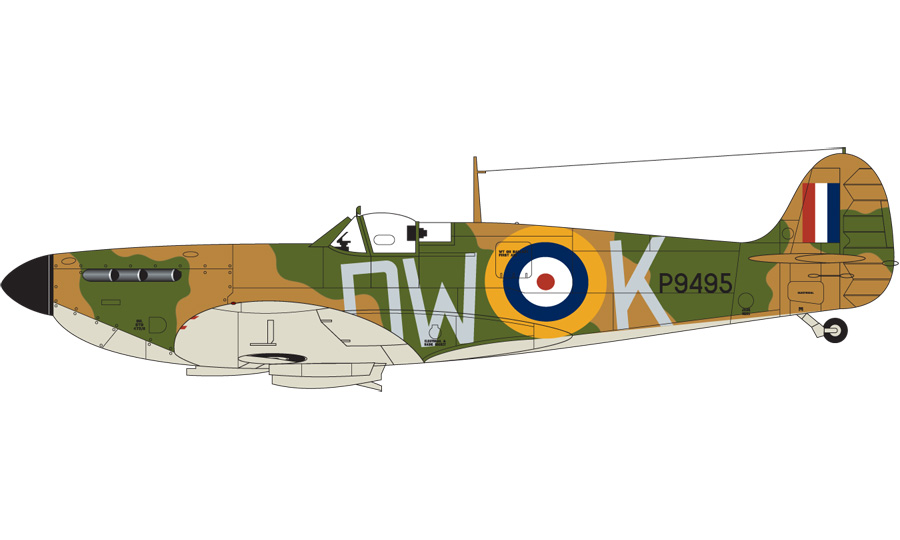
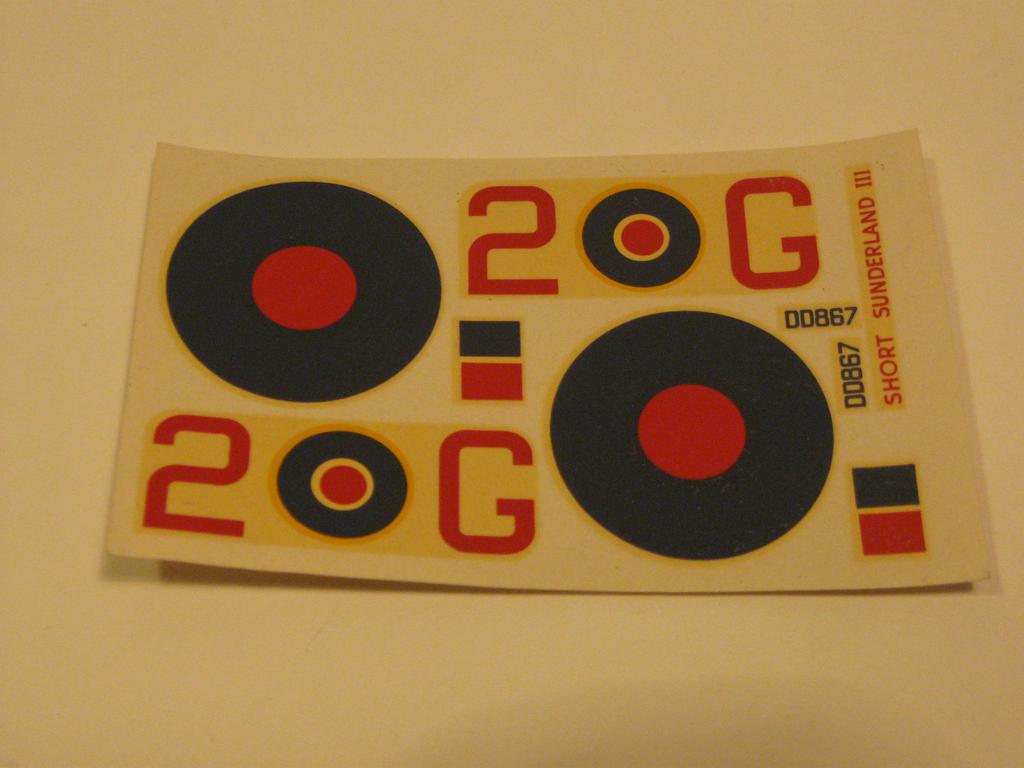
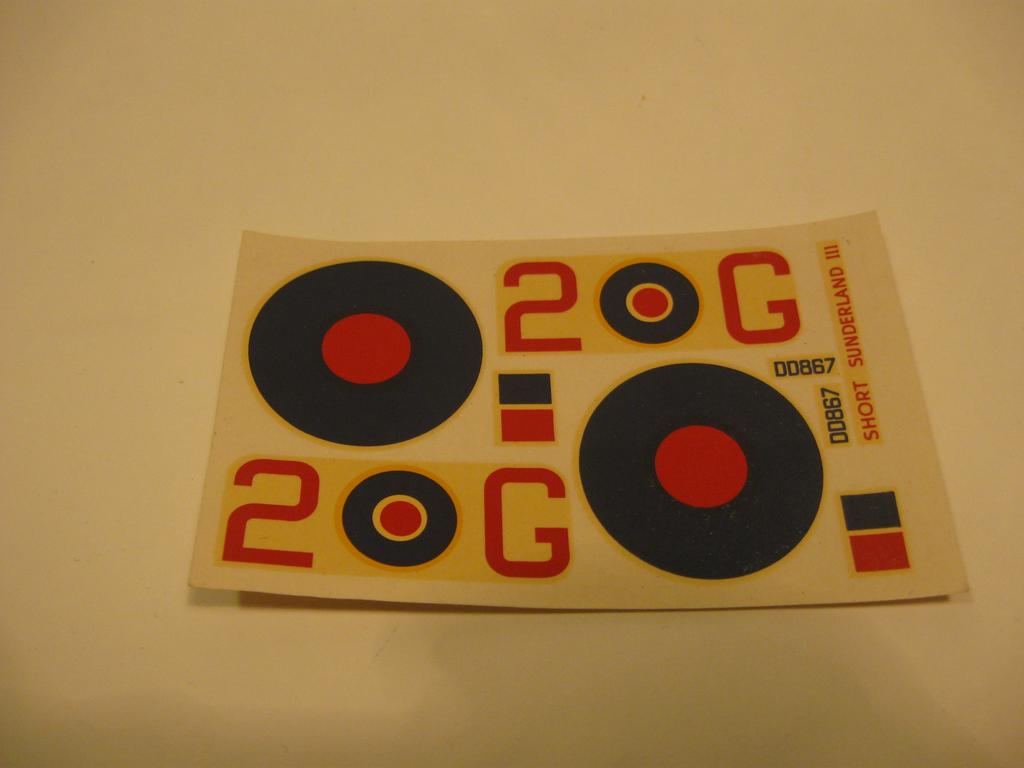
The "new" decals came in the post today, Thanks Darryl.
I am tired from wrenching bicycles at Two Wheel View today but had fun.
I need to apply the decals for the p-40, maybe tomorrow....
Re: Michael's Modellers Mucking About
Posted: November 29th, 2017, 1:06 am
by Michael modeller 48
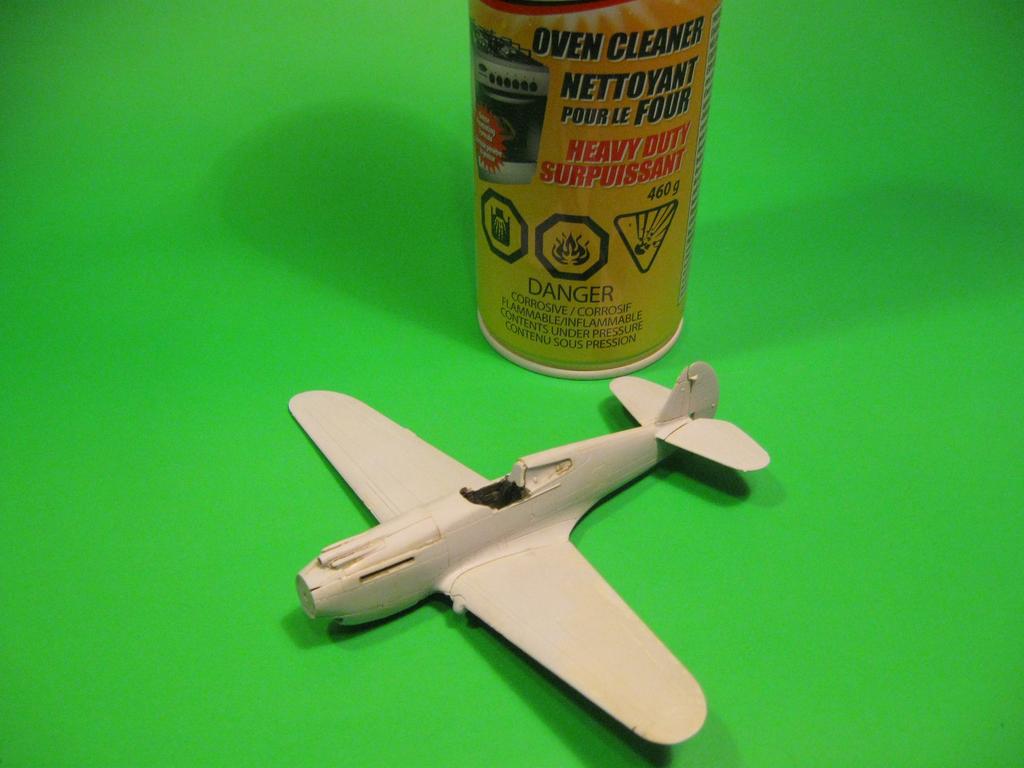
Re: Michael's Modellers Mucking About
Posted: November 29th, 2017, 6:52 am
by Michael modeller 48
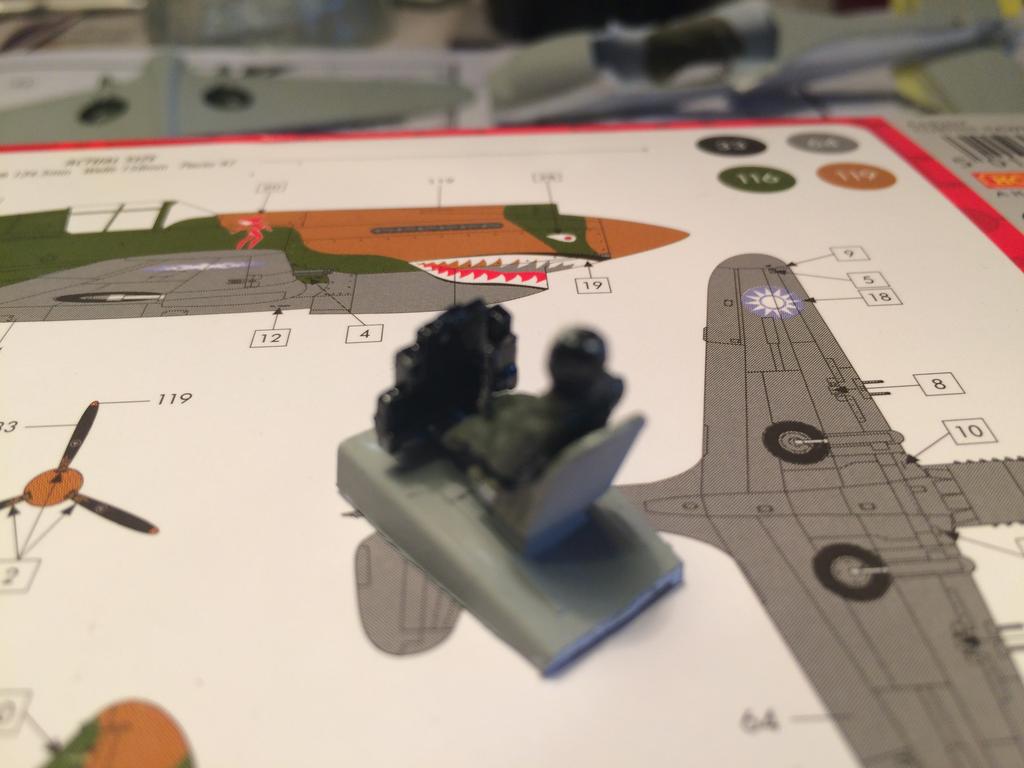
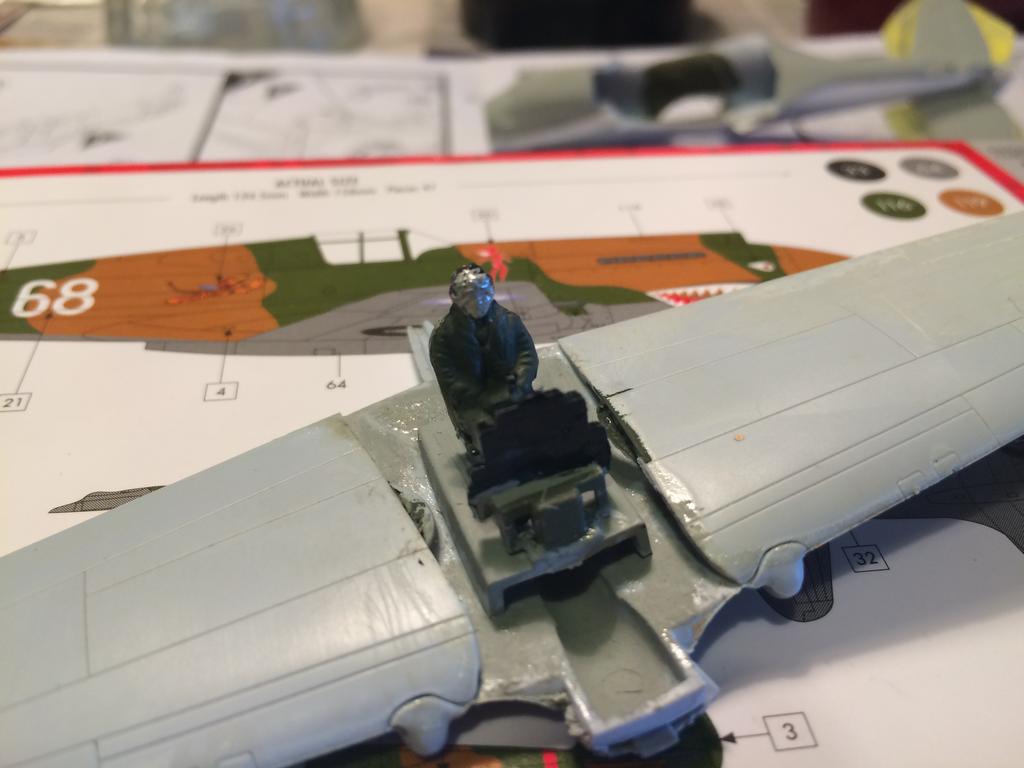
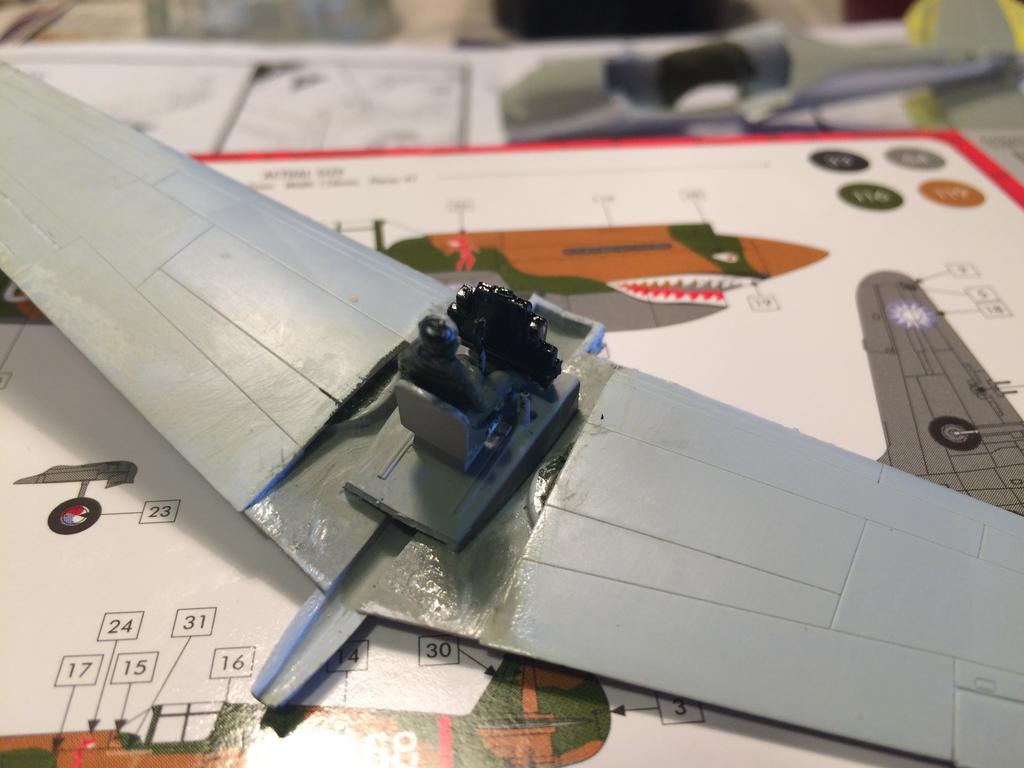
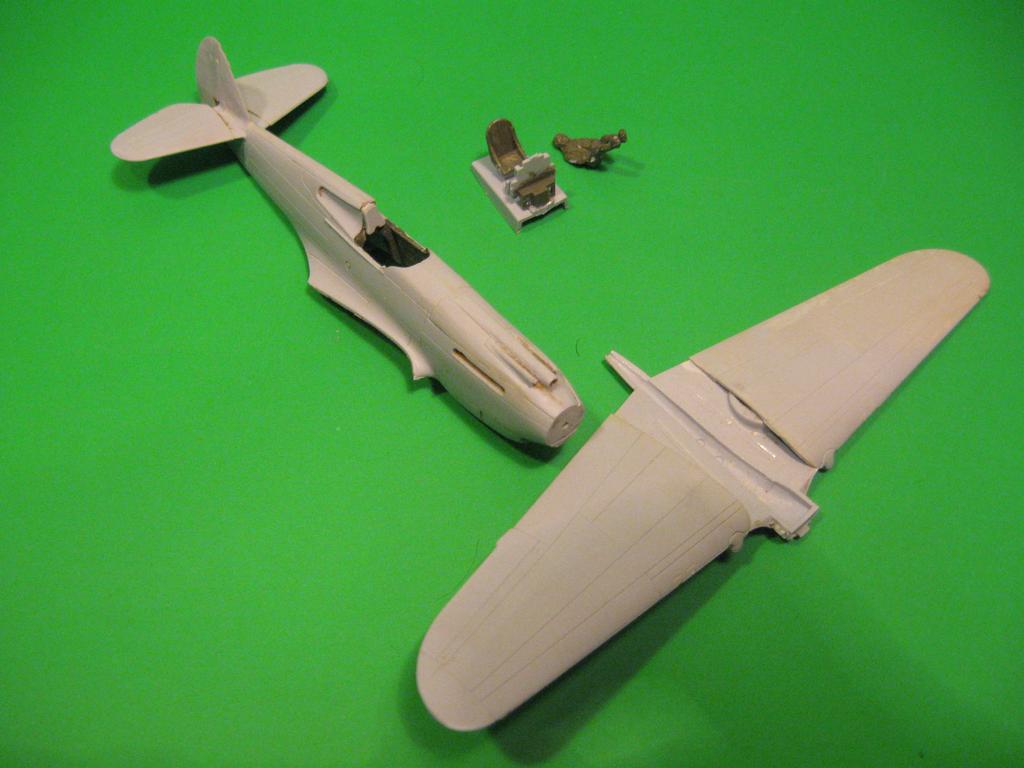
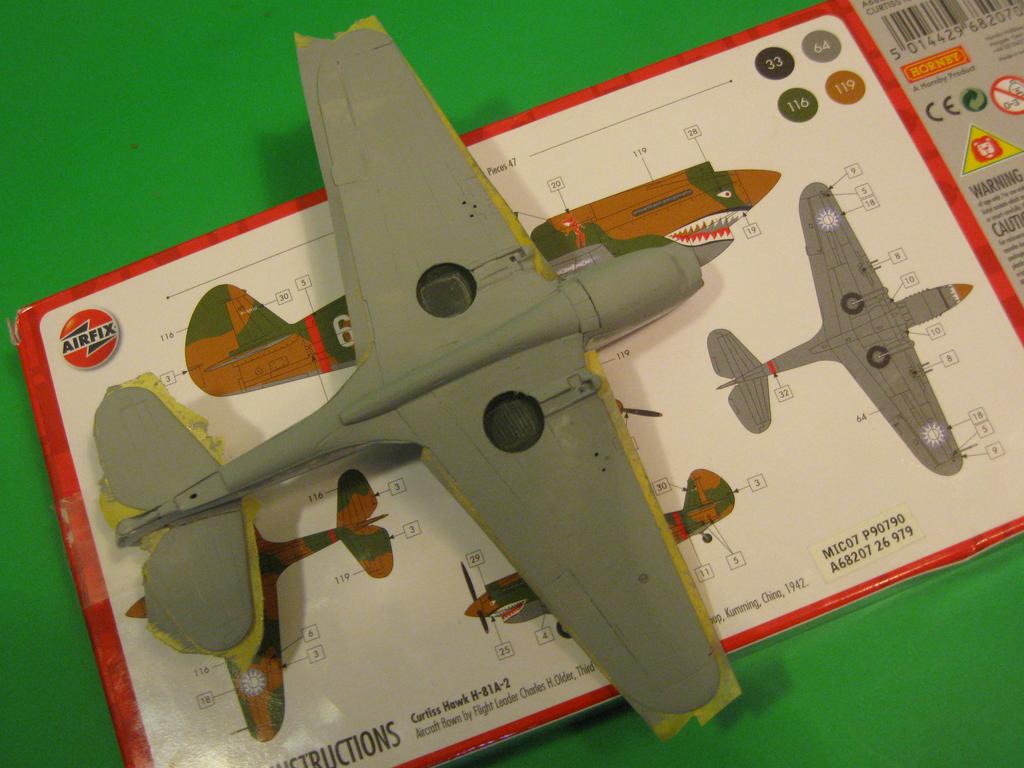
Luckily the oven cleaner loosened the glue that held the wings onto the fuselage as I original forgot the cockpit and pilot.
I plan to finish painting it and installing to the wing and then reassemble the wings and fuselage.
Re: Michael's Modellers Mucking About
Posted: November 29th, 2017, 5:55 pm
by Michael modeller 48
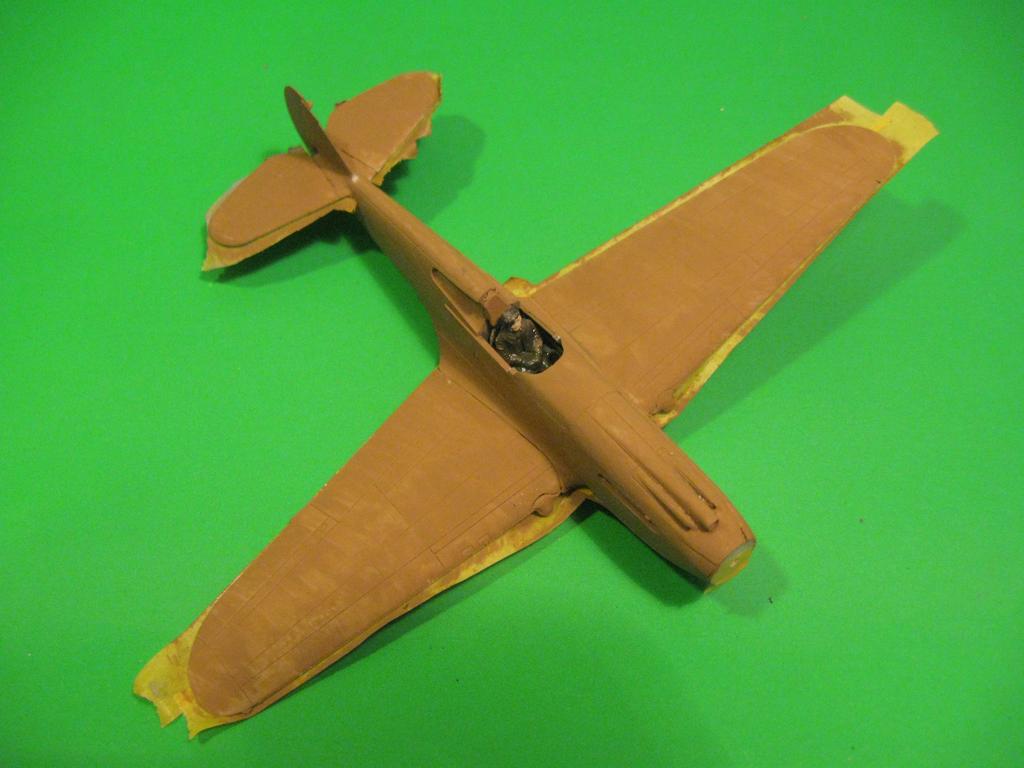
I just painted the wings and underside of the fuselage as the paint is drying for the cockpit and pilot.

Re: Michael's Modellers Mucking About
Posted: November 29th, 2017, 6:20 pm
by Michael modeller 48
Re: Michael's Modellers Mucking About
Posted: November 29th, 2017, 6:25 pm
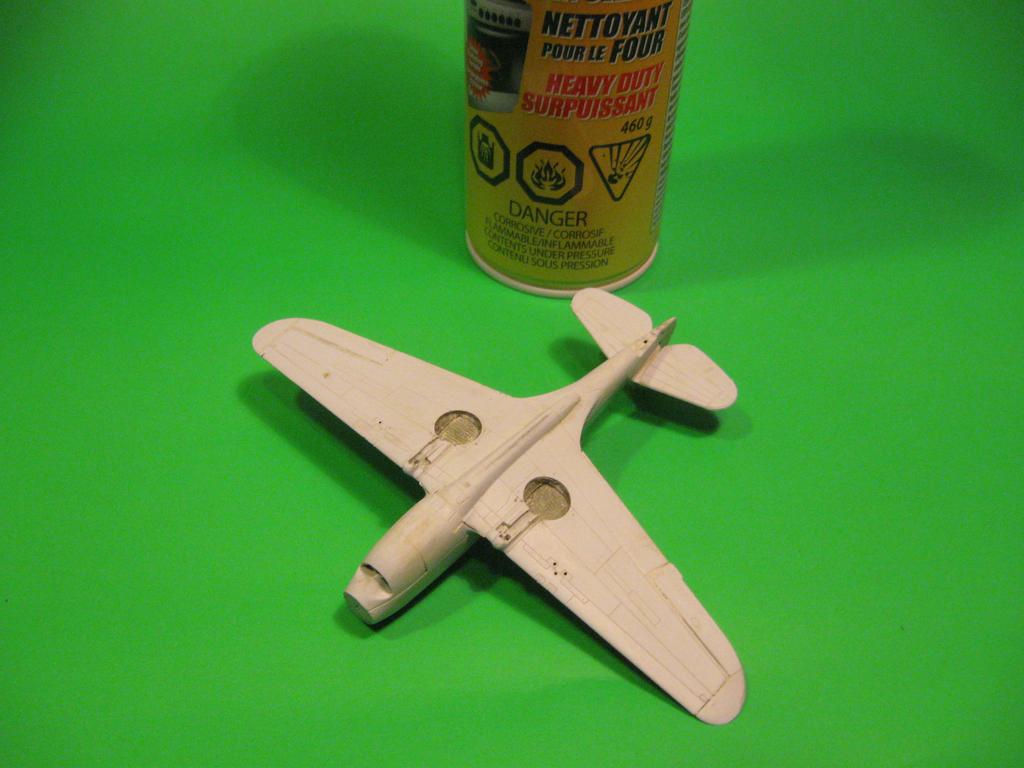
by ShaunW
The oven cleaner certainly cleaned that up, Michael and with the added bonus that the forgotten cockpit and pilot can go in. A win win situation if you ask me

I hope the re-painting is successful for you.
Re: Michael's Modellers Mucking About
Posted: November 30th, 2017, 3:18 am
by Michael modeller 48
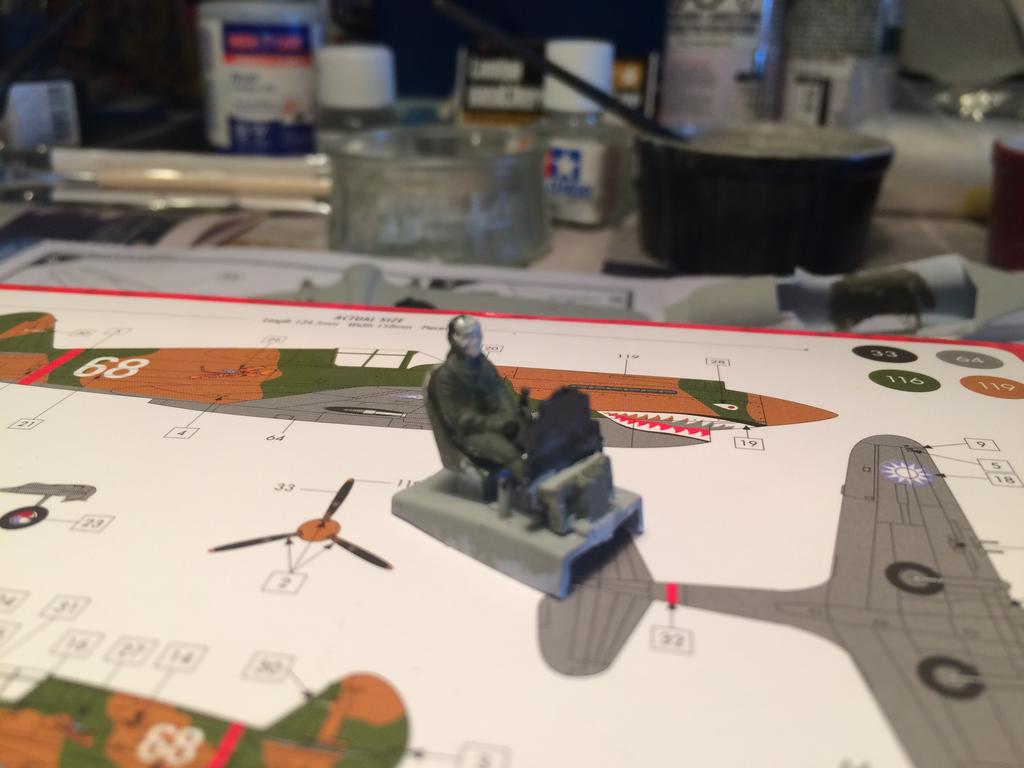
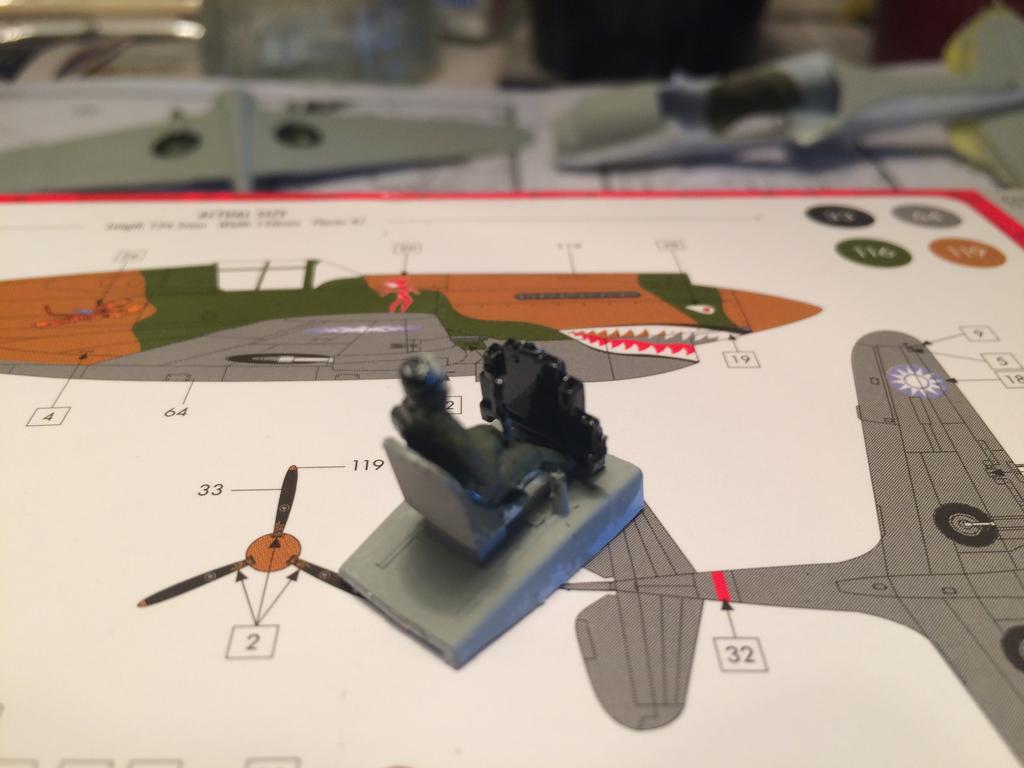
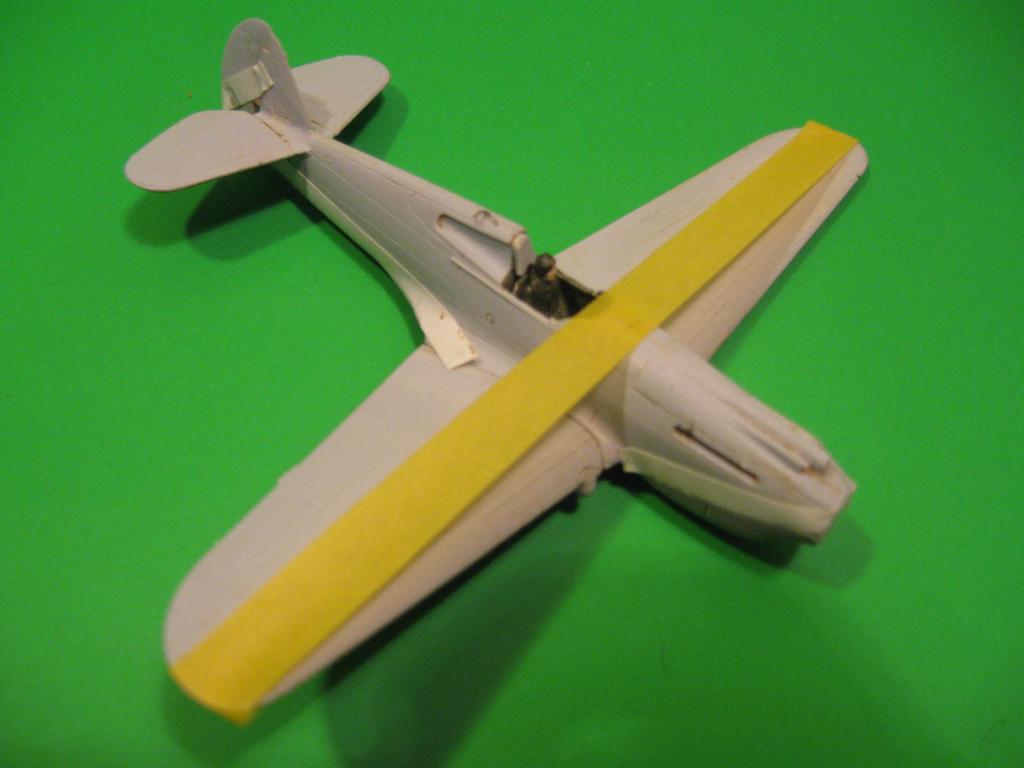
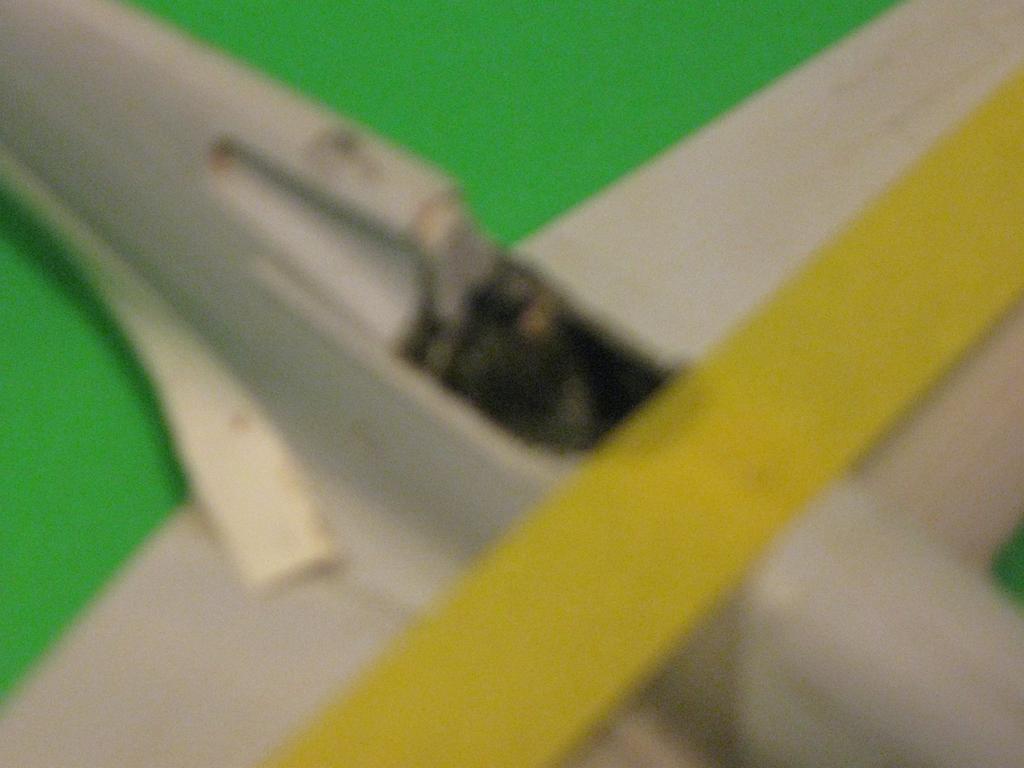
I put on the IP decal and glue the wings onto the fuselage.
I cannot get a good close up picture of the pilot with my camera
I clean up the wheel wells with a q-tip and thinner, the oven cleaner make it easier to clean.
The one coat of grey has dried ok
Re: Michael's Modellers Mucking About
Posted: November 30th, 2017, 10:19 pm
by Michael modeller 48
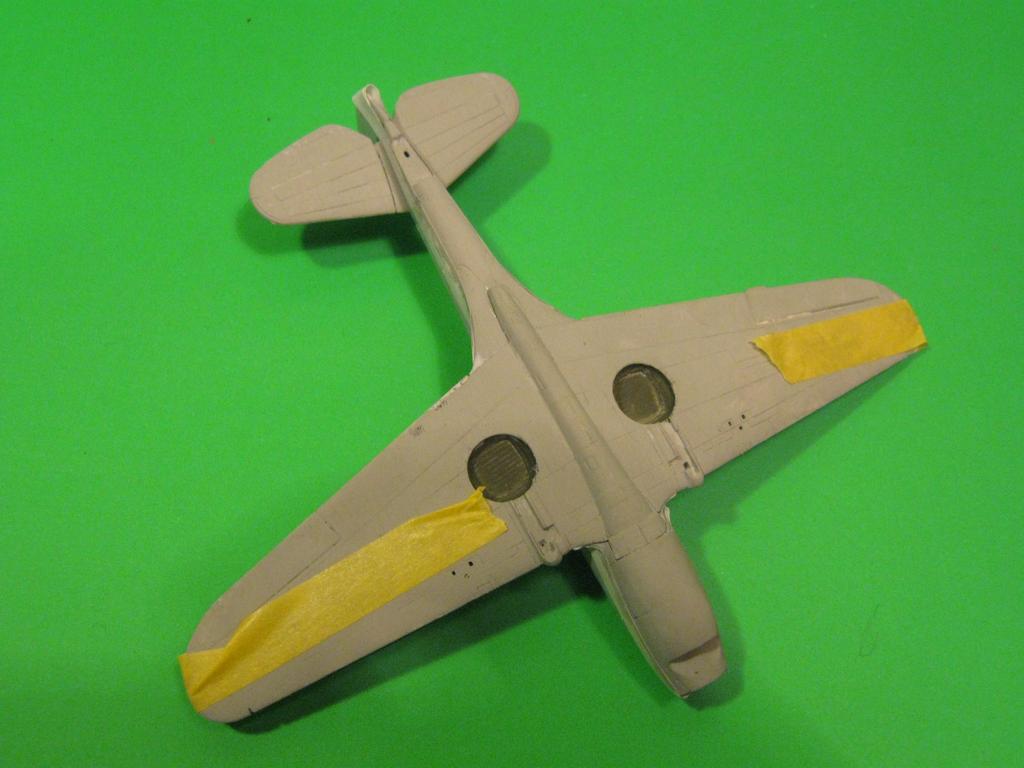
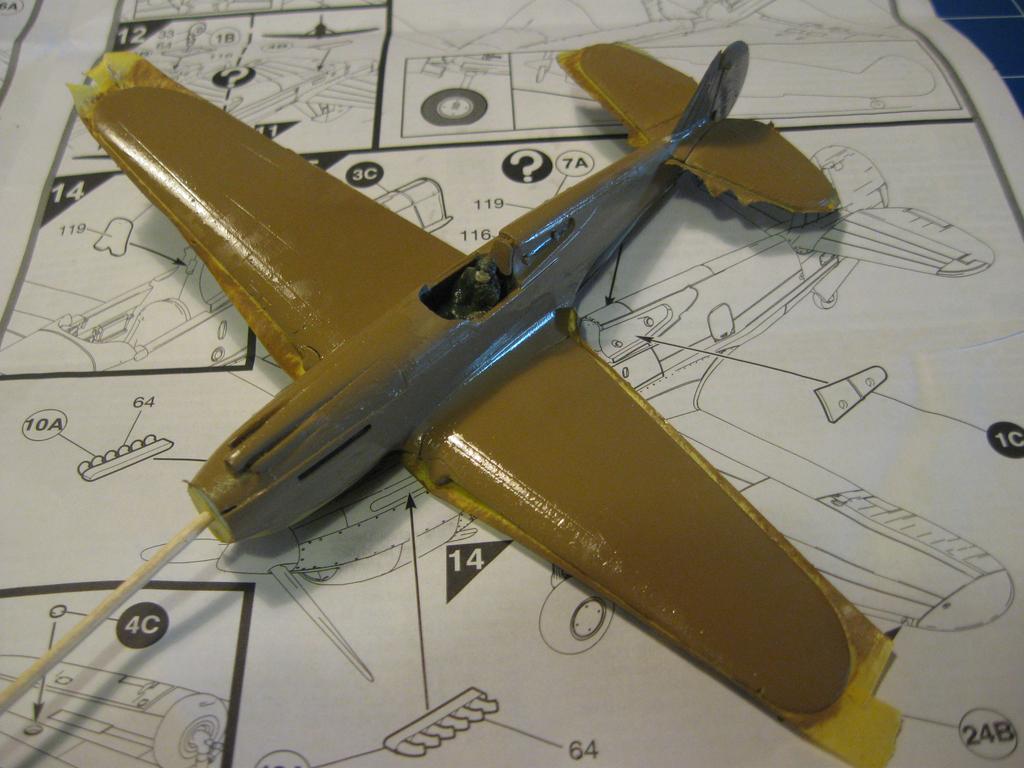
I masked and applied a second thinned down grey paint to underside.
Re: Michael's Modellers Mucking About
Posted: December 1st, 2017, 8:47 am
by Michael modeller 48
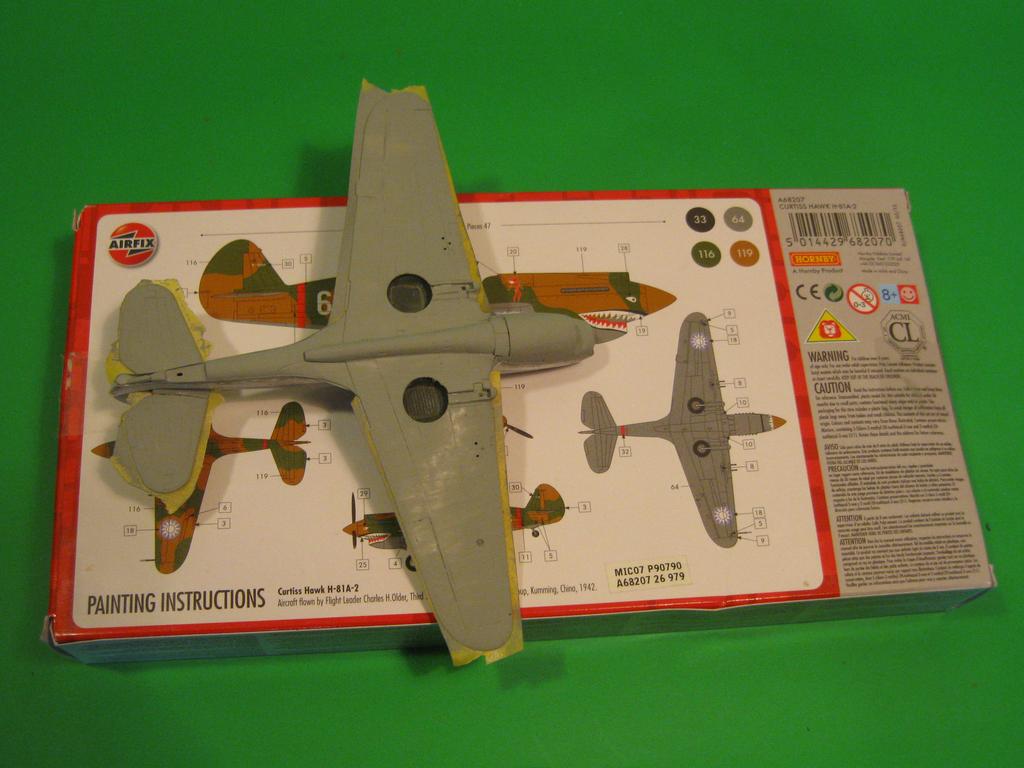
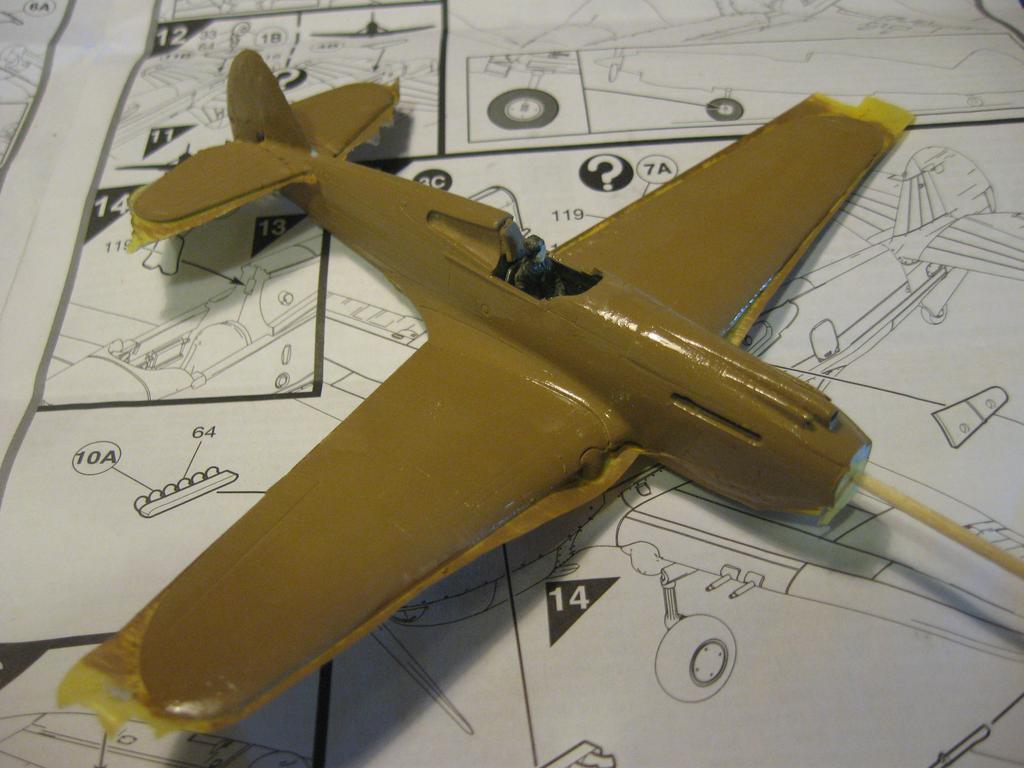
I just masked and painted the topside of the plane brown at 11:45 pm. I will take pictures in twelve hours when the paint is drier. Then add another coat.
I thinned down the paint and used my IKEA milk/paint mixer, it makes it much easier to have well mixed paint and quickly too.
Re: Michael's Modellers Mucking About
Posted: December 1st, 2017, 1:25 pm
by jssel
Two thumbs up
Re: Michael's Modellers Mucking About
Posted: December 1st, 2017, 1:27 pm
by ShaunW
Great stuff, Michael, this model looks like it is now back on track.
Re: Michael's Modellers Mucking About
Posted: December 1st, 2017, 6:15 pm
by Michael modeller 48
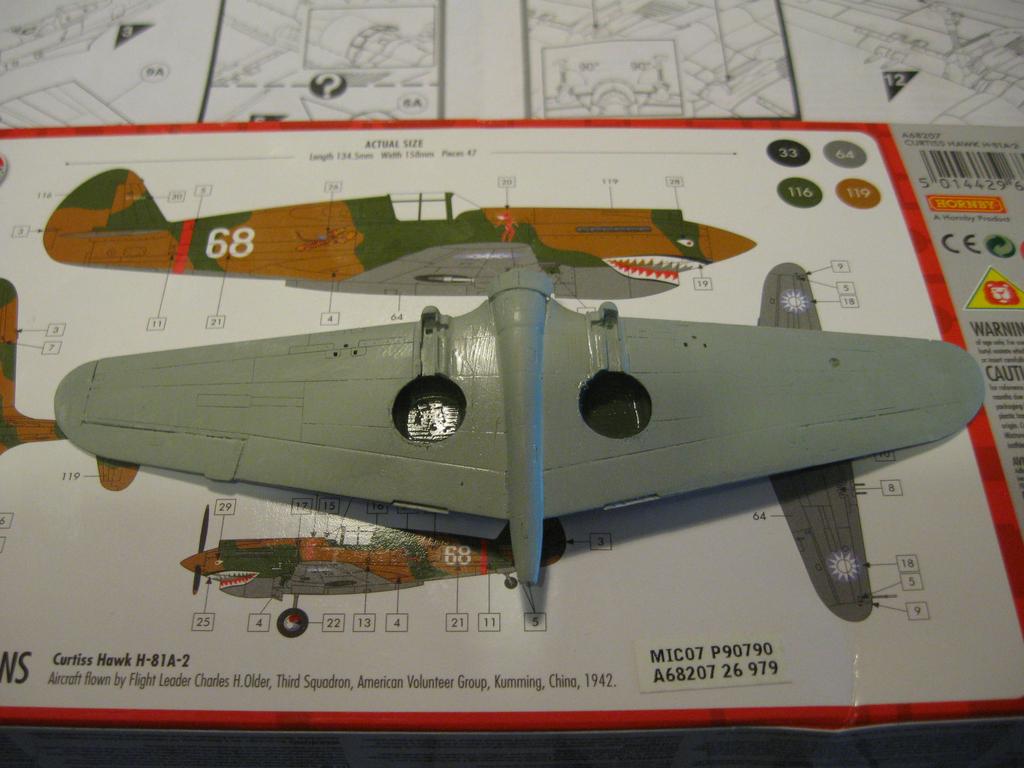
First coat has dried:

Just applied a thinned down Humbrol 116 brown coat of paint:
I looked for my humbrol gloss and matt clear and was not able to find the gloss in the mess which is my modelling table.
I might use Klear or search more for the humbrol gloss...
Re: Michael's Modellers Mucking About
Posted: December 1st, 2017, 6:17 pm
by Michael modeller 48
Thanks Jeff and Shawn, I hope the topside looks OK too?
Re: Michael's Modellers Mucking About
Posted: December 1st, 2017, 6:27 pm
by ShaunW
Looks good to me, Michael