Page 1 of 6
A Builder's Bench - pmmaker's Workbench Window
Posted: October 26th, 2017, 1:35 am
by pmmaker
Re: A Builder's Bench - pmmaker's Workbench Window
Posted: October 26th, 2017, 1:59 am
by pmmaker
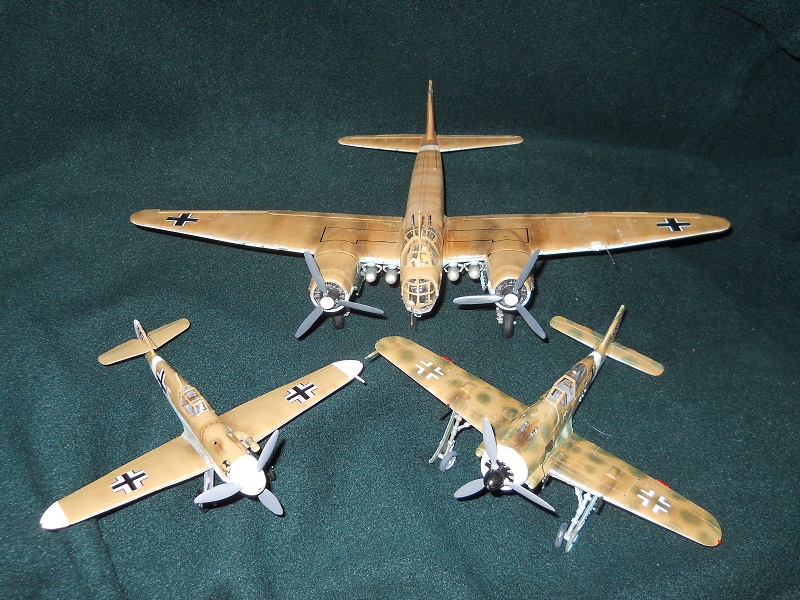
A few of my recently completed Luftwaffe "desert" schemed builds.
An Academy Fw-190 in a "spinach" camouflage. The inspiration coming from Corgi and Dragon Wings who produced die-cast planes in a similar scheme. Mottling was done using green Tamiya pastels randomly applied using a "sponge" brush.
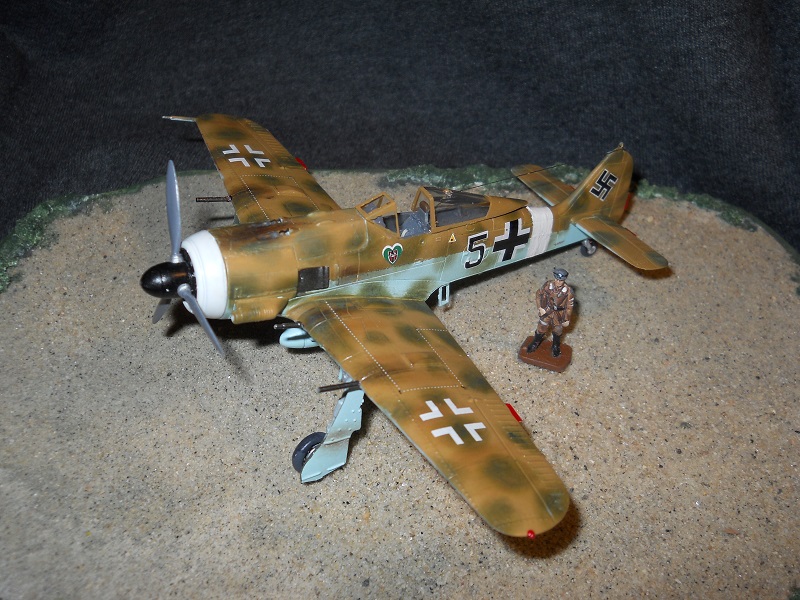
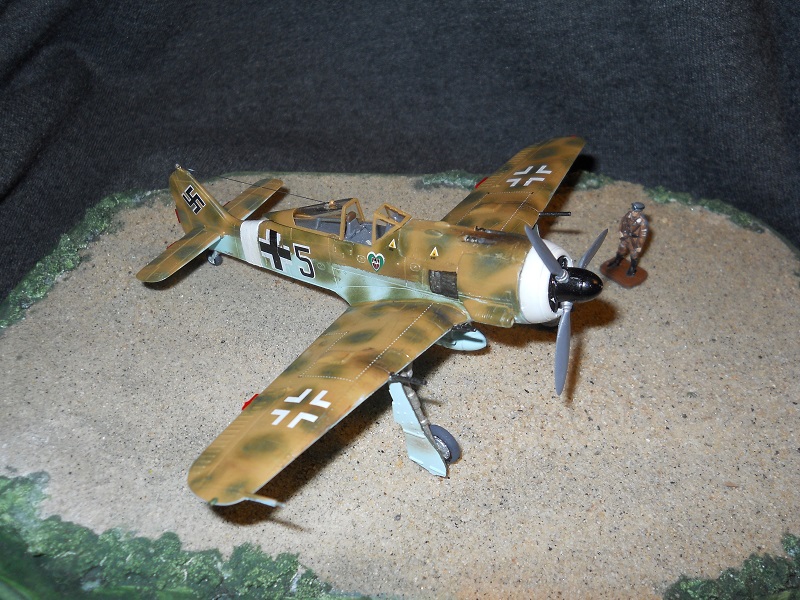
More pictures on this thread
http://uamf.org.uk/viewtopic.php?f=19&t=16231;
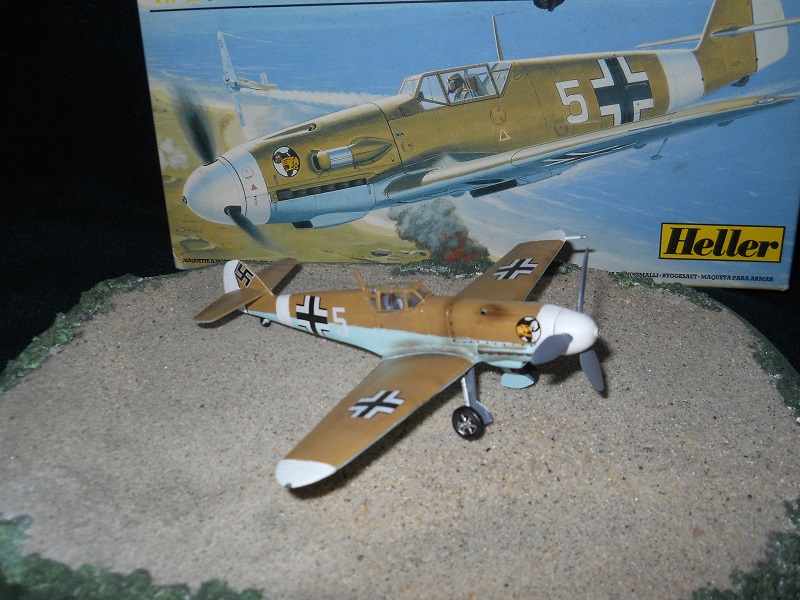
A Heller 1/72nd scale Bf-109F which I'll review at a later time:
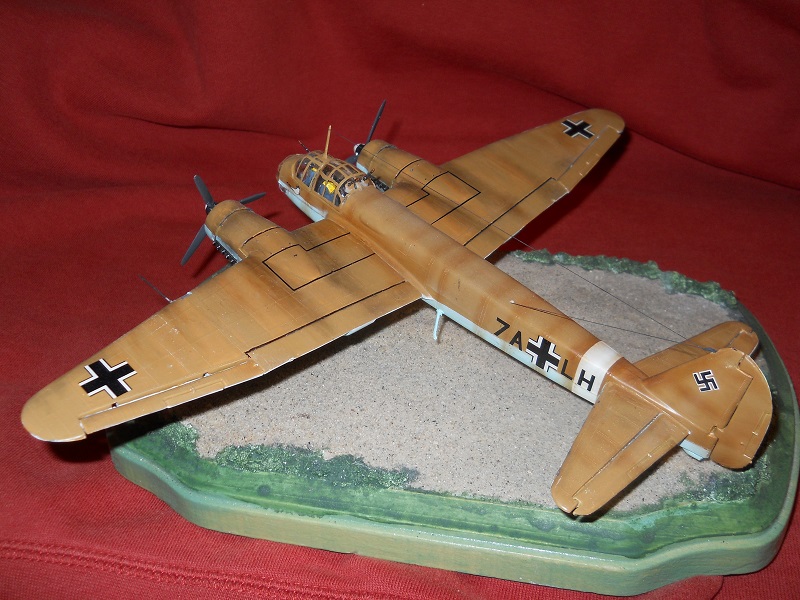
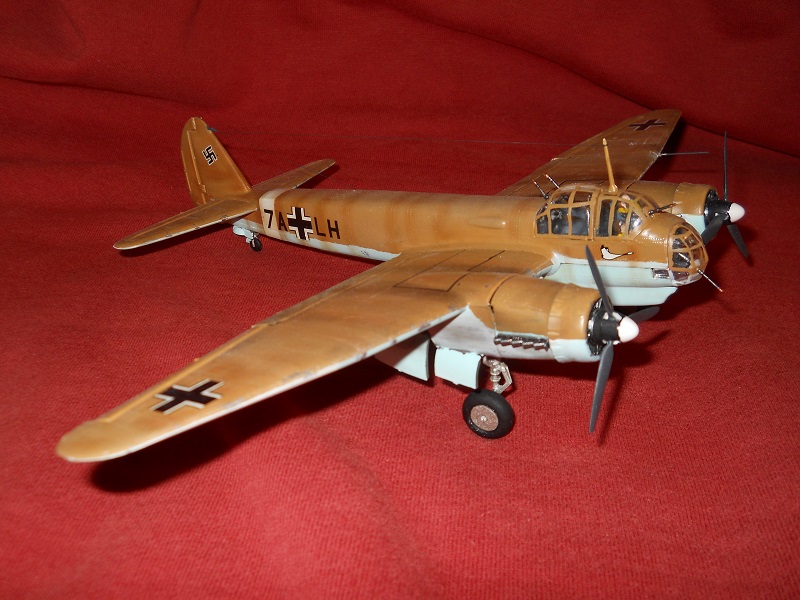
And an old MPC/Airfix Ju 88 A-4 which I hope to also review in the future:
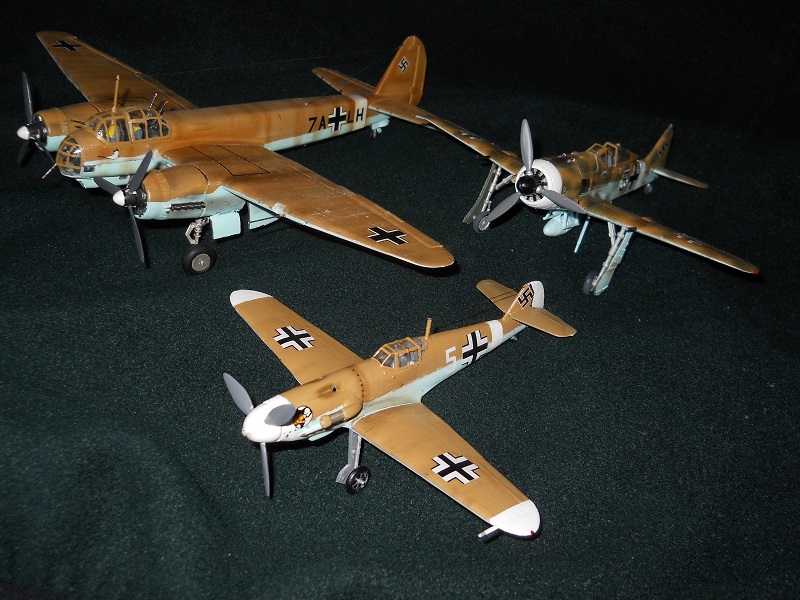
The trio grouped together make an interesting display:
Re: A Builder's Bench - pmmaker's Workbench Window
Posted: October 26th, 2017, 9:17 am
by Clashcityrocker
Excellent desert trio.
Nigel
Re: A Builder's Bench - pmmaker's Workbench Window
Posted: October 26th, 2017, 10:38 am
by pmmaker
Thank you Nigel.
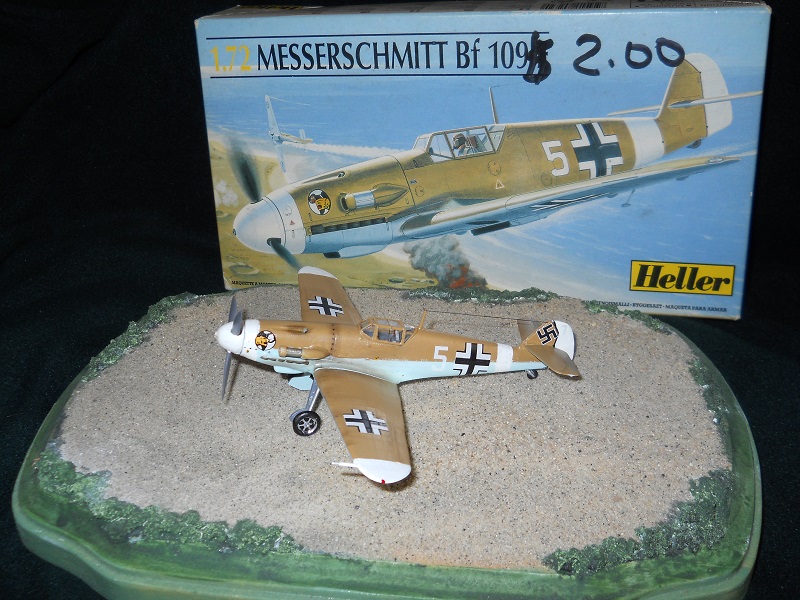
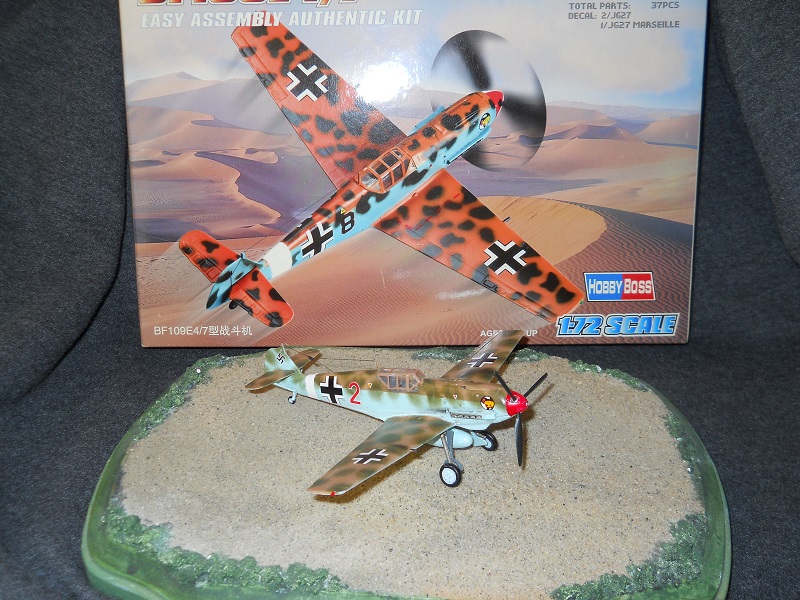
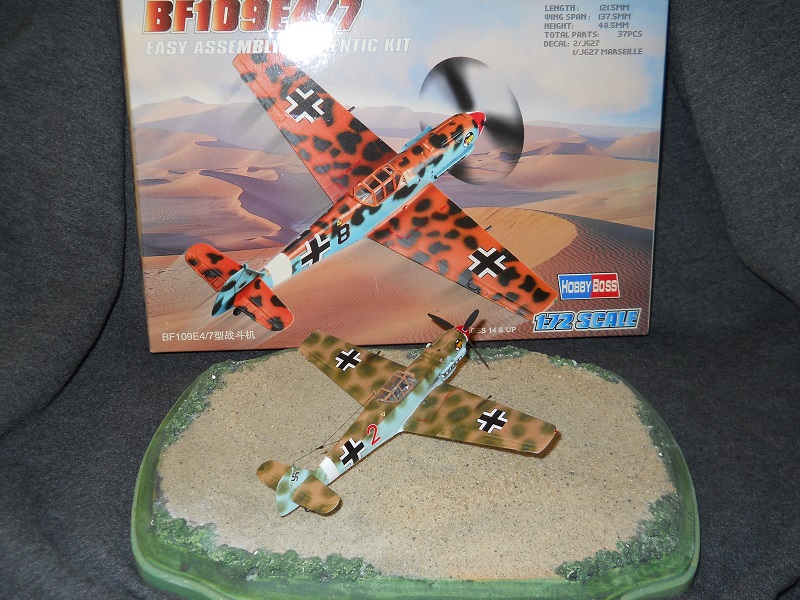
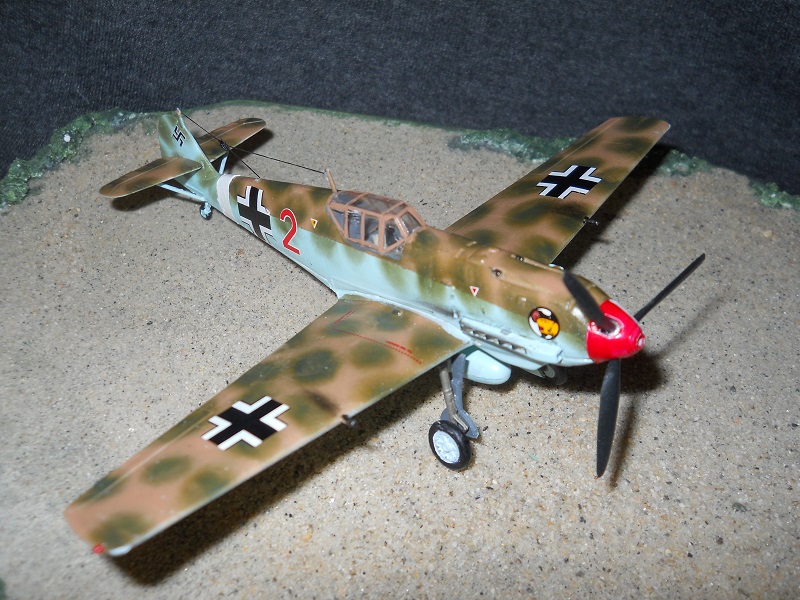
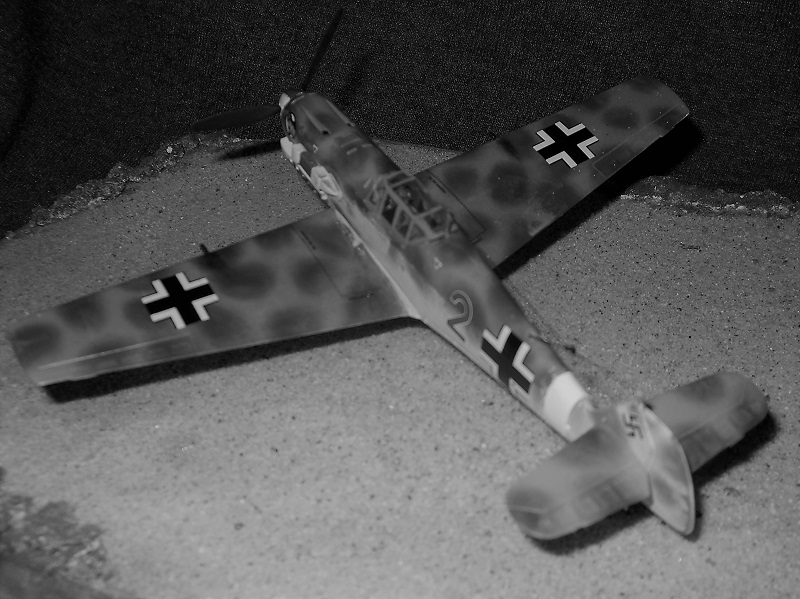
Another in my "desert" theme is this nice little Bf-109E kit by Hobby Boss.
I had started this one last summer but I lost interest and it sat around gathering dust for months. Having to clear off the workbench got my creative juices flowing, so I spent a few hours getting this one finally done. Not a professional build, but still not a bad effort.
I like the Hobby Boss philosophy of having pre-built components. These go together rather nicely and offer us a "quick" build opportunity.These kits are partially "pre-assembled" with the wings and fuselages being molded as single pieces. The build was straight forward and rather easy which allowed me to focus on the part of building a kit I love best; painting and decaling. I was able to practice my Tamiya pastel "mottling" technique to get the effect I wanted. Camouflage was done using Tamiya "green" pastel dabbed over a RLM "desert sand" base coat. Decals were from the kit except the Red "2" which was taken off a spare kit's sheet. A coat of flat Krylon was applied to dull the finish.
pmmaker
Re: A Builder's Bench - pmmaker's Workbench Window
Posted: October 26th, 2017, 9:15 pm
by pmmaker
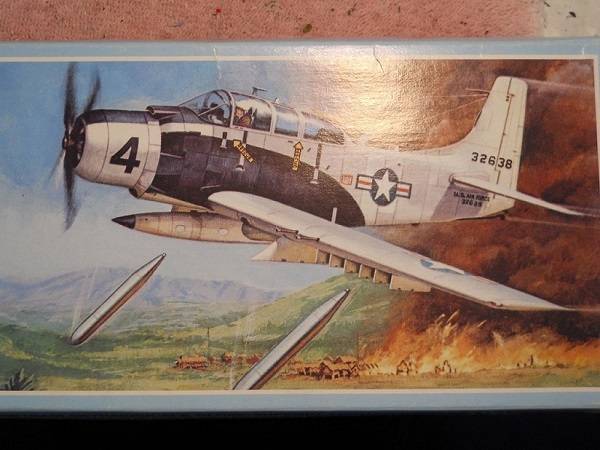
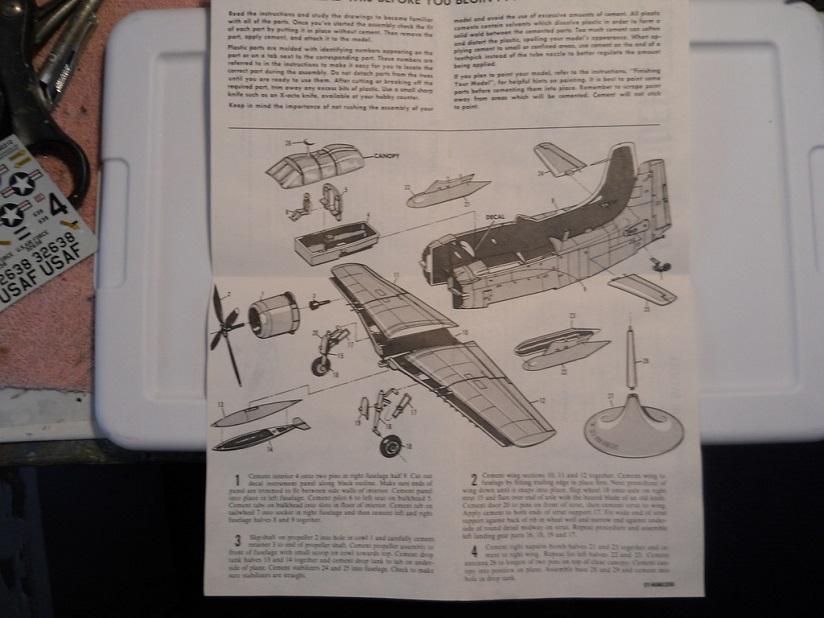
A nostalgia build of a kit I built a long time ago in my late teens - the A-1E Multi-seat Skyraider. I bought this same kit at my local drug store and built it in a matter of hours back then. This one will take a bit longer as I want it to look good. I will not be doing any modifications to the base kit as I want it built pretty much as a stock kit straight out of the box.
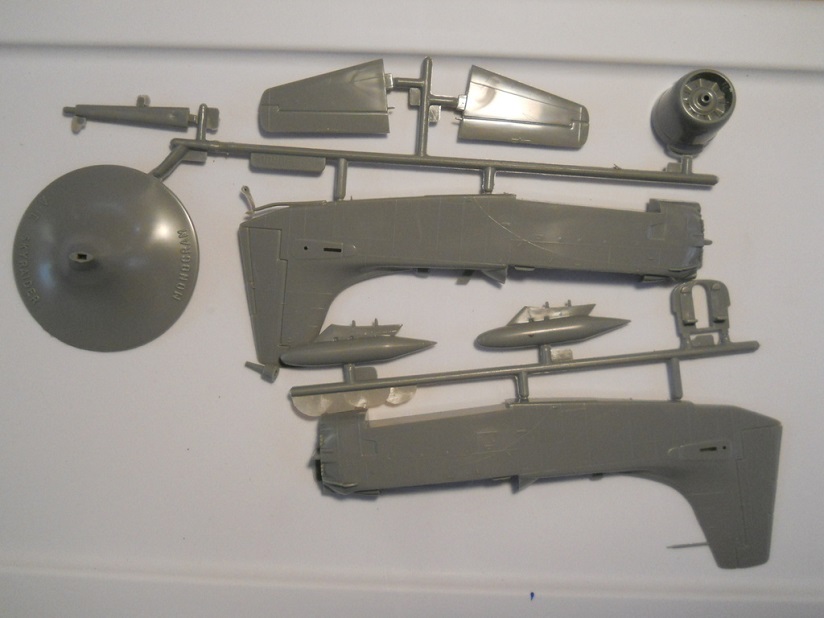
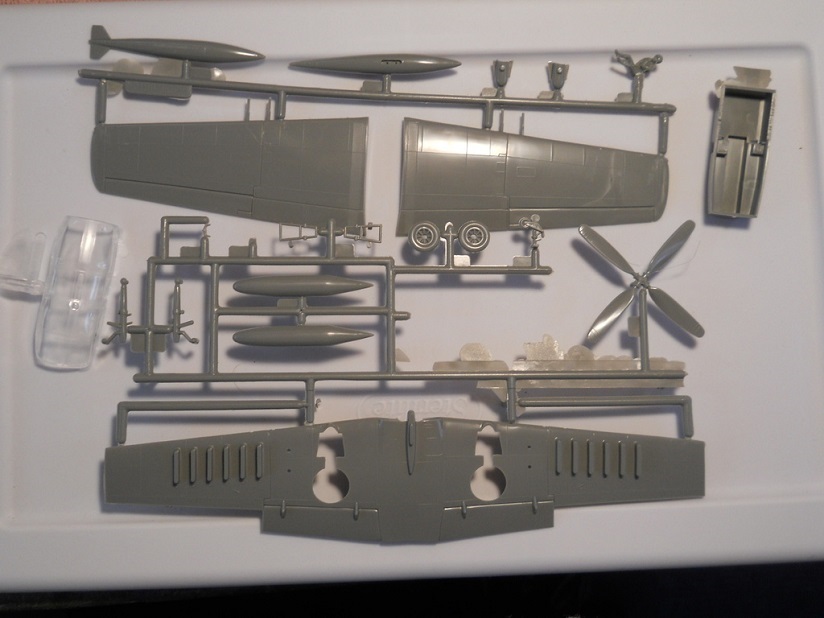
The kit consists of two trees of basic parts, a simple decal sheet, and rather simple instructions.
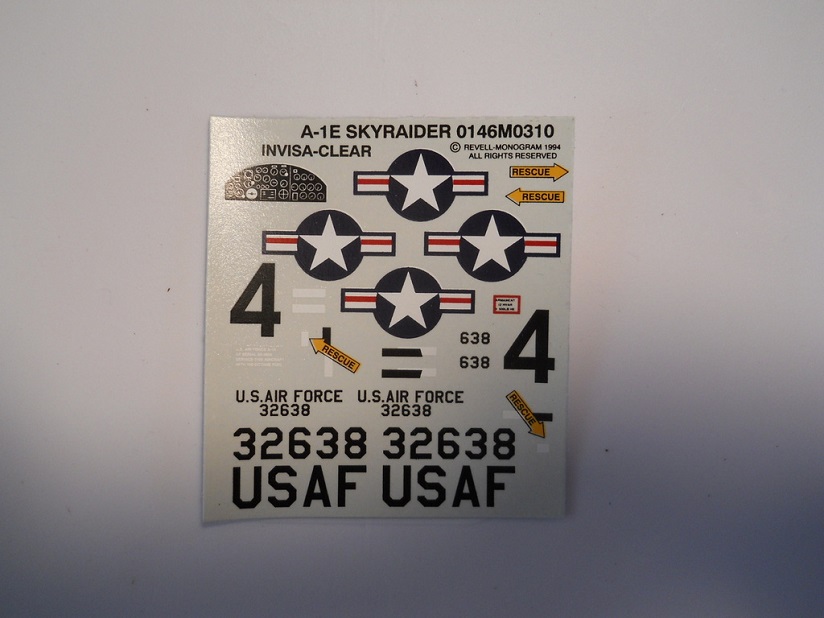
This should not be too much trouble to build as the scheme I want to represent is the one on the box.
pmmaker
Re: A Builder's Bench - pmmaker's Workbench Window
Posted: October 26th, 2017, 10:09 pm
by Gregers
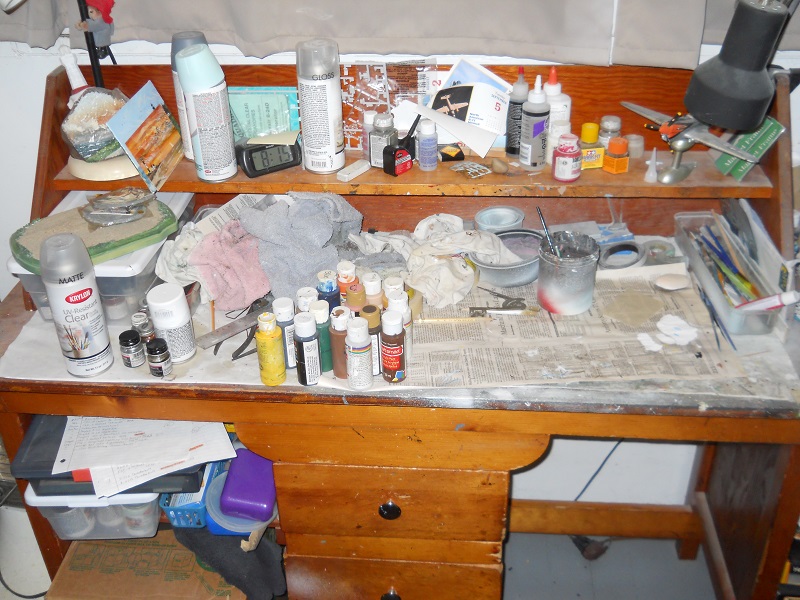
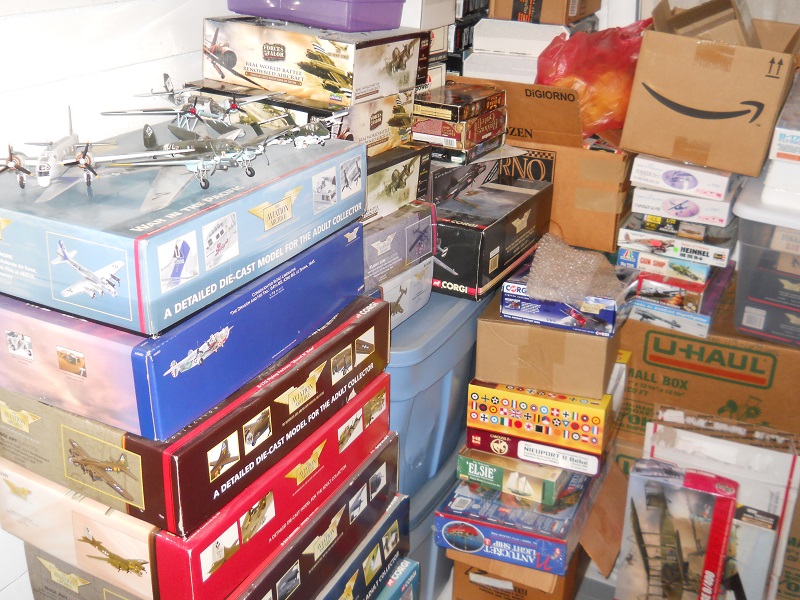
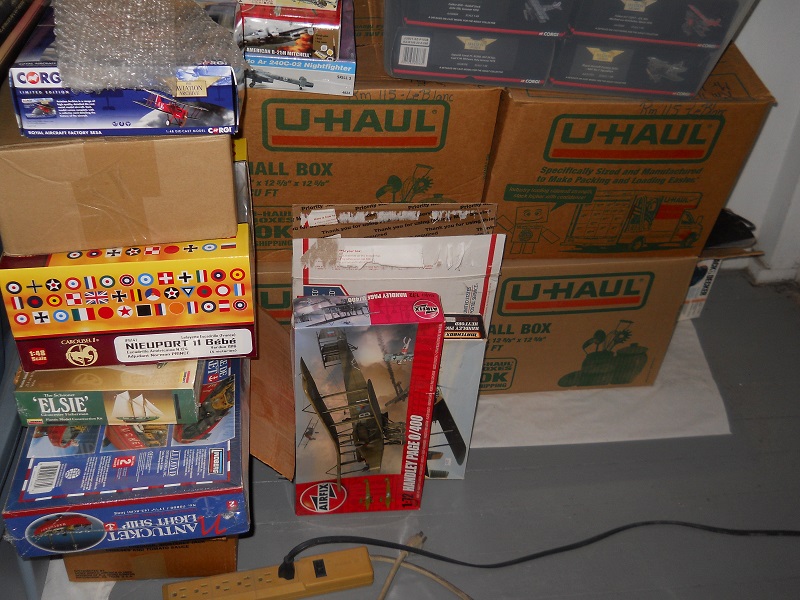
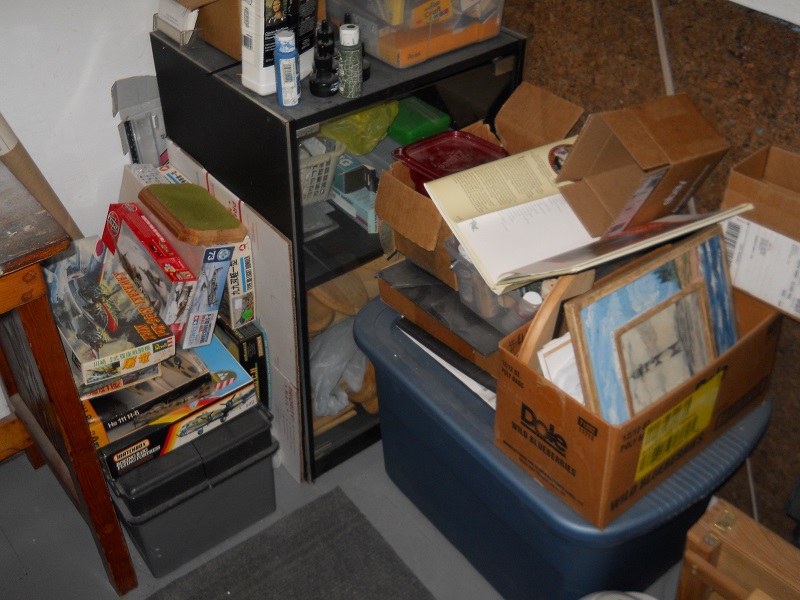
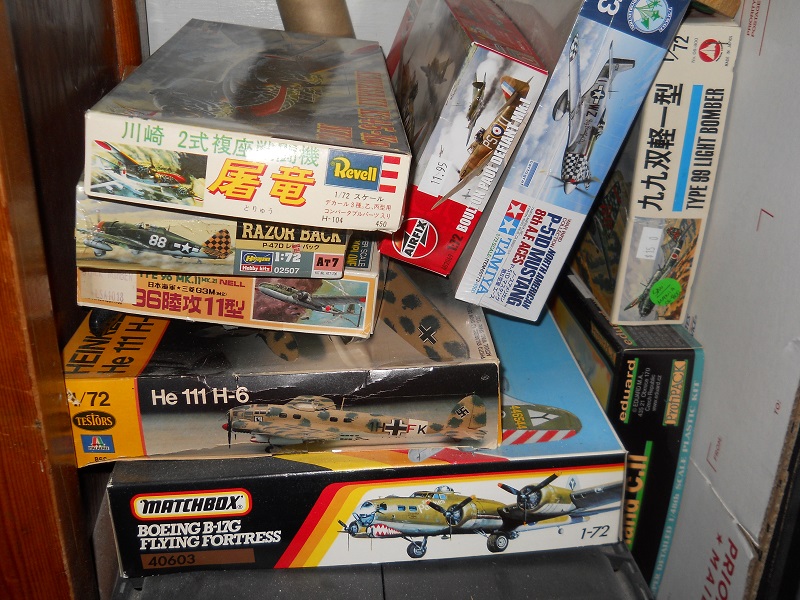
A nice busy workbench. Plenty of plastic to go at too. Sweet. I noticed a nice stack of diecasts too.
Loking forward to following the skyraider build.
All the best.
Greg
Re: A Builder's Bench - pmmaker's Workbench Window
Posted: October 27th, 2017, 10:39 am
by pmmaker
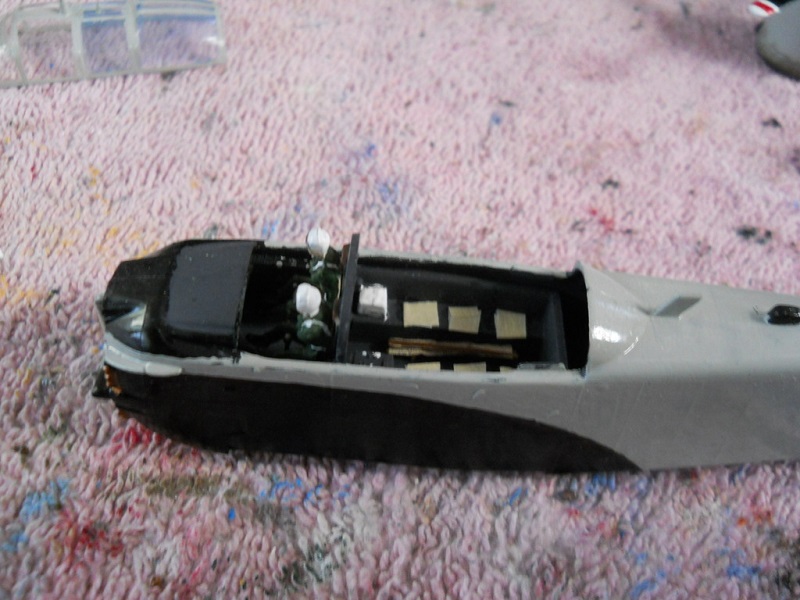
Started some light work yesterday. I started by painting the interior fuselage sides and the cockpit a dark gunship gray.
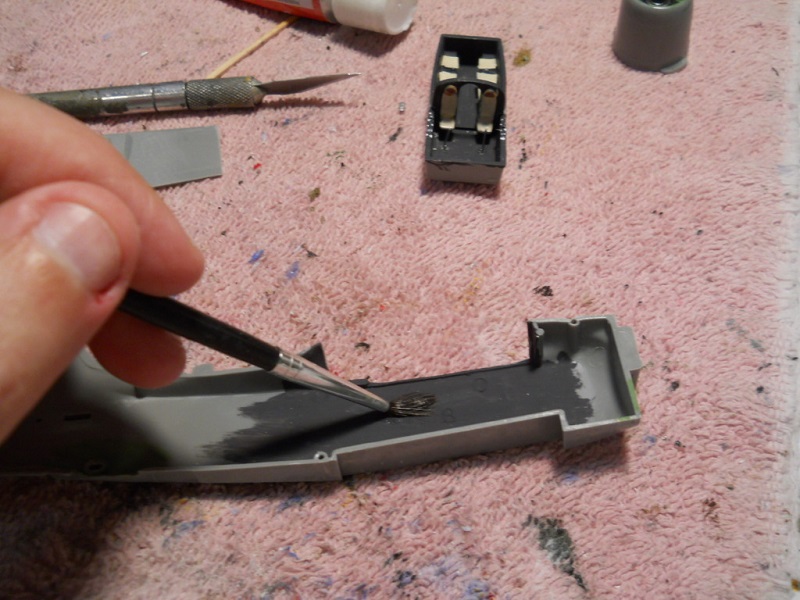
Then I started detailing the cockpit. I painted the flight crew seats, side consoles, and added the seat cushions in the rear section of the cockpit. I added two control sticks to the cockpit as well.

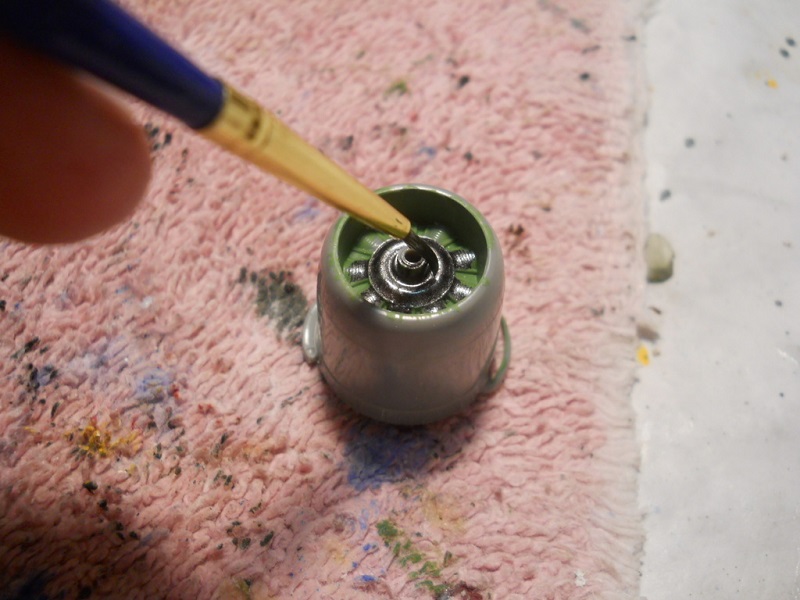
I also painted the inner engine cowling a zinc chromate green and then used gunmetal to paint the radial engine.
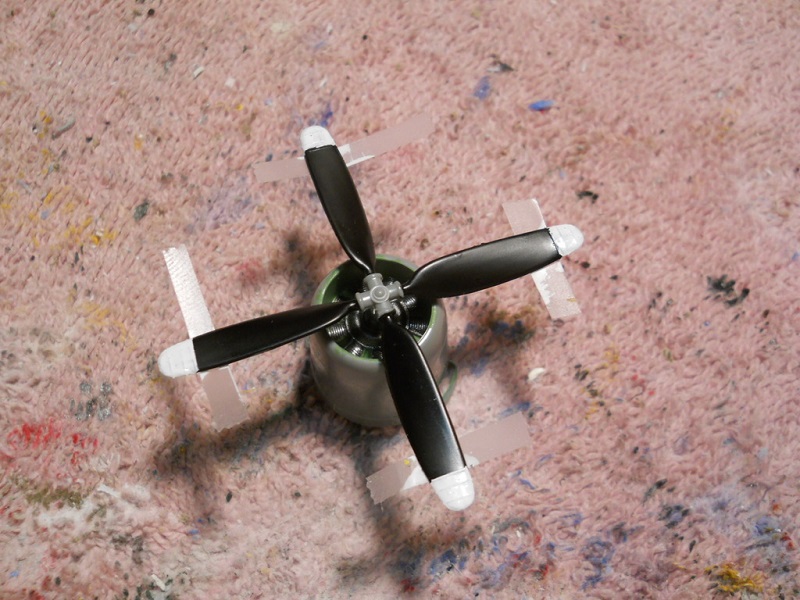
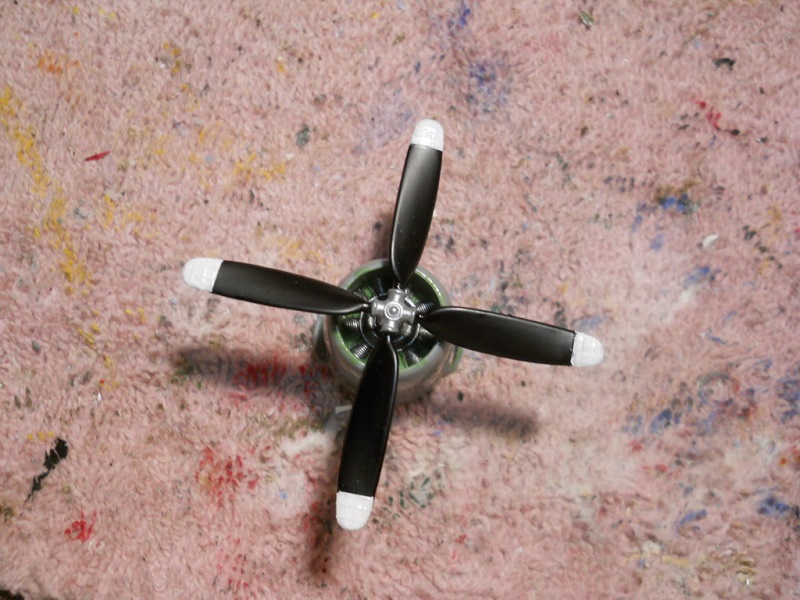
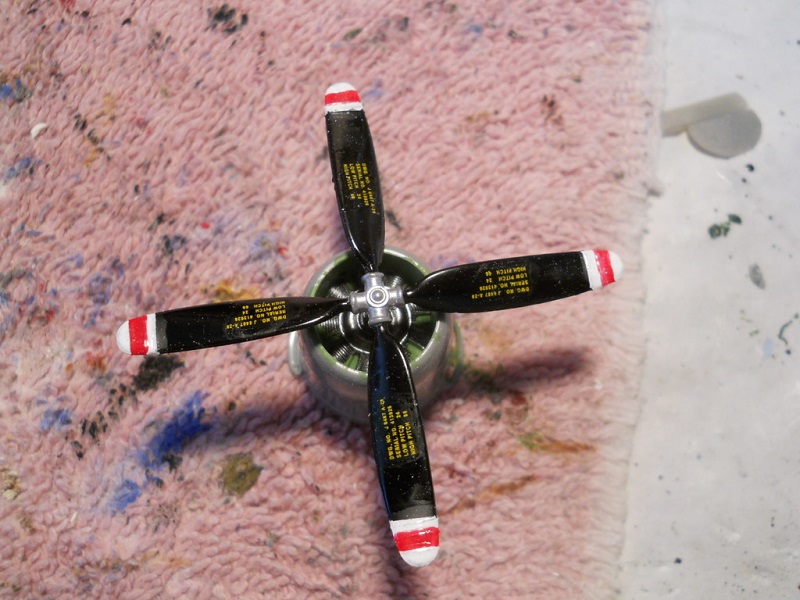
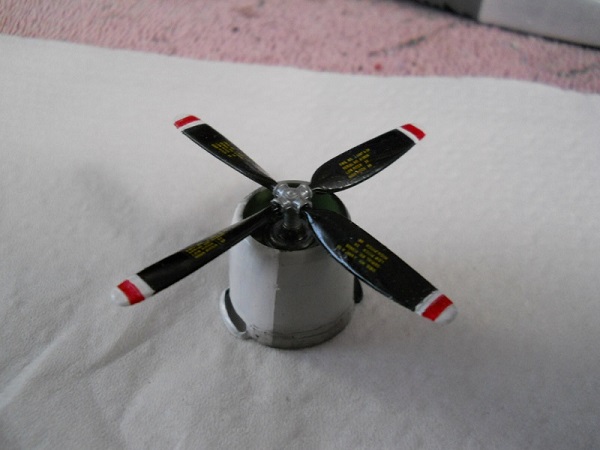
In addition I worked on the propeller. I painted the hub silver and for the blades I used Tamiya semi-gloss black. Then I masked the white tips and painted them white and red. Lastly I added some stenciling to each blade and set the propeller aside to dry.
Hopefully more will be done tonight and over the weekend.
pmmaker
Re: A Builder's Bench - pmmaker's Workbench Window
Posted: October 28th, 2017, 6:02 am
by Clashcityrocker
Good start.
Nigel
Re: A Builder's Bench - pmmaker's Workbench Window
Posted: October 28th, 2017, 8:40 am
by iggie
Nice work on the prop
Re: A Builder's Bench - pmmaker's Workbench Window
Posted: October 28th, 2017, 11:48 am
by pmmaker
Had a chance to put in a couple hours of building time yesterday evening.
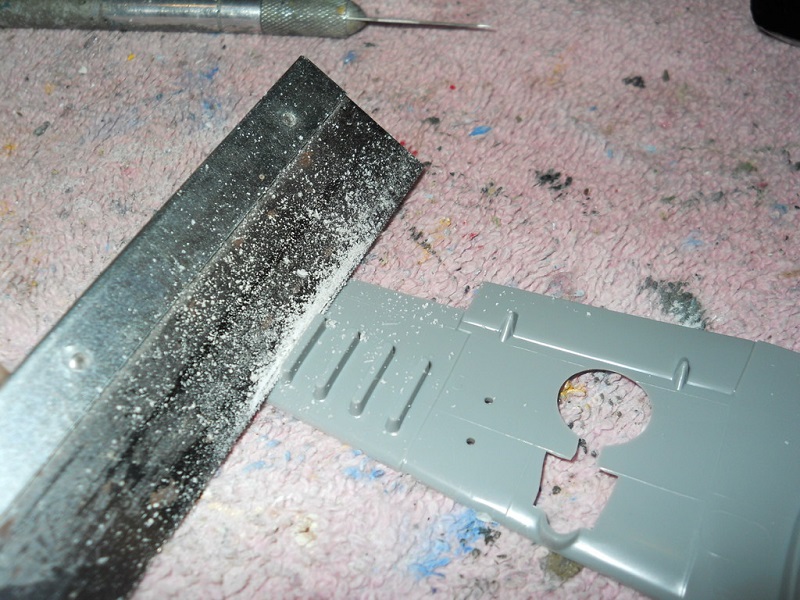
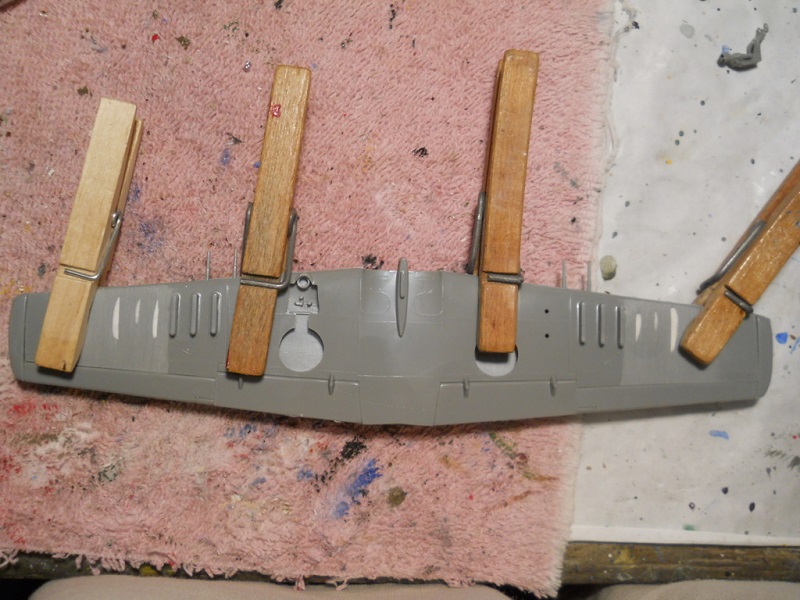
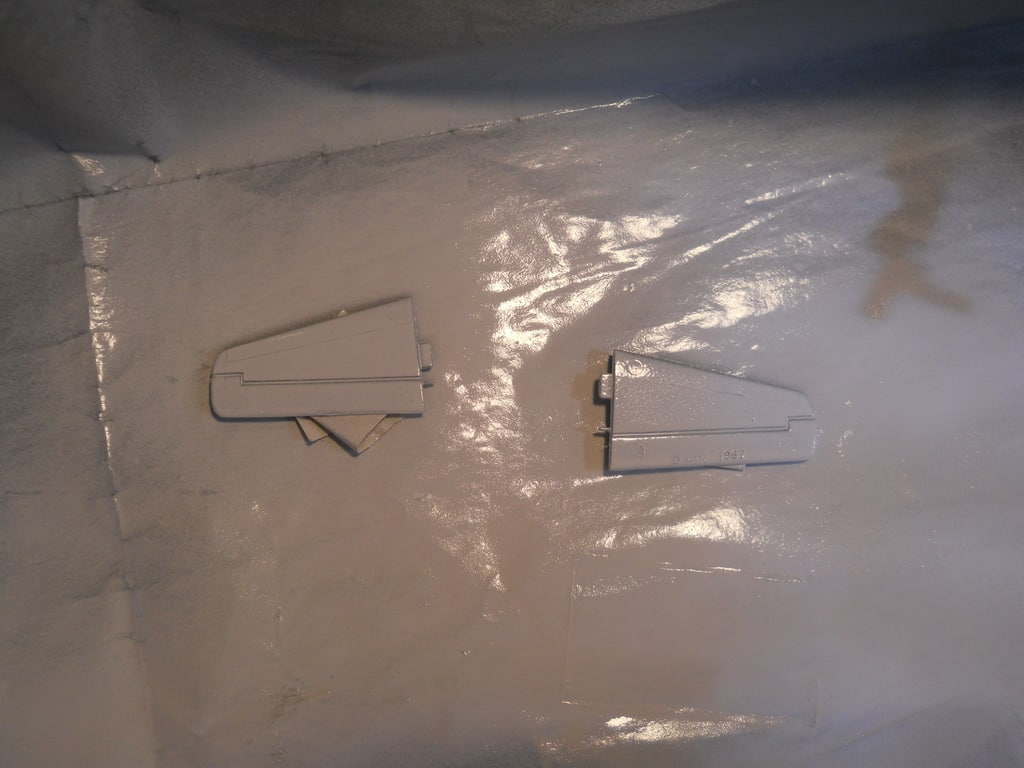
Unfortunately, when Monogram engineered this kit in the mid-60s, they molded the wing hardpoints onto the wing. This will affect the placement of the USAF decal and the large national insignia. Using a model saw, I cut off the outer three pylons on both sides of the wing. Then I filled in the cut marks with putty and sanded the outer wings. Once the model is built, painted and decaled, I'll glue the pylons back on.
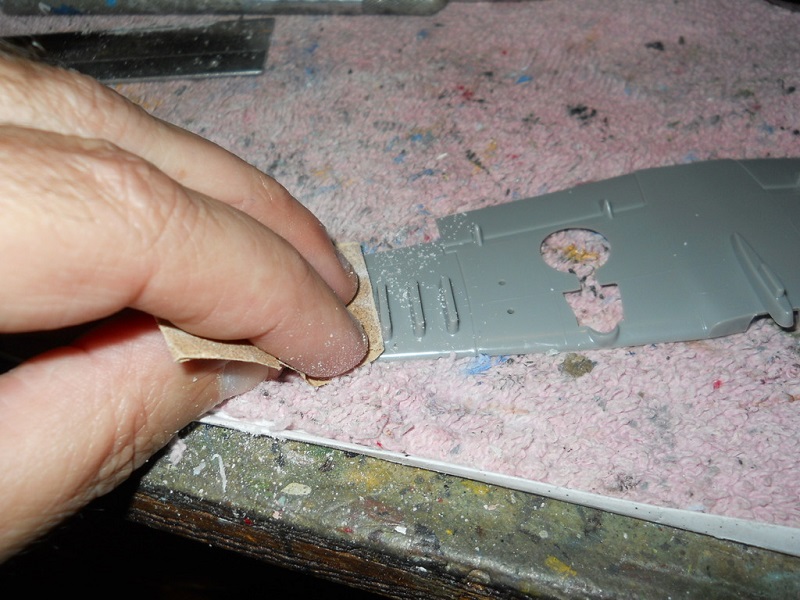
I then glued the upper and lower wing halves together. Tomorrow, I'll sand the leading edges and then I'll spray the undersides white.
I put the cockpit assembly into the fuselage and after adding the tail wheel, glued the fuselage halves together. Now once dry, I'll sand the join line smooth.
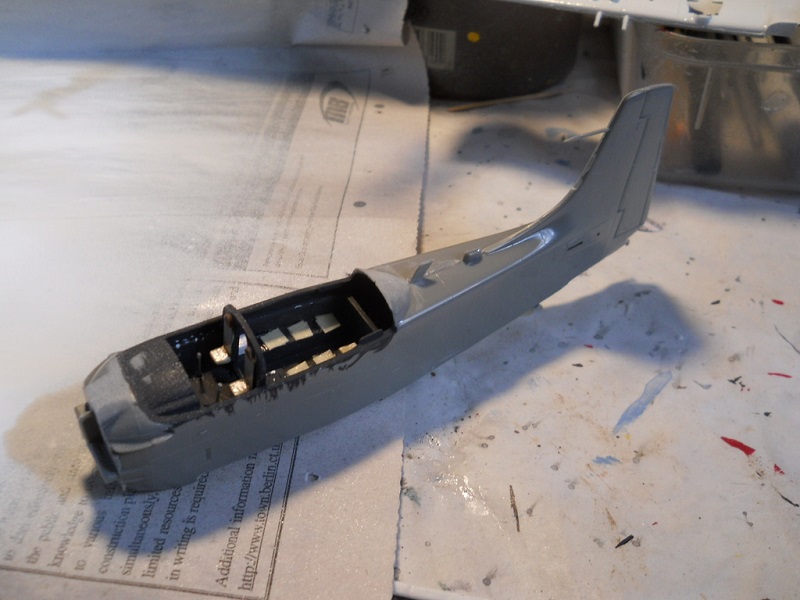
Pilot painting and finishing the cockpit / crew compartment is next.
pmmaker
Re: A Builder's Bench - pmmaker's Workbench Window
Posted: October 28th, 2017, 10:00 pm
by Michael modeller 48
Very good build, I am impressed. I like Hobbyboss 109 E. I just about bought one for Migrant but he did one.
Re: A Builder's Bench - pmmaker's Workbench Window
Posted: October 29th, 2017, 2:49 am
by pmmaker
Today was a beautiful, warm autumn day so I spent much of it outdoors. Still, I found a couple of hours to work some more on this model.
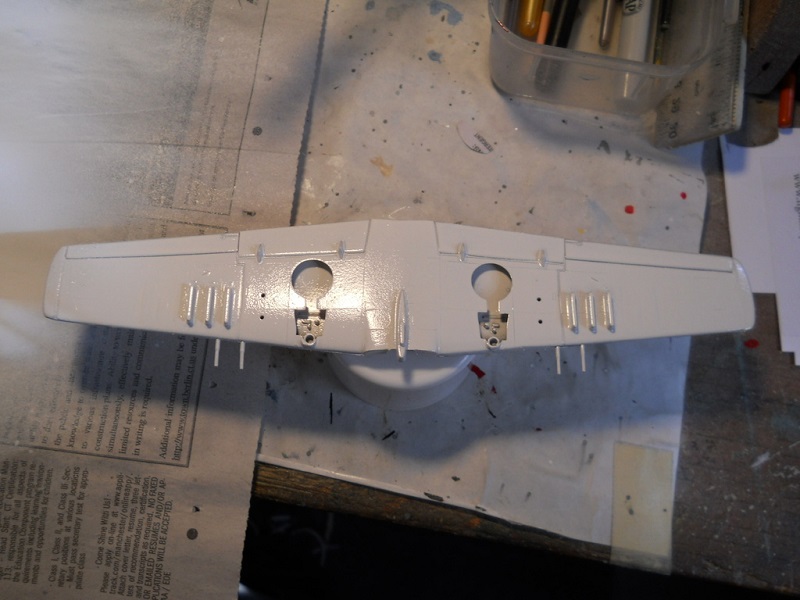
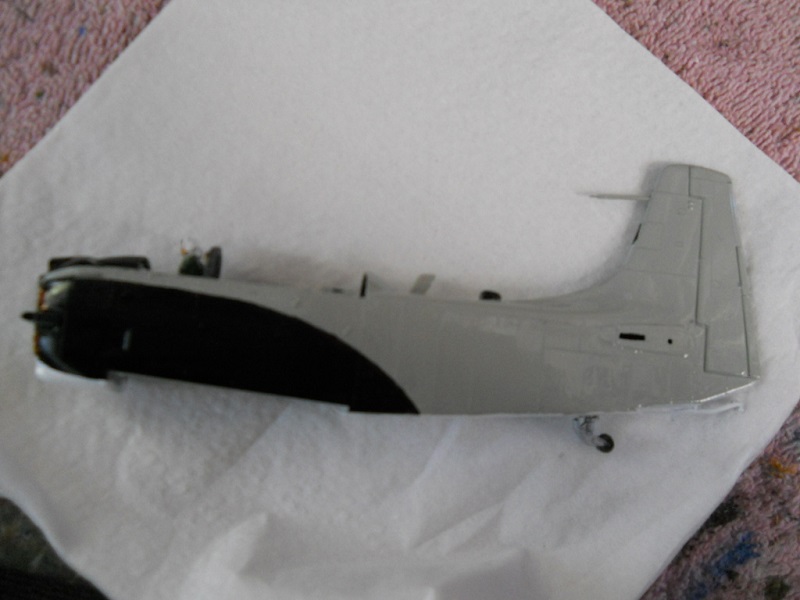
I sanded the edges of the wing assembly and the fuselage join lines. Next I spray painted the under surfaces of the wings and the horizontal tail planes a gloss white. I also painted the fuselage under surface. Once dry, I used thinned down Testors Model Master Gull Gray and painted the upper surfaces of the fuselage, wings, and tail planes gloss gull gray.
After painting and adding the two pilot figures, I created a medical stretcher and added it to the crew compartment. Next I outlined the black side panels with a fine tipped Sharpie marker and then painted the black area using Tamiya semi-gloss black.
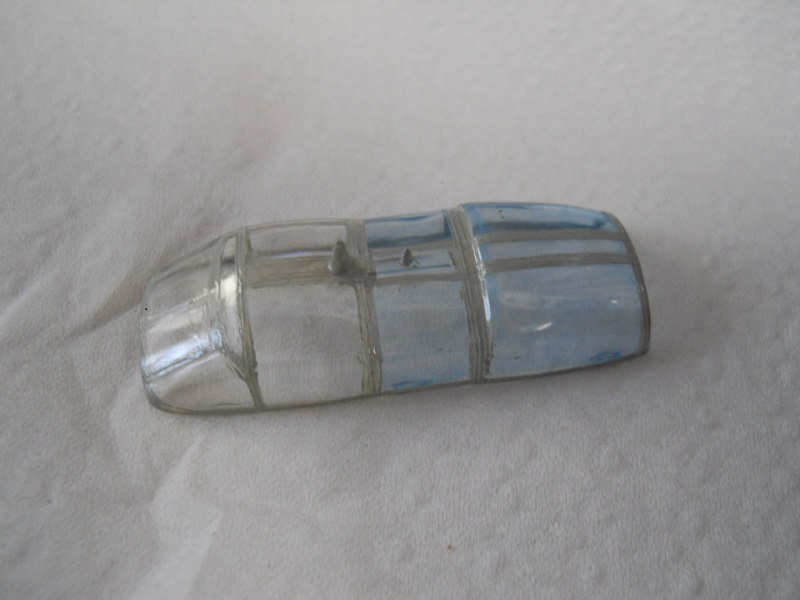
To end my day, I finished painting the canopy frames. I used clear tape and masked off and painted the frames one at a time. I mixed some blue acrylic paint with some clear acrylic varnish and painted the rear canopy to give the canopy a tinted look.
pmmaker
Re: A Builder's Bench - pmmaker's Workbench Window
Posted: October 29th, 2017, 6:13 am
by Clashcityrocker
Nice progress.
Nigel
Re: A Builder's Bench - pmmaker's Workbench Window
Posted: October 29th, 2017, 11:41 am
by pmmaker
Did more work on this one. Heading down the stretch towards being done! All the major sub-assemblies are completed and
ready for decaling and final assembly into the finished model.
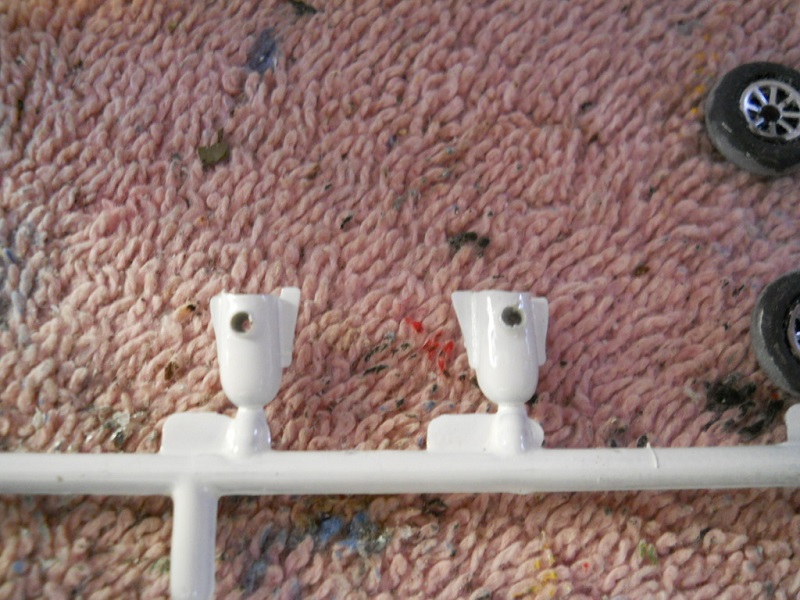
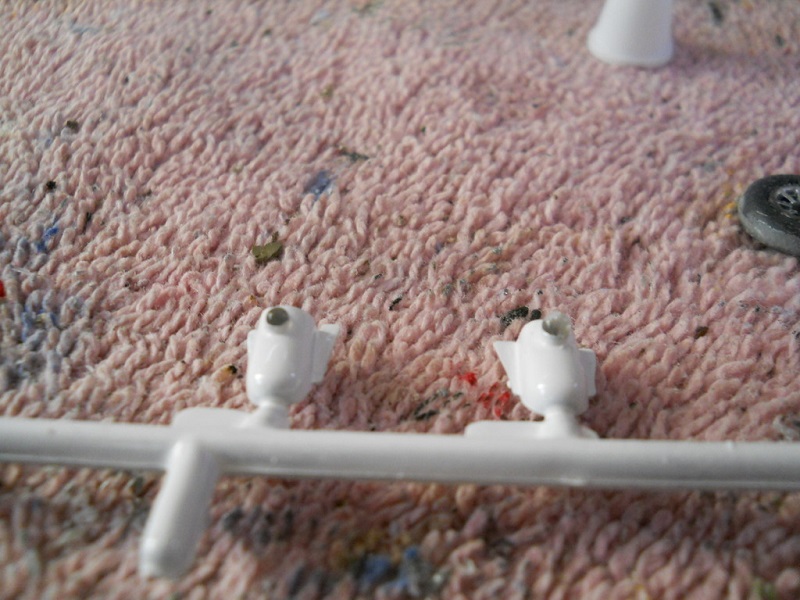
Using a fine tipped hobby knife, I drilled out the landing lights on the forward gear doors.
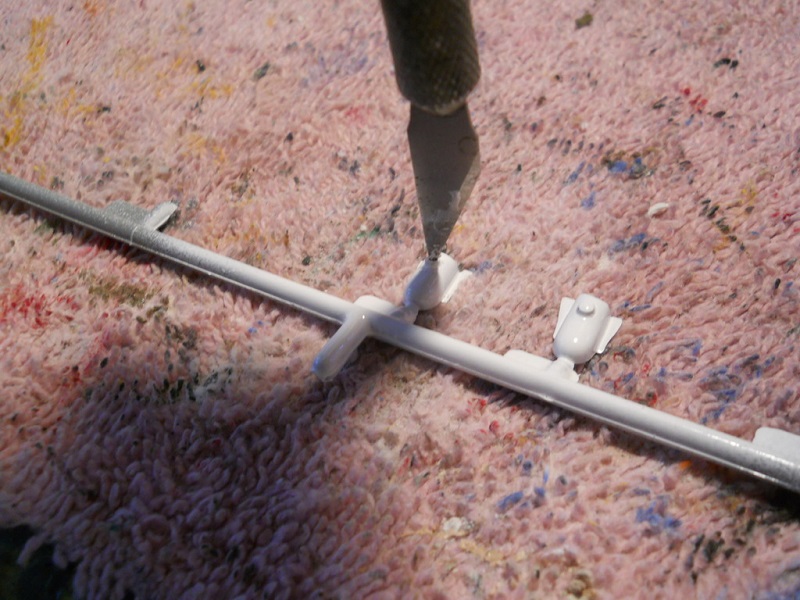
Then using some clear glue, I created the landing light lenses.
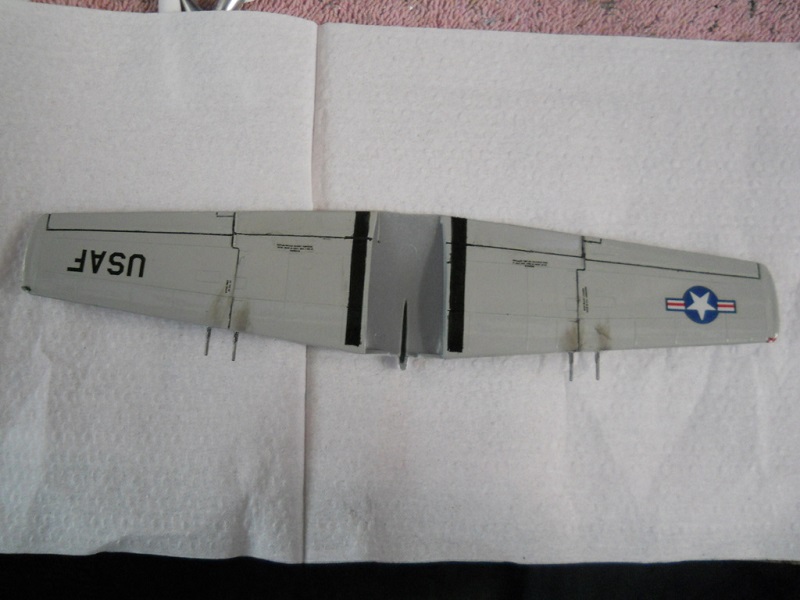
I finished the wing as well. I added the decals, and reattached the underwing hardpoints I had cut off earlier. Then using a small file, I filed down two areas for the wingtip navigation lights. I mixed some red and green acrylic paint to some clear glue and applied each color to the wingtips. Lastly, I added some gun exhaust and soil staining to the upper and lower wing surfaces.

The kit supplied under wing stores are done. I only have to add the red stripe decal to the napalm canisters and then I'll glue the stores and landing gear to the wing once it is attached to the fuselage.
Lastly, the engine cowling is painted and the propeller is permanently attached. Again I used my Tamiya pastels to stain the engine flaps.
My next post will be to show off the completed build. Once all these assemblies are put together, I'll finish adding decals and exhaust staining to the black fuselage area.
pmmaker
Re: A Builder's Bench - pmmaker's Workbench Window
Posted: October 29th, 2017, 2:34 pm
by dollar19
Very nice! I like your modular approach to painting the.sub- assemblies. Looking forward to seeing it all come together.