BattleTweety's Workbench
-
- Active Participant
- Posts: 538
- Joined: October 21st, 2018, 4:01 am
- Location: Adelaide, Australia
BattleTweety's Workbench
Hi All,
I've got cracking on my Revell 1/48 F-15e. So far so good and the fit has been surprisingly excellent for a Revell kit. Only one snag so far with the wing tip not lining up with the wing underneath so I have had to do a bit of a cut and will fill later on.
Cockpit all done. The decals are quite thick so I used about 15 coats of Tamiya Markfit Strong to get them to settle into place.
Fuselage put together.
Here is the misalignment that will need some work. I'm not sure if it was my fault or the kit or a bit of both. The other side was ok so who knows what happened.
cheers
BT
Re: BattleTweety's Workbench
That looks really smart, shame about the misalignment but hey ho, these things happen.
It's only pain, work through it.
- iggie
- Modelling Gent and Scholar
- Posts: 23424
- Joined: July 31st, 2013, 11:04 am
- Location: North Somercotes, Lincolnshire
- Contact:
Re: BattleTweety's Workbench
Welcome to the world of Workbench Windows
Looks a nice kit (apart from the obvious issue of course )
Best wishes
Jim
If you can walk away from a landing, it's a good landing. If you use the airplane the next day, it's an outstanding landing
"Never put off till tomorrow, what you can do the day after tomorrow"
Jim
If you can walk away from a landing, it's a good landing. If you use the airplane the next day, it's an outstanding landing
"Never put off till tomorrow, what you can do the day after tomorrow"
- iggie
- Modelling Gent and Scholar
- Posts: 23424
- Joined: July 31st, 2013, 11:04 am
- Location: North Somercotes, Lincolnshire
- Contact:
Re: BattleTweety's Workbench
From your query in my other thread, I think I used AK Interactive AK2058 Dark Ghost Grey with Light Ghost Grey for tanks etcBattletweety wrote:Nice mate, I'm about to do mine in 1/48 scale. This will give me some much needed motivation. What colour's did you use for it?
cheers
BT
Best wishes
Jim
If you can walk away from a landing, it's a good landing. If you use the airplane the next day, it's an outstanding landing
"Never put off till tomorrow, what you can do the day after tomorrow"
Jim
If you can walk away from a landing, it's a good landing. If you use the airplane the next day, it's an outstanding landing
"Never put off till tomorrow, what you can do the day after tomorrow"
-
- Active Participant
- Posts: 538
- Joined: October 21st, 2018, 4:01 am
- Location: Adelaide, Australia
Re: BattleTweety's Workbench
Another day's effort comes to a close.
The main body and nose are altogether now. Just have to add the air intakes and the conformal fuel tanks and she'll be ready for the first overall coat of primer.
I've done some sanding around the nose and tested there are no seams showing through the primer and I've fixed up the misalignment on the wing leading edge, hence the spurts of primer in different spots.
The panel detail on this Revell kit is quite remarkable so I'm going to have a ton of fun when it comes time for panel washing.
The instructions aren't exactly the greatest for this kit, more like cave man drawings with some rudimentary likeness to the parts. The painting guide was a challenge. I realised the Revell colours they proposed didn't quite match what my research showed, so I went and translated their colours into what I think is more accurate. If anyone is interested, posted below. Even some of these I might change where appropriate, ie Anthracite grey might be titanium or gun metal depending on the part.
Priming day tomorrow.
cheers
BT
-
- NOT the sheep
- Posts: 26180
- Joined: November 26th, 2011, 6:11 pm
- Location: Pontefract West Yorkshire
Re: BattleTweety's Workbench
The misalignment issue notwithstanding (and it doesn't look too drastic from here), that is a great looking kit of the F-15, BT. I've also made something of a return to 1/48th, which was my principal scale for aircraft up to a few years ago.
Doing - Tamiya 1/35th Universal Carrier.
Work is the curse of the modelling classes!
IPMS#12300
Work is the curse of the modelling classes!
IPMS#12300
-
- Active Participant
- Posts: 538
- Joined: October 21st, 2018, 4:01 am
- Location: Adelaide, Australia
Re: BattleTweety's Workbench
Its a funny thing this 1/48 scale. I'm in my fifties and built 1/72 all my life and am now looking at my 1/72 collection and thinking - TOYS!!! Perhaps my eyesight can no longer pick up the minute details I slaved over in 1/72. Does this mean in my sixties I'll be moving to 1/32 scale? So now kits no longer cost between $20 and $50, they start at $70 and go up to $150... SWMBO is having a meltdown at the cost..
Re: BattleTweety's Workbench
I too have moved towards 1:48, not just because of eyesight but there seems to be so much more detail and more scope to improve the kit if you want to. I just think the scale is more forgiving.
It's only pain, work through it.
- Purplethistle
- Delusional Miniature Killer
- Posts: 4680
- Joined: July 10th, 2014, 1:03 am
- Location: Glasgow
Re: BattleTweety's Workbench
That misalignment looks like the kits fault, it seems to fit at one bit and not another.
Fortunately you seem to be winging it well.
...And that 'pit looks the business
Fortunately you seem to be winging it well.
...And that 'pit looks the business
"Spits, SLUFS and Rock 'n' Roll"
- coptermech
- Active Participant
- Posts: 674
- Joined: August 21st, 2012, 4:39 am
- Location: Connecticut, USA
Re: BattleTweety's Workbench
I built the same kit a little over a year ago. The conformal tanks did have some slight contour gaps, but nothing that can't be taken care of. And watch for the nose gear. A little weak and easy to bend or break.
Regards, Tony
Current Projects: Revell 1/48 F-15C, Hobby Boss 1/72 F-22 Raptor, Hasegawa 1/32 F-5E
Re: BattleTweety's Workbench
That style of instruction was common fare for revell until very recently when the colour printed booklets came in. They are not going back though and redoing instructions in older kits that get reissued unless decals etc change .... So you may buy new and still get them for a few years yet. I do understand where you're coming from as I found a set with poor illustration ( even in only black and white) in a Missouri kit recently myself. Keep up the good work and you are doing well with this.
Trying to Build kits and not Buy kits
-
- Active Participant
- Posts: 538
- Joined: October 21st, 2018, 4:01 am
- Location: Adelaide, Australia
Re: BattleTweety's Workbench
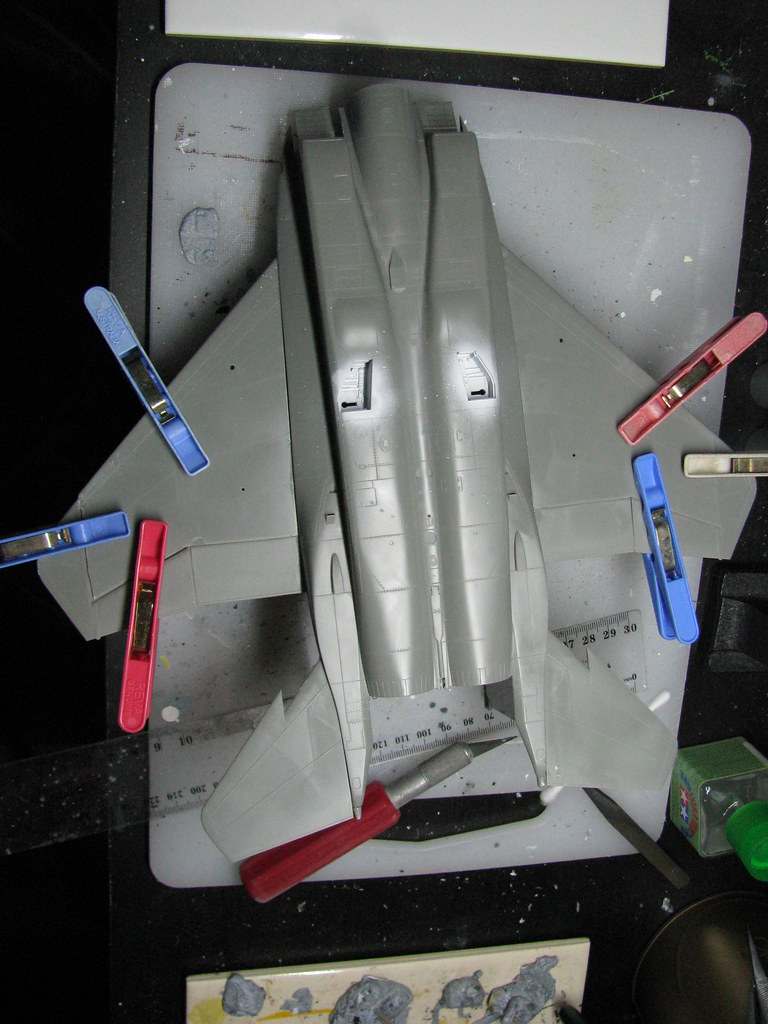
Another update. I've applied the undercoat, I always like Tamiya surface primer as it goes down nice and smooth. Then some flat black for the panel lines.
Then the first coat is misted on, being careful not to cover the black too much.
Then the final coat is sprayed on. I've painted each panel individually, trying to get a subtle weathered look. I don't think it shows up very well in the flash, but as it dries you kind of see slightly different colours across the surface. Oh and I finally used that little knob on the end of the airbrush, nice to help keep the amount of paint coming out to a minimum for small areas. The only finger was getting a bit sore for such a large area to cover.
Next will be a gloss coat and preparation for panel line wash. I was reading some good reviews about this stuff so I've ordered some from across the ditch. Can't find it in Australia.
I've also been working on the afterburners. I'm trying some AK extreme metal and grabbed titanium and stainless steel. These cans were done using titanium then tamiya panel wash over it to highlight the areas then some dry brushed flat aluminium to highlight some areas. I wanted to try and show a bit of burnt metal on the rings so I've experimented with a bit of Tamiya clear orange and red and a bit of Mr Colour burnt iron. I'm not convinced its right just yet, But I'll see how it marries up with the stainless steel at the end of the fuselage.
I'd be interested in any tips from others on how they've done their afterburners.
cheers
BT
Re: BattleTweety's Workbench
No advice to offer but the effect you have achieved looks good from herr
Trying to Build kits and not Buy kits
-
- Active Participant
- Posts: 538
- Joined: October 21st, 2018, 4:01 am
- Location: Adelaide, Australia
Re: BattleTweety's Workbench
Thanks Chrism.
I masked up and did the stainless steel looking rear end. I've used the AK extreme metal. A coat of gloss black first to give it a nice smooth surface.
Then slowly mist on the coat of AK extreme metal Stainless Steel. This stuff has come out ultra shiny. Not sure if the camera shows how shiny it is but I am going to have to dull this stuff down a bit to make it look a bit worn. Its like a B29 skin at the moment.
That's it for today, time to relax with the TV.
cheers
BT
- Stuart
- Raider of the Lost Ark Royal
- Posts: 19417
- Joined: February 25th, 2013, 4:55 pm
- Location: North Wales
- Contact:
Re: BattleTweety's Workbench
Just caught up with your thread - and welcome to the world of WW's!
First off - that cockpit looks superb, you did a great job getting those decals to go down. The rest of the build is looking fantastic and you've done a great job with the build and painting.
I can't offer you any advice on the burners because I've got to learn how to do them myself. I'm not sure if you need it though as those look superb. I like the idea of adding a bit of orange etc.
Great stuff!
Stuart Templeton I may not be good but I'm slow...
My Blog: https://stuartsscalemodels.blogspot.com/