
Two of my current builds, both to be finished in IJN grey so it seemed sensible to build them concurrently.
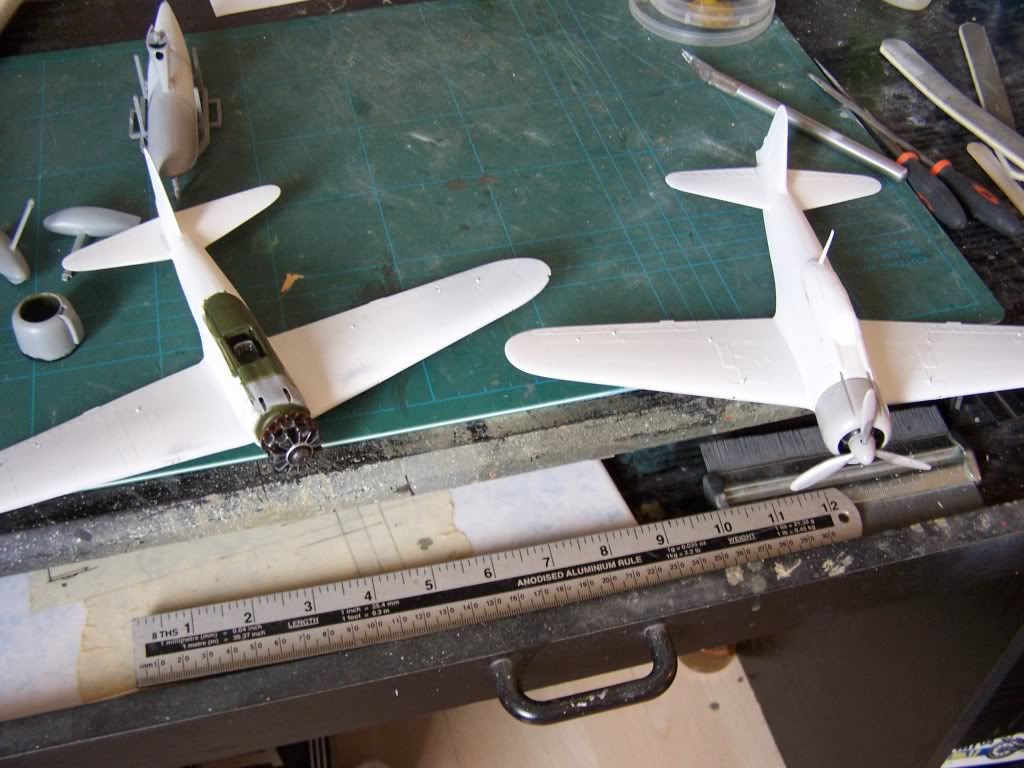
On the left is a Hasegawa Nakajima A6M2-N and on the right is a Fujimi Mitsubishi A6M2. Basically a couple of Zeros with different undercarriages.
I had read, before starting, that the Hasegawa kit had exceptional parts fit and posed no construction problems. To the people who wrote this I'd say that they have a pretty odd idea of "good" in terms of fit.
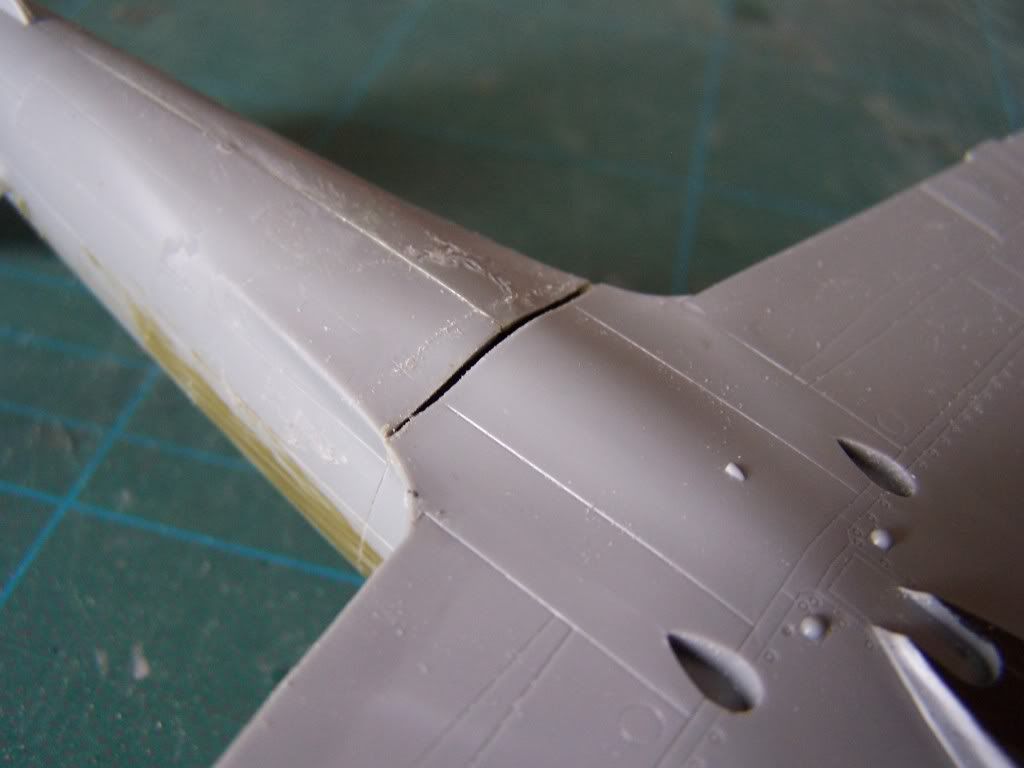
This is the gap at the rear of the wing and...
...these are the gaps at the wing roots AFTER the dihedral had been adjusted.
Filling these required the use of plstic strips and liberal quantities of Squadron white putty.
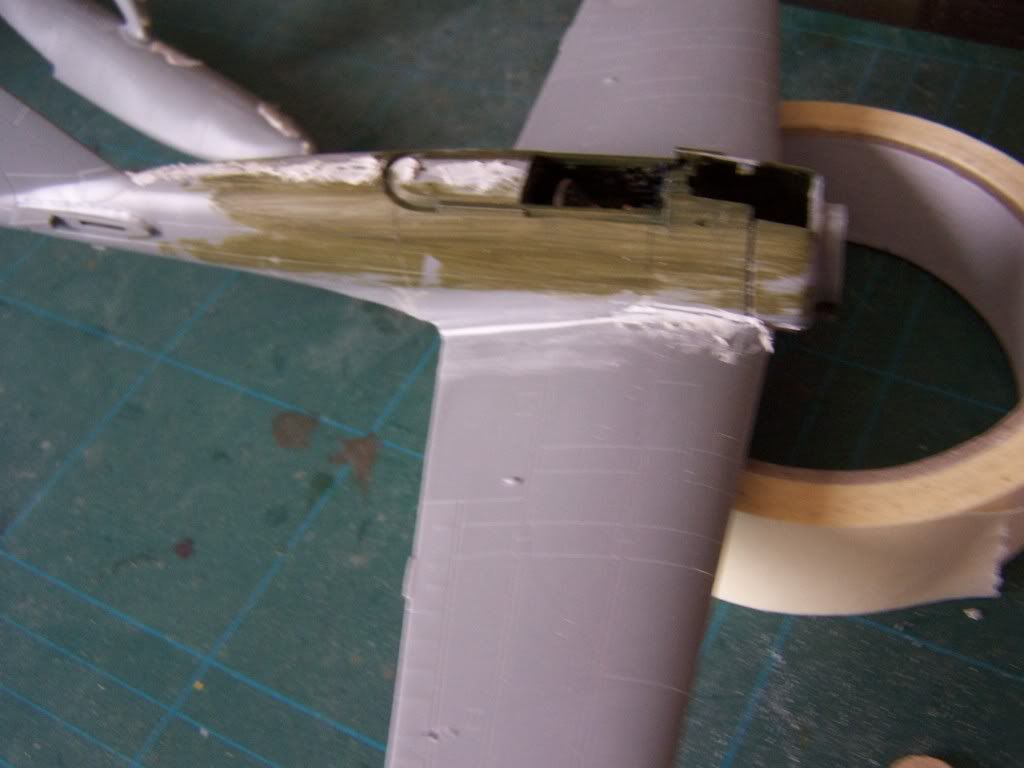
On top of that, the cockpit also refused to play ball, proving that the fit problems aren't just down to the extra wing parts provided for the floatplane version and that the basic kit carries some flaws too. Firstly, the seat didn't want to sit squarely in the cockpit. After much fettling I got it to a reasonable angle so the imaginary pilot wouldn't end up with a sore neck. Then, just when I thought things were going well, the sides wouldn't go together because the instrument panel protruding from the left side fouled against the seat. Much cursing and clearing of glue followed. Chopping a bit off the panel was the only way to remedy this. Now I'll definately complete this model with a closed canopy!
The Fujimi kit, despite being an older, cheaper model, has been quite an easy build so far, although, looking at them side by side, I do wonder which kit is more dimensionally accurate. The only fit problem has been a slight step in one wing root joint that was easily rectified. Apart from that everything is hunky dory with little filler or sanding needed.
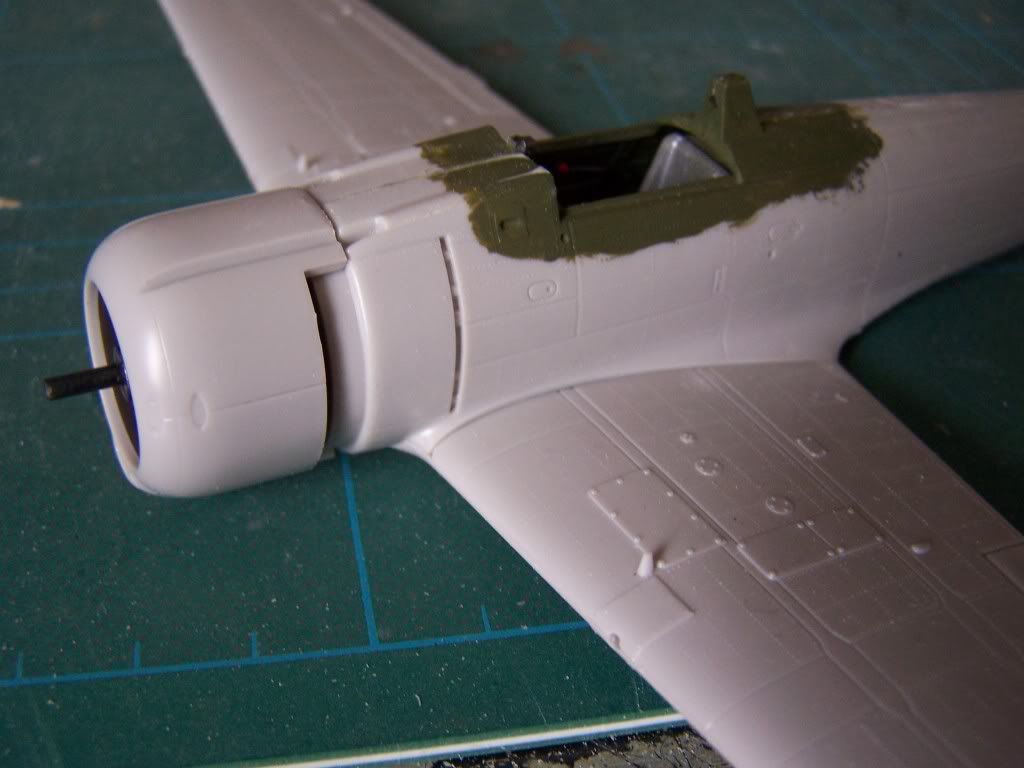
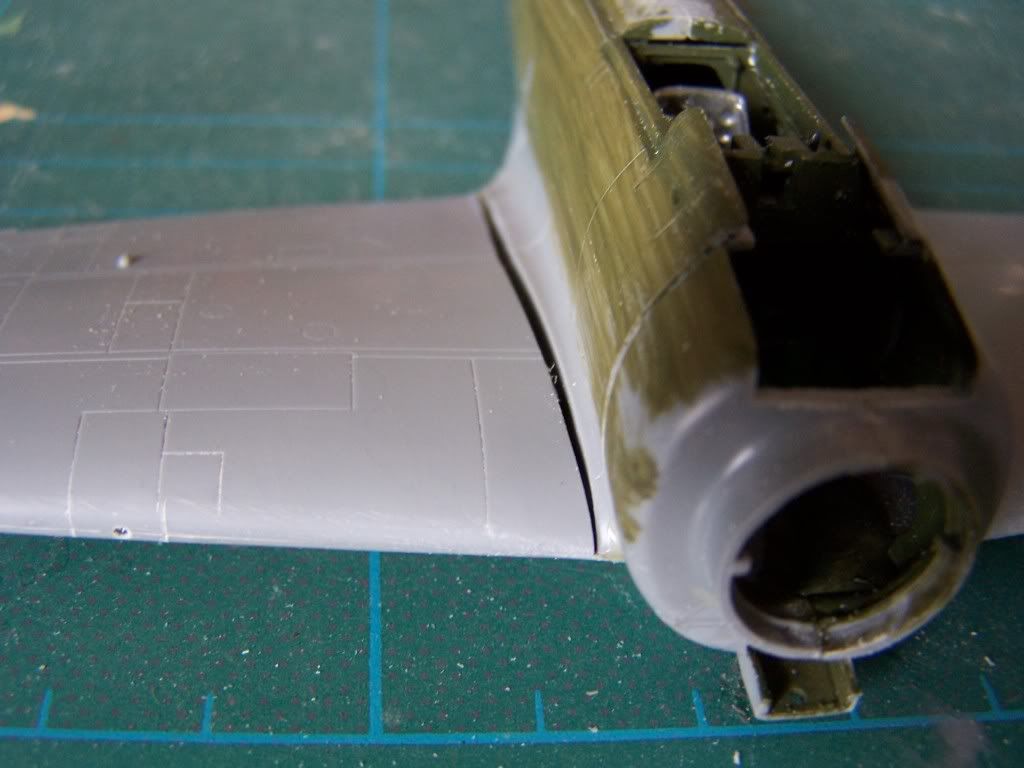
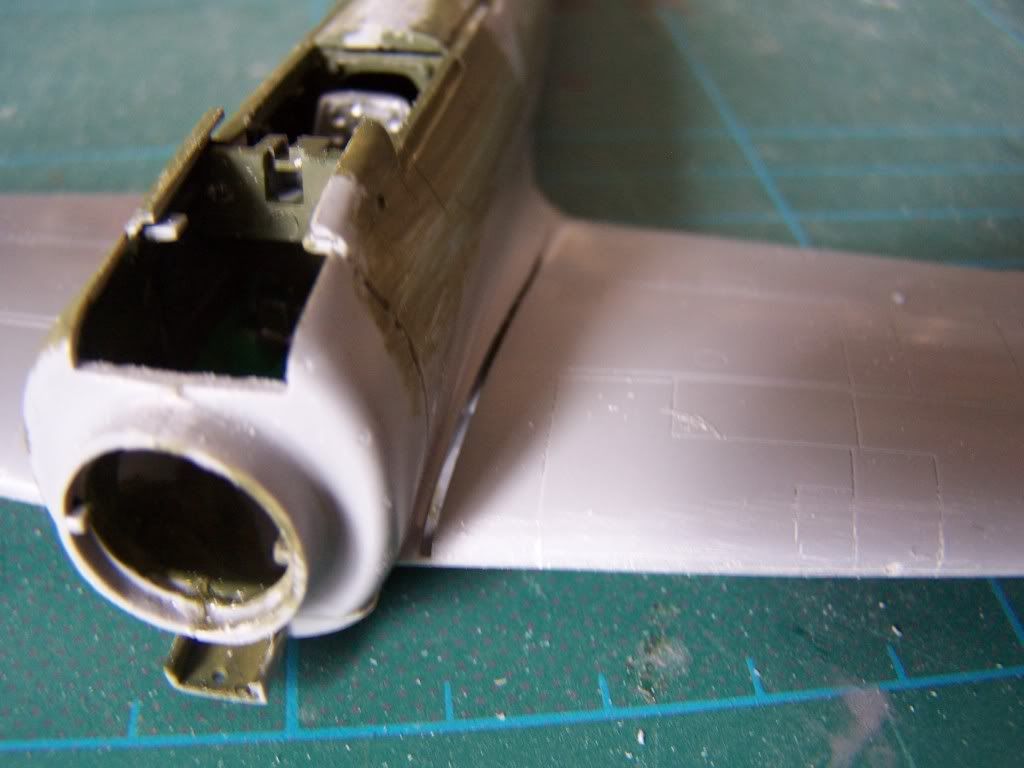
One thing I have done to this model is to liberate the drop tank and main undercarriage (suitably nodified) from the Hasegawa kit, as these are much better detailed than the Fujimi offerings and are, naturally, redundant on the floatplane. These wait to be fitted when final painting is completed and/or when I throw the Hasegawa kit against a wall in frustration!

