Right, after a week or so of mainly chat on here I thought I ought to show some pictures of actual modelling.
Project Apache moves slowly on. When it comes to painting, I am a committed user of the airbrush and view hand painting, other than for detail work, to be a bit of a dark art. However, my trusty old Aztec compressor is on the blink and will probably need to be looked at by someone who knows what they are doing. That set me thinking, which is not always a good thing and in an attempt to avoid a further delay in finishing this model I've taken the decision to use the hairy stick to complete the final painting. This is quite a big step for me as I haven't hand painted a model since the early 1990's and, depending on the final result, this could be the first and last time you will see a hand painted model by me on the forum

The paint used is HU 155 Olive Drab, which I thinned before application with white spirit in a roughly 50/50 ratio of paint to thinners. The paint was applied using a size 8 pointed sable brush using as few brush strokes as I could get away with. After the first coat of paint yesterday, I gave the model a rub over with 4000 and 6000 grade micromesh before applying the second coat of paint today, which features in the photos below. The engine pods are as yet unpainted as they were used to hold the model. Shiny bits are down to the fact that the paint was still drying when I took the photos.
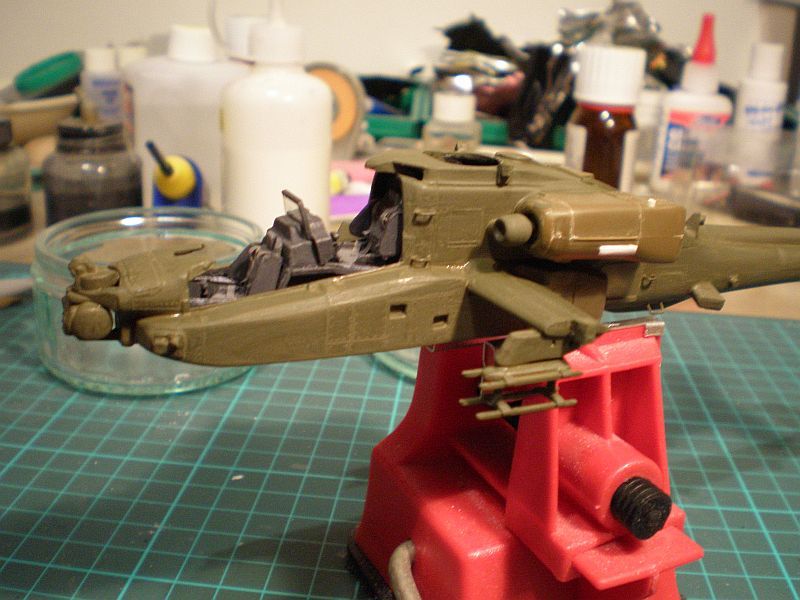
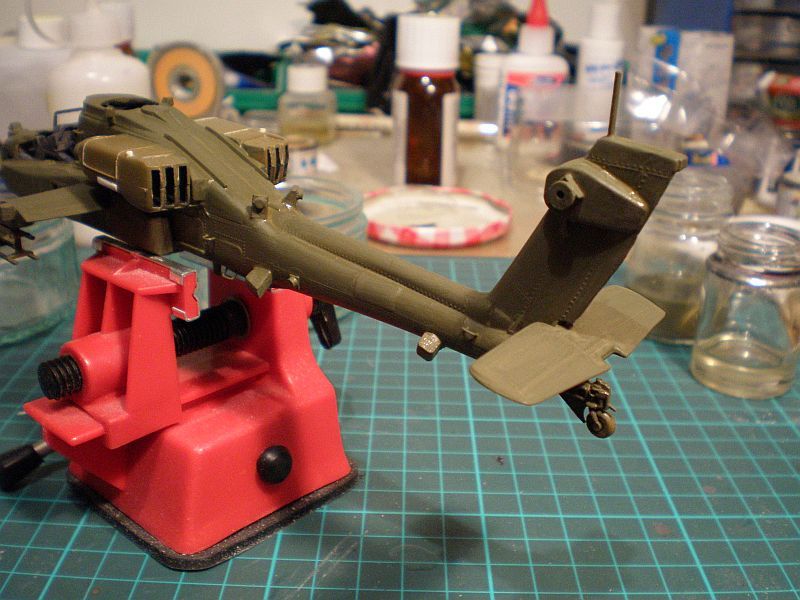
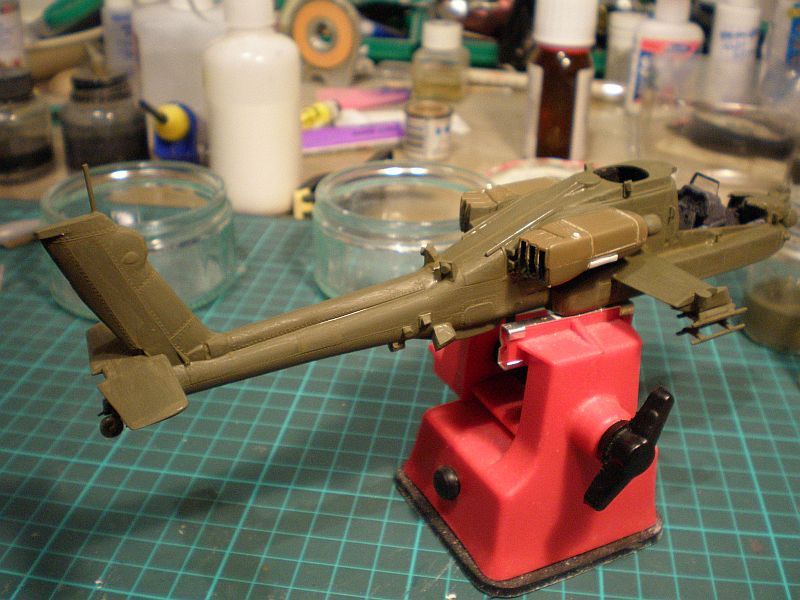
Stop laughing at the back, this is a serious effort
The paint is in a very thin coat as will be subsequent coats as I do believe that it is best to avoid the temptation of slapping on thick coats. Brush marks are not as bad as I was expecting and a flatting off with micromesh between coats should help there. I find OD to be an odd shade of paint at the best of times and it often seems to dry patchy or streaky but I've always found that gloss and matt clear coats address that issue. So, I'll continue with this during the week and see how it goes. At the end of the day, if I'm not happy I'll get out the sand paper and the model will have to wait for by compressor to be fixed. It has to be said though, in some ways hand painting is a very liberating experience - no masses of masking or the need to break out my respirator mask and open the windows
Thanks for looking.
Doing - Tamiya 1/35th Universal Carrier.
Work is the curse of the modelling classes!
IPMS#12300