Page 119 of 120
Re: Shaun's Bodging Bench
Posted: December 22nd, 2017, 1:52 am
by skypirate
That North African Black 8, JG.27 scheme is very popular. I built my 1/32 Hasegawa model in that scheme, but as far as I could work out, it was 8/JG.27, flown by Franz Elles in Libya, 1941.
Cheers,
David
Re: Shaun's Bodging Bench
Posted: December 22nd, 2017, 5:50 pm
by ShaunW
Indeed, David, Black 8 is a well trodden path! I've seen the aircraft depicted as both an E-7 with a drop tank and as an E-4 without. Tamiya suggest the E-4 with no tank and, from what I can glean from photos, I'll go along with that.
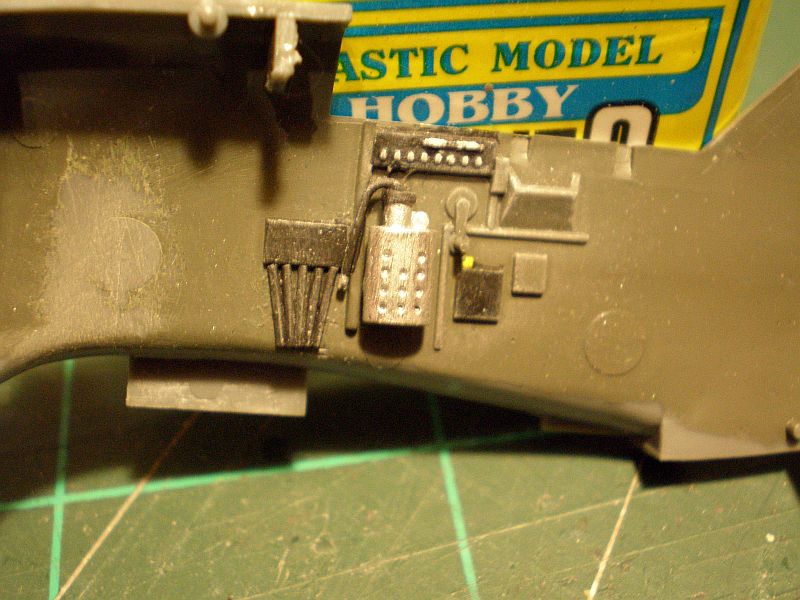
I've been a little busy this week but have managed a start on the cockpit. I've not gone overboard here and have added beefier handles to the moulded on items on the left sidewall and similar to the right including also a bit of electrical wiring and pipe to the silver oxygen doofer - all of these details were made from scrap Plastruct rod. Main cockpit colour is Tamiya XF-22 RLM Grey on sidewalls with the floor being Revell Matt 79 Iron Grey.
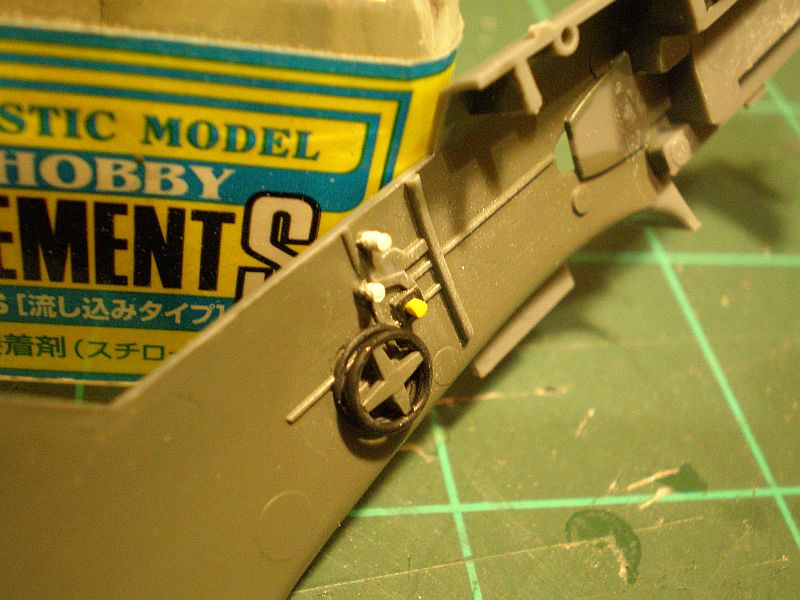
The IP is Revell 79, instruments Tamiya NATO Black and an overall dry brush of very light grey. The two long handles, which are evident in photos, are Plastruct rod with bobble ends made from PVA.

I'm currently working on the seat, which isn't brilliant, being a bit on the narrow side but I'll sort it!
Thanks for looking.
Re: Shaun's Bodging Bench
Posted: December 22nd, 2017, 6:02 pm
by iggie
That's some excellent extra detailing Shaun!
Re: Shaun's Bodging Bench
Posted: December 22nd, 2017, 6:14 pm
by Ratch
Magic Shaun

Re: Shaun's Bodging Bench
Posted: December 22nd, 2017, 6:22 pm
by PTB11
Outstanding bit of modelling, Shaun. Those details really pop now.
Re: Shaun's Bodging Bench
Posted: December 22nd, 2017, 6:58 pm
by ShaunW
Many thanks, guys, I really appreciate your interest and kind comments.
Re: Shaun's Bodging Bench
Posted: December 22nd, 2017, 9:03 pm
by chrism
Your off the starting blocks with this one. Hope you sort the decals out and the harrier finished. It seems a shame to let it languish for want of a set of decals etc.
Re: Shaun's Bodging Bench
Posted: December 22nd, 2017, 9:29 pm
by Stuart
Great start Shaun!
Re: Shaun's Bodging Bench
Posted: December 23rd, 2017, 12:24 pm
by Lone Modeller
Just dropped in and my jaw dropped too at the sight of those lovely cockpit details. A modeller after my own heart there using rod, sprue etc to fabricate the extras. And extremely well done too - good reason for not having a pilot figure in the cockpit.
Re: Shaun's Bodging Bench
Posted: December 23rd, 2017, 3:17 pm
by The Great Auk
Those details are most excellent and pure eye-candy!
Fantastic work!
The Great Auk
Re: Shaun's Bodging Bench
Posted: December 23rd, 2017, 5:41 pm
by ShaunW
Many thanks guys for your interest and kind words. Even with a relatively modern kit like this, this is typical for me in that I can't resist adding prominent bits that I can see don't quite match photos or are missing altogether - although I did manage to resist with my recent Spitfire build as that was a mojo restorer and I wanted to get a model built fairly quickly for once. So far, I'm really enjoying the build and I haven't made many Tamiya aircraft although I am an old hand with their military vehicles.
Re: Shaun's Bodging Bench
Posted: December 23rd, 2017, 6:26 pm
by splash
It’s always a pleasure watching your scratch building detail, it’s the inspiration that’s got me back into scratch building again.
Re: Shaun's Bodging Bench
Posted: December 24th, 2017, 5:50 pm
by ShaunW
Many thanks, Alan, I'm very flattered and it's nice to know that I can serve a useful purpose from time to time

Re: Shaun's Bodging Bench
Posted: December 28th, 2017, 5:46 pm
by ShaunW
Okeydokey I've managed to squeeze in a bit more building over the holidays.
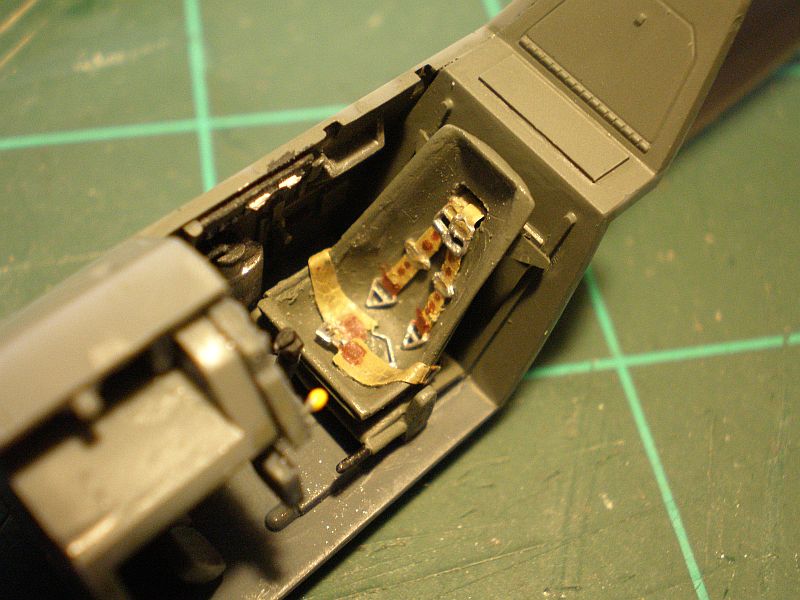
First up is the cockpit tub shown below cemented into the right fuselage half prior to the fuselage being closed up. Perhaps the weakest part of the OOB cockpit is the seat, which looks a bit narrow to me, especially at the top and no real attempt has been made to fully replicate the seat mounting save for the base frame. I have widened the seat with rod glued around the edge and sanded to shape and added a representation of the upper supports from plastic card off-cuts. In addition, after studying photos, I drilled and cut out a slot in the rear of the seat to accommodate the pilot's shoulder straps. All of the seat belts are PE and from an old 1990's Reheat Luftwaffe set.
I now have something resembling a 109E on my bench! Fit was generally very good with just a whiff of filler being required here and there, certainly much less filler than I've used for a while! I've chopped off the elevators with my trusty Olfa P cutter so that they can be posed deflected and I've also altered the rudder to allow some deflection on that too - a number of photos show parked Emils with the rudder swung and elevators either deflected upwards or down.
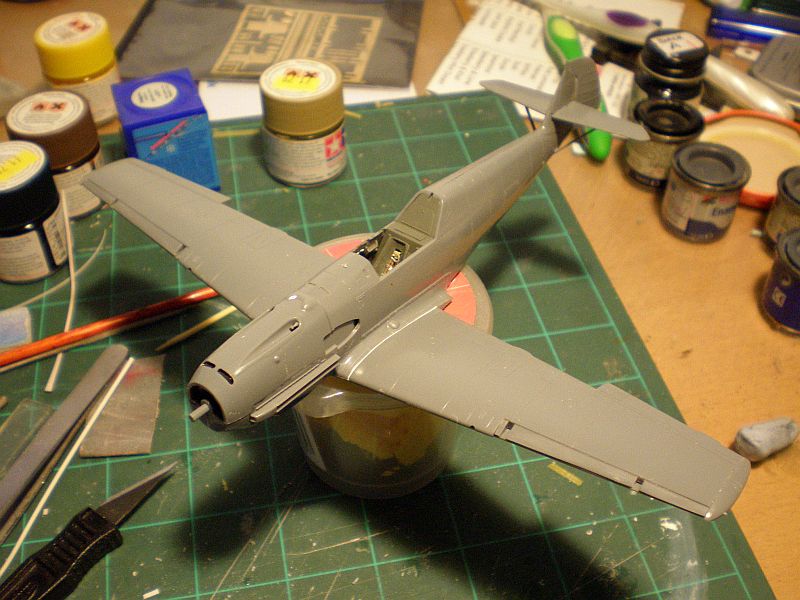
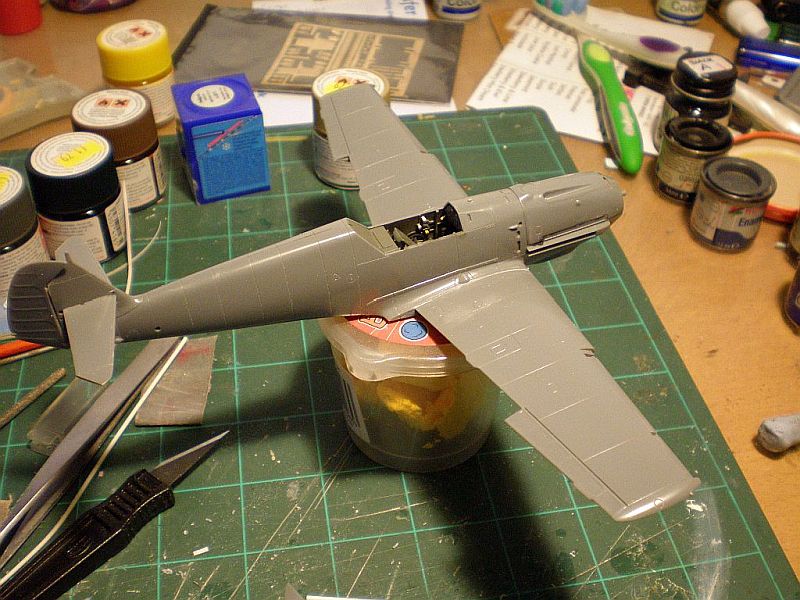
Hopefully tomorrow I'll get the elevators on together with the flaps and leading edge slats following which there's some seam cleaning up required and then it's on to the paint.
Thanks for looking.
Re: Shaun's Bodging Bench
Posted: December 28th, 2017, 11:43 pm
by Ratch
Good workmanship here
