Simon's Space

Show us a view of your workbench / work in progress and build reports too.
User avatar
SJPONeill
Modelling Gent and Scholar
Posts: 3525
Joined: May 1st, 2011, 12:01 am
Location: Near the Spiral, NZ.
Contact:

Re: Simon's Space

Post by SJPONeill »

After a crappy day yesterday, it is quite nice today so I opted to work outside...setting up a small work table outside the garage...

Image

Things that have gone right today are my whiffed strike missiles for my RAF Arrow...it's been fill/sand/fill/sand for a few nights to remove the wasp waist from the design but the 'missiles' are starting to look the part...

Image

I'm sifting through the spares box for some suitable drop tanks, or drop tank if I opt for a single under the fuselage to show off the missiles on the wings...a fuselage mount for the missiles probably makes more sense due to the inner wing area being occupied by the main gear bays and I have the pylons from a 1/48 B-58 spare for this - just don't think it'll look as cool though...
Please critique my posts honestly i.e. say what you think so I can learn and improve...
The World According To Me
User avatar
SJPONeill
Modelling Gent and Scholar
Posts: 3525
Joined: May 1st, 2011, 12:01 am
Location: Near the Spiral, NZ.
Contact:

Re: Simon's Space

Post by SJPONeill »

Right then, back into the first modelling of the new year now that whanau have departed and grandtwins have been returned to the original owners...no pics unfortunately as I switched the camera on just in time for the batteries to die...not planning to be anywhere near civilisation til next week but might be able to use my mobile if I can find the PC cable for it...

I've spent four episodes of JAG (Series V a gift from the 'kids') sanding (wet sanding is allowed in the house we've agreed) the Arrow wing/fuselage joins = probably only one more sanding session now to finish this area off; also finished shaping the two Blue Water missiles there are now ready for fins to be added and these will probably be donated from 1/48 AIM-7s.

Leaning strongly towards mounting the Blue Waters on the surplus B-58 pylons under the fuselage leaving the wings free for drop tanks on what I think are surplus pylons from the old Revell 1/32 Tornado...

Next project to advance will be the Russian river monitor Udarnyj as I have finally psyched myself up to start cutting the hull sheets, starting tomorrow...
Please critique my posts honestly i.e. say what you think so I can learn and improve...
The World According To Me
User avatar
SJPONeill
Modelling Gent and Scholar
Posts: 3525
Joined: May 1st, 2011, 12:01 am
Location: Near the Spiral, NZ.
Contact:

Re: Simon's Space

Post by SJPONeill »

Wow!! Modelling stuff two nights running...

Need to make up a template to get the fins straight on the Blue Waters for the Arrow...am not going to paint over the rear cockpit as per the original and TSR2 back-seats but leave clear like Bucc, Tornado etc so that means so kind of basic cockpit needs to be built as the kit only comes with two armchairs...have decided not to worry about intake and jet pipe details as none is provided in the kit so this will have front and rear FOD guards in a nice shade of red....

Finally broken paper on the Udarnyj hull sheets last night while watching Sharpe's Justice (that boy can just not stay out of trouble!!) - all done and trimmed for overlap joins but still tossing up on whether to trim further for butt joints (greater cutting precision required with higher risk of spaces between the plates) or go for the overlapping approach as per the instructions (possibility of a slight step at each join)...same issue arises for the hull sides where the red hull sheets will meet the grey hull sides...still good to be cutting paper again...
Please critique my posts honestly i.e. say what you think so I can learn and improve...
The World According To Me
User avatar
SJPONeill
Modelling Gent and Scholar
Posts: 3525
Joined: May 1st, 2011, 12:01 am
Location: Near the Spiral, NZ.
Contact:

Re: Simon's Space

Post by SJPONeill »

Right finally achieved a synergy between imaging device power and connection cables...

Have been chewing away on the Arrow again tonight...went to join the wheel halves only to find a 2/3mil gap between the halves when joined - too wet to walk out to the garage for more sand paper so shelved those for now; added a thin sheet backing to the intake plates:

Image

There was also a 2mil gap between the wing and fuselage on one side which I have filled with a card laminate - the blades are there as wedges to push the card againt the mating surface and to preserve the thinnest of gaps between the control surfaces and fuselage...

Image
Please critique my posts honestly i.e. say what you think so I can learn and improve...
The World According To Me
User avatar
SJPONeill
Modelling Gent and Scholar
Posts: 3525
Joined: May 1st, 2011, 12:01 am
Location: Near the Spiral, NZ.
Contact:

Re: Simon's Space

Post by SJPONeill »

...and moving right along...I've been trying to progress the Udarnyj hull so that I can get to the much cooler detail bits above the waterline...

I ummed and aahed for a week or so on whether to go for butt or overlap joins between the hull sheets and finally opted for overlap. I very carefully sanded back the mating surface for a chamfered edge to minimise any step but only after I started and was well into it did I realise that I had done the wrong end...uh-oh...

Image

Image

Fortunately the joins don't look nearly as stark in real life and running a suitably coloured water colour pencil along the steps conceals the edge quite well ( I did edge colour them prior but the water-based glue wiped much of the off)...the shape of the sheets when I did the previous underlayer wasn't very good around the prop wells either and I suspect that this might actually be a design fault....

Only once I had done the bow and stern did a faint memory from aerial photo days surface and I remembered how to run a sharp edge along the back of the sheet to allow me to peel back a uniform layer to assist in reducing the step...here's how that looks on the single large sheet that cover the mid-hull:

Image

In order to progress and learn, I'm not going to lose a lot of sleep over the hull plates - I suspect that at some stage they will get sanded flush and covered with a layer or two of Humbrol Hull Red - as the more I dither around here, the longer it will take to make any real progress, or find find new opportunities to learn new lessons....
Please critique my posts honestly i.e. say what you think so I can learn and improve...
The World According To Me
User avatar
JamesPerrin
Looks like his avatar
Posts: 13671
Joined: April 5th, 2011, 8:09 pm
Location: W. Yorkshire
Contact:

Re: Simon's Space

Post by JamesPerrin »

How big is this ship!? ...and how many 14ml tinlets will it take to cover it?

Presumably you have a hanger and dockyard where you can display these beasts once complete :grin:
Classic British Kits SIG Leader Better to fettle than to fill
(2024 A:B 5:2) (2023 13:8:7) (2022 21:11) (2021 15:8) (2020 8:4:4)
User avatar
SJPONeill
Modelling Gent and Scholar
Posts: 3525
Joined: May 1st, 2011, 12:01 am
Location: Near the Spiral, NZ.
Contact:

Re: Simon's Space

Post by SJPONeill »

Udarnyj is a couple of feet long, 6" beam and about 1/2" draft...hopefully a couple of tinlets will do the trick if I seal the surface before spraying it on....

As to hangar and dock, I am being dropped some strong hints that my modelling area in the garage is getting in the way of the dust from Her DIY so I may have to re-occupy and complete the man-cave that had been reroled as a the 'gym'...

Image

To do that will mean lining the insides and digging a trench back to the house for power - unless I can get enough power for air brush and lights from solar or the baby wind turbine...
Please critique my posts honestly i.e. say what you think so I can learn and improve...
The World According To Me
User avatar
SJPONeill
Modelling Gent and Scholar
Posts: 3525
Joined: May 1st, 2011, 12:01 am
Location: Near the Spiral, NZ.
Contact:

Re: Simon's Space

Post by SJPONeill »

PS that's obviously a winter shot but you wouldn't know it at the moment - it's 'mid-summer' and I had the fire blazing this evening...
Please critique my posts honestly i.e. say what you think so I can learn and improve...
The World According To Me
User avatar
SJPONeill
Modelling Gent and Scholar
Posts: 3525
Joined: May 1st, 2011, 12:01 am
Location: Near the Spiral, NZ.
Contact:

Re: Simon's Space

Post by SJPONeill »

Image

Making the most of the ability to sand while home alone, this rose to the top of the stash - I think that the last time I saw it was in 2003, when I used Tamiya 2 part putty to fill the most amazing gaps (1/4" +) in the wing/fuselage gaps...still needs quite a bit more filling and sanding...

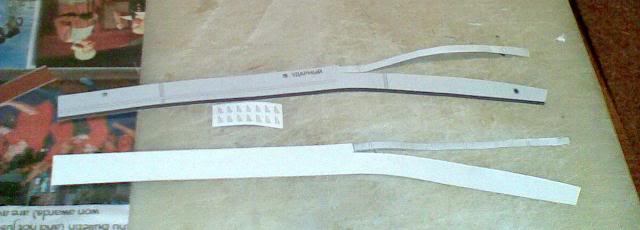
More progress on Udarnyj...

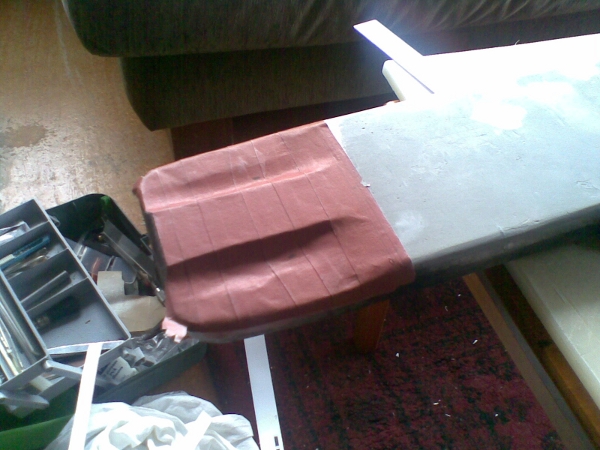
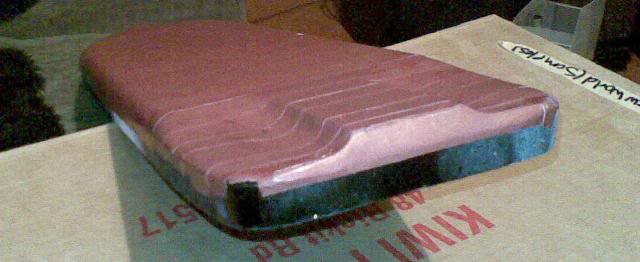
The major hull sheets in place...

Image

Stern plate in place - although I used the kit part as a template for shaping this area, it didn't match up so I ended up using a piece of the hull stock colour to cover the area...

Image

These are the bow hull sides including the extended areas that provide a wall around the bow deck (this probably has a proper nautical name - I just don't know what it might be!) - the parts that form the inside of this, part of the 16 series, are misnumbered with the right and left side reversed -pretty obvious as they will only fit one way...Could fit these because the triangular support braces Yet to be fixed) have to mount on to the deck ergo the deck must go on first...

Image

Here you can see the forward deck fitted...as I had sprayed this area black to darken the inside of the anchor chain compartments, I did not notice that I had no solid surface on which to mount the bulkhead between the two deck levels. Fortunately i had made an impulse purchase of Milliputt filler during my last resup visit to Modelcraft & Hobbies and mixed some of this up to fill these voids. Still have to sand it in to the final smooth vertical surfaces...

Image

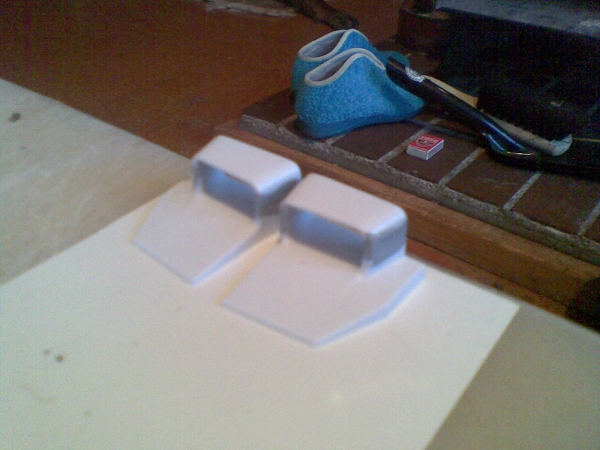
Have brought the parts on-base with me this week with the best of intentions to do some more prep work while away from home but unfortunately my nights aren't quite panning out that way....
Please critique my posts honestly i.e. say what you think so I can learn and improve...
The World According To Me
User avatar
Stamford
Modelling Gent and Scholar
Posts: 2240
Joined: May 1st, 2011, 7:42 am
Location: Klågerup Sweden

Re: Simon's Space

Post by Stamford »

Just been having a look through these vast sheets of plastics! Your display cabinet must be quite large :shock: What hapened to the 1/32 Vulcan?
running at the edge of their world
User avatar
SJPONeill
Modelling Gent and Scholar
Posts: 3525
Joined: May 1st, 2011, 12:01 am
Location: Near the Spiral, NZ.
Contact:

Re: Simon's Space

Post by SJPONeill »

Only when I finish something, will I need to worry about a display case...it'll probably occupy one wall of the man cave a couple of posts above...

The Vulcan is on hold until my hair grows back enough for me to have another crack at it...planning on starting on sub-assemblies (cockpit, gear bays and bomb bay) after I get the Arrow, Udarnyj and the Four or more engine GB out of the way...once I have them done I can probably just build the rest around them and bin the original vac parts...
Please critique my posts honestly i.e. say what you think so I can learn and improve...
The World According To Me
User avatar
Softscience
Staring out the window
Posts: 7459
Joined: April 5th, 2011, 4:34 pm
Location: Maryland, near Washington DC

Re: Simon's Space

Post by Softscience »

I love the difference between your progress shots and just about everyone else on this site. Most workbench threads have some kind of desk or bench, with paints and plastic bits on it, maybe a lamp or two, etc.

Yours on the other hand look like a small industrial workshop. Saw horses, blades, odd shapes and giant model looking things that might actually be pieces of a secret space-ship you're constructing. :)
MerlinJones

Re: Simon's Space

Post by MerlinJones »

I was admiring his little blue booties ;-)
User avatar
SJPONeill
Modelling Gent and Scholar
Posts: 3525
Joined: May 1st, 2011, 12:01 am
Location: Near the Spiral, NZ.
Contact:

Re: Simon's Space

Post by SJPONeill »

HER little blue booties, thank you!!!!

I do have a desk for modelling (really, I do) but it is out in the garage and because I tend to model at night (when I have some downtime from daylight activities like paid and domestic work), I tend to bring my projects into the house in the interests of togetherness (my wife works away during the week) and concurrent activity i.e. watching TV as the wireless rebro doesn't quite reach to the garage. If it's a nice day, I may take advantage of it, especially for sanding the Vulcan or painting hence the out door work bench...

Please, no mention of the 'secret space-ship' unless you are wearing your tinfoil hat...
Please critique my posts honestly i.e. say what you think so I can learn and improve...
The World According To Me
User avatar
Stamford
Modelling Gent and Scholar
Posts: 2240
Joined: May 1st, 2011, 7:42 am
Location: Klågerup Sweden

Re: Simon's Space

Post by Stamford »

MerlinJones wrote:I was admiring his little blue booties ;-)
Be fair - it does look a tad chilly out in the garage :ha:
running at the edge of their world
Post Reply

Return to “Workbench Window”