Montessa315's Back Room
-
Softscience

- Staring out the window
- Posts: 7491
- Joined: April 5th, 2011, 4:34 pm
- Location: Maryland, near Washington DC
Re: Montessa315's Back Room
Wow, Allan! Brilliant!
-
montessa315

- Modelling Gent and Scholar
- Posts: 1564
- Joined: May 1st, 2011, 9:34 am
- Location: Rugby - UK
Re: Montessa315's Back Room
Thanks shangos70 & softscience.
Well spent today decalling the main body, a coat of clear tomorow and that is finished.
The last dozen final small bits all cleaned up and ready for painting tomorrow.
Once assembled, the exhaust brackets to sort out.
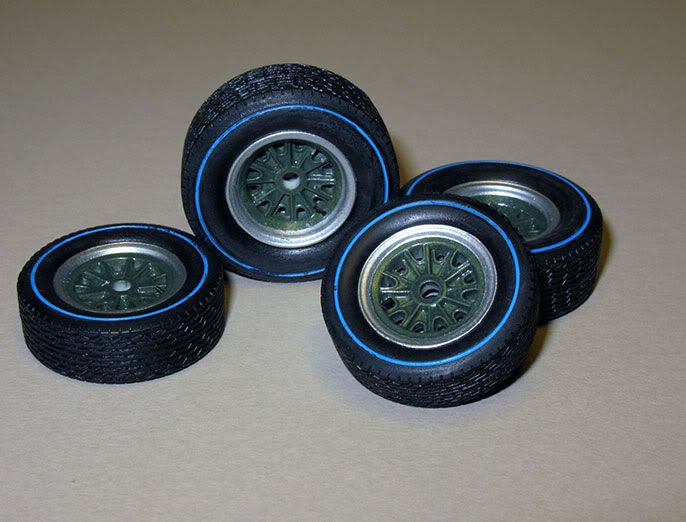
Also finished today, the wheels and tyres fitted.
If the final assembly all goes well, hopefully the weekend will see it completed...
Alan..........
Well spent today decalling the main body, a coat of clear tomorow and that is finished.
The last dozen final small bits all cleaned up and ready for painting tomorrow.
Once assembled, the exhaust brackets to sort out.
Also finished today, the wheels and tyres fitted.
If the final assembly all goes well, hopefully the weekend will see it completed...
Alan..........
_______________________________________________________________________
If you always do what you've always done, you'll always get what you've always got.
If you always do what you've always done, you'll always get what you've always got.
-
Jagewa

- Modelling Gent and Scholar
- Posts: 2752
- Joined: April 6th, 2011, 2:18 am
- Location: Christchurch, New Zealand
- Contact:
Re: Montessa315's Back Room
You look a bit 'tired', you have been 'flat out' on this one. 
-
montessa315
- Modelling Gent and Scholar
- Posts: 1564
- Joined: May 1st, 2011, 9:34 am
- Location: Rugby - UK
Re: Montessa315's Back Room
I'm not 'deflated' yet
_______________________________________________________________________
If you always do what you've always done, you'll always get what you've always got.
If you always do what you've always done, you'll always get what you've always got.
-
montessa315
- Modelling Gent and Scholar
- Posts: 1564
- Joined: May 1st, 2011, 9:34 am
- Location: Rugby - UK
Re: Montessa315's Back Room
Well, no 'blow-out' as of yet
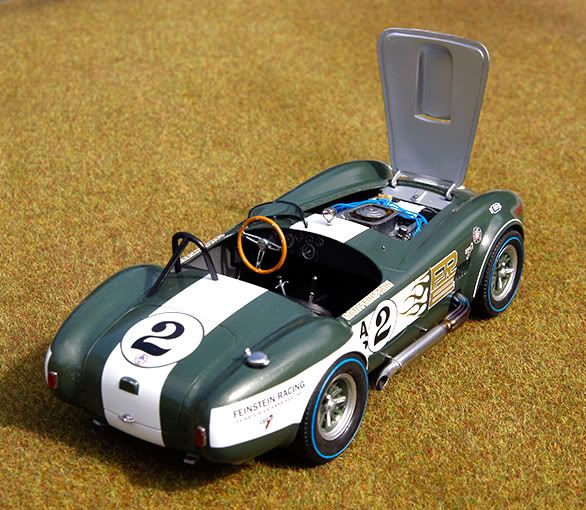
Main body has had a coat of clear. Chassis & body have been coupled. All small bits painted and fitted. Exhausts are completed and painted, drying overnight, attempting some discolouration on them tomorrow, a simple push fit when done.
So full unveiling on target for tomorrow..........
Alan.........
_______________________________________________________________________
If you always do what you've always done, you'll always get what you've always got.
If you always do what you've always done, you'll always get what you've always got.
-
montessa315
- Modelling Gent and Scholar
- Posts: 1564
- Joined: May 1st, 2011, 9:34 am
- Location: Rugby - UK
Re: Montessa315's Back Room
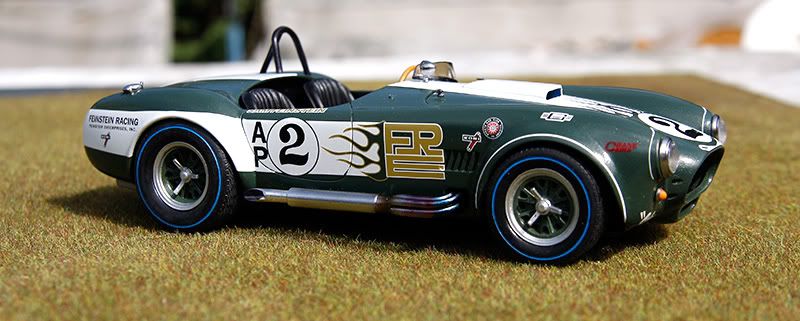
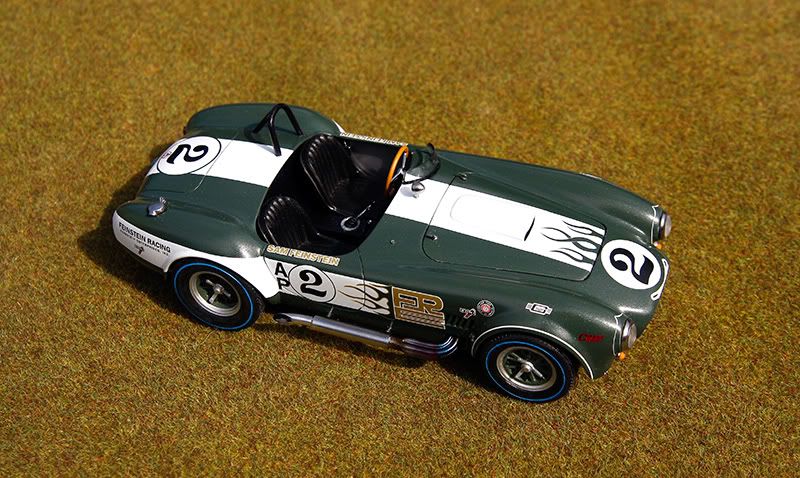
It has been finished.
Apart from the exhausts and HT wiring, buit OOB.
More pics can be found here:
http://uamf.org.uk/viewtopic.php?f=24&t=1452;
Thanks.
Alan.....
Apart from the exhausts and HT wiring, buit OOB.
More pics can be found here:
http://uamf.org.uk/viewtopic.php?f=24&t=1452;
Thanks.
Alan.....
_______________________________________________________________________
If you always do what you've always done, you'll always get what you've always got.
If you always do what you've always done, you'll always get what you've always got.

-
Dirkpitt289

- NUMA's Auto Mechanic
- Posts: 8724
- Joined: May 2nd, 2011, 1:55 am
- Location: New jersey USA
- Contact:
Re: Montessa315's Back Room
THAT LOOKS SWEET!!!!!!!!!!
.... Dirk
Beware of the DOG's of WAR
My Youtube Channel
https://www.youtube.com/user/ModelingGu ... rid&view=0
Beware of the DOG's of WAR
My Youtube Channel
https://www.youtube.com/user/ModelingGu ... rid&view=0
Re: Montessa315's Back Room
Any tips on how you do the heat effect on the manifolds ?
Ian.
Ian.
-
montessa315
- Modelling Gent and Scholar
- Posts: 1564
- Joined: May 1st, 2011, 9:34 am
- Location: Rugby - UK
Re: Montessa315's Back Room
Thanks people, appreciated.
It was the first time I had tried staining an exhaust, so didn't take pictures as I wasn't sure whether it would work or not.
The exhaust staining was quite simple.
I used Alclad Transparent yellow, blue, red and smoke. But I've seen good jobs done the same way but with food colouring mixed with Johnsons Klear at about a ratio of 30 parts to 1 part colouring.
The exhaust was chromed with Alclad. Then using the blue, I sprayed a band of colour around the outside of the bend, spraying light enough so as to take five or six passes to build up the colour, spraying less than 1/2" away from the component. All the next colours were sprayed the same way.
Then the yellow was sprayed in front of the blue, (as per direction of gas flow) making sure not to overlap the blue or you will end up with a green band. After the blue, I sprayed the red, making sure I did overlap the blue, which then gives you a purple band as, well between the blue and red.
I then sprayed a little more yellow by the joint of the pipes entering the silencer.
Then using the smoke, I sprayed a slightly darker band in the middle of the red part, then very lightly sprayed over all of the colours with the smoke to tone it done a little a bit.
I did all the spraying free hand.
If an when I do it again, I'll try and take some pictures of the process.
Thanks
Alan............
_______________________________________________________________________
If you always do what you've always done, you'll always get what you've always got.
If you always do what you've always done, you'll always get what you've always got.
-
montessa315
- Modelling Gent and Scholar
- Posts: 1564
- Joined: May 1st, 2011, 9:34 am
- Location: Rugby - UK
Re: Montessa315's Back Room
Well, got a fad at the moment for brighter colours than matt brown and greens, so have decided to do this next.

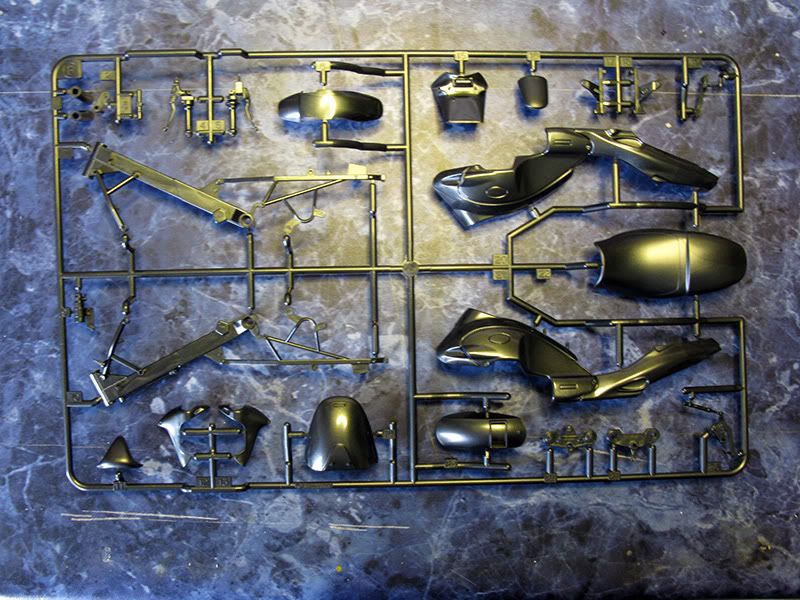
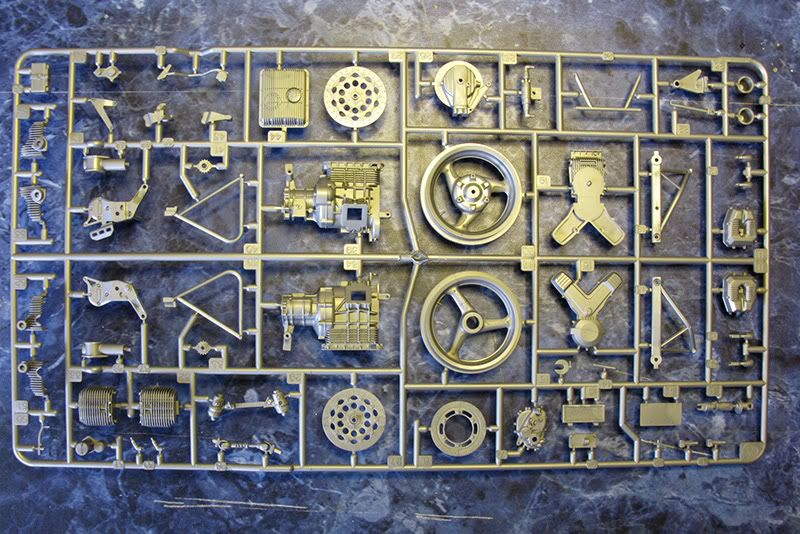
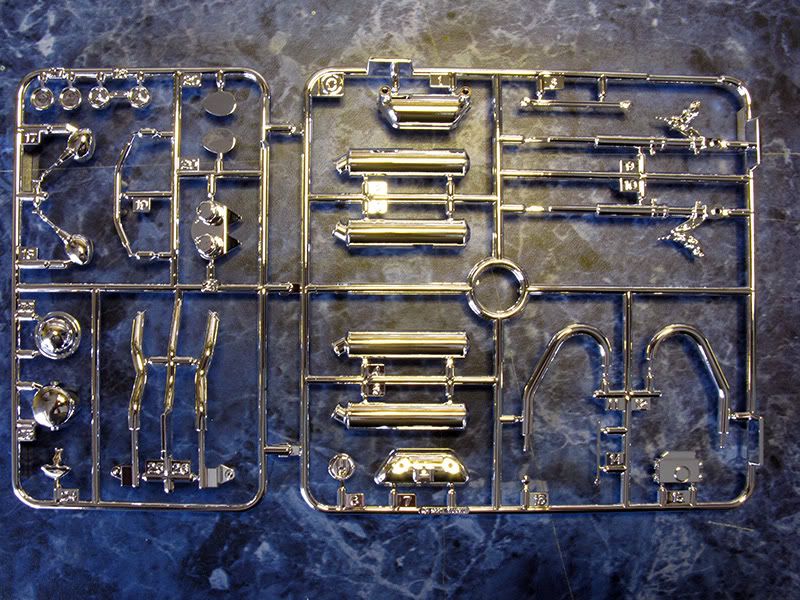
The contents of the box, include:
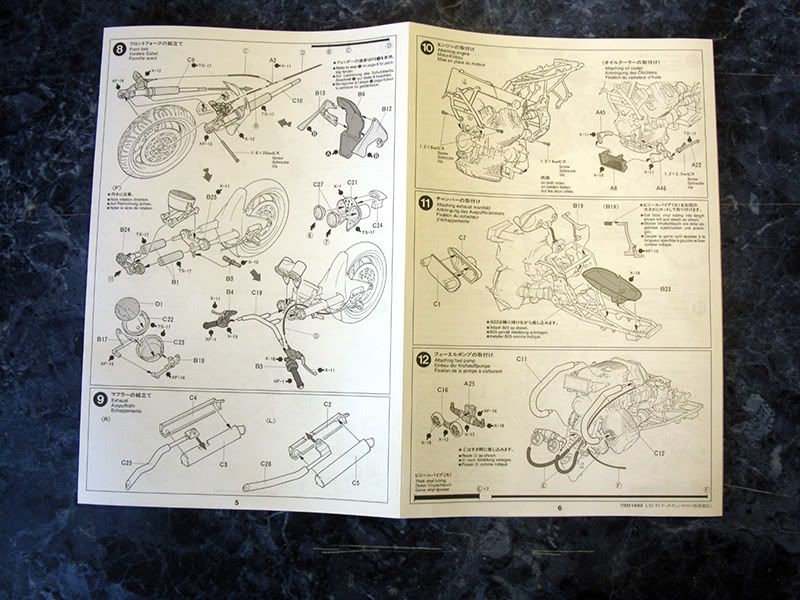
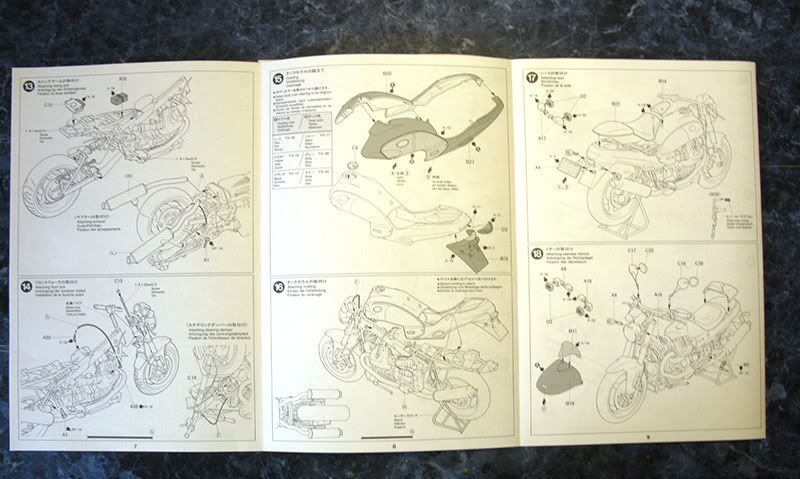
The instructions.
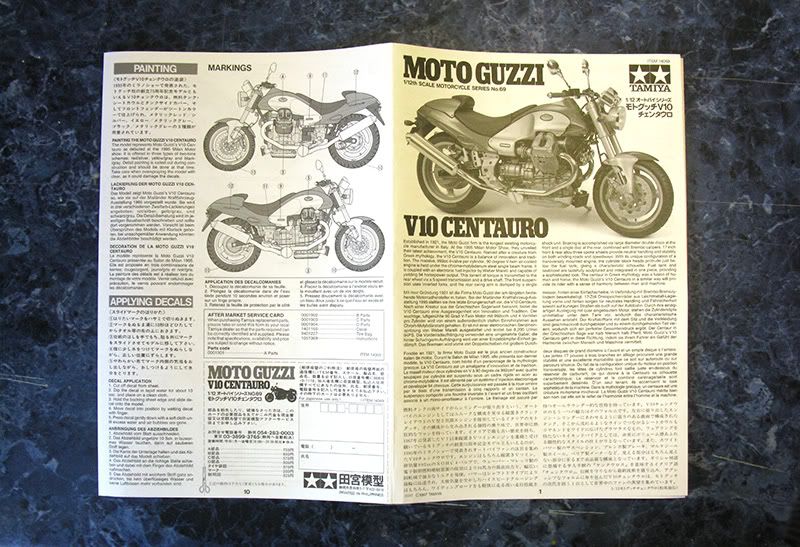
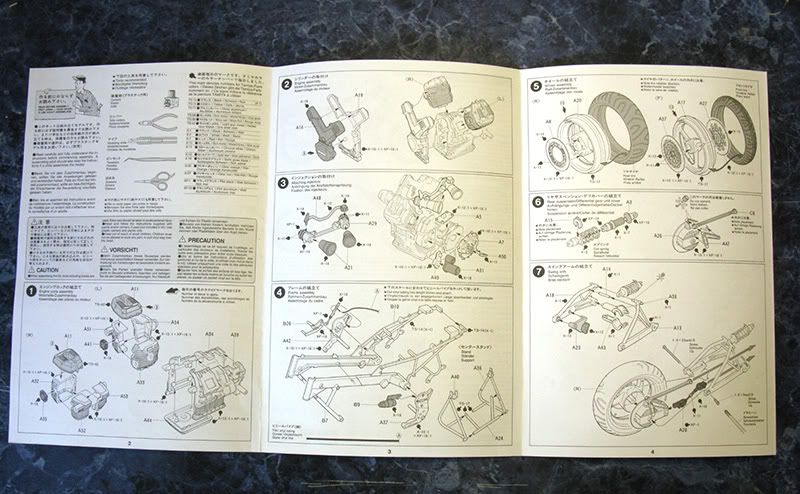
The sprues:
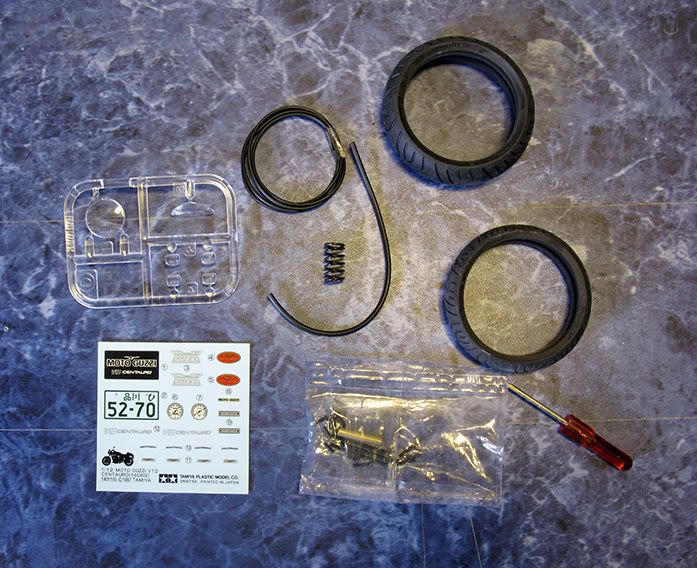
The clear sprues, decals, tyres, rear suspension spring, screwdriver for the screws for the wheels, front forks and rear swingarm.
I will carry on with pics as I progress.
Thanks.
Alan.............
The contents of the box, include:
The instructions.
The sprues:
The clear sprues, decals, tyres, rear suspension spring, screwdriver for the screws for the wheels, front forks and rear swingarm.
I will carry on with pics as I progress.
Thanks.
Alan.............
_______________________________________________________________________
If you always do what you've always done, you'll always get what you've always got.
If you always do what you've always done, you'll always get what you've always got.
-
Dirkpitt289
- NUMA's Auto Mechanic
- Posts: 8724
- Joined: May 2nd, 2011, 1:55 am
- Location: New jersey USA
- Contact:
Re: Montessa315's Back Room
thanks for the info on discoloring the exhaust. I will be trying that when it comes time to do my cobra. I also like your choice for your next subject. I'm guessing you might be able to document the exhaust process this time. 
.... Dirk
Beware of the DOG's of WAR
My Youtube Channel
https://www.youtube.com/user/ModelingGu ... rid&view=0
Beware of the DOG's of WAR
My Youtube Channel
https://www.youtube.com/user/ModelingGu ... rid&view=0
-
montessa315
- Modelling Gent and Scholar
- Posts: 1564
- Joined: May 1st, 2011, 9:34 am
- Location: Rugby - UK
Re: Montessa315's Back Room
Dirkpitt289 wrote:thanks for the info on discoloring the exhaust. I will be trying that when it comes time to do my cobra. I also like your choice for your next subject. I'm guessing you might be able to document the exhaust process this time.
Thanks.
There will probably be a small amount of blueing where the exhaust fit the head, so will try and show it in more detail.
Alan..............
_______________________________________________________________________
If you always do what you've always done, you'll always get what you've always got.
If you always do what you've always done, you'll always get what you've always got.
-
montessa315
- Modelling Gent and Scholar
- Posts: 1564
- Joined: May 1st, 2011, 9:34 am
- Location: Rugby - UK
Re: Montessa315's Back Room
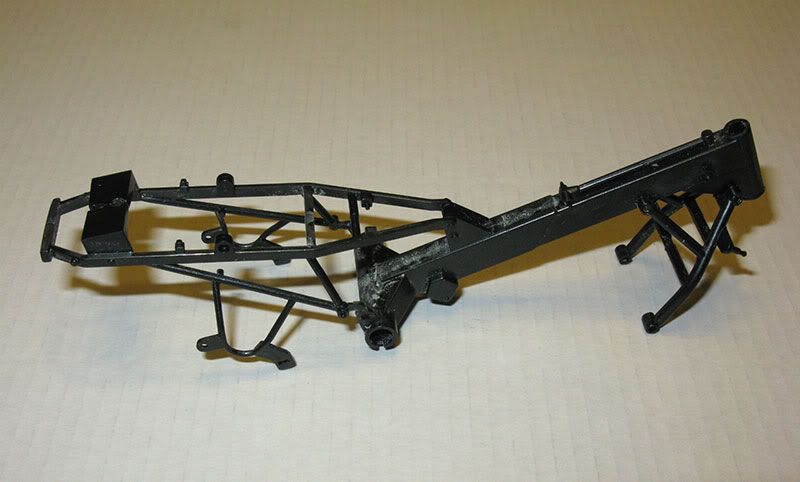
Have been working on this, just haven't got round to posting anything.
So to get upto date.
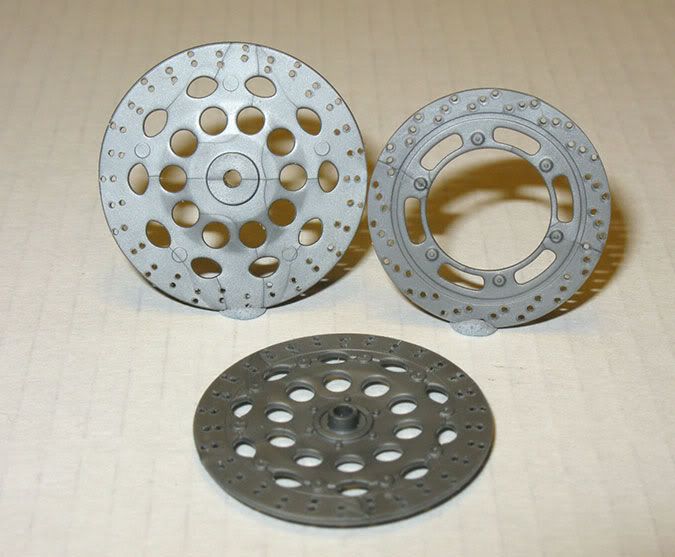
The first day, cleaned a few bits up and glued them together.
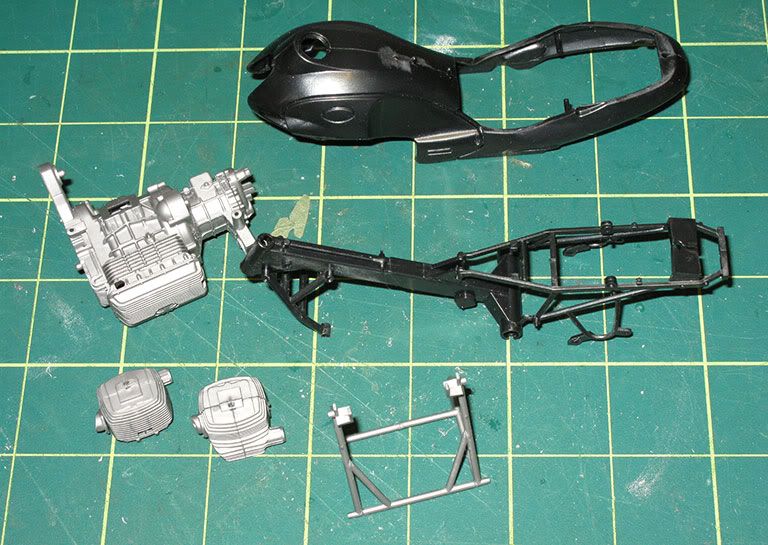
And drilled out the brake disc's.
The second day, got the heads on the engine, ready for priming, will have to see how the joins on the heads look when primed.
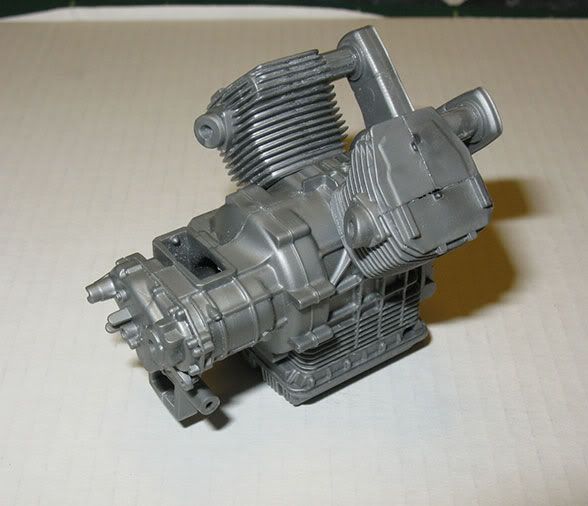
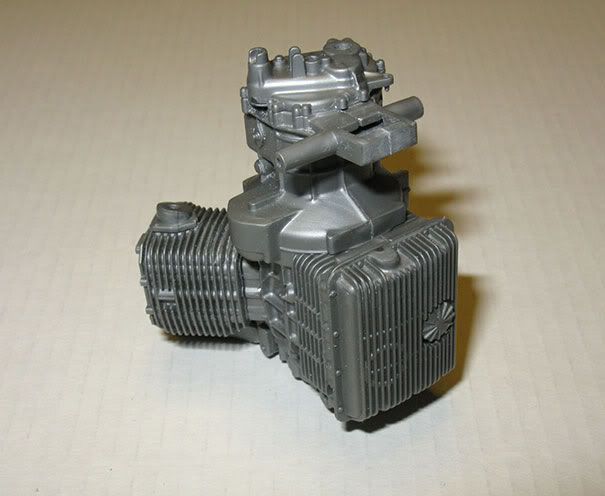
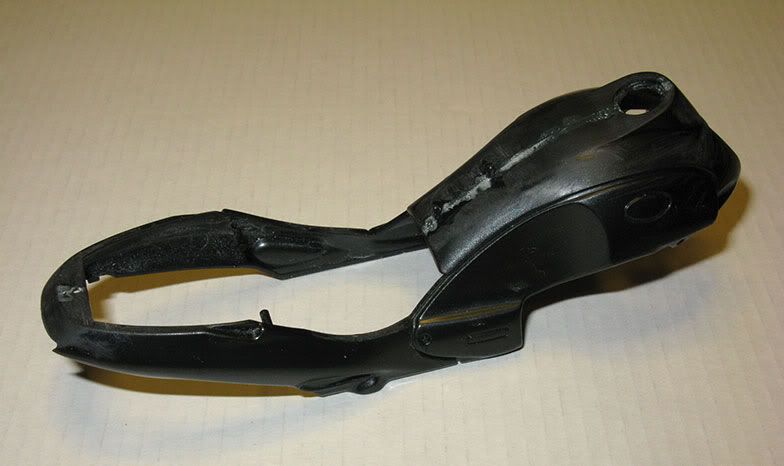
Filled and rubbed down the other parts, just need washing and then a coat of primer and a double check on the joints.
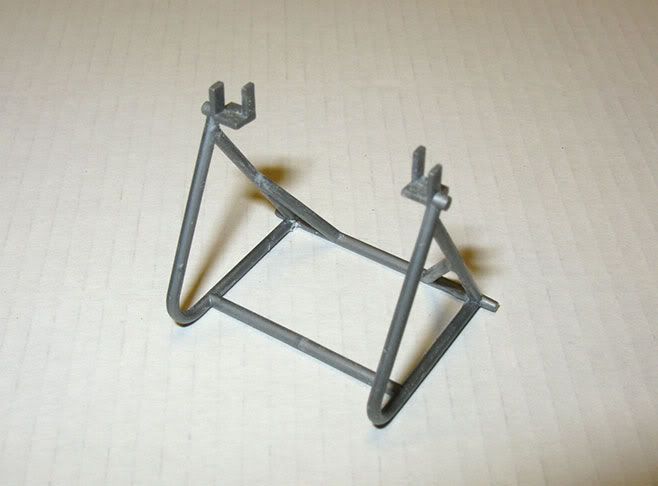
The stand..
A few more bits ready for primer.
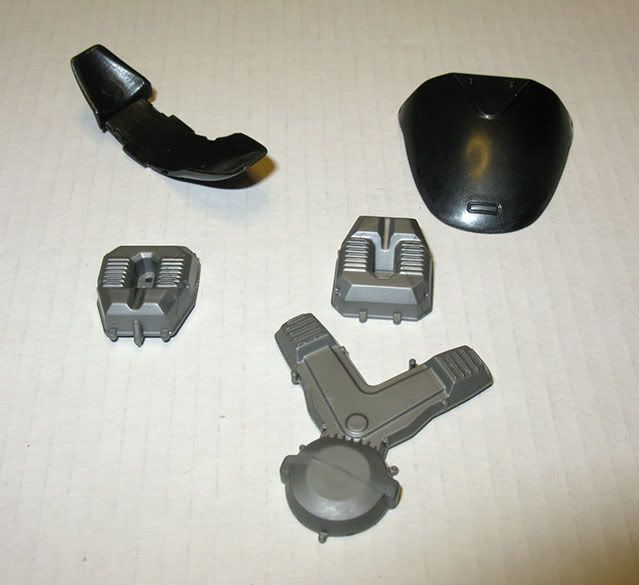
A few more parts to come off the sprues, cleaned up and checking for fit, then will be looking at getting some paint on.
Alan...............
So to get upto date.
The first day, cleaned a few bits up and glued them together.
And drilled out the brake disc's.
The second day, got the heads on the engine, ready for priming, will have to see how the joins on the heads look when primed.
Filled and rubbed down the other parts, just need washing and then a coat of primer and a double check on the joints.
The stand..
A few more bits ready for primer.
A few more parts to come off the sprues, cleaned up and checking for fit, then will be looking at getting some paint on.
Alan...............
_______________________________________________________________________
If you always do what you've always done, you'll always get what you've always got.
If you always do what you've always done, you'll always get what you've always got.