THE DEN IS DEAD. LONG LIVE THE DEN
Well guys, after many years of torturing styrene and wasting paint, I've finally got my own hobby room.
After moving around on dining tables and trays, making the lounge smell bad (sometimes it was glue and paint causing it

), and evicting Harry Potter from his understairs home I've completed my model making sanctuary.
About three months ago our son moved into a 3rd floor
hovel flat with his mate and is currently enjoying the "student lifestyle". This left his former sty open to improvement. And, boy, did it need some improvement! It smelled indescribable, the way that, possibly, a gorilla cage might smell if it hadn't been hosed out for 20 years but I looked at it in a different way. I saw a potential in it and, after a little cajoling, Mrs D agreed that this could be my own private domain.
So, being a keen DIYer, and having a fair amount of time on my hands, I set about making a habitable space. The walls were scrubbed to remove the mould (yes MOULD

). It's not that it's a damp room but when a teenager is in there permanently with the heating on playing computer games with the window shut, there's going to be some issues. The walls cleaned up quite well and showed no signs of external damp. There was some plaster damage to the one wall though. I could have just sealed and patched this but, as I'm a bit of an environmentalist and have studied sustainable building design, I thought I'd make the room a bit more efficient and perhaps save on our heating bills into the bargain.
So I lined one wall with 1" Celotex high U value insulation board spaced with 68mm battens. I plasterboarded and plastered over this to give a smooth surface. After a suitable drying time I sealed the plaster and painted the ceiling and walls. I had to put in some new skirting and repaint this and all the other woodwork. I wired in a new double socket and light fitting and fitted a hardwearing plain black carpet.
The door was refitted and all door furniture (after cleaning up) replaced. The old curtains were thoroughly washed and reused. Then it was time to fit it out as a model room.
And this is what I did:
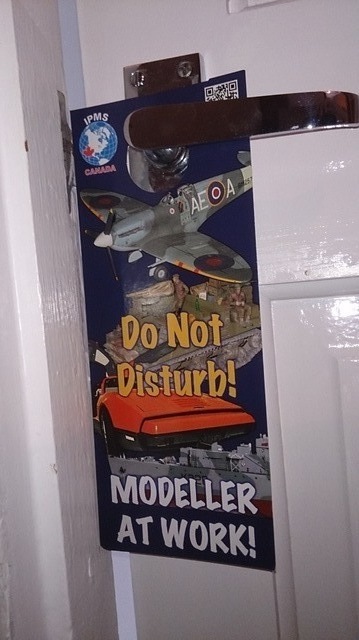
Through the door.
And a look inside.
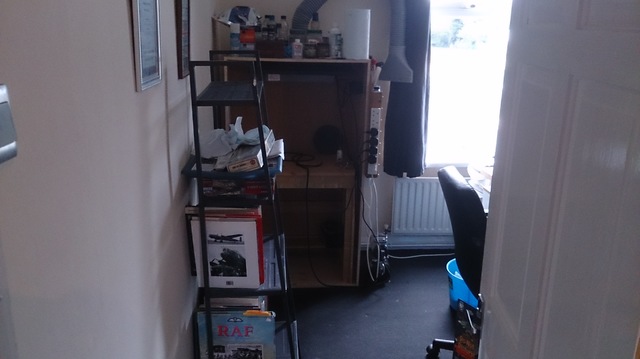
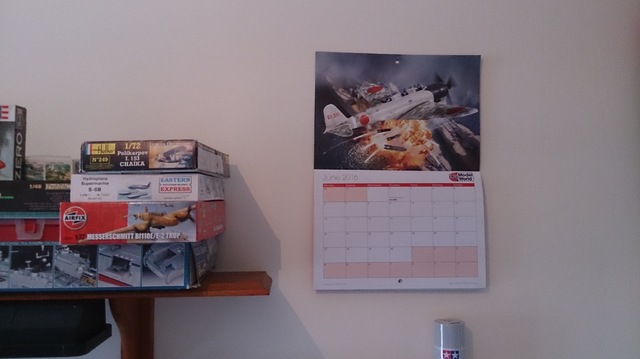
I moved this Ikea metal shelf unit from next to the computer desk downstairs. It holds my small reference/inspiration library and a couple of in-progress builds.
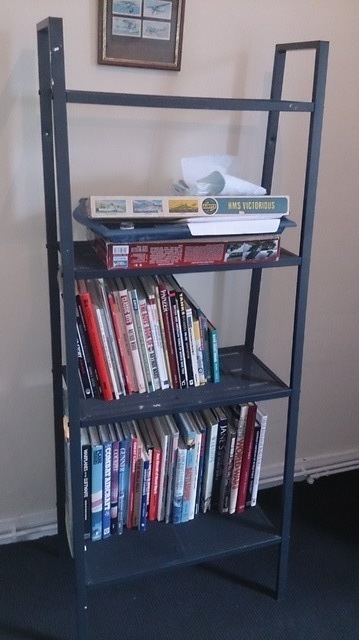
You'll notice there's room for more
I'll probably get some more pictures soon.
I needed a spray booth so I placed mine in the corner. It's set up without a filter to maximise flow and the extractor hose can be swung out through the window when in use. The booth is actually part of an old wardrobe carcass thoughtfully rescued by Mrs D. I was originally just going to set up a small bench but this arrangement allows me a top surface on which I can store airbrush accessories, cleaners, safety equipment (gloves and mask) and, at the moment, some trays of enamel paint.
The bench inside was originally the one that was used to extend the Den. By happy coincidence it fits exactly inside the booth.
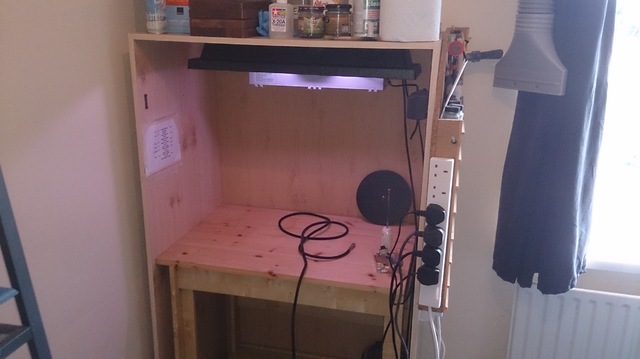
The light is an old aquarium strip light. I cut down the lid and screwed it to the upper surface. the extractor behind is the one I used in my garage workshop but with the plastic shrouds and filters removed. It vents at quite a respectable rate through a fitted extractor hose out of the top of the booth. Best of all, the extension rail at the side has a switch that allows light, extractor and compressor to be switched on in one go.

And, speaking of the compressor, this is where it lives.
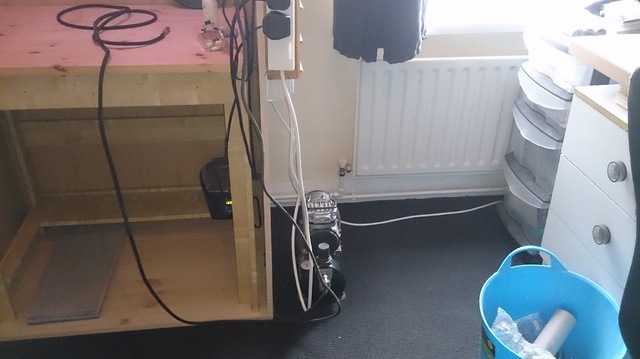
It seems to be happier here than in the garage. Also visible under the desk is my ultrasonic cleaner. Quite handy for cleaning airbrushes and motorcycle parts. Almost as good as a dishwasher in fact
At the side of the booth is the old paint rack from the Den
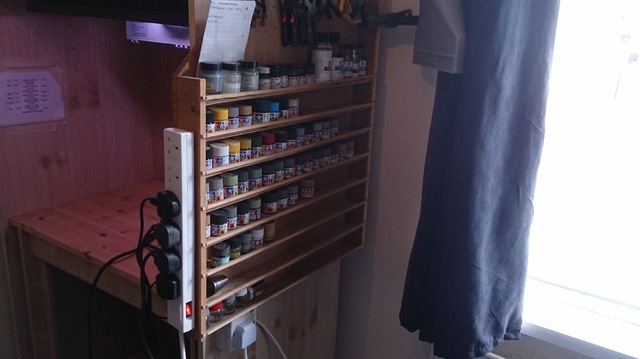
It holds pre-thinned paint, Alclad, ready to spray stuff and a few spare mixing pots. It's handy to keep these separated from the main paint stock.
And I've got a window.
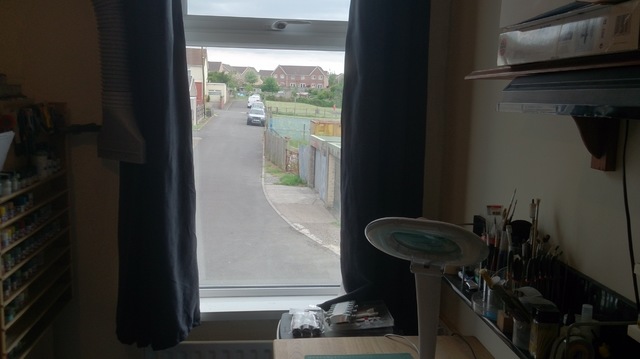
I know it's not a brilliant view but it's got some green in it, the street is pretty quiet and it casts a lot of natural light over the bench.
Next to the window, and handily placed radiator ready for cold Winter evenings, is this mobile drawer unit.
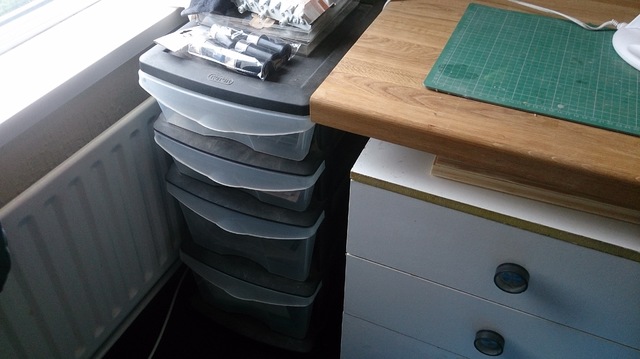
I've had it for years stashed in the loft room. I emptied some model railway related stuff out and it now holds my instruction and decal library plus a couple of reference magazines and some other paperwork/scribbles.
And this is where the magic happens....or.....this is where you're going to find me sobbing over the latest blast-up

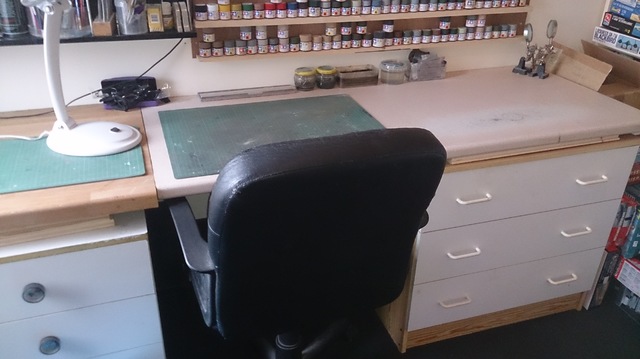
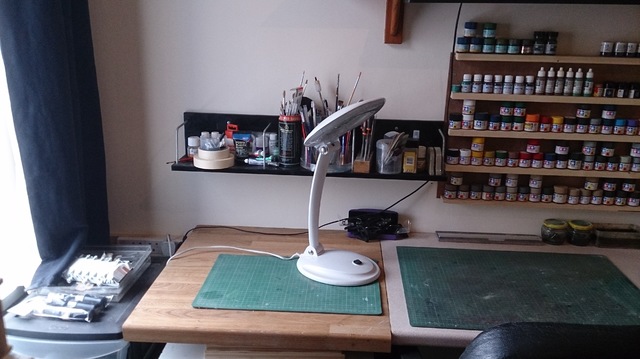
The hub, the nerve centre, the place where I'll be escaping to. You know the score. It's the old Den chair which I do find quite comfy. The bench is a couple of bits of leftover kitchen surface fixed together and mounted to a batten on the wall. The oak bench is a little wider than the melamine one. I could have ripped it down to match but I thought "no...I'd rather have a few more inches of desk space". A few more inches are always welcome. That's what Mrs D told me anyway
I've got my 2 cutting mats on there and a few vitals at the back. I've tried to keep bench clutter to an absolute minimum.
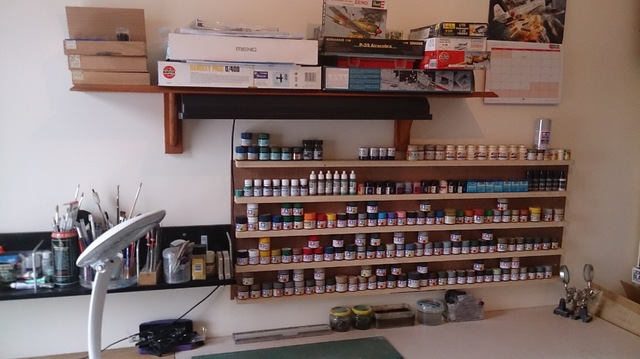
I've arranged the wall mounted storage so that everything should be within reach. The overhead shelf could be described as the "shelf of shame" as it contains stalled builds but ones that I'm keen to get back to. The 1/72nd Revell Zero, identical to the first kit I built over 40 years ago, is there for nostalgic reasons rather than building. This shelf also supports a light positioned to shine down on the bench. Again this is an aquarium light, a bigger one this time. I've yet to try it out under "combat" conditions but it looks to give out a pretty good quantity of light.
And everyone has an AMW calendar, don't they?

The black shelf on the left hold s brushes, glues, tape etc. Tools are kept in the small left hand drawer under the bench and my daylight lamp stays poised for action and repositioning as convenient.
And, of course, there's the paint rack.
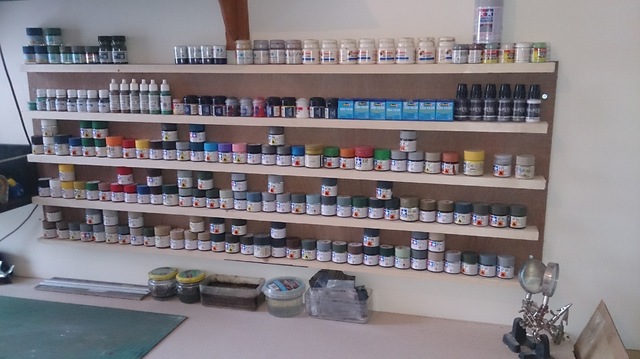
I built this myself. A 6mm plywood back with shelves made from 18mm PSE timber, spaced to take 2 standard Tamiya paint pots. As you can see, most of my paint is Tamiya, although there are a few pots of Vallejo, Gunze, Revell Aqua, Games Workshop, Akan and even the dreaded Humbrol. They're not very good but I'm too frugal (read "tight") to throw them out.
When I bought the 18mm timber for the paint rack I picked up 20 x 2.4 metre lengths of the stuff. A bit much you may think for a smallish paint rack but I actually had a cunning plan in mind. My stash had been languishing in our semi-converted loft-room for a long time. It wasn't too difficult to get to but with it being out of sight it was difficult to keep track of. I had a couple of feet of room left and about 40 metres of timber. I also had a drill and chop saw, so I set to with a vengeance. In the same day I built and assembled a set of racking to hold my stash.
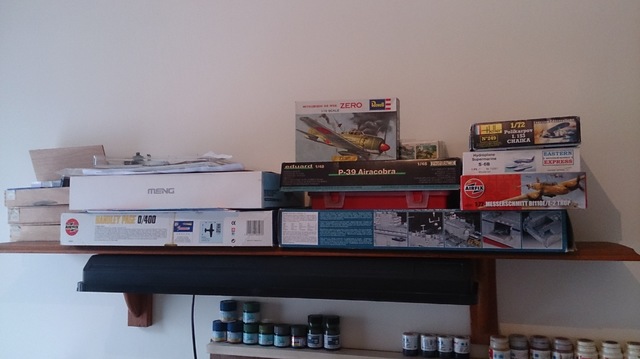
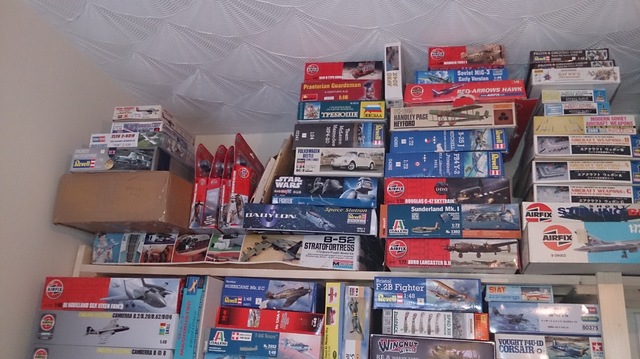
And here's the result.
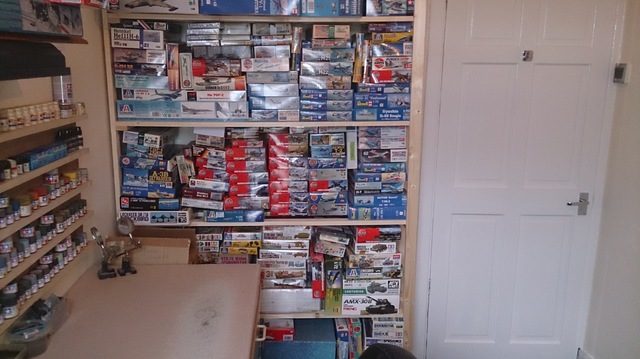
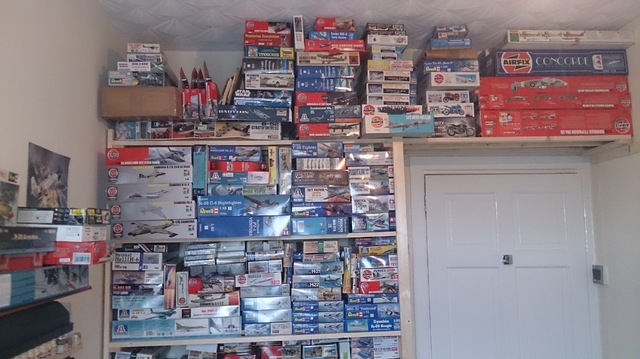
Essentially, one walks into the hobby room "through" the stash.
And, believe it or not, there is some semblance of order.
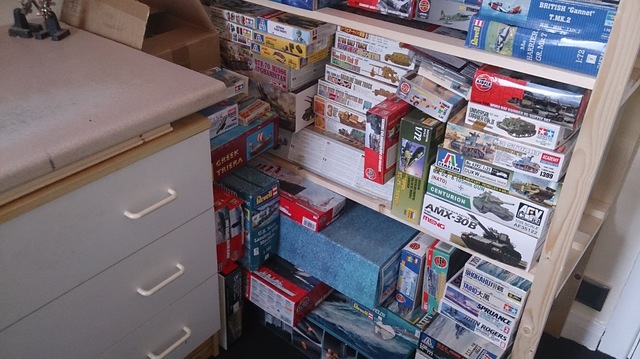
Military and naval kits at the bottom (there's a 1/350th Enterprise and 1/72nd U-boat at the back

)
1/72nd aircraft
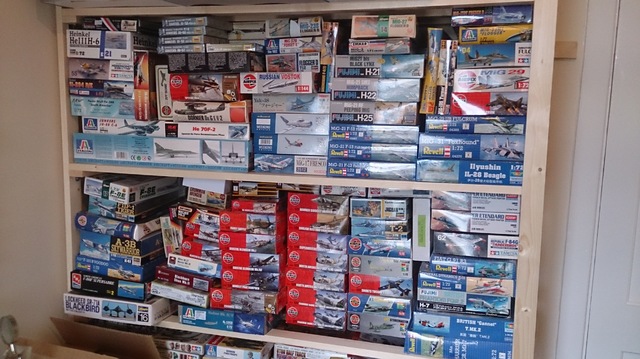
1/48th aircraft (plus a 1/32nd WW RE.8)
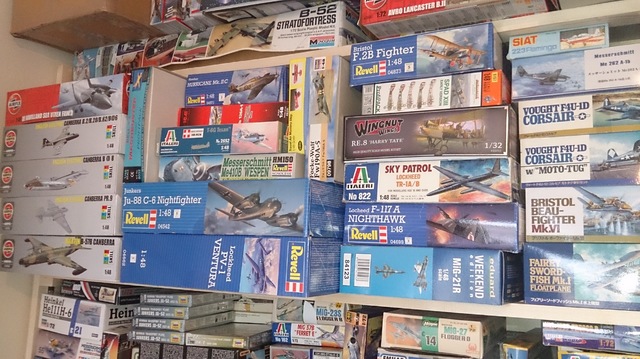
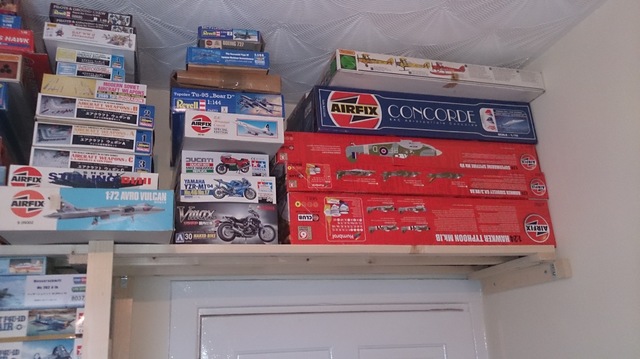
And the top shelf for "overflows" and things that don't fit in anywhere else i.e. motorcycles, cars, sci-fi. 1/24th and 1/32nd a/c etc.
It's taken me the best part of ten weeks to build this room, doing all the work myself. It was only really finished this morning when I filled the bookshelf. I'm really happy with it and already find it a nice place to sit and chill out. I'm looking forward to many happy hours of modelling in here.
Just got to decide what's first


