Page 99 of 101
Re: Toby's table top turmoil
Posted: January 3rd, 2018, 2:43 pm
by TobyC
iggie wrote:Ratch wrote:Aren't you only allowed one weekend to build it

I thought you can only work on them
on weekends..... but take as many weekends as you like

Stupid boys

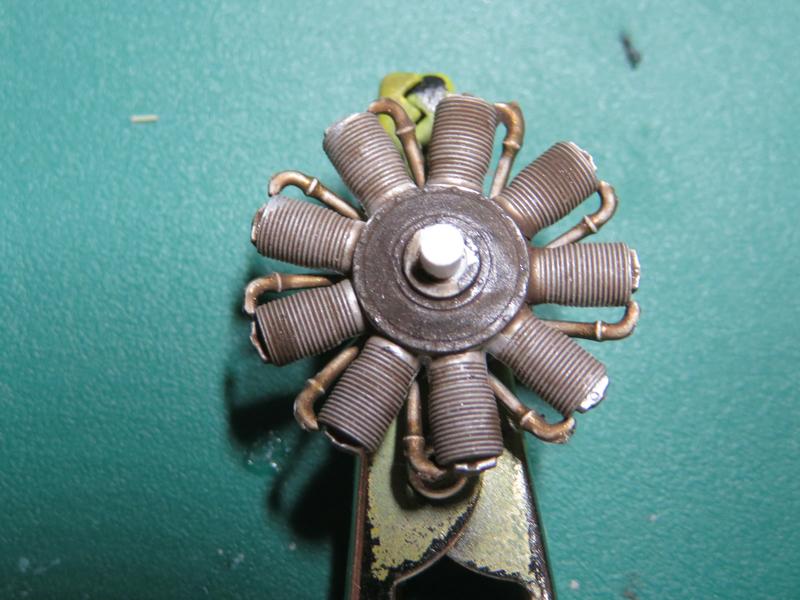
Made a start with the engine using Vallejo MA Aluminium, Brass, umber wash and Mr Hobby burnt iron

Re: Toby's table top turmoil
Posted: January 3rd, 2018, 5:33 pm
by ShaunW
Good start and this looks to be a very nice kit of the aircraft. I'm pretty sure that Eduard's offering would be my first port of call for a Dr.1 - 1/48th is my preferred scale for these WW I single-seat fighters as I find them to be just too small and fiddly in 1/72nd.
I thought it was common knowledge that a weekend in Eduardland has a duration of about 6 weeks
Re: Toby's table top turmoil
Posted: January 3rd, 2018, 5:37 pm
by iggie
ShaunW wrote:Good start and this looks to be a very nice kit of the aircraft. I'm pretty sure that Eduard's offering would be my first port of call for a Dr.1 - 1/48th is my preferred scale for these WW I single-seat fighters as I find them to be just too small and fiddly in 1/72nd.
I thought it was common knowledge that a weekend in Eduardland has a duration of about 6 weeks
Do you think they have pubs in Eduardland?

That 6 weeks could be ambitious if so.....

Nice start on T'engine Toby; very convincing
Re: Toby's table top turmoil
Posted: January 3rd, 2018, 8:41 pm
by Ratch
TobyC wrote:Stupid boys

Re: Toby's table top turmoil
Posted: January 6th, 2018, 1:21 pm
by Lone Modeller
Nice to see another WW1 type Toby. I do not like the look of those streak transfers....somehow using large transfer sheet lost its appeal when I tried some Roden lozenge some years ago....it would have been easier to hand paint it! I am sure that you will manage these well though. A very fine start on the engine.
Re: Toby's table top turmoil
Posted: January 7th, 2018, 10:13 pm
by TobyC
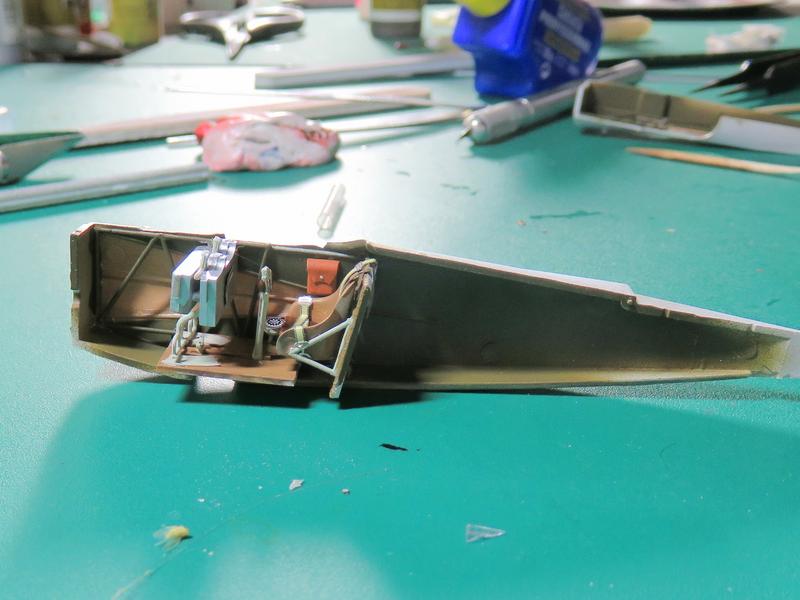
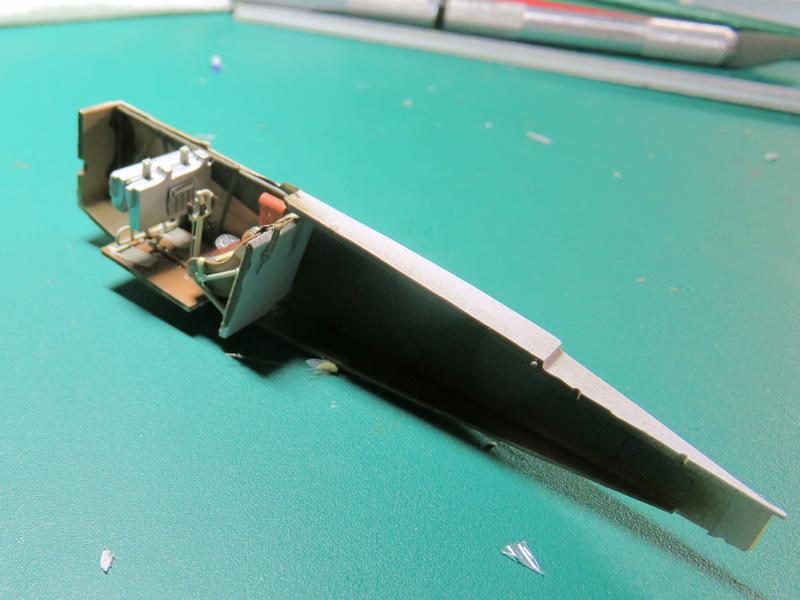
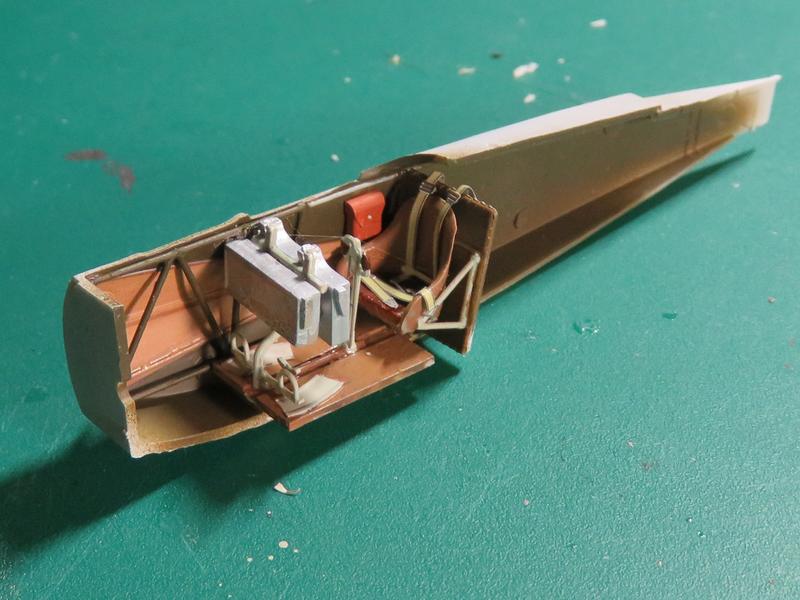
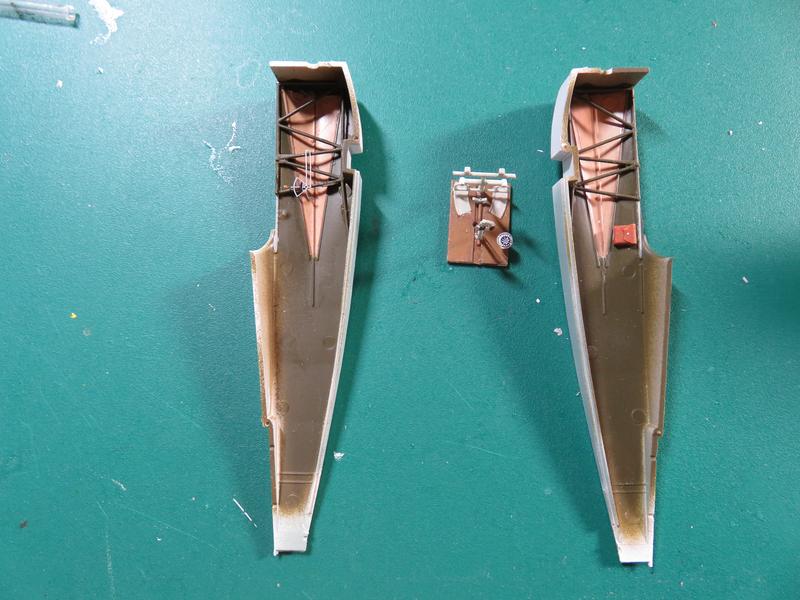
Started on the interior. It's so nice to have a kit where all the parts fit where they're supposed to.
If anyone wants to get into WW1 stuff then I can recommend this particular model by Eduard. Very little rigging and so far a joy to build.
I have another 4 in the stash. I may spend the rest of my life making little Fokkers.
Re: Toby's table top turmoil
Posted: January 7th, 2018, 10:14 pm
by TobyC
Started on the interior. It's so nice to have a kit where all the parts fit where they're supposed to.
If anyone wants to get into WW1 stuff then I can recommend this particular model by Eduard. Very little rigging and so far a joy to build.
I have another 4 in the stash. I may spend the rest of my life making little Fokkers.
Re: Toby's table top turmoil
Posted: January 7th, 2018, 11:15 pm
by iggie
I'm sure Stan Boardman would have a few choice comments to add to this thread......
Re: Toby's table top turmoil
Posted: January 8th, 2018, 2:50 pm
by TobyC
Re: Toby's table top turmoil
Posted: January 8th, 2018, 5:32 pm
by ShaunW
Nicely done, Toby. Eduard really are producing some excellent kits.
Re: Toby's table top turmoil
Posted: January 10th, 2018, 10:48 pm
by skypirate
Another biplane masterclass in progress!
Looking grand!
David
Re: Toby's table top turmoil
Posted: January 11th, 2018, 7:36 am
by Stuart
Lovely progress on that kit Toby.
Re: Toby's table top turmoil
Posted: January 11th, 2018, 10:54 am
by TobyC
skypirate wrote:Another biplane masterclass in progress!
Looking grand!
David
Triplane this time

Thanks all for the generous comments
Re: Toby's table top turmoil
Posted: January 15th, 2018, 11:21 am
by TobyC
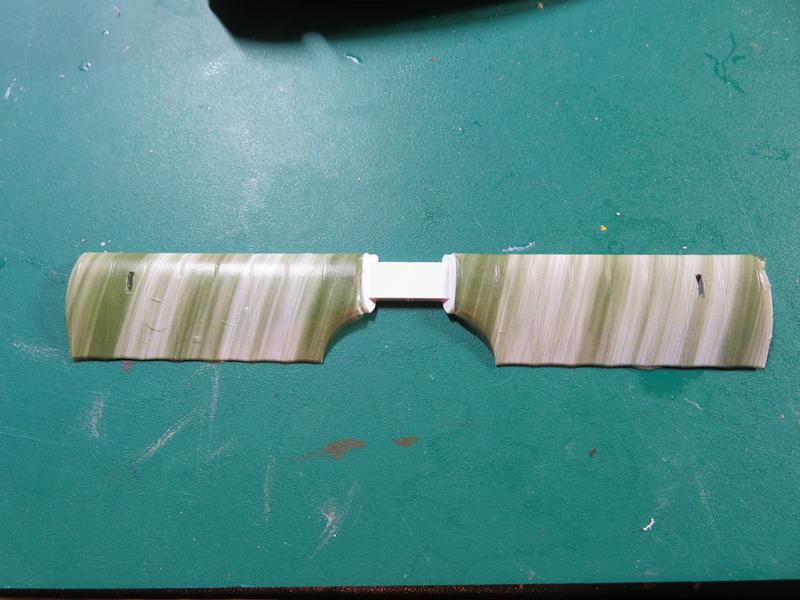
I've decided to use Aviattics bespoke decals rather than make my own from their streaked camouflage decal sheet.
 [/url
[/url
[url=https://postimages.org/]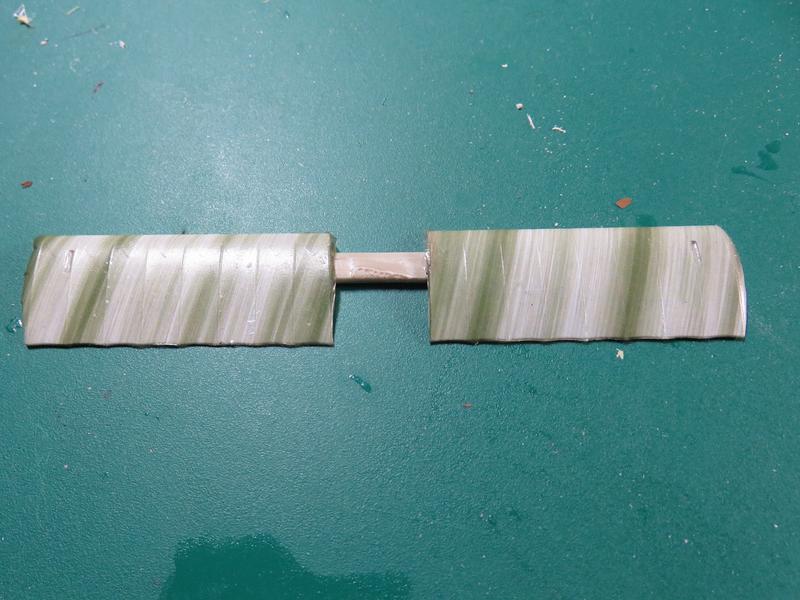
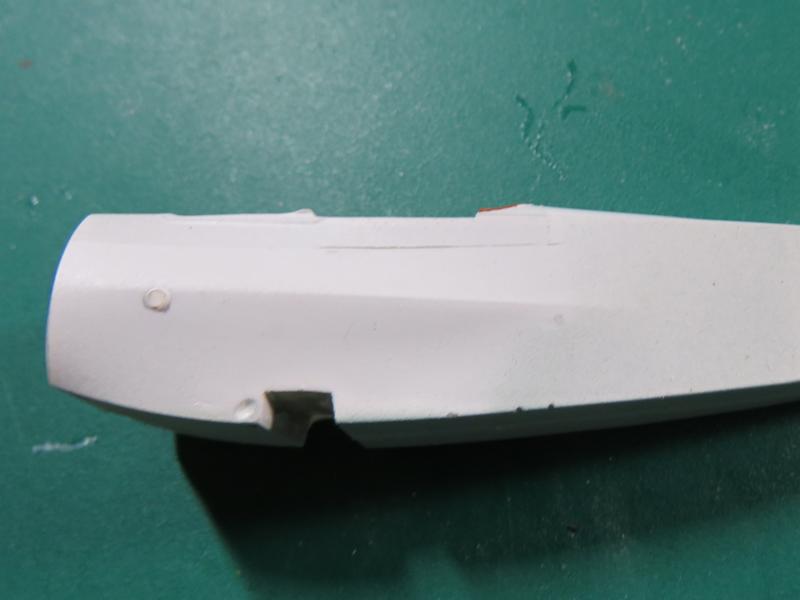
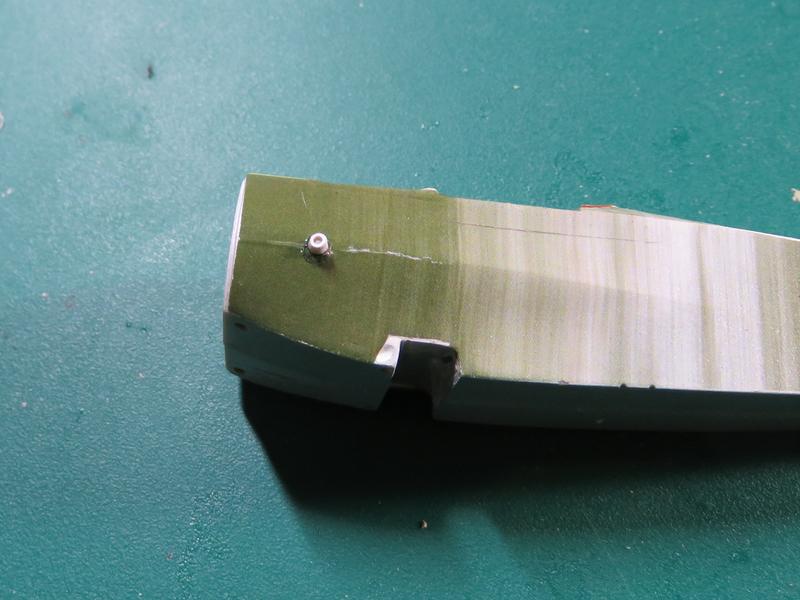
I tried applying the starboard decal without removing the forward outlet with dire results. "Repairs" effected but a mistake I won't make again

So I cut the port one off, applied the decal and then reattached the outlet
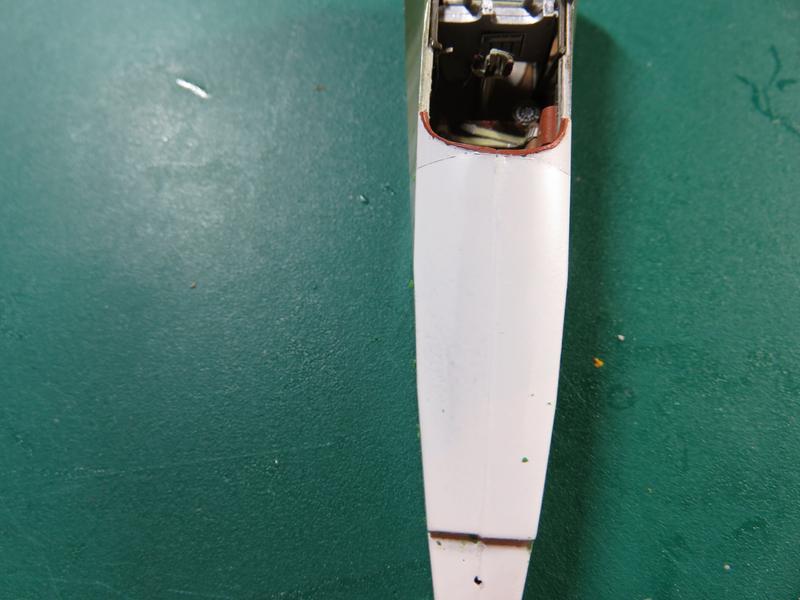
I did attach the top decal but my initial fitting of the side decals left a gap so I've had to make up a new one from the streaked camouflage set I already had from Aviattic. Still not correct but most will be hidden by the triangle decals
Re: Toby's table top turmoil
Posted: January 22nd, 2018, 7:14 am
by skypirate
That streaked camo is masterfully done!
Cheers,
David