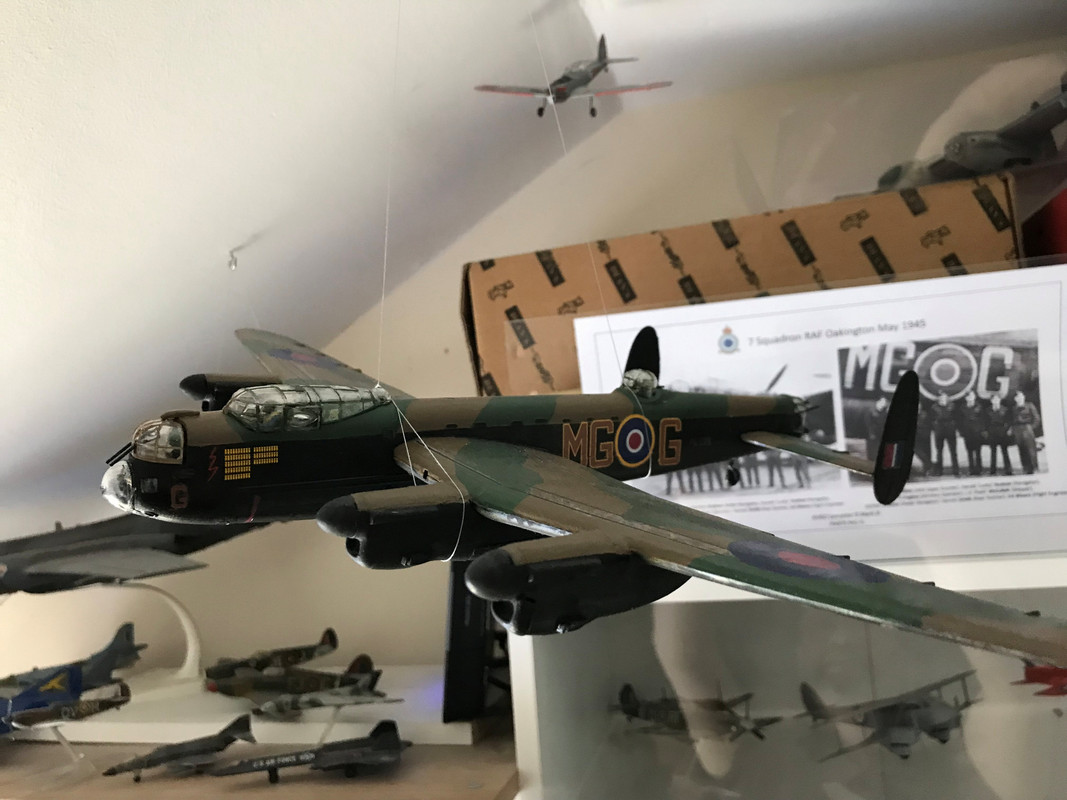
I decided to rebuild it as a Canadian operated 'plane.
I cleaned the clear parts as best as I could , but only the cockpit one responded well, the others had too much glue on them.
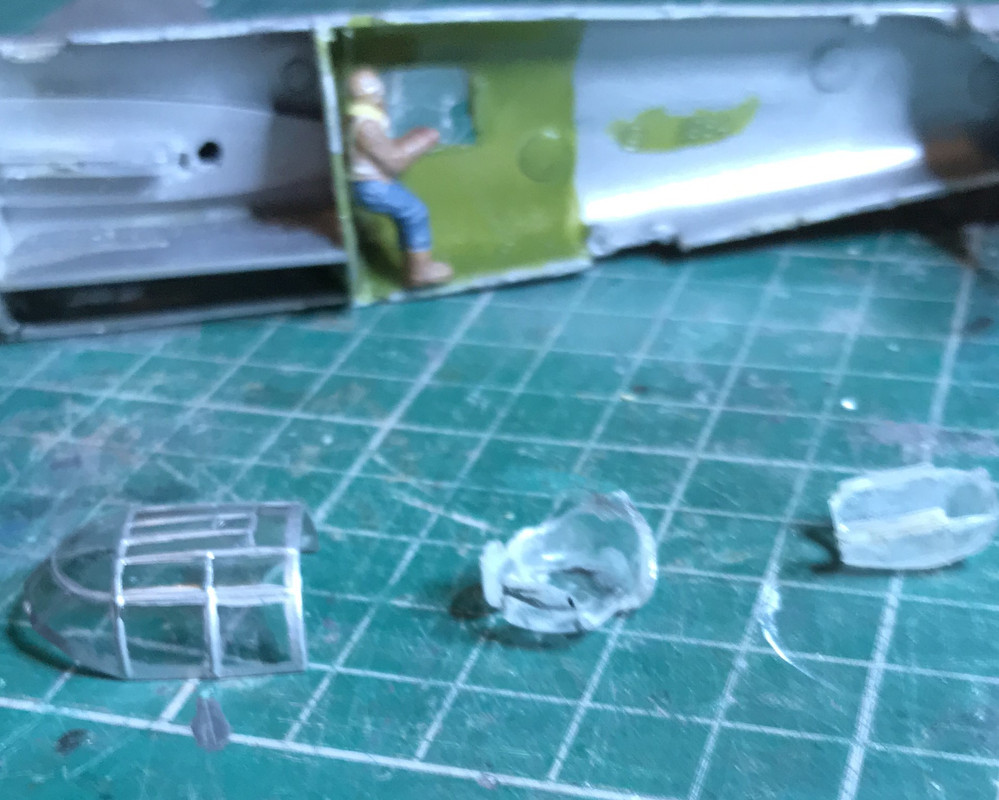
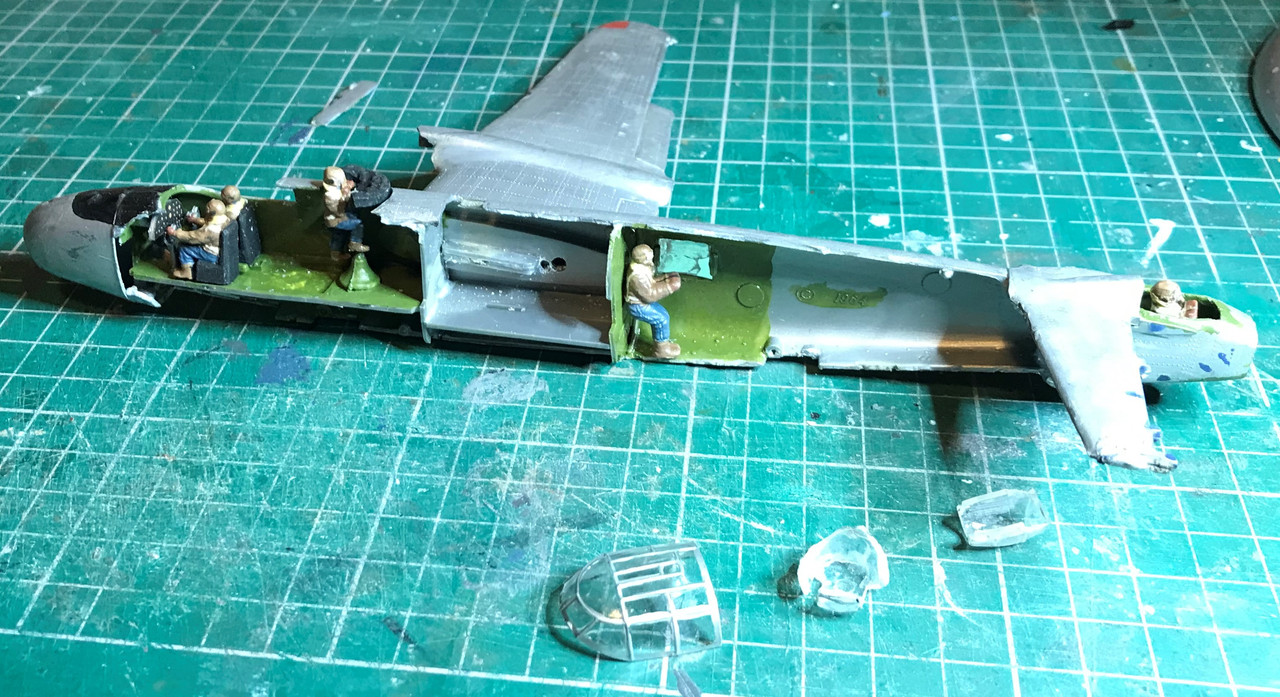
the two 'halves' were broken
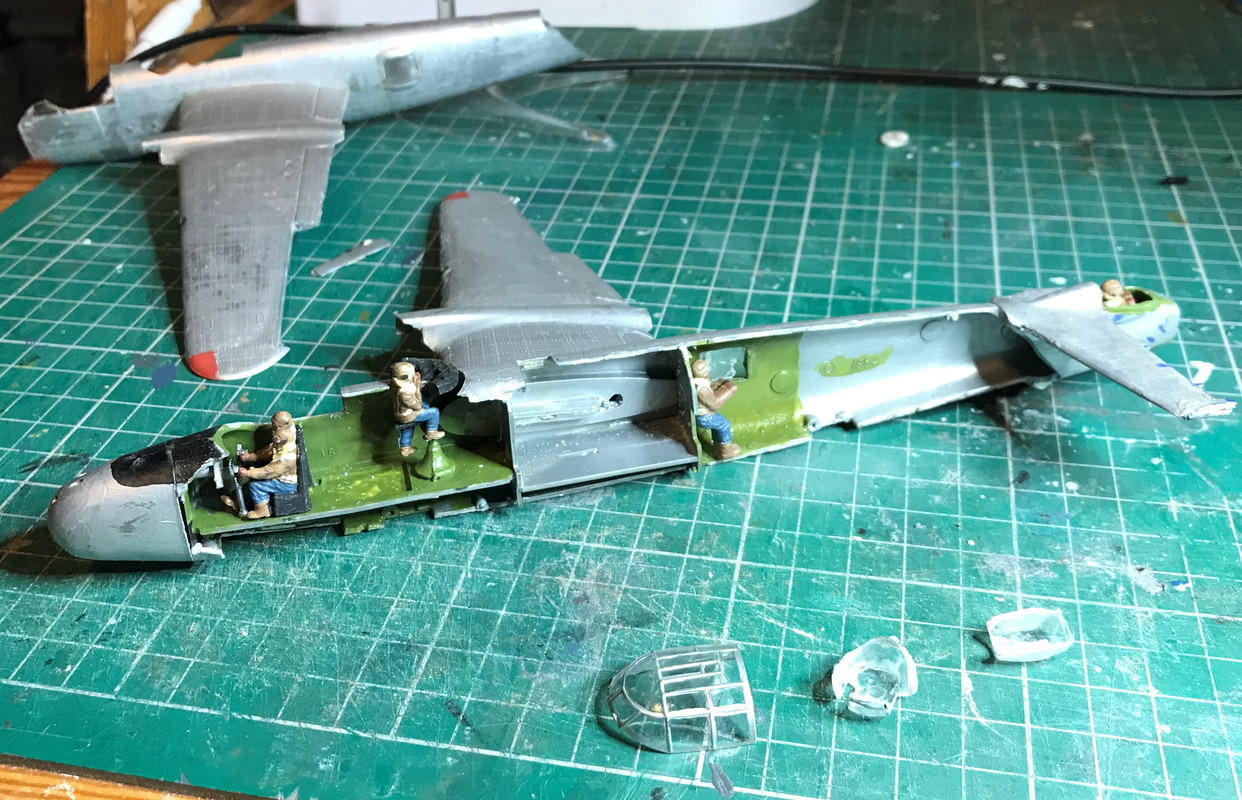
the crew were painted and fixed and the mid-upper turret 'perspex' disintegrated
Out with the candle and I heated up some gash clear plastic and pushed the end of my inhaler into it - 'twas the right size.
Thus emboldened I made a new tail cockpit cover too.

the tail unit was made by pushing the original into some hot clear plastic.
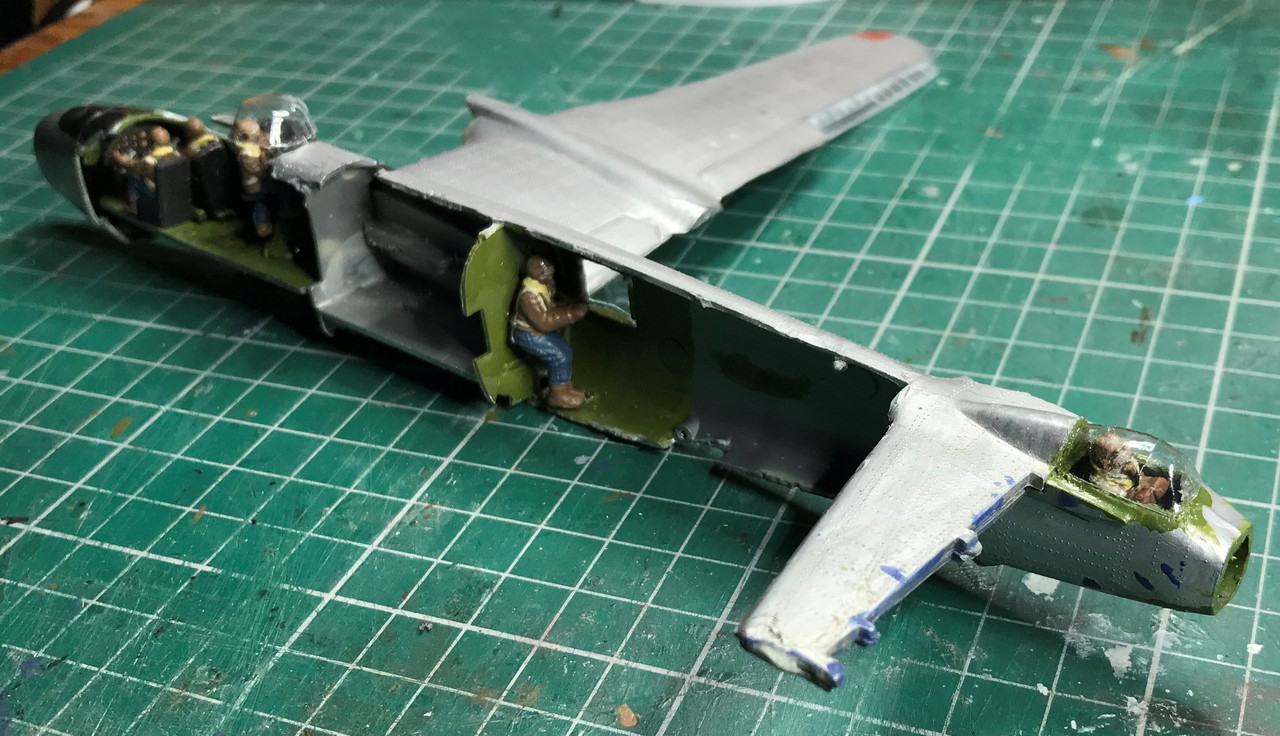
early this morning I joined the fuselage and added the home-made missing control surfaces.

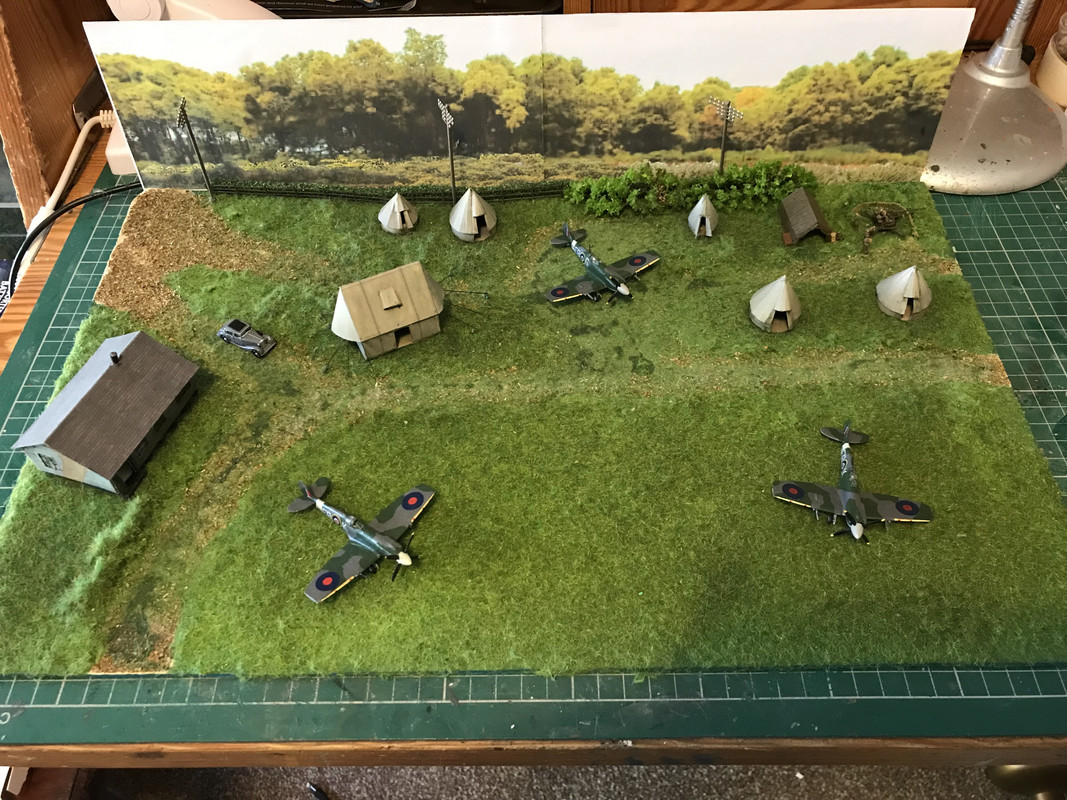
It's beginning to take shape.