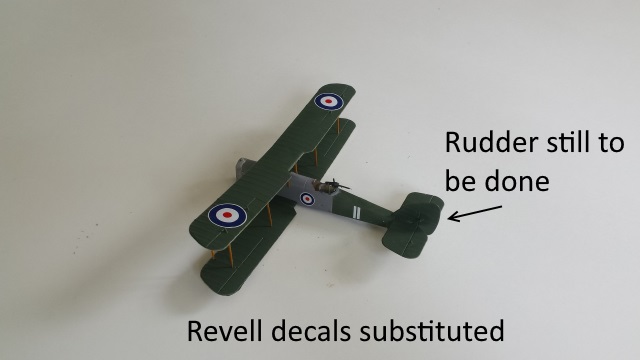
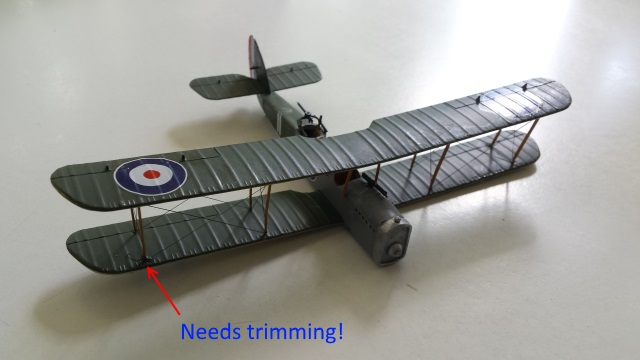
The decals, as usual for kits of this vintage are hopelessly out of register. It's possible the tail marking may be usable - if they don't disintegrate.
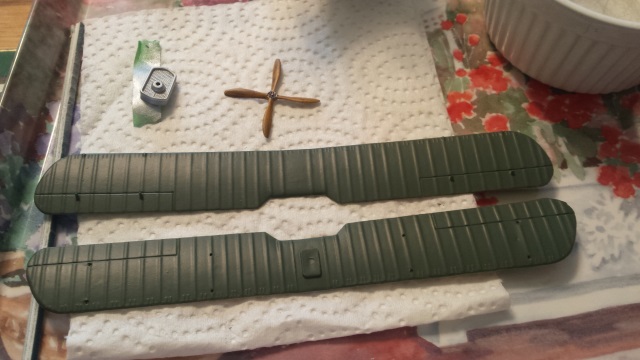
Meanwhile priming of the struts and wings has commenced.


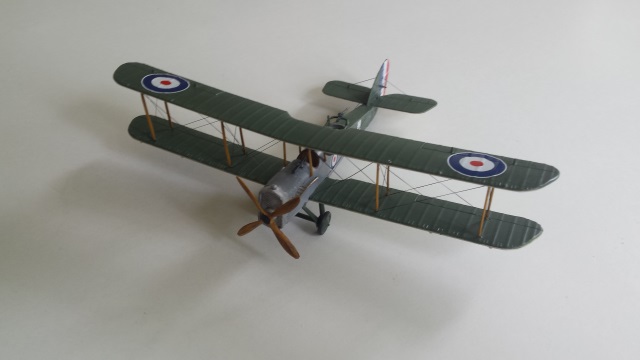
Thanks. I have a bit of time off, so I hope to build a few simple kits. The DH4 is a 1967 tool, and is pretty nice.splash wrote:Great to see you back at the bench.
I didn't realise Airfix did this model, so I will watch your build with great interest.
Regards Splash


It's a very nice kit, and you could modify it by changing the engine. The only thing you really need to do is source new decals. I'm amazed how fast it went together, especially since I haven't built anything for several months.iggie wrote:Excellent progress Andrew; I'm really going to have to get one now!
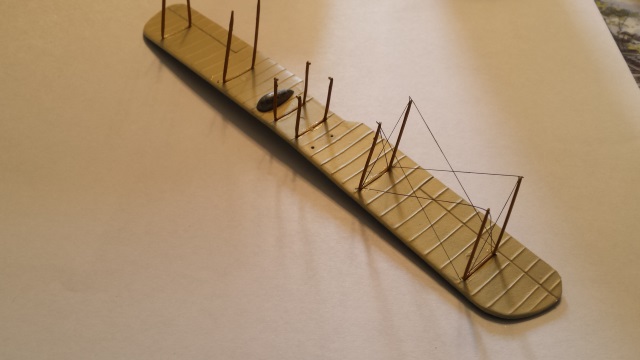
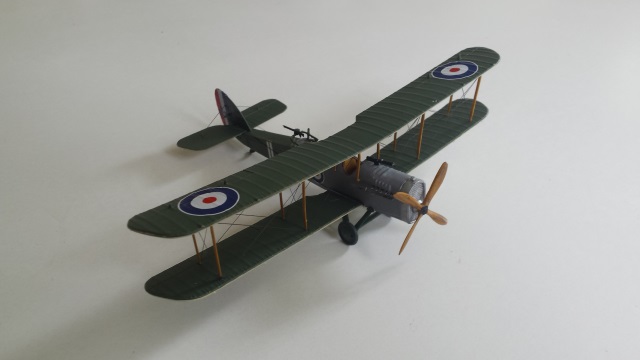
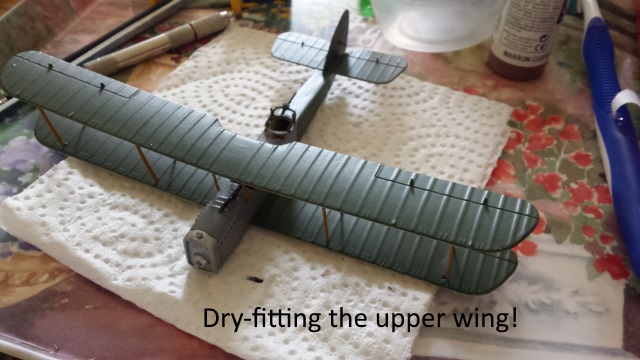
I only tried because I could dry fit the wing in position without clamping it (the only time I have every built a biplane where this happened). And, it worked. I only had to redo the tension on 2 of the 16 wires.iggie wrote:I like the idea of rigging before assembly of the wings.....not sure though that I am entirely brave enough
Or, that Mrs iggie is ready for the ensuing language if it went wrong
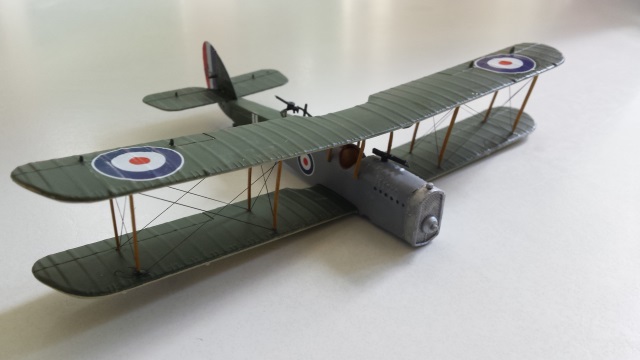
Thanks Nigel. I am one of those strange people that likes doing rigging.Clashcityrocker wrote:Very good work with your rigging Andrew.
Nigel