An in-box review I did can be found here: http://uamf.org.uk/viewtopic.php?f=55&t=1069; . I'll be building it OOB in the all white/bluesteel markings.

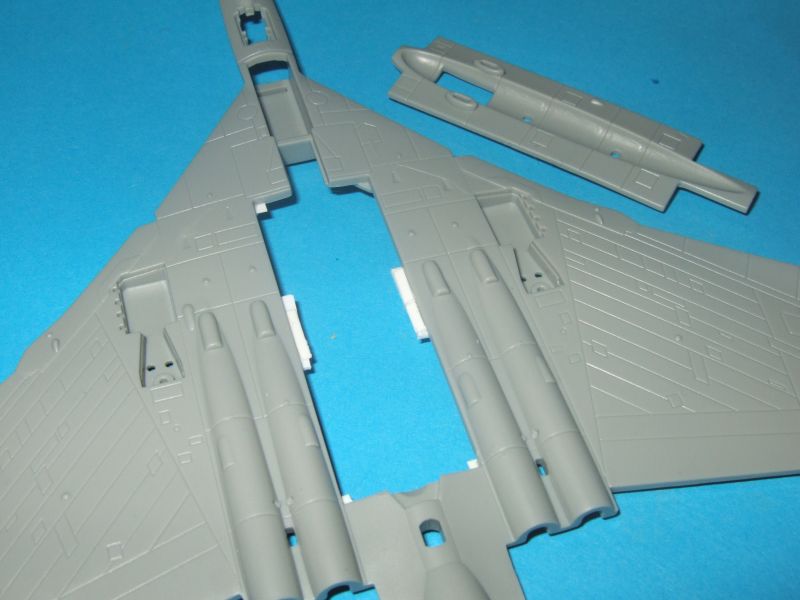
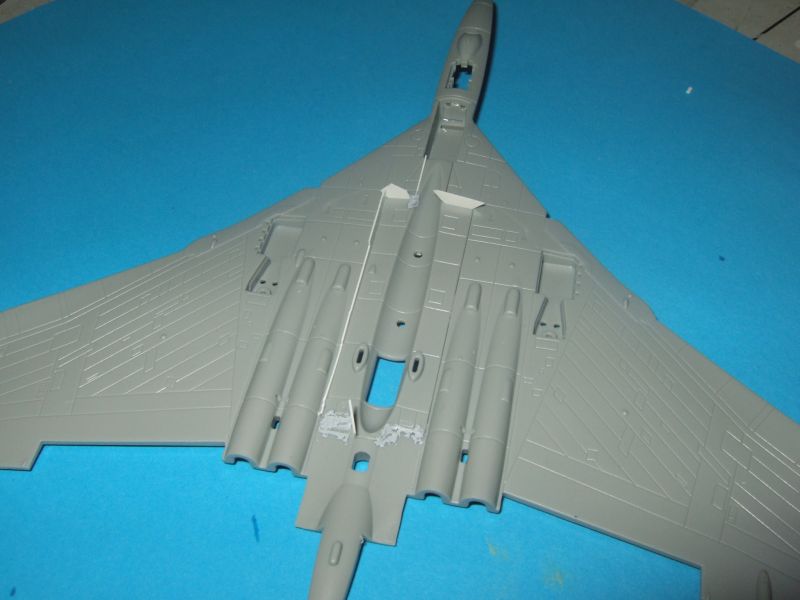
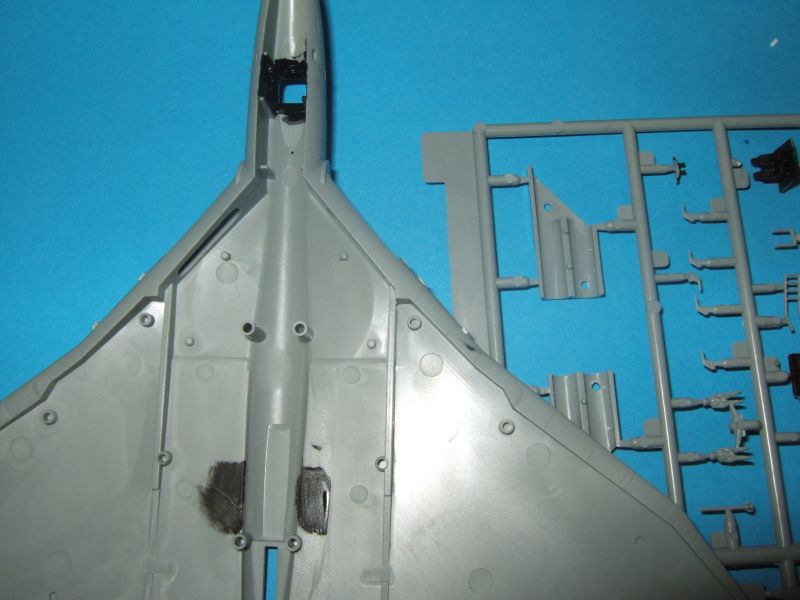

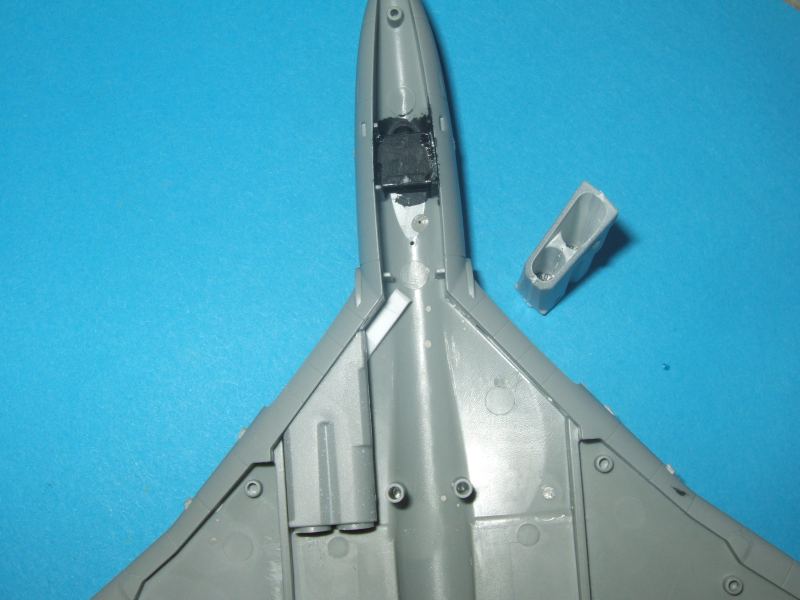
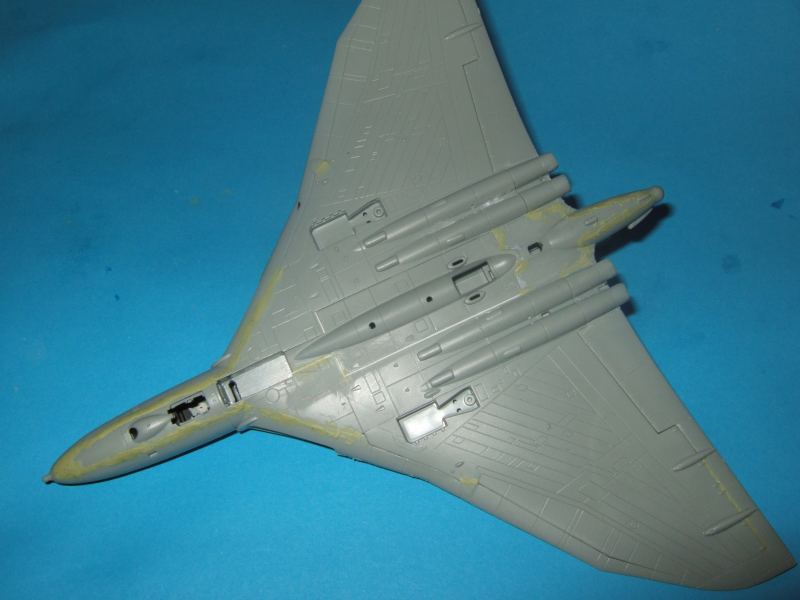
The "aerial platform" is the Red Shrimp jamming equipment - Blue Steel carriers did indeed have two plates, as the missile blanked part of the coverage from the usual single plate fit.JamesPerrin wrote:Note I've cover the hole between the port engines. This was for the aerial platforms that is intended to sit between each pair of engines, except CH screw up #1 : there is only one aerial platform and it's on the starboard side.
Thanks for the info. I couldn't find any pictures though in my references (Warpaint) showing both even when carrying a Blue Steel. I'll dig out my other references tonight and see if I can can find the specific a/c the markings are for, XM595.DamienB wrote:The "aerial platform" is the Red Shrimp jamming equipment - Blue Steel carriers did indeed have two plates, as the missile blanked part of the coverage from the usual single plate fit.JamesPerrin wrote:Note I've cover the hole between the port engines. This was for the aerial platforms that is intended to sit between each pair of engines, except CH screw up #1 : there is only one aerial platform and it's on the starboard side.
I think I may be guilty of repeating something from a book that isn't entirely accurate... like you I've found plenty of pics of Blue Steel carrying Vulcans with one plate. It may be it was a later mod introduced once the effect on jammer coverage had been discovered. Here's one carrier with both plates anyway:JamesPerrin wrote:Thanks for the info. I couldn't find any pictures though in my references (Warpaint) showing both even when carrying a Blue Steel. I'll dig out my other references tonight and see if I can can find the specific a/c the markings are for, XM595.
Thanks for the valued feedback. I'm doing the anti-flash variant so I should be correct with one. The kit does offer a camouflaged, Blue Steel carrying option, so the two jammers may be correct for that as in the photo.DamienB wrote:I think I may be guilty of repeating something from a book that isn't entirely accurate... like you I've found plenty of pics of Blue Steel carrying Vulcans with one plate. It may be it was a later mod introduced once the effect on jammer coverage had been discovered. Here's one carrier with both plates anyway:JamesPerrin wrote:Thanks for the info. I couldn't find any pictures though in my references (Warpaint) showing both even when carrying a Blue Steel. I'll dig out my other references tonight and see if I can can find the specific a/c the markings are for, XM595.
http://www.nationalcoldwarexhibition.or ... teel_l.jpg;
Says the man who scratchbuilt skis for his AusterMerlinJones wrote:That's quite a bit of work for such a small kit, James.

