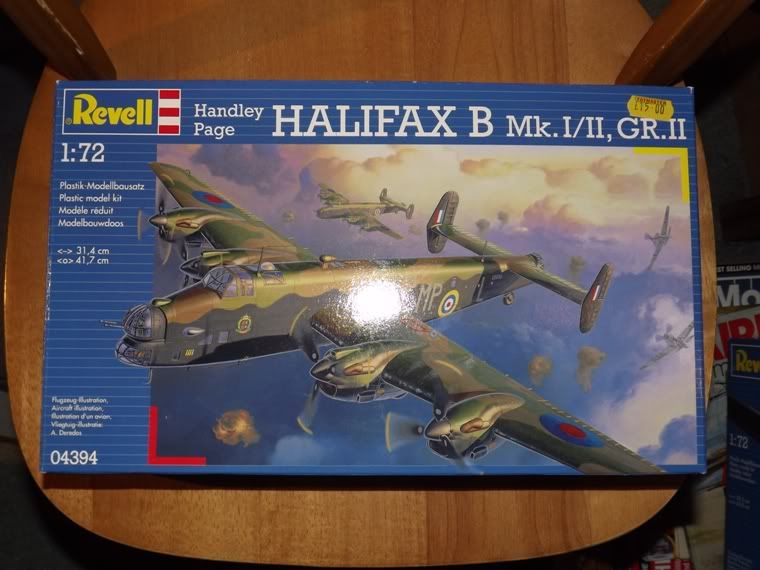
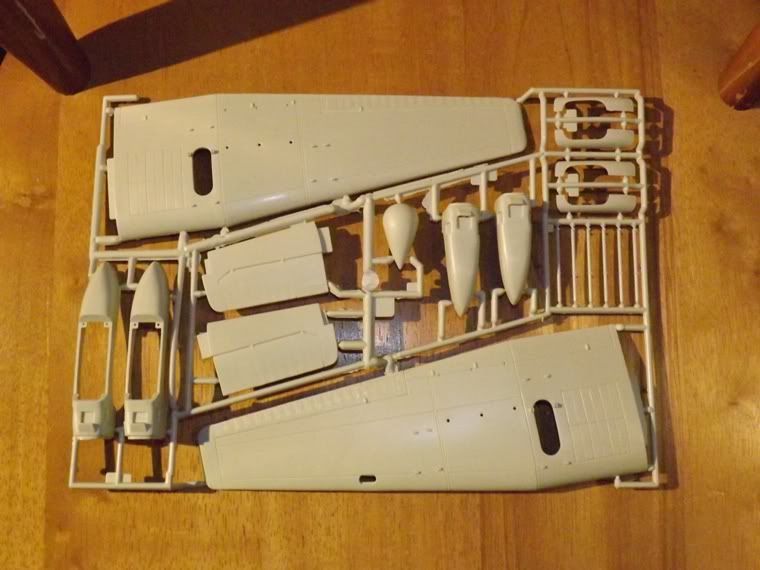
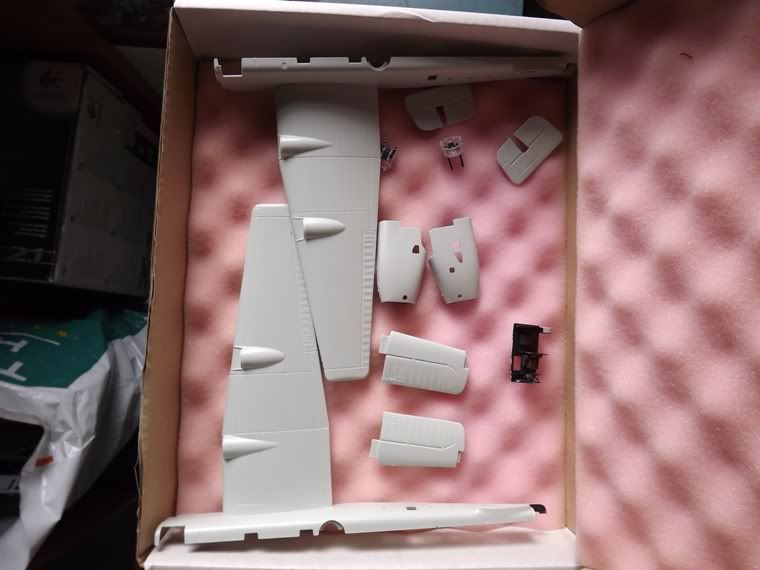
I'll be building the old Matchbox kit in its last incarnation from Revell:
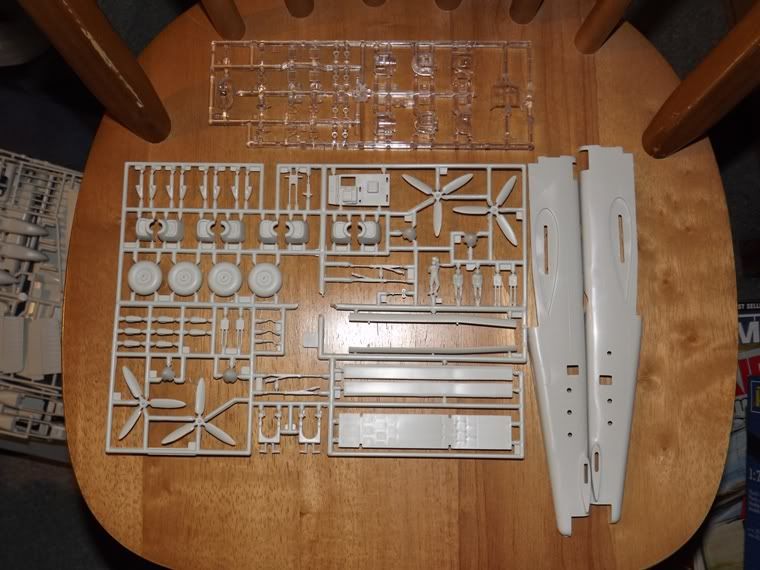
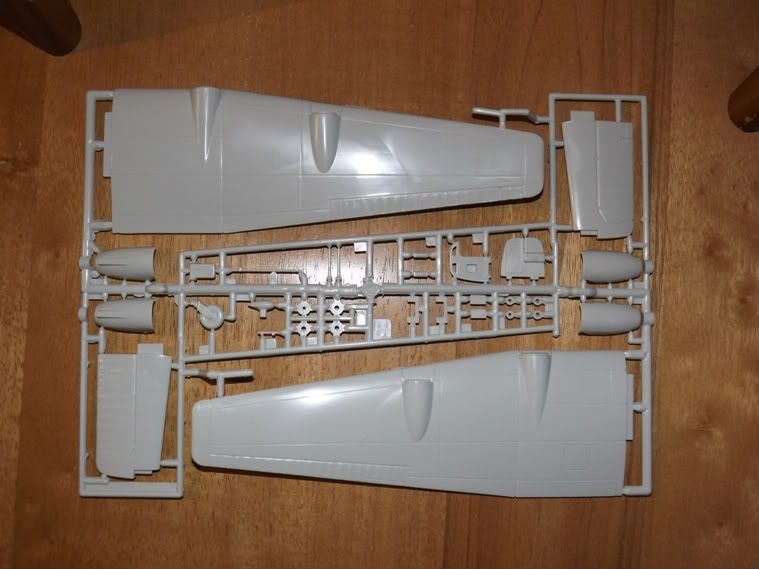
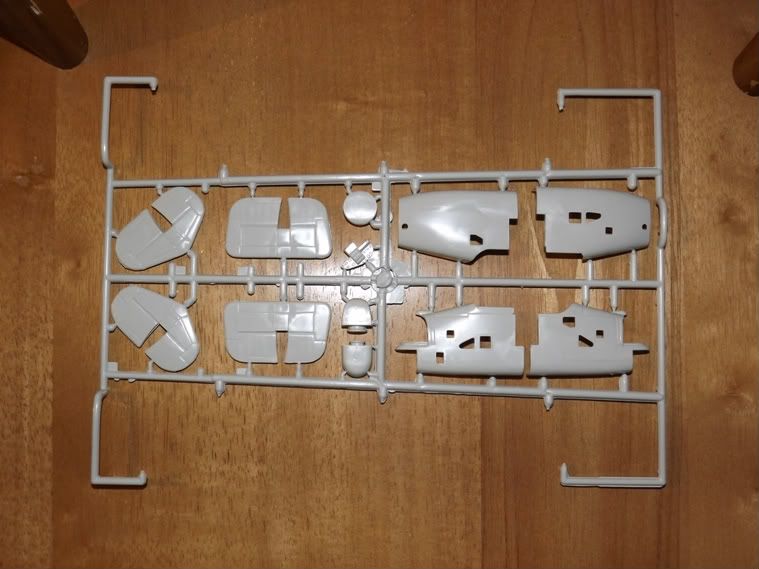
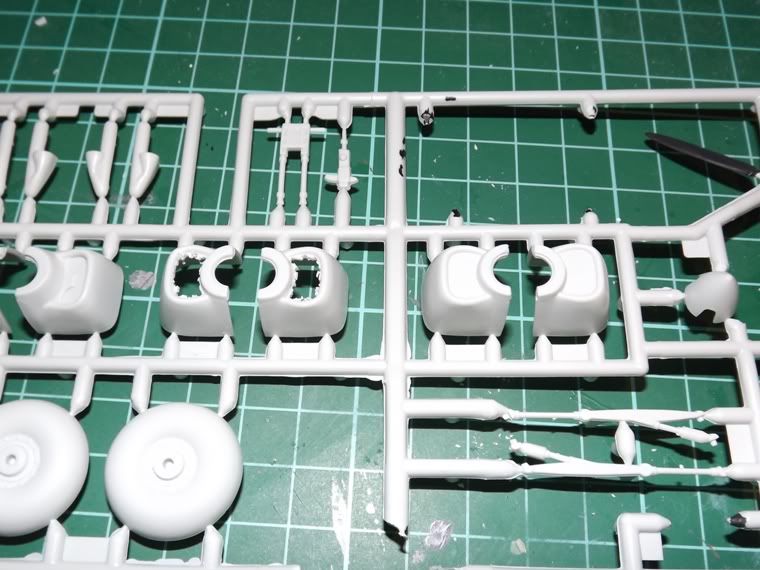
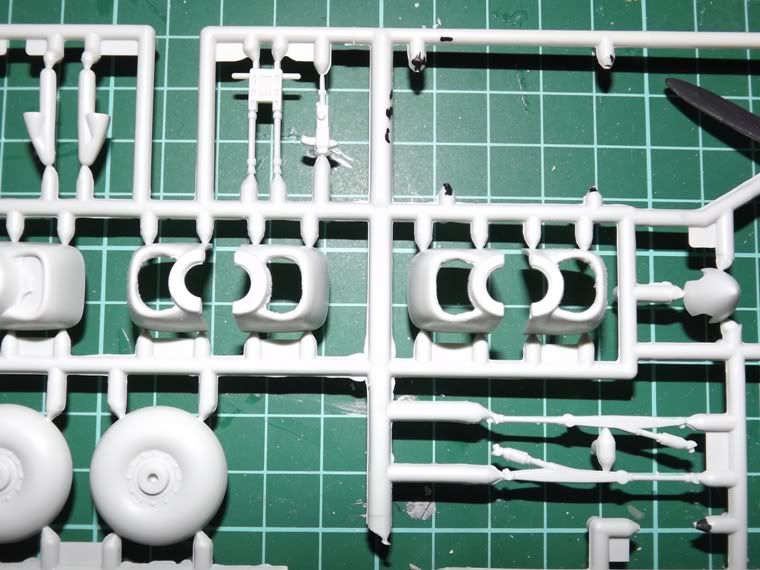
Inside are four grey (not multicolored
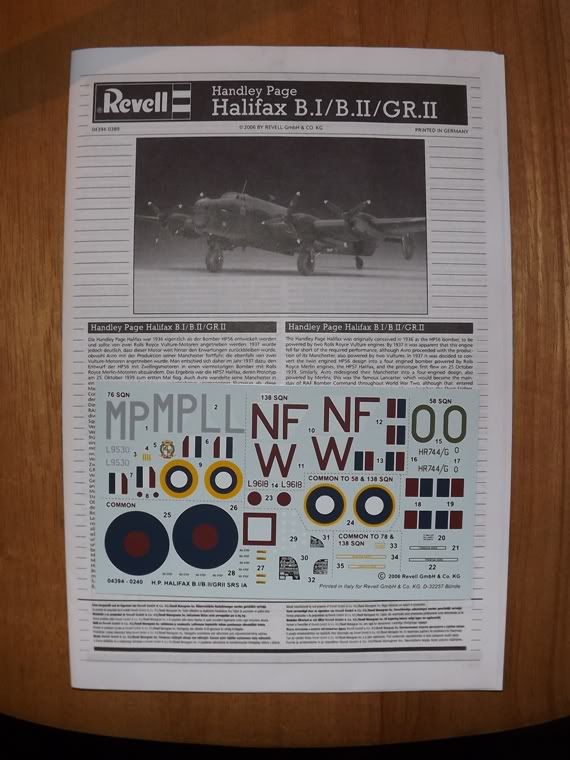
Instructions and decals are standard Revell fare:
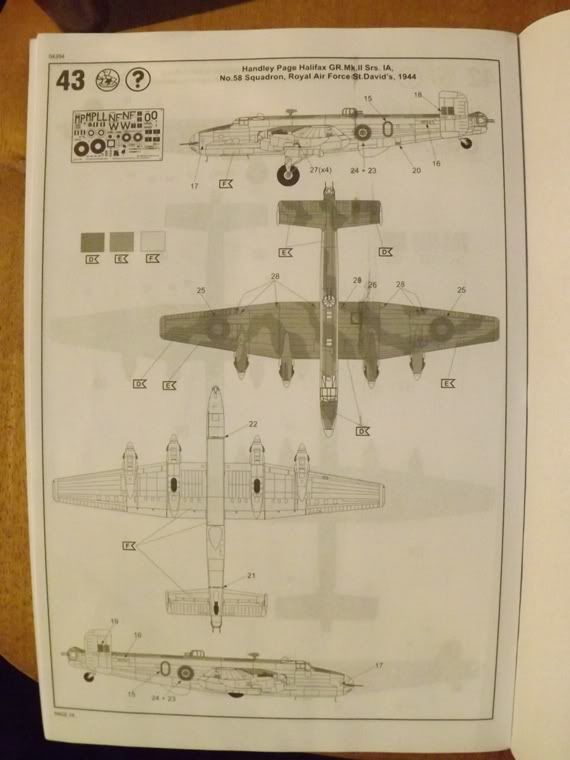
And this is the planned colour scheme:
Roll on the start of February
Regards
Tom

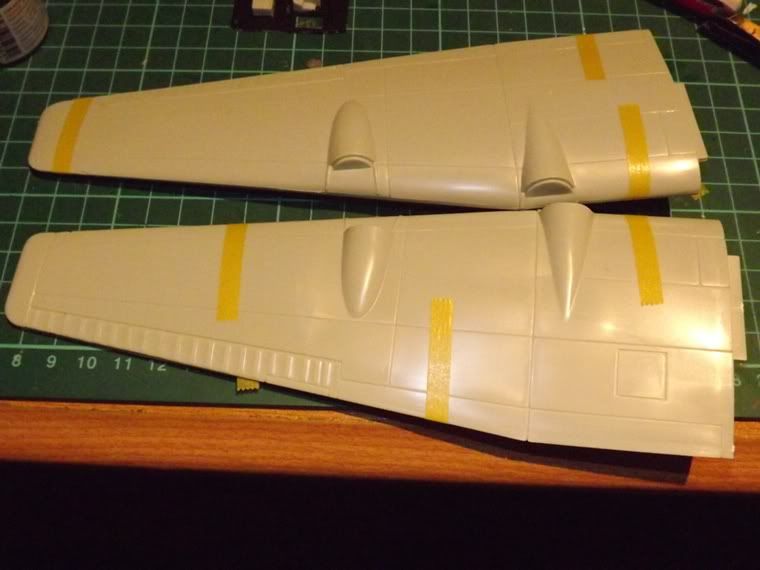
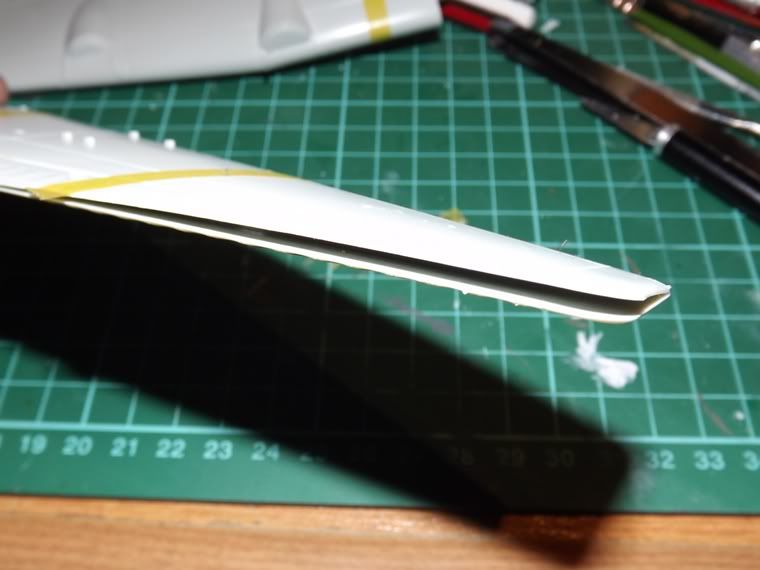


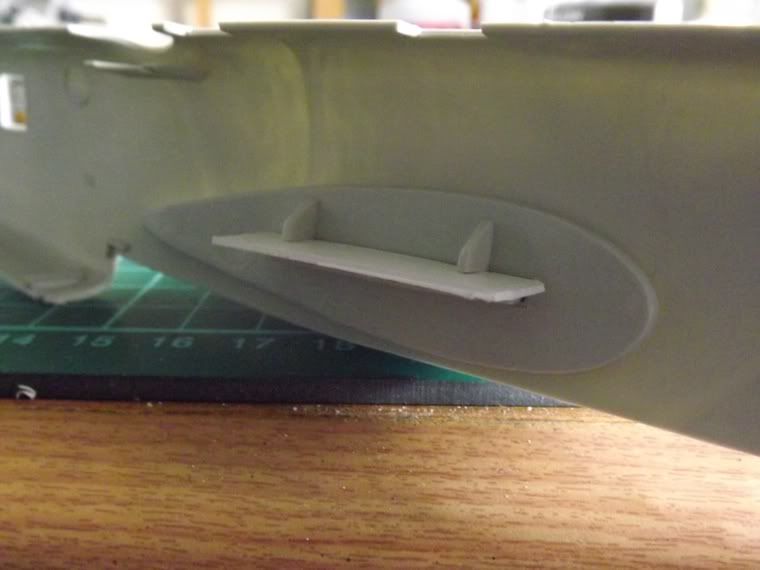

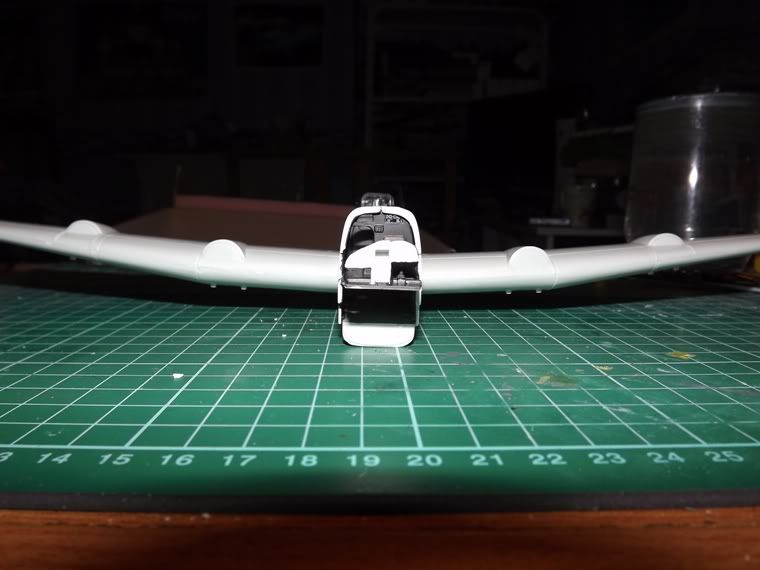

All advice is welcome James, it is after all the way we learnJamesPerrin wrote:I realise this is post "horse bolted" advice and I would have not noticed the wings myself either before gluing the fuselage together but a spreader bar placed above the wing roots might have help lower the wings a degree or so.
http://www.little-cars.com; ? They will be at Huddersfield.MerlinJones wrote:I'm trying to remember where I found a site selling all grades of mesh for modelling purposes.
Such stuff would be good in your engine intakes...muttermuttermutterlosingitmuttermutter...