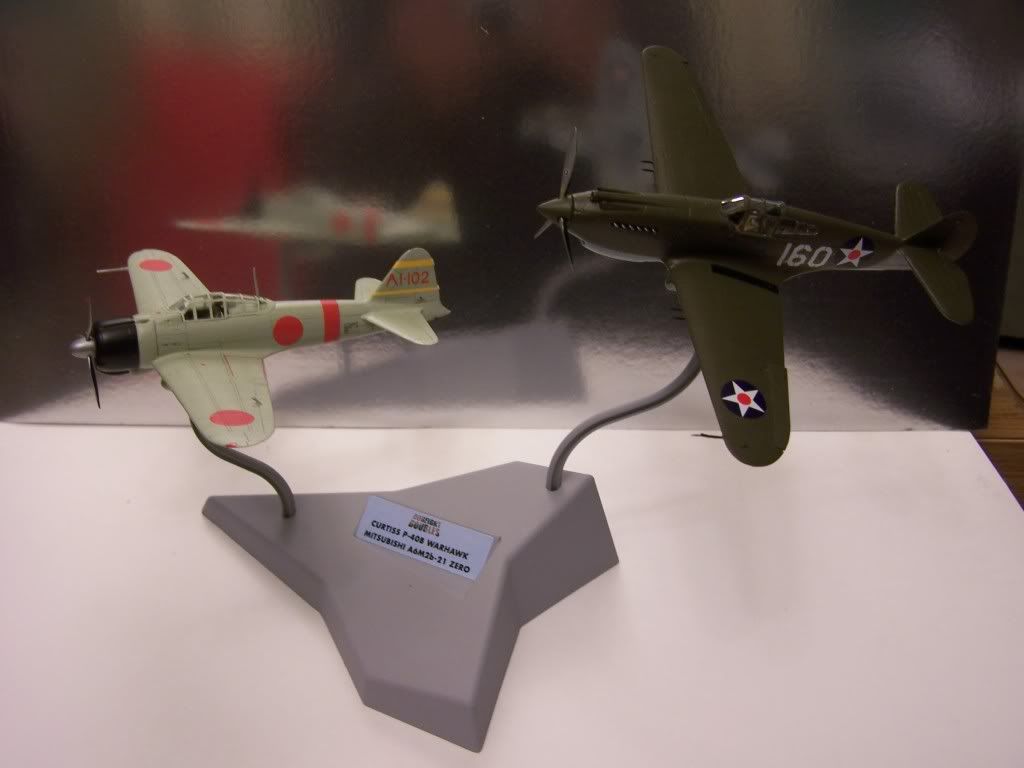
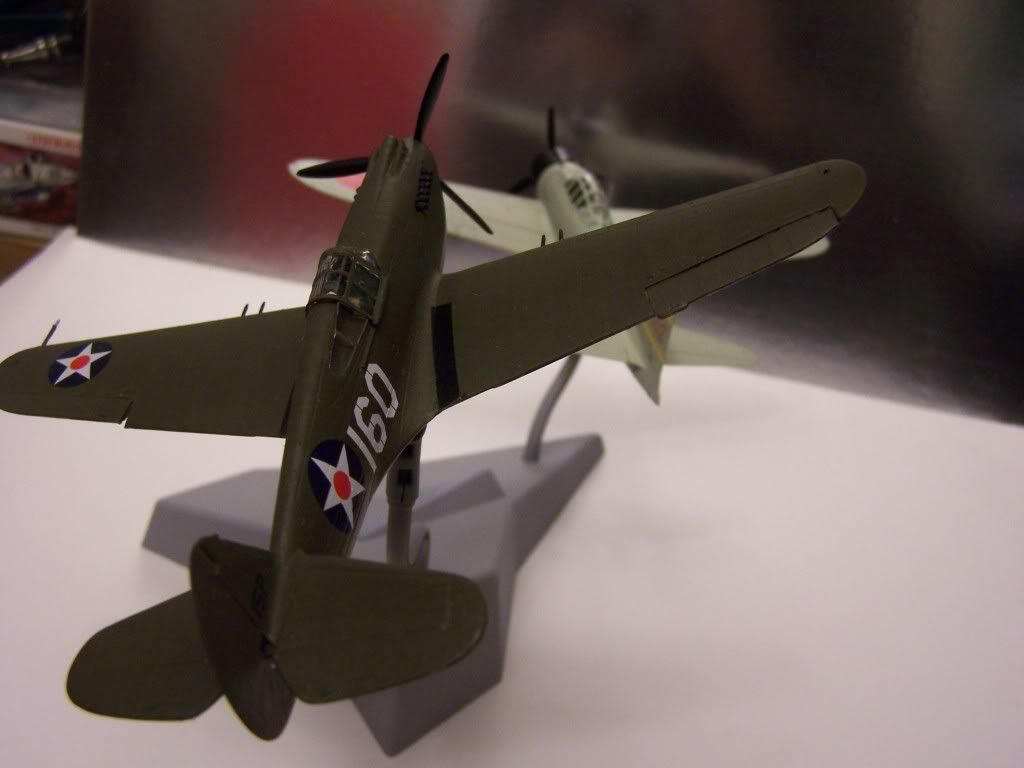
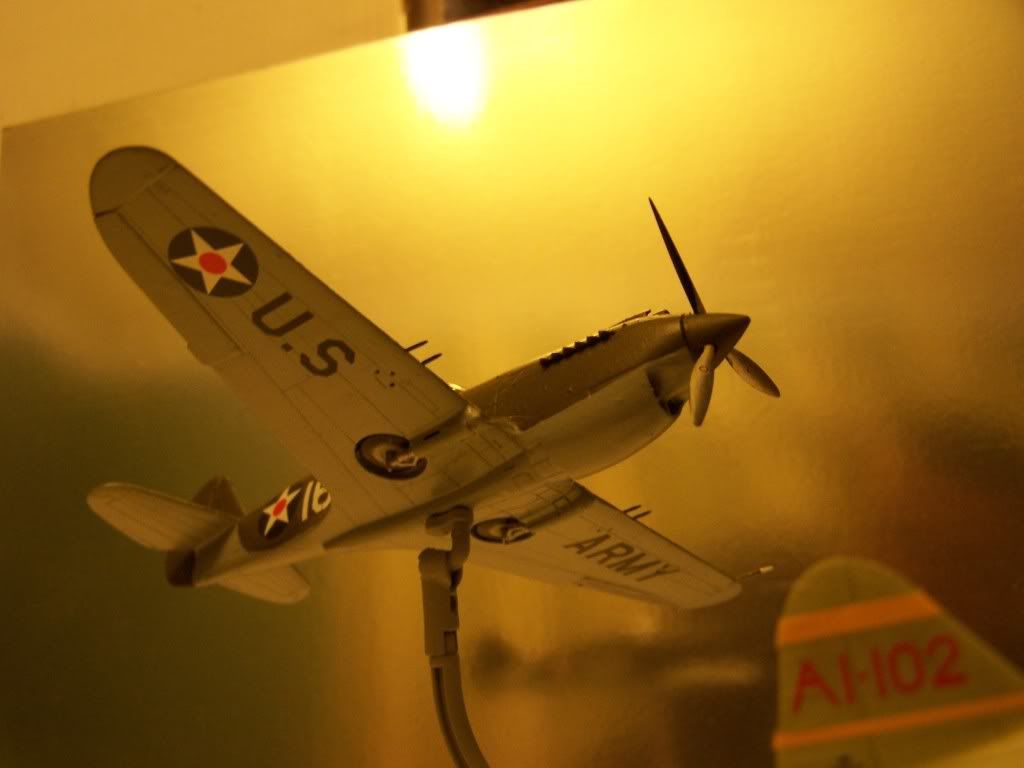
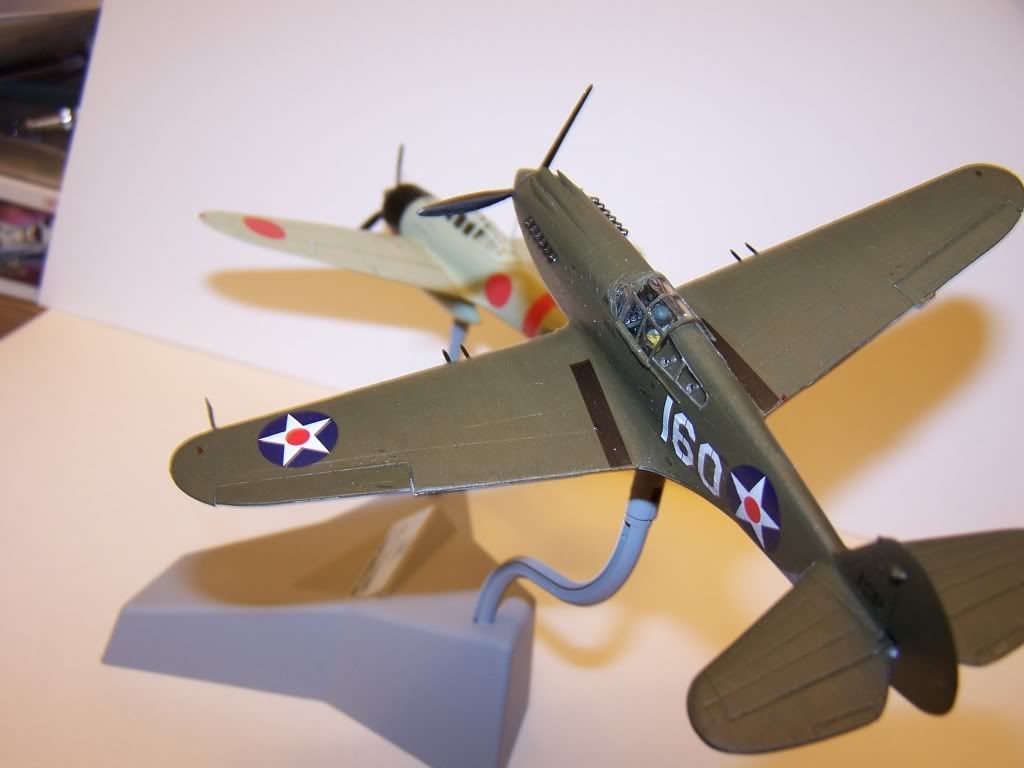
The P-40 has exhausts painted with a mixtue of Tamiya titanium gold and Games Workshop chaos black plus a few other details touched in.

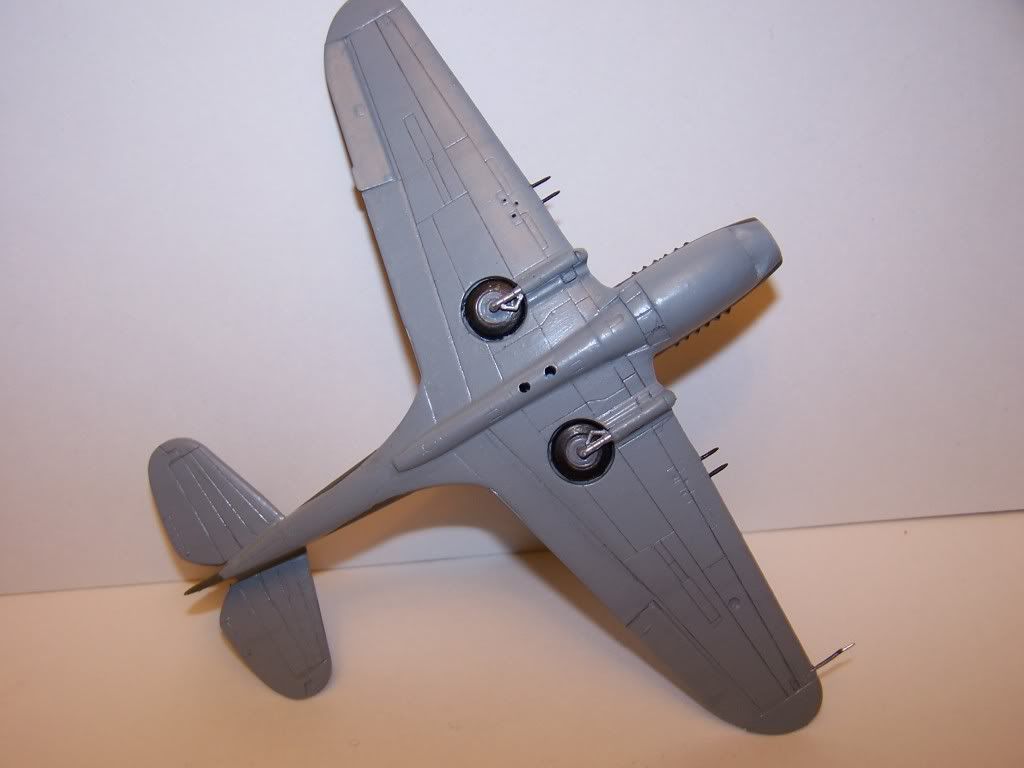
Plus it's wheels are now on - not without a fight - along with the undercarriage legs. Also some of the underside panel detail has been picked out.
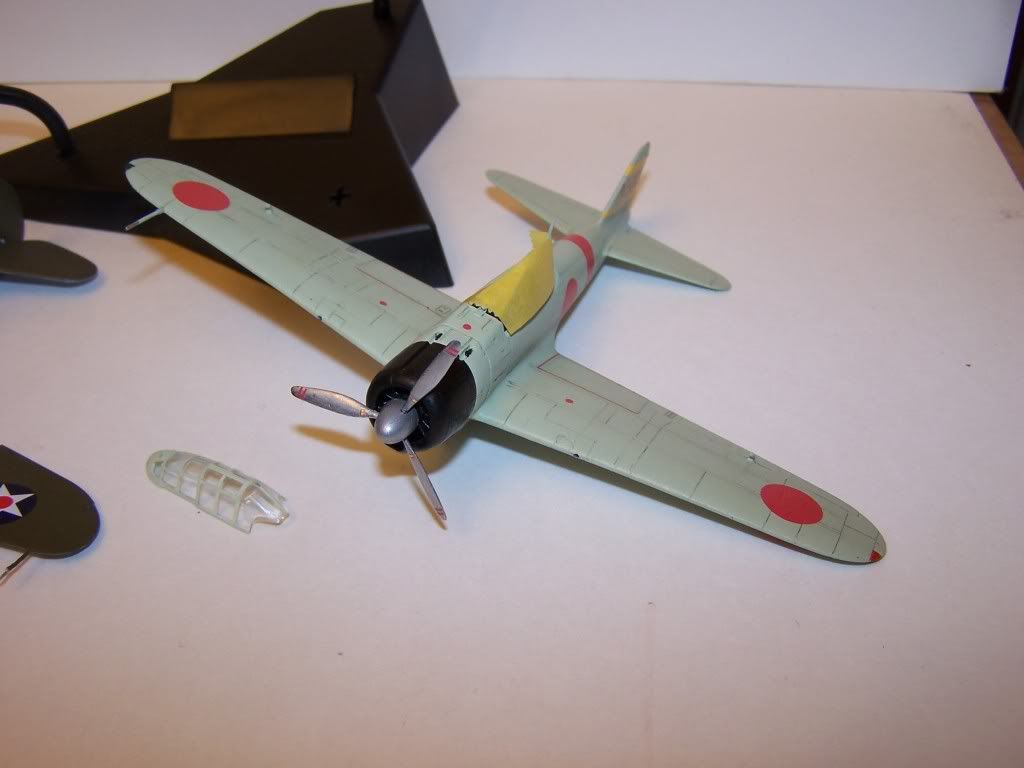
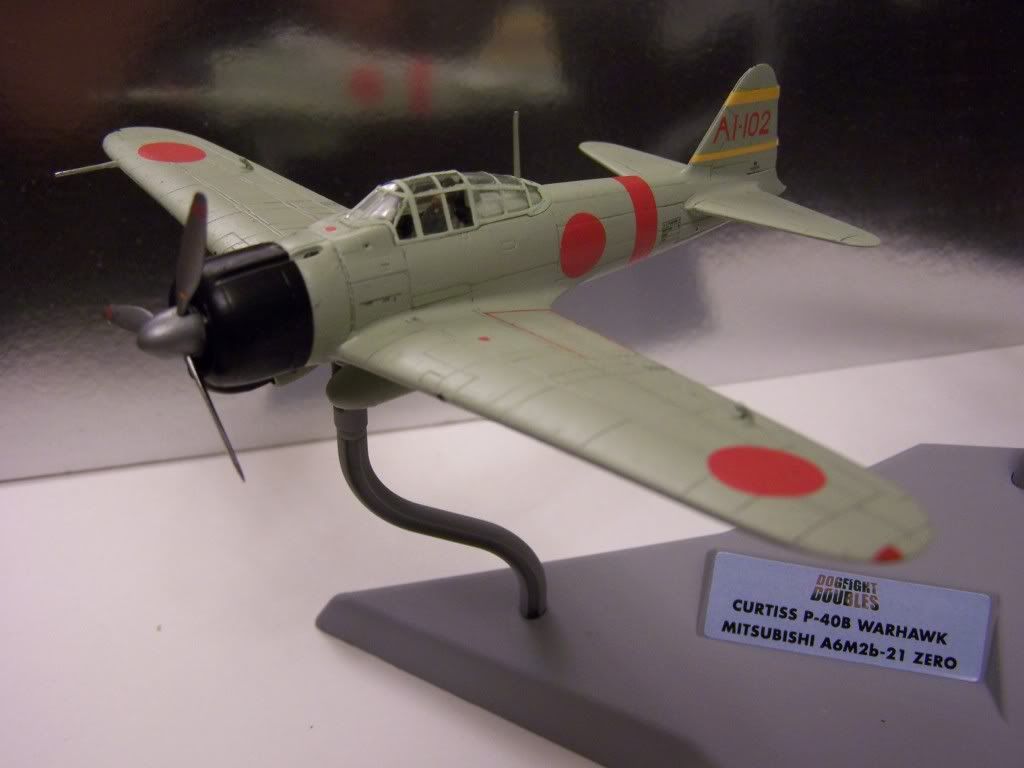
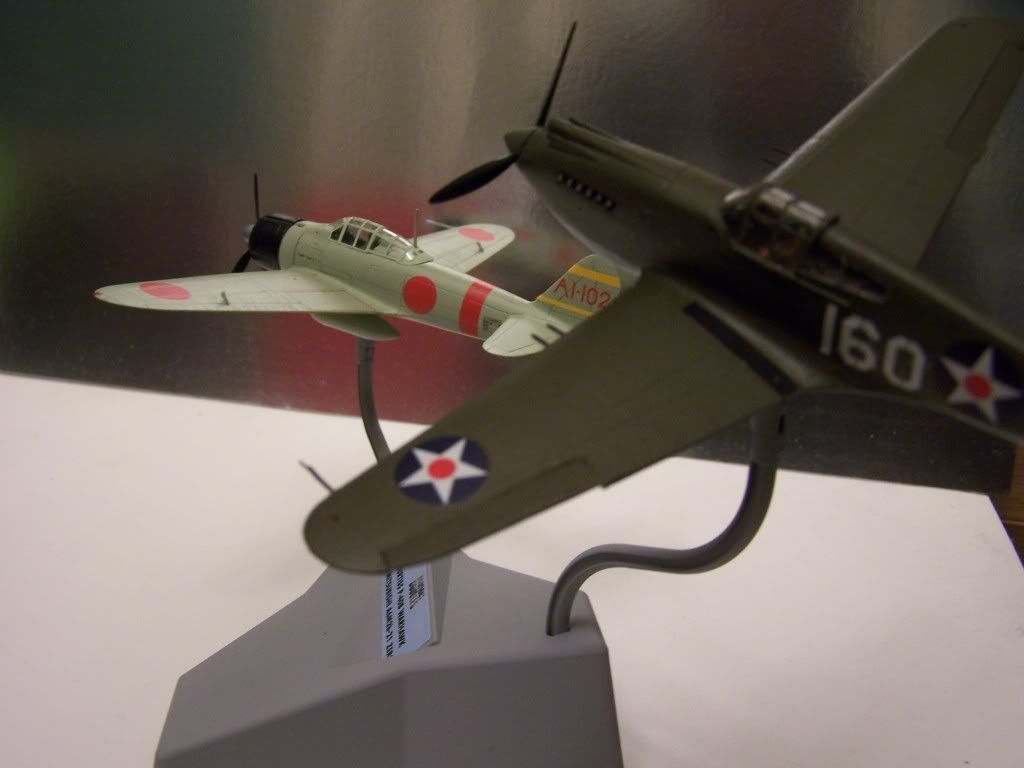
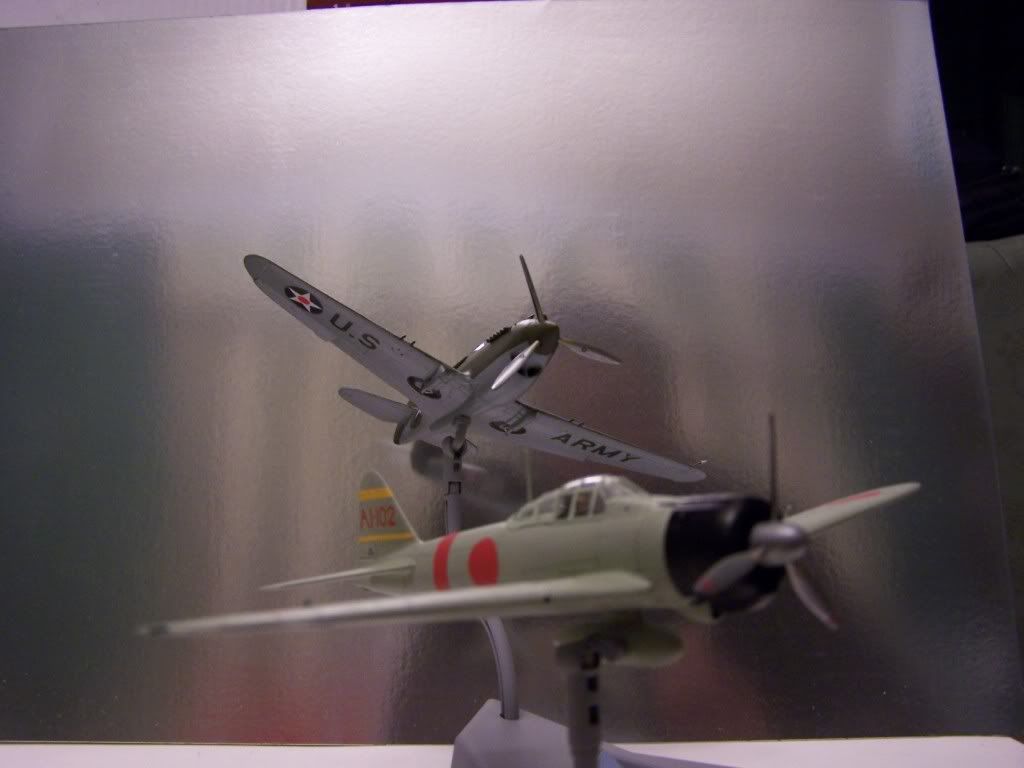
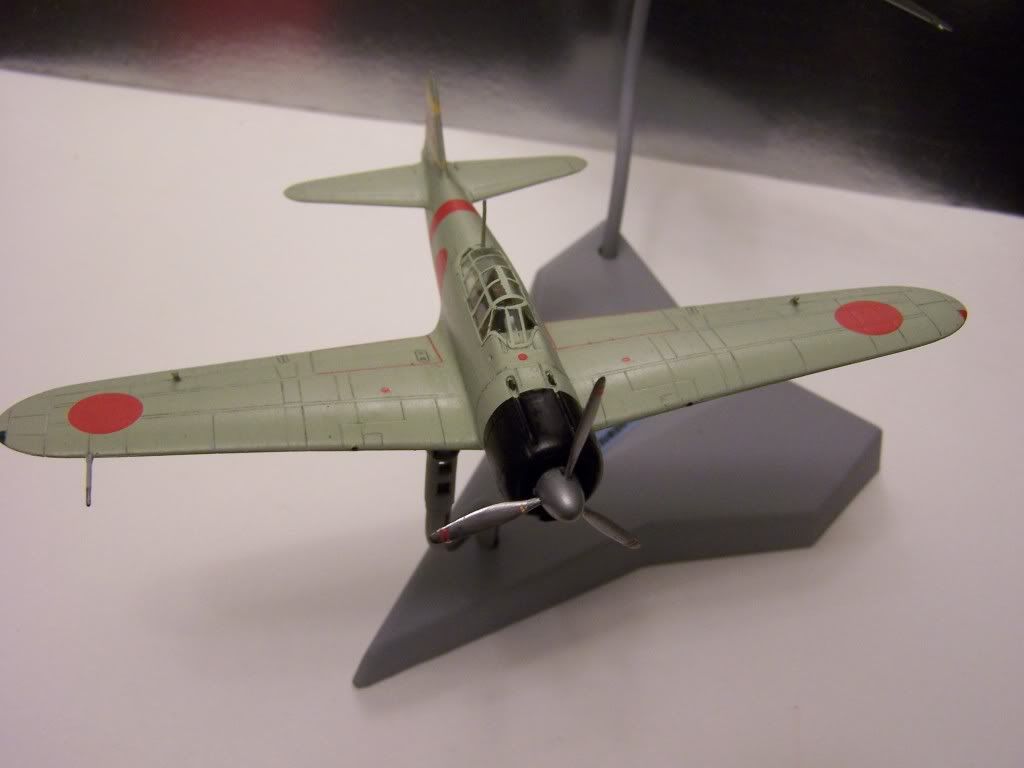
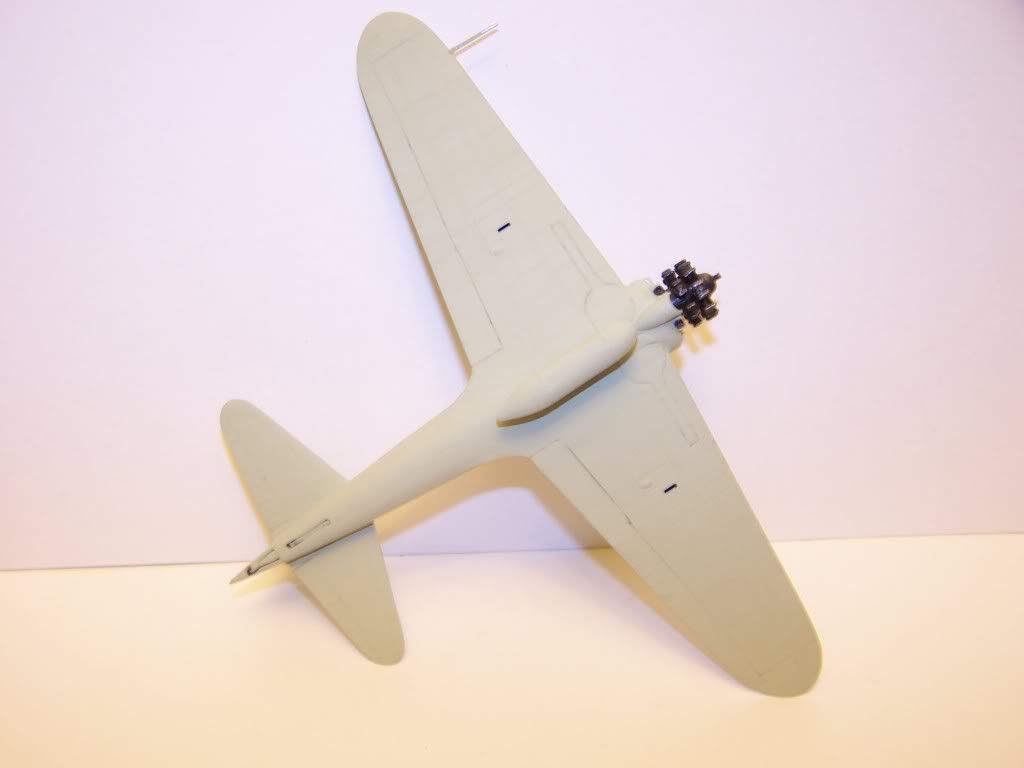
The Zero, meanwhile, has it's engine fitted and drybrushed with Tamiya metallic grey. Somebody else has mentioned how good this engine is and I have to second it. It's a beautiful piece of styrene sculpture that's every bit as good as a resin engine, particularly for the price.

I also painted in the exhausts on the Zero while I was doing the P-40's. It was a pretty tricky paint job. I really feel that this would have been much easier if these were separate components. There's also a tailwheel been added and the pitot tube re-attached 4 times!!
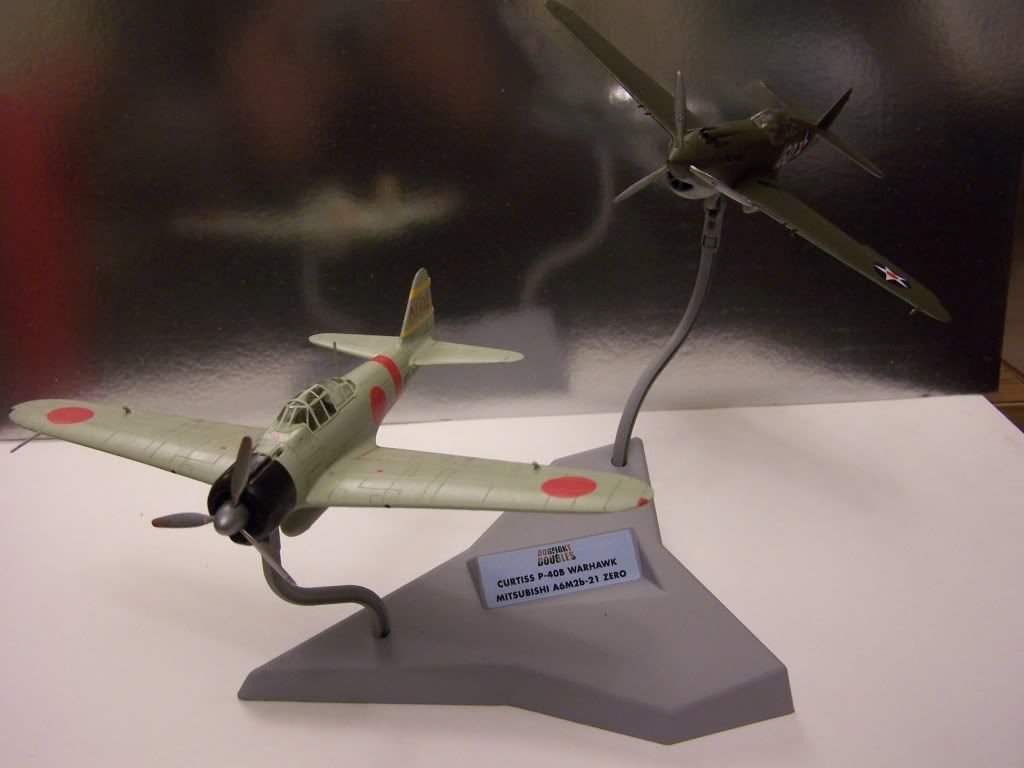
And finally for today, George and Saburo have been painted up ready to take their places aboard their trusty steeds. Actually, the pilot figures in the kit are pretty generic so getting any character out of them was quite a task. I found some references on what the "chaps" would have worn, made a paint list and went from there. They're painted with acrylics from Humbrol, Tamiya, Games Workshop and Vallejo (my son was into wargaming for a while and guess who painted the figures
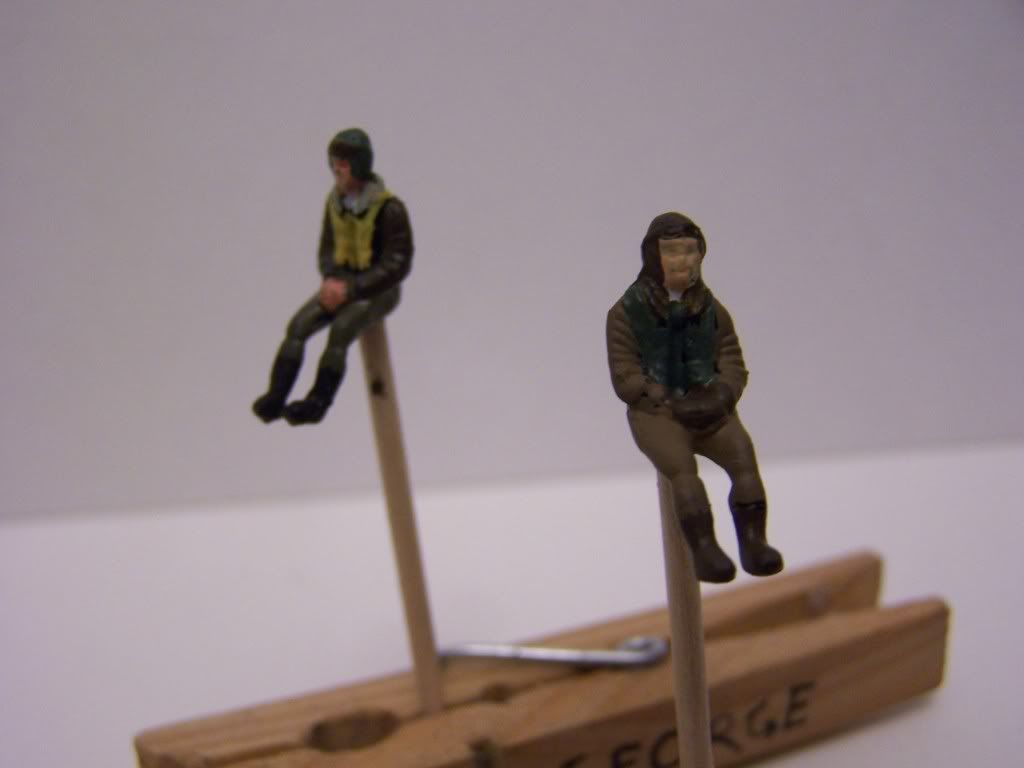
Ok so the Zero is going to be flown by Charlie Chan. I didn't sculpt the original