First Name: Ian
manufacture: Revell
Scale: 1:72
Model Type: Plastic injection
After Market Items: Me? After market items?
Morning everyone.
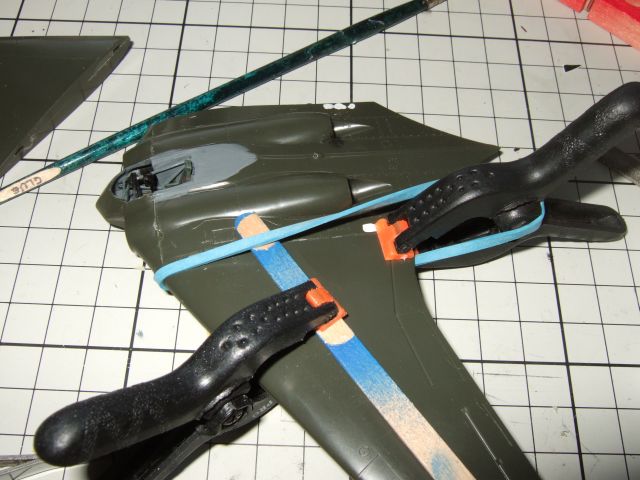
A bit late joining but I am recently back from India. The kit, as promised, is the Revell Horten Go 229.

I am not bothering with the sprue shots as they are already in another build thread.
I am not at work today as I am suffering with 'Bangalore Bottom' so can't go too far from the bathroom
Best make a start then, hadn't I?
(Post edited after reading the Operational Overview)