I bought both of them as part of a job lot of kits. One was the original 1957 tool Airfix Mosquito. The other was the later retooled kit from the 1970s. I thought it would be interesting to build both of them at the same time, taking advantage of the more recent kit to make parts that would upgrade the original kit. I have not done everything that could or should have been done to upgrade the old kit, but this is what I did.
The flight deck on both kits was quite basic so I made a new floor for the old kit using the new one as a template. I made new seats for both models and added other bits to busy up the area.
The undercarriage was always going to be the greatest challenge. The new tool undercarriage is a complex set of pieces that are hard enough to build using the injection moulded parts provided. Not to be daunted, I embarked on a complete scratch build of the undercarriage to replace the extremely crude pieces in the old kit. I was moderately happy with the result.
The wheels and tyres on the old kit were always too narrow. They were more suited to a racing bike on a velodrome than an aircraft on an aerodrome. I hunted in the spares box and found replacements that looked about the right size. I carved some tread marks in both tyres.
By this stage, it was a case of so far so good. Then it came to fitting the scratch built undercarriage and wheels into the wheel wells of the old kit. I knew the undercarriage was the right size as I checked it by dry fitting it in the new tool kit. There was, however, no way that it would fit into the old kit. The nacelles and wheel wells were far too narrow. I solved the problem by some carving and by inserting some big fat (my usual scale when measuring) plastic card shims. Eventually, I managed to fit the new undercarriage into the much modified wheel wells. The old u/c doors of course, did not fit the modified wheel wells so I made some new ones from plastic card.
The fcanopy of the old kit seemed to be about one third smaller than on the new kit so I used the new kit one to mould a replacement. I should have opened up the flight deck area a bit more but had not spotted the problem in time so I left it as it was.
I replaced the tail wheel of the old kit with one that better matched the new one, though it is a bit oversize.
I drilled holes in the underside of the wings of the old kit to insert landing lights.
I added some air intakes to the old kit to make them look more like the new kit.
There were a few other minor modifications to both kits in an attempt to make them look similar at least in shape. But what, I hear you grumble, about changing the width of the fuselage? The old too kit’s fuselage is too narrow. I could and should have made it wider, but I noticed the problem too late so I left it as it was.
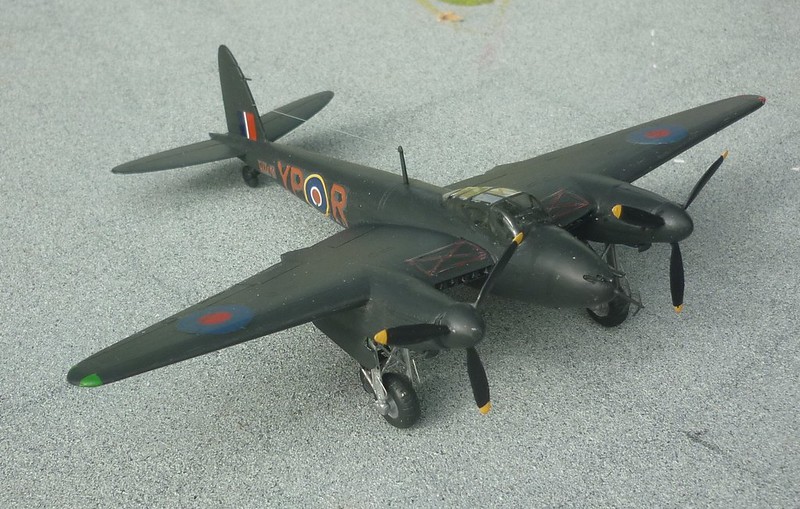
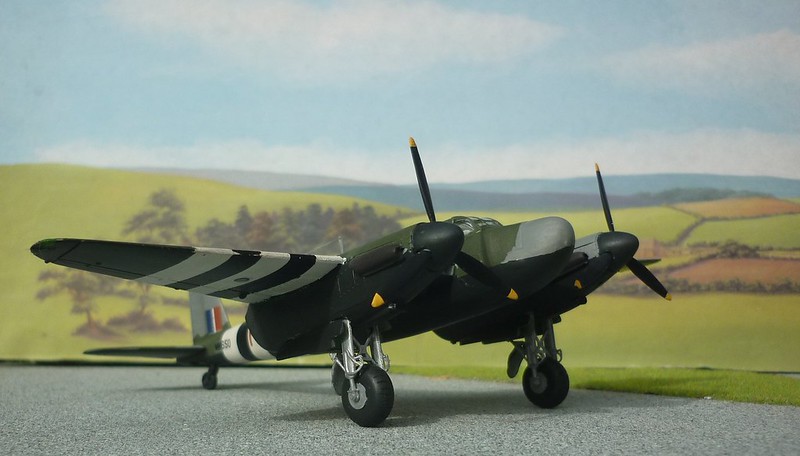
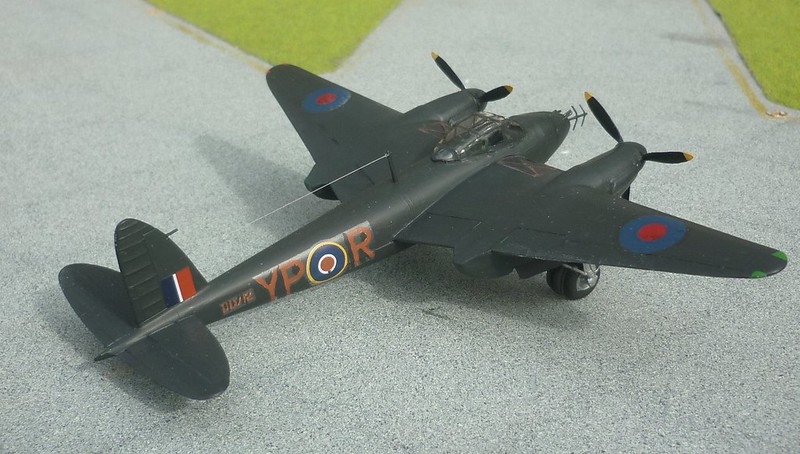
Different colour schemes were chosen, i.e. different both from each other and from the other three Airfix Mosquitoes I have built.
Now I am left with the upper wing part for a new tool Mosquito (I have no idea why that was also in the box), wheels, undercarriage legs and doors from an old Mosquito and a few other odds and ends. Is that enough to build another Mosquito – no it isn’t.
This work was not a far far better thing than I have ever done, but I think I now deserve a far far better rest than I have had for the last week.