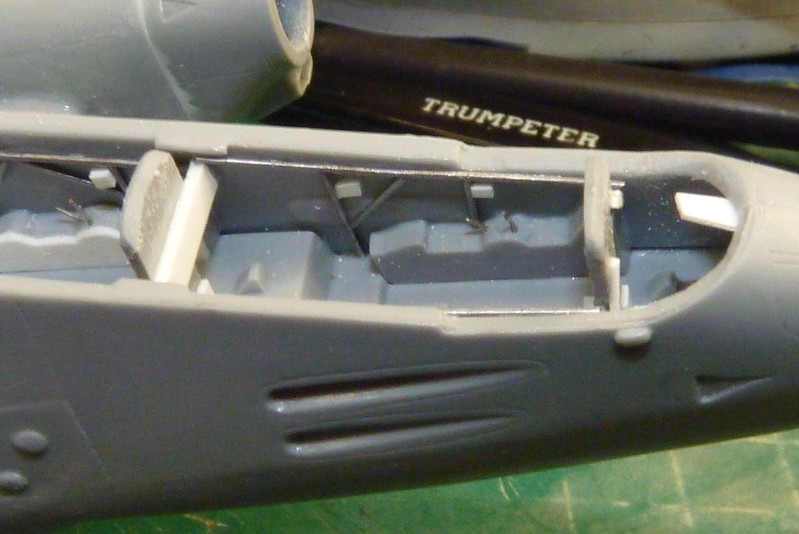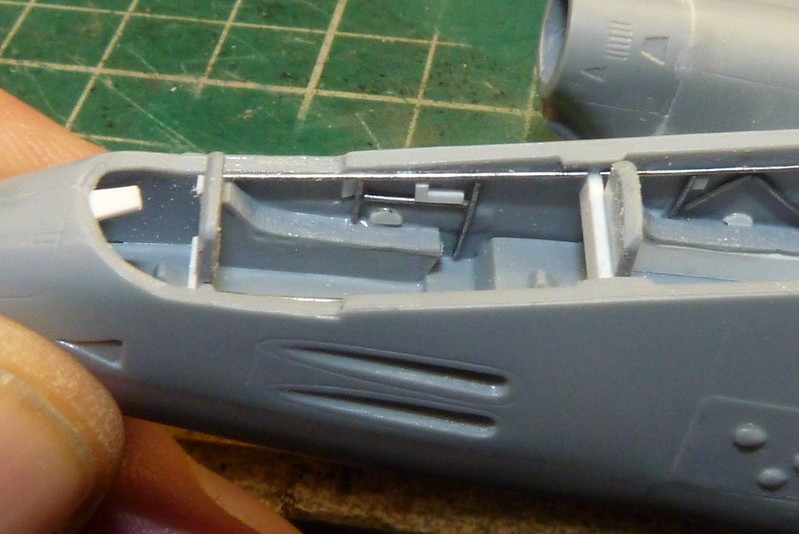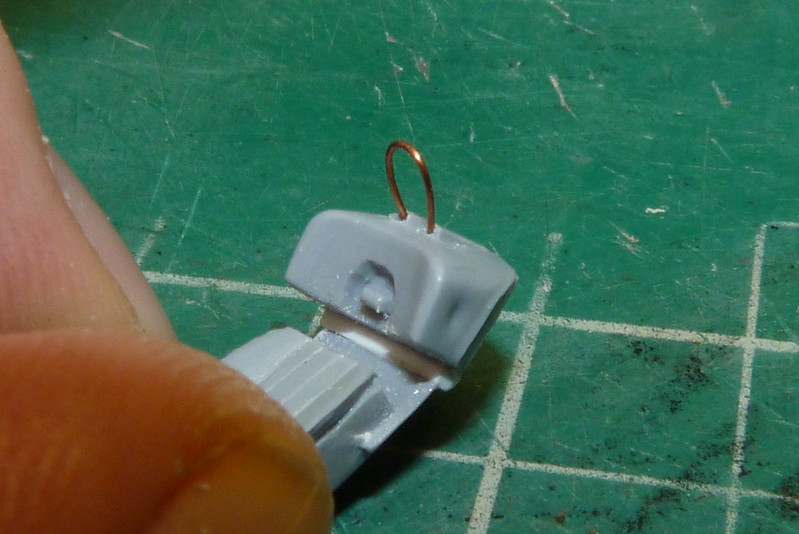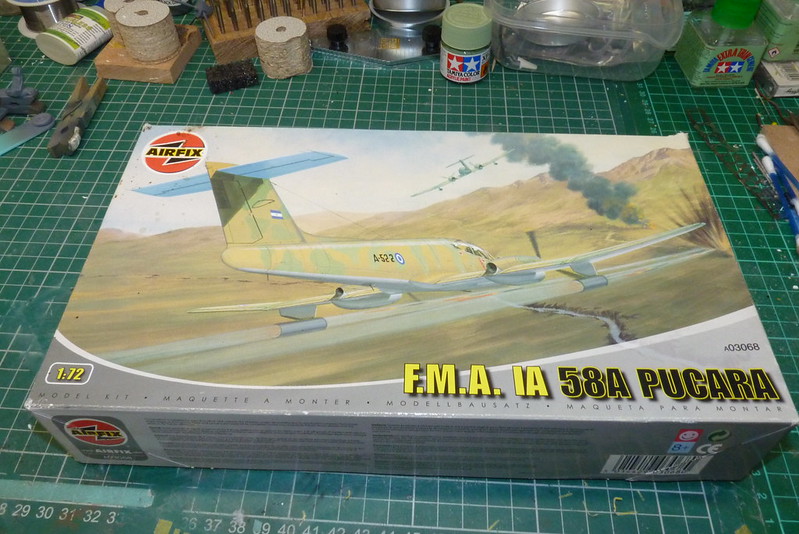
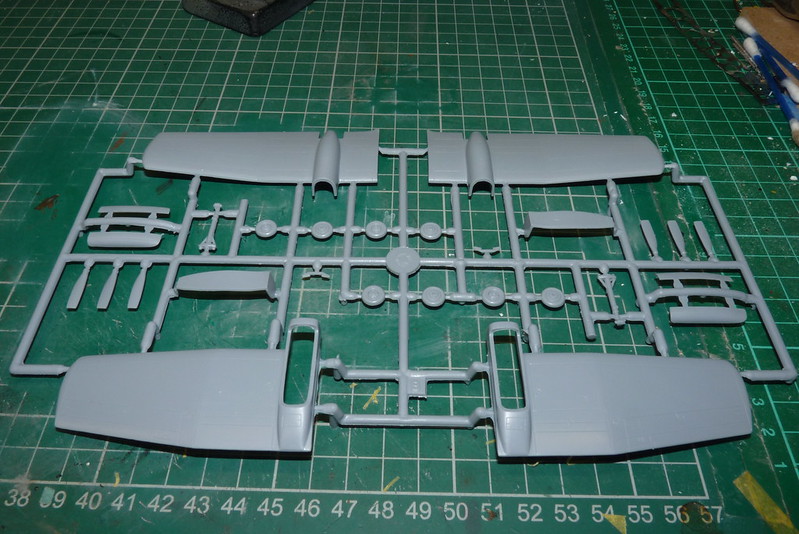
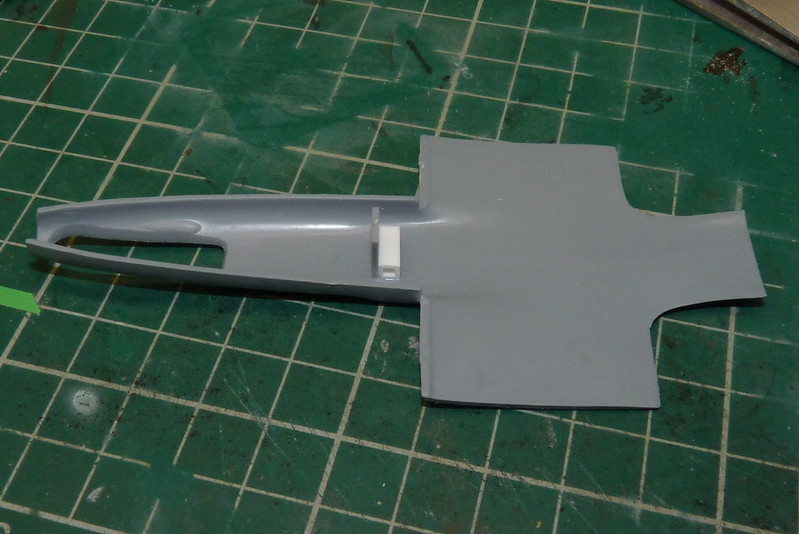
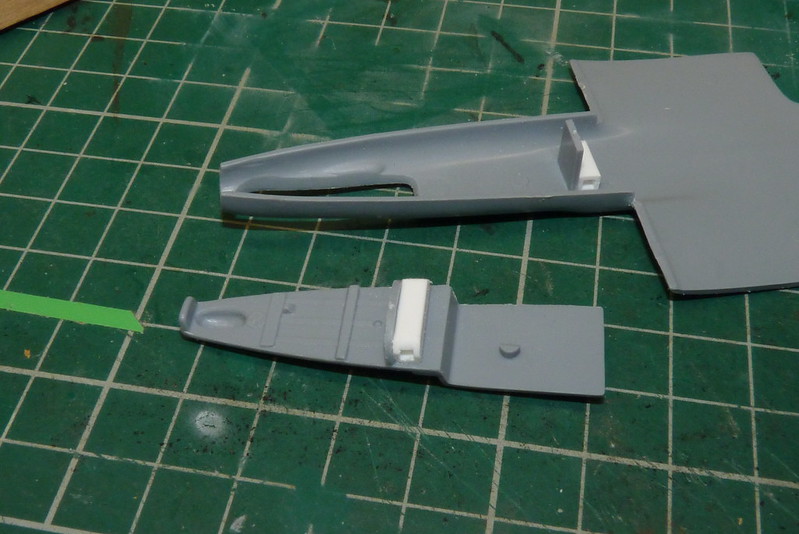
The kit has recessed panel lines and no locating pins. Also after dry fitting a few of the parts the fit isn't the best but thats the price you pay for doing an old Airfix kit. The first job I did was to workout where I was going to attach the bolt in the fuselage for the stand which wasn't a problem as it is going to go near or enough in the middle of the wing roots. Before that I added a small of squared plastic rod to give the cockpit floor support a bit more strength and to act as a guide the keep the support vertical.
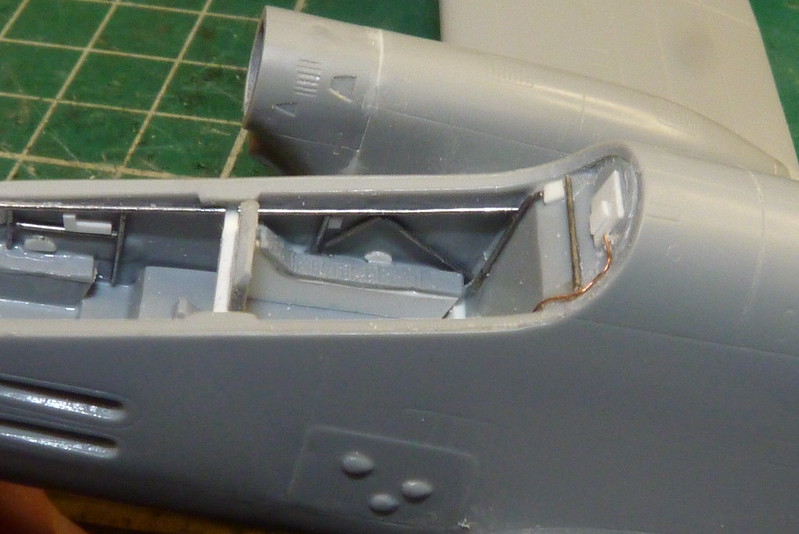
I did the same for the support in the nose wheel well.
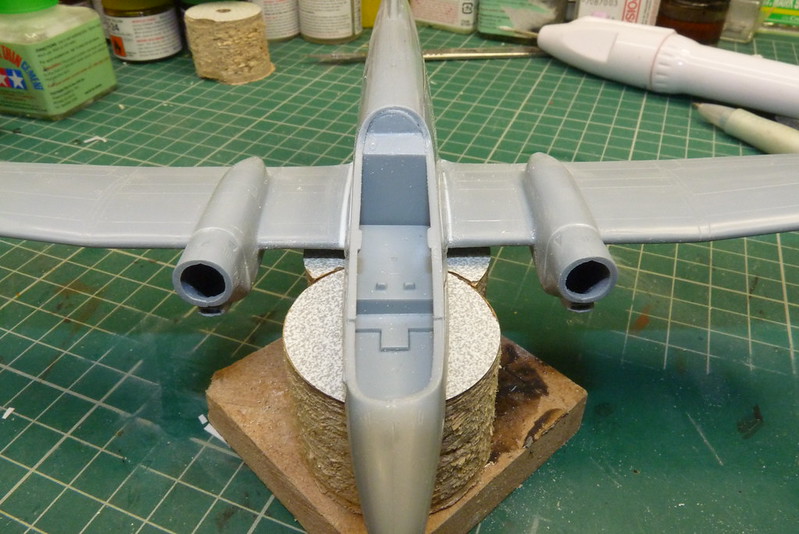
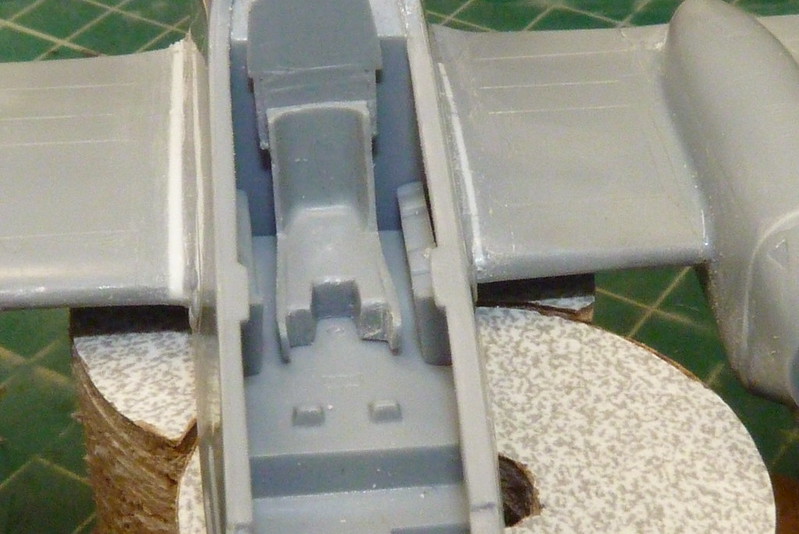
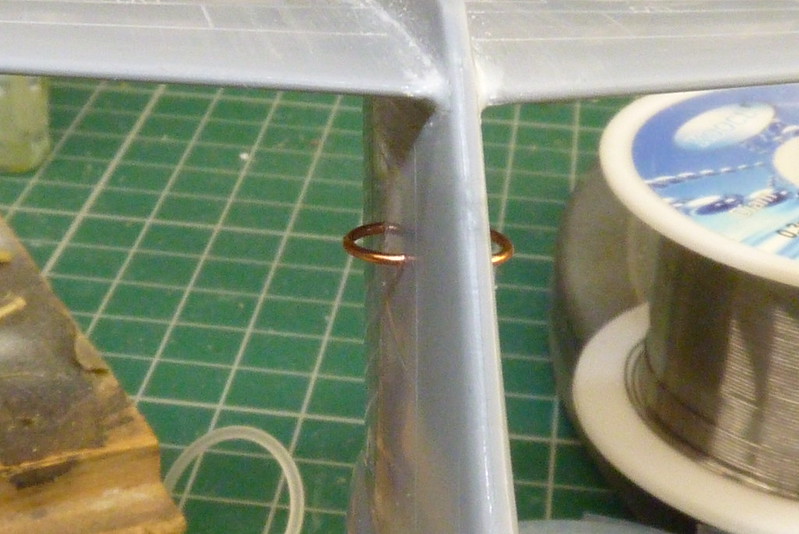
While it was easier to get to I closed up the nose wheel well using scrap bit of plastic to support the nose wheel doors. Next I used a pair of calipers to find the centre of the fuselage.
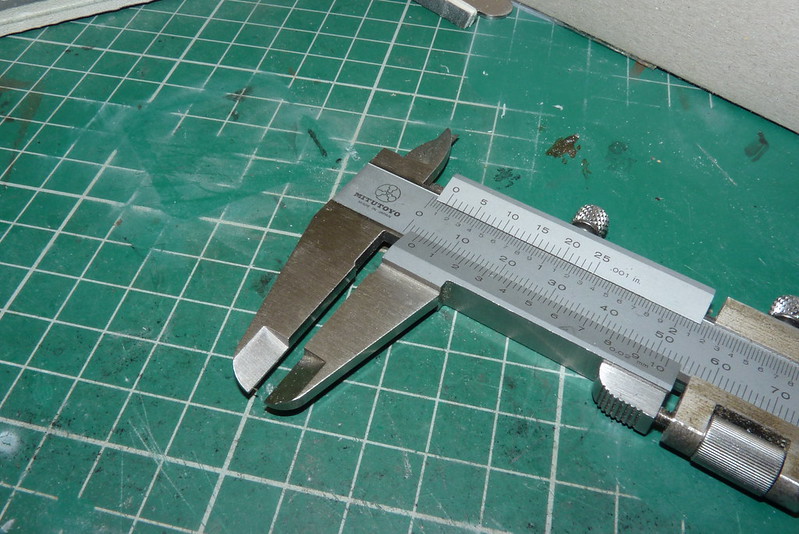
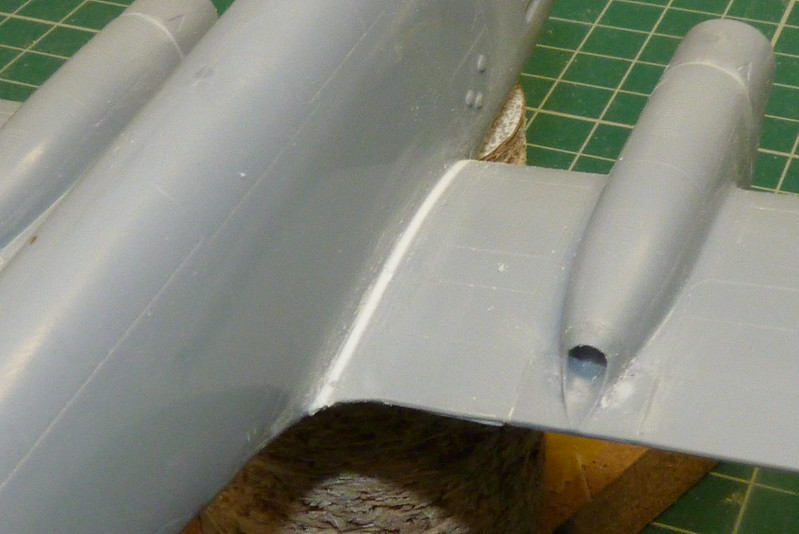
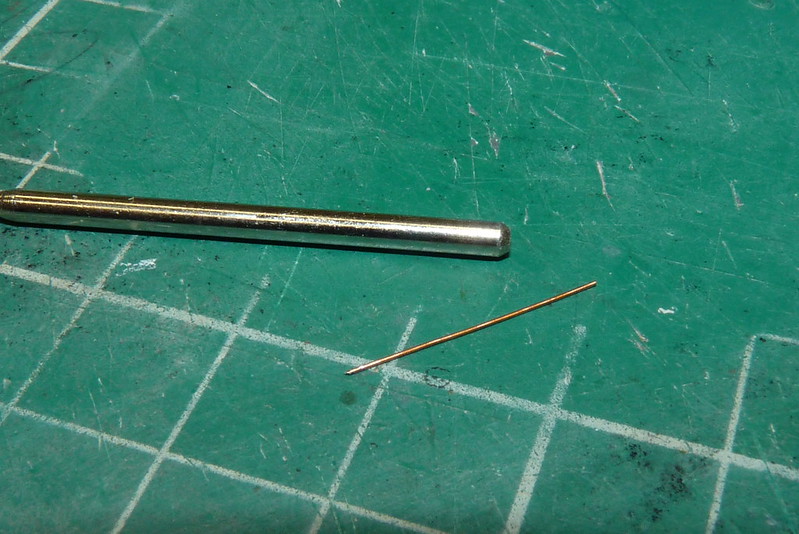
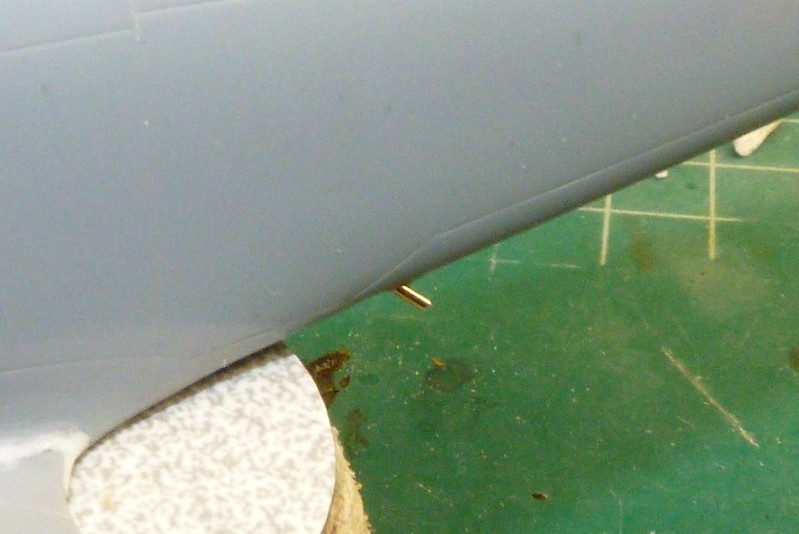
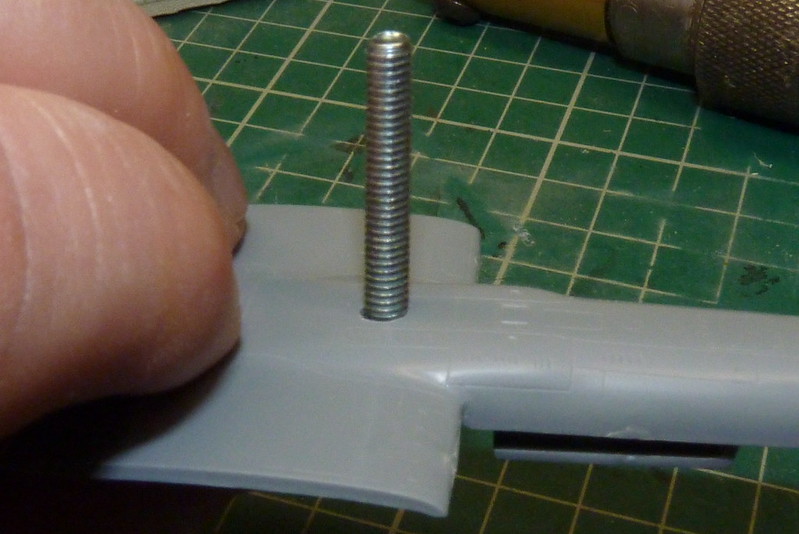
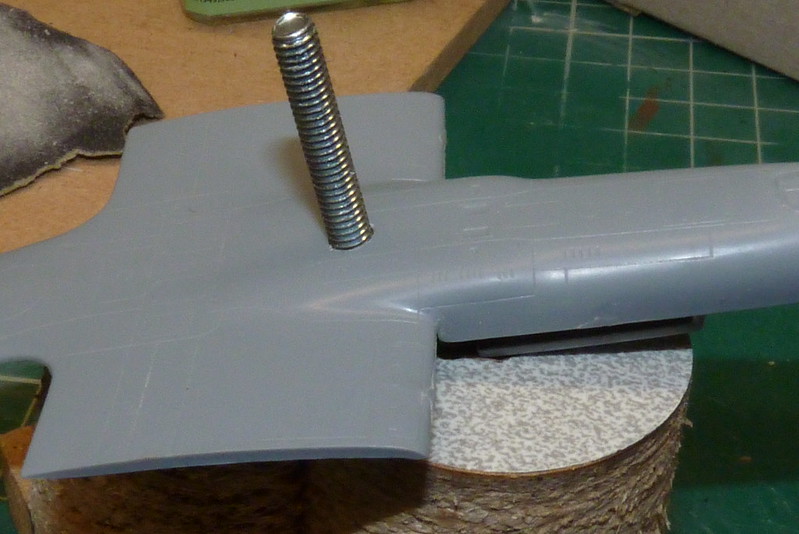
Then using a 4mm drill I made the hole for my M4 bolt.
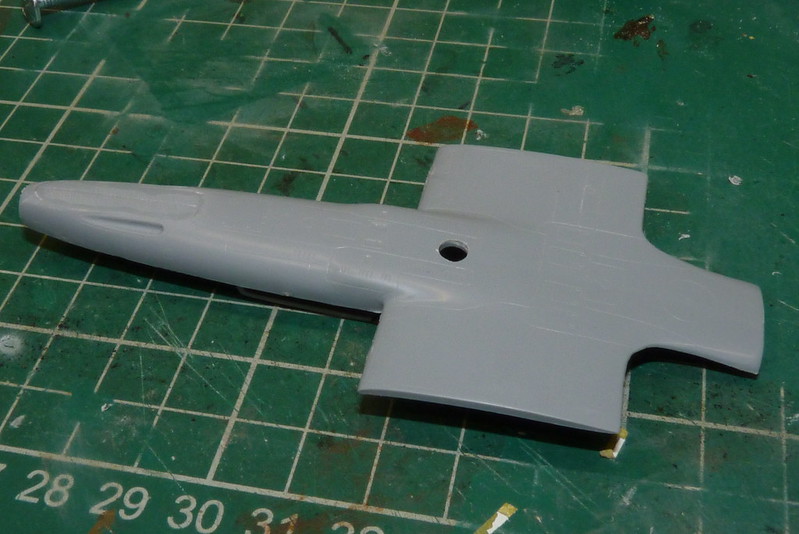
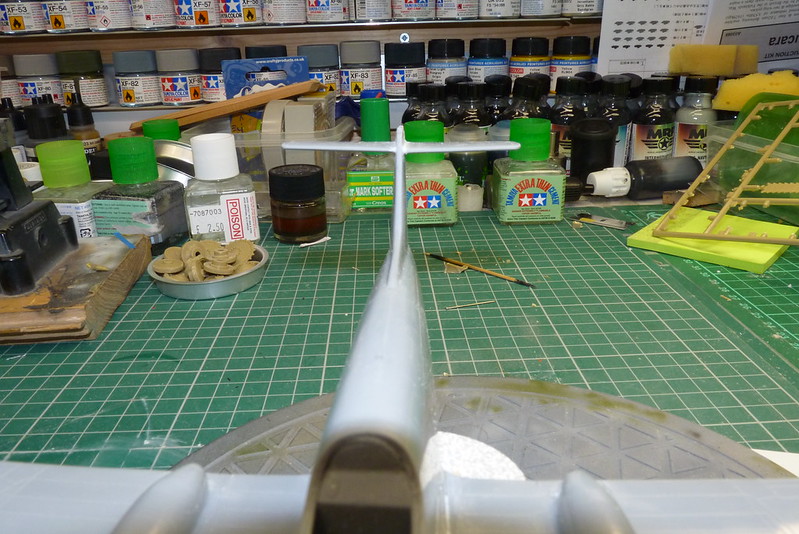
Then I did a bit of test fitting.
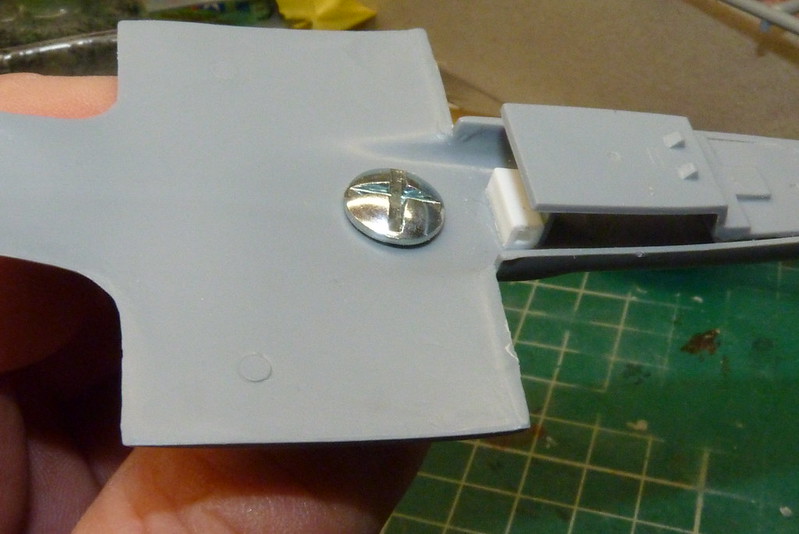

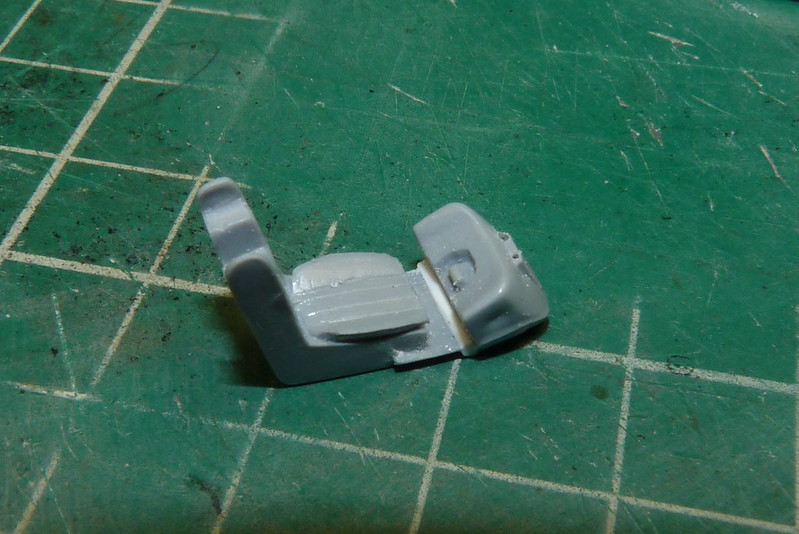
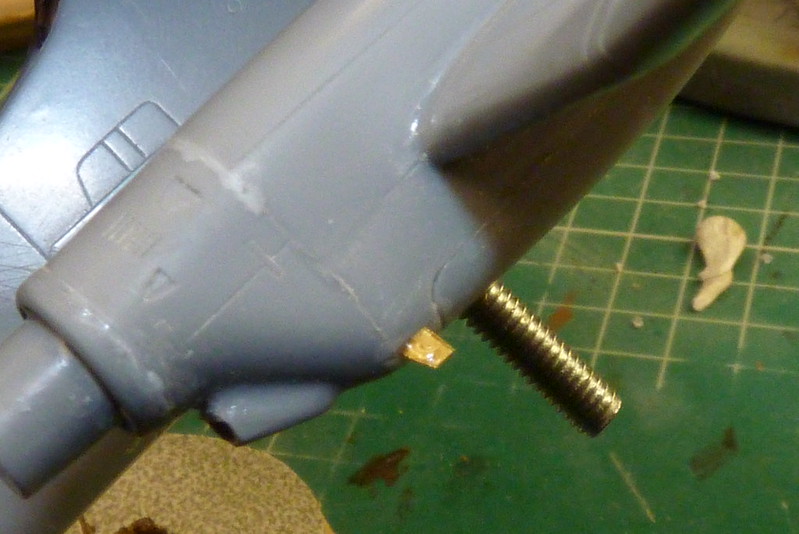
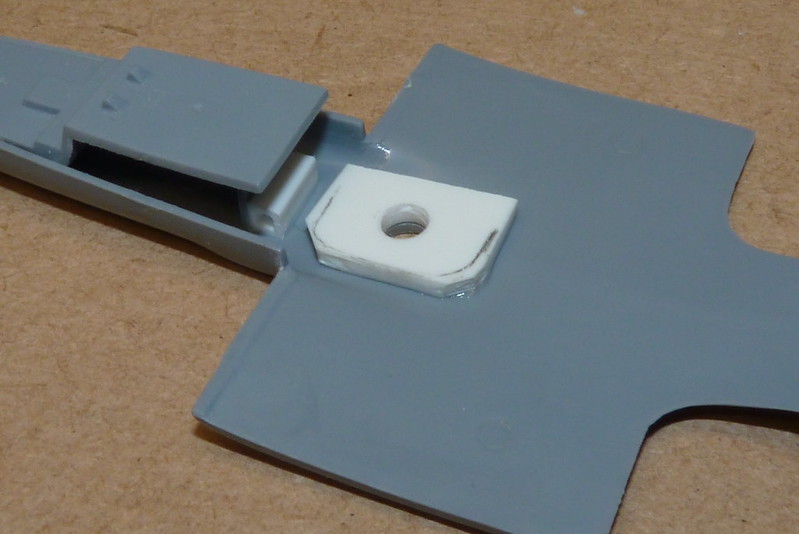
As the kit plastic is a bit soft I added another bit of scrap plastic to give the plastic around the bolt a bit more strength and to make the level area where the head of the bolt will sit to give a better joint.
I then stuck it all together with quick drying epoxy.
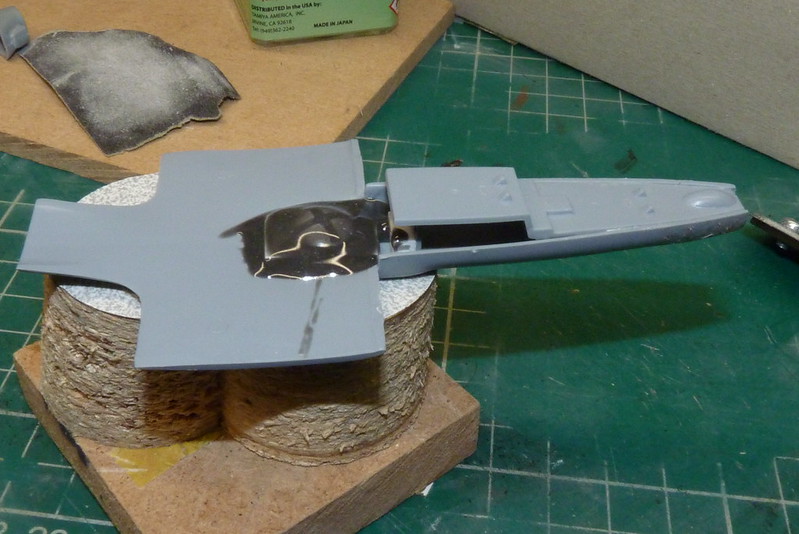
The epoxy gives a strong and tidy joint.
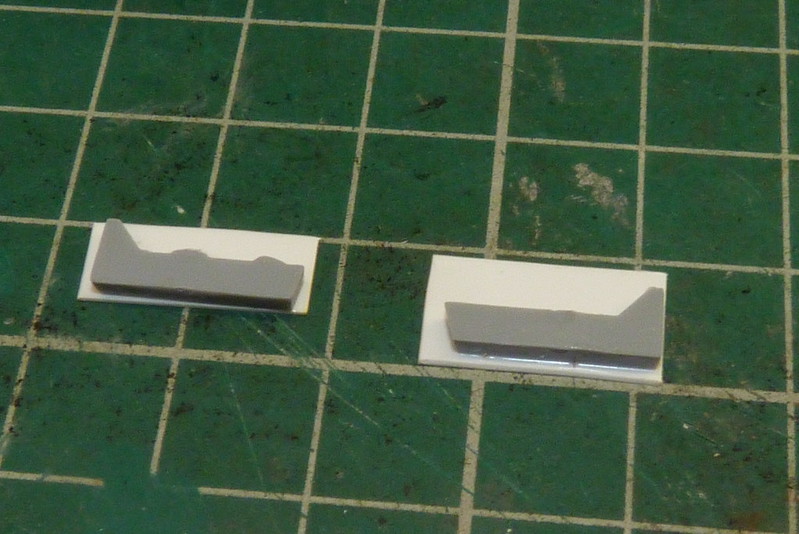
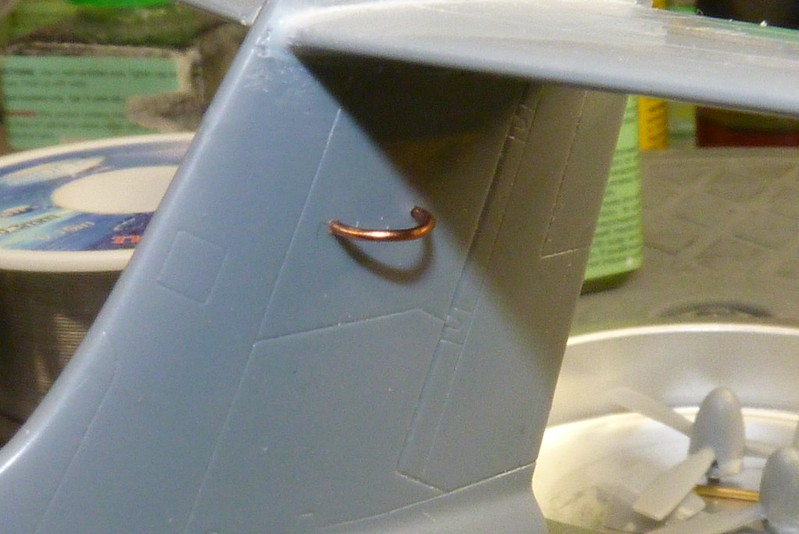
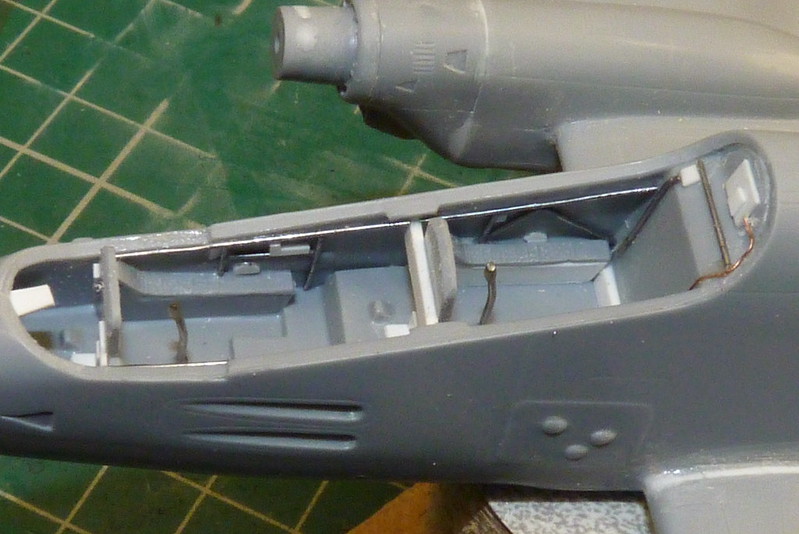
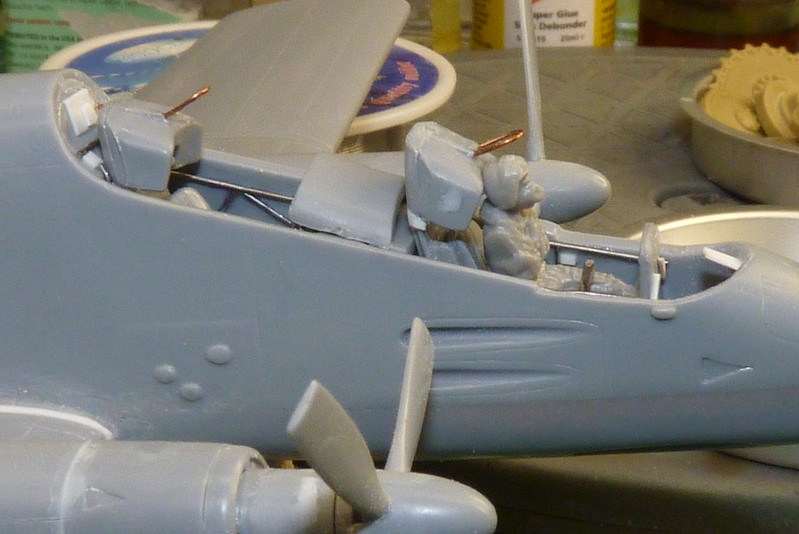
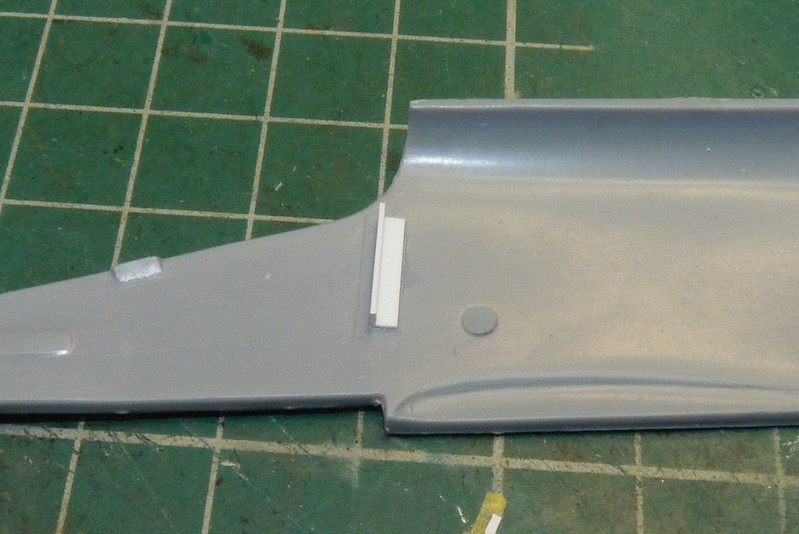
The support or marker for the cockpit rear bulkhead required a bit of help.
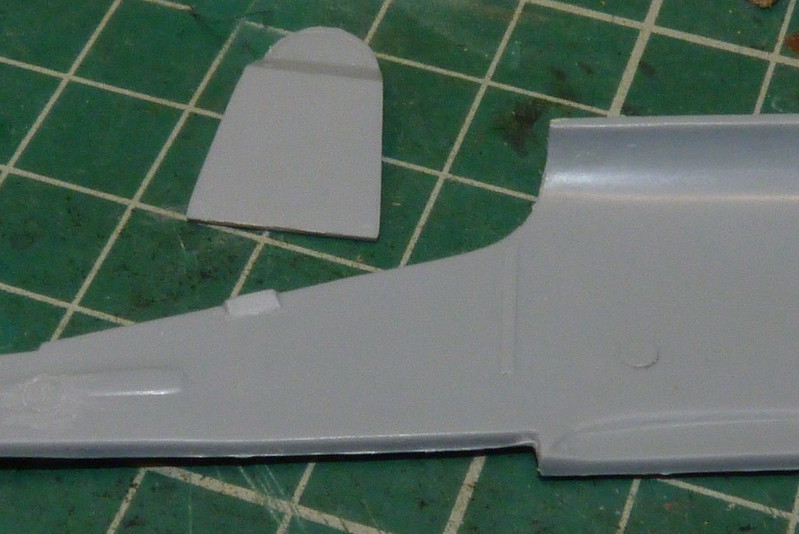
So I added a touch more plastic to both sides of the fuselage halves to help as a guide for the bulkhead.
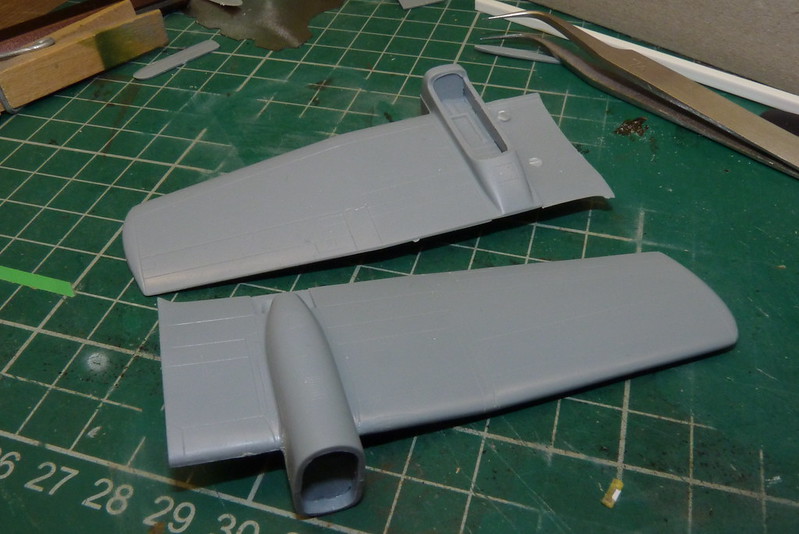
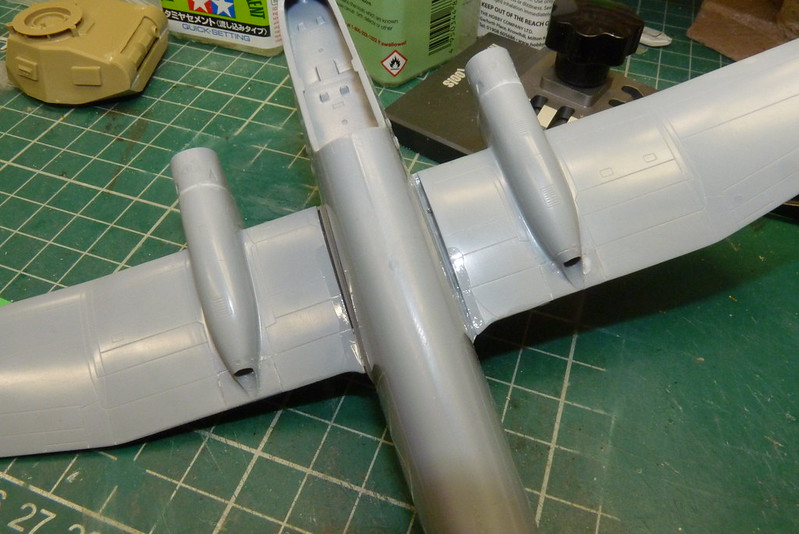
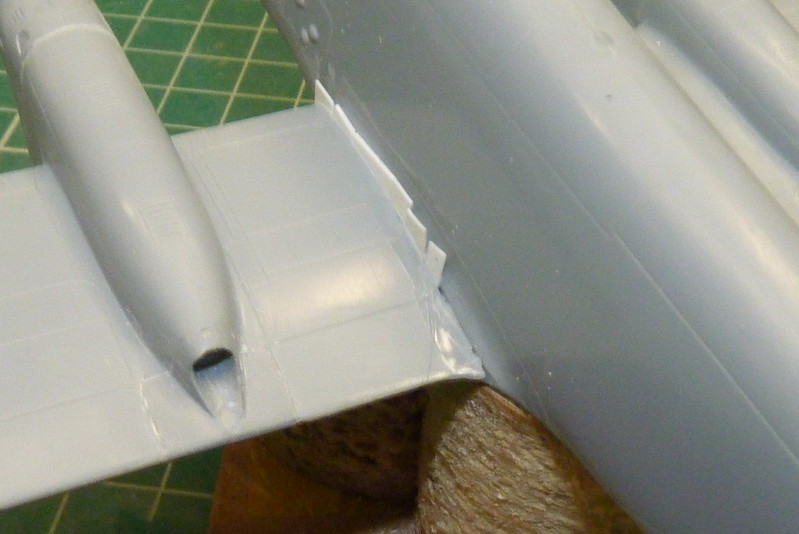
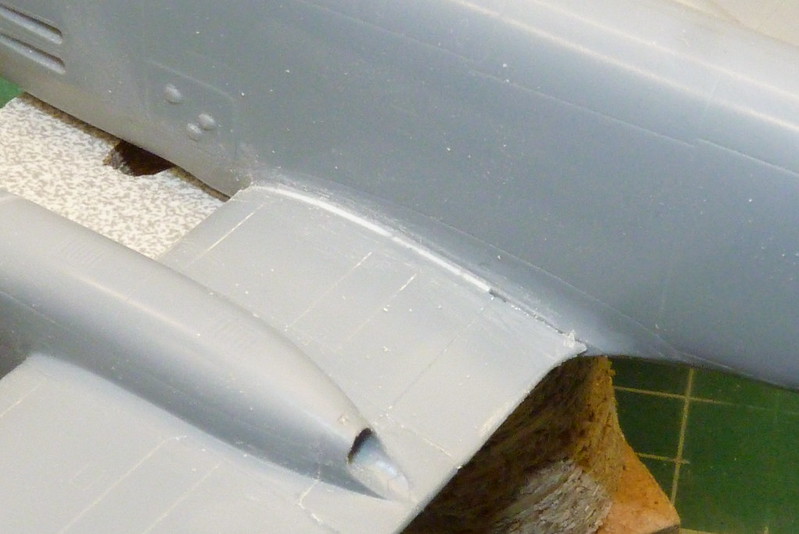
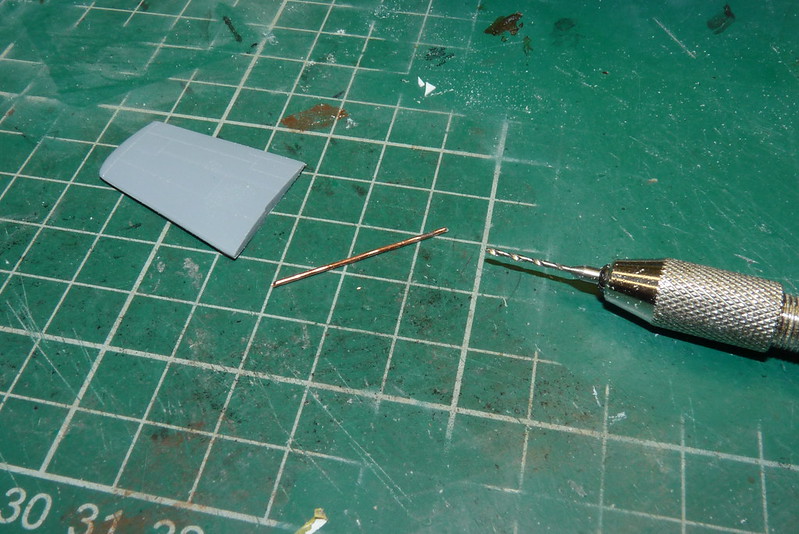
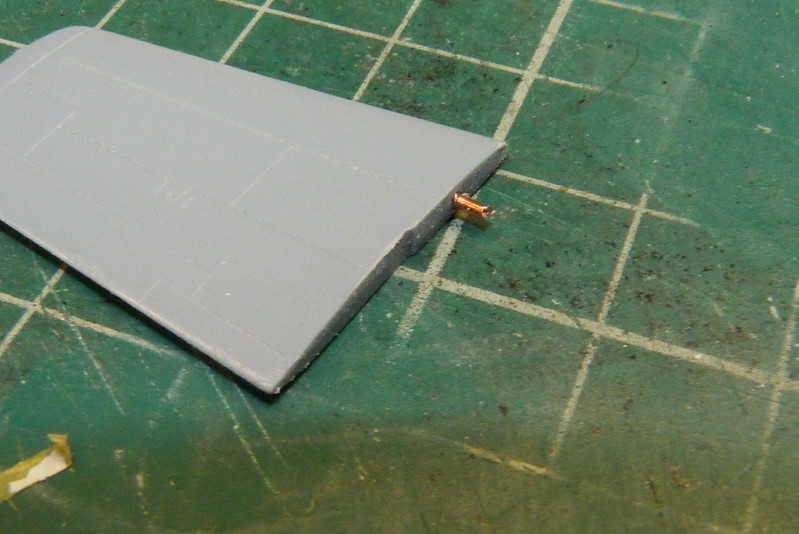
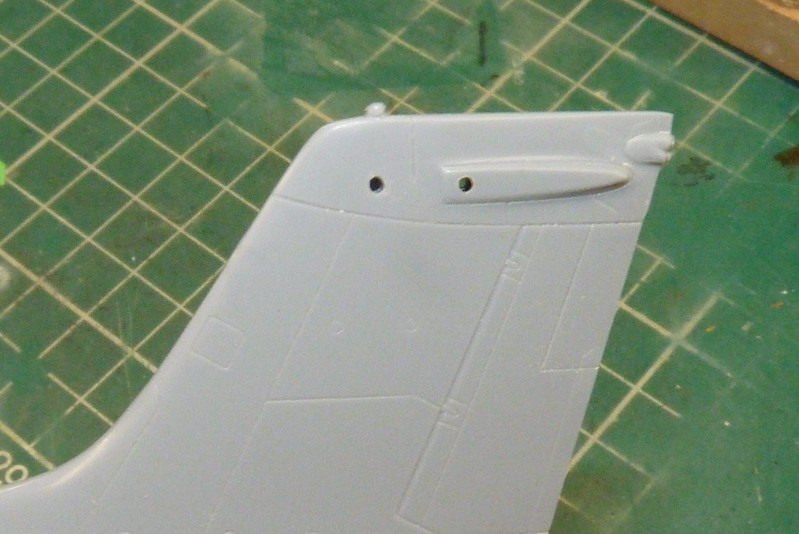
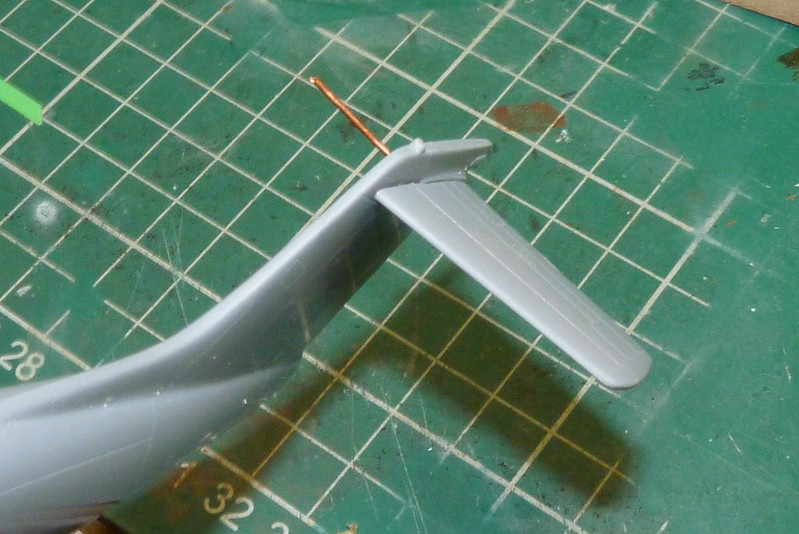
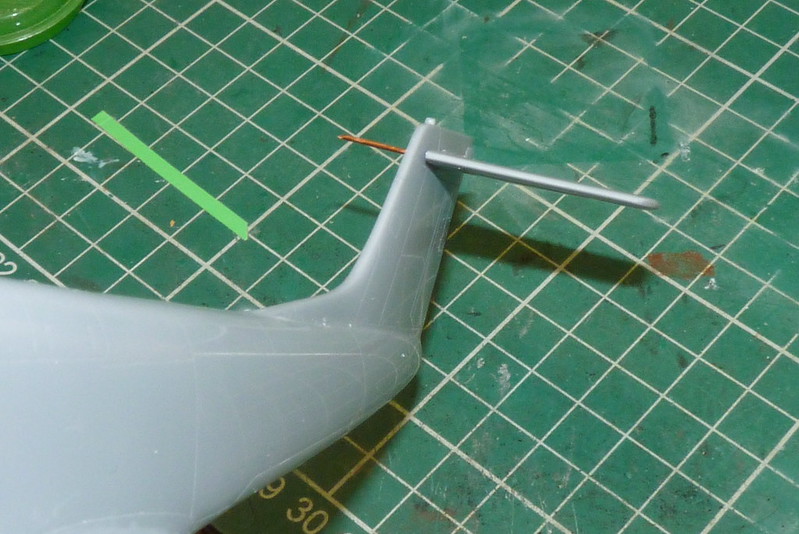
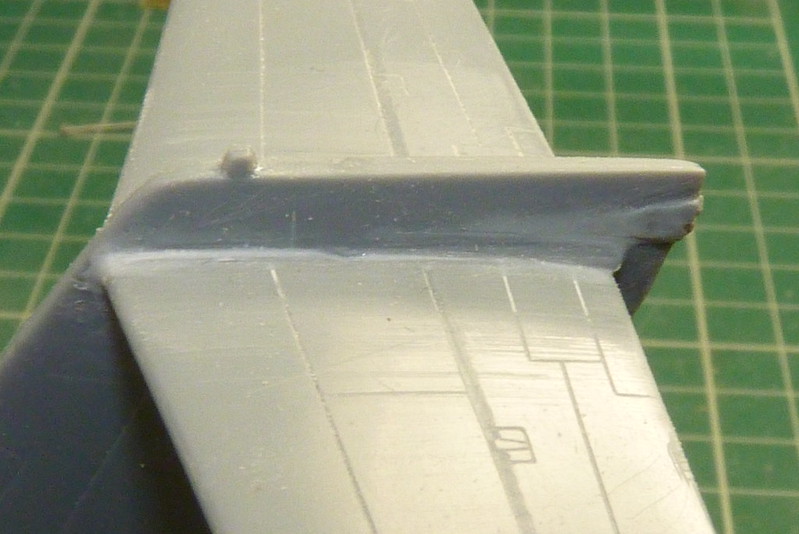
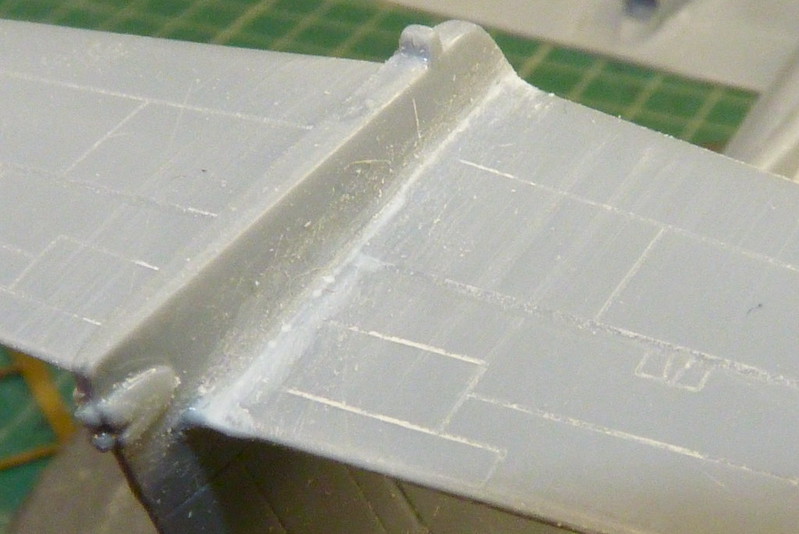
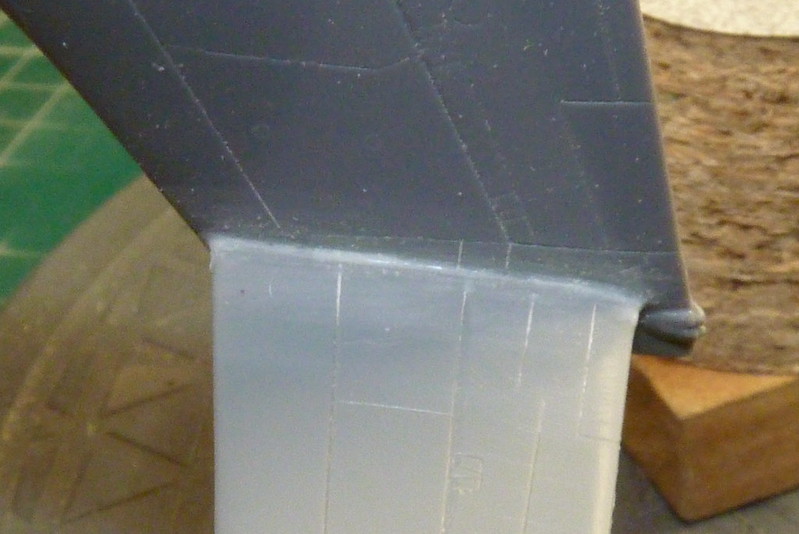
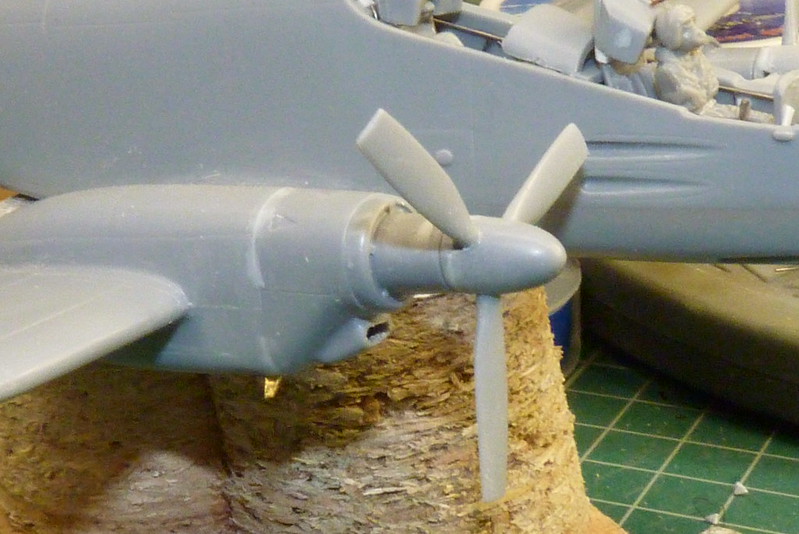
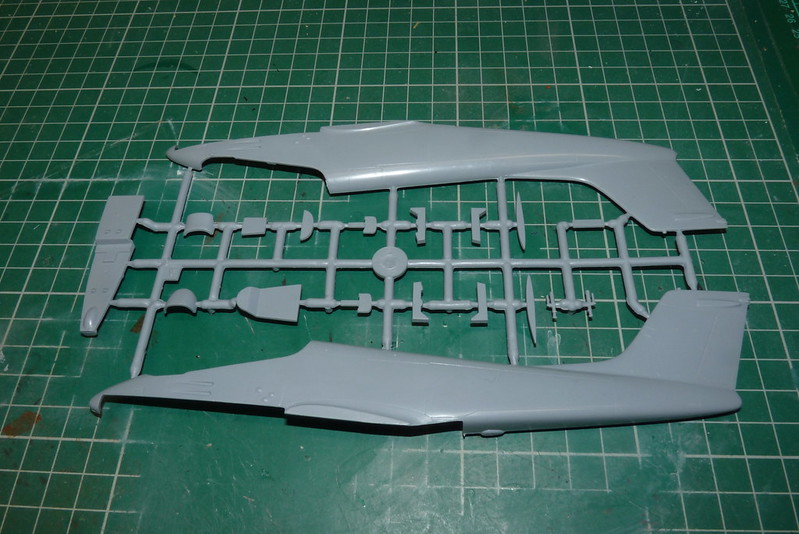
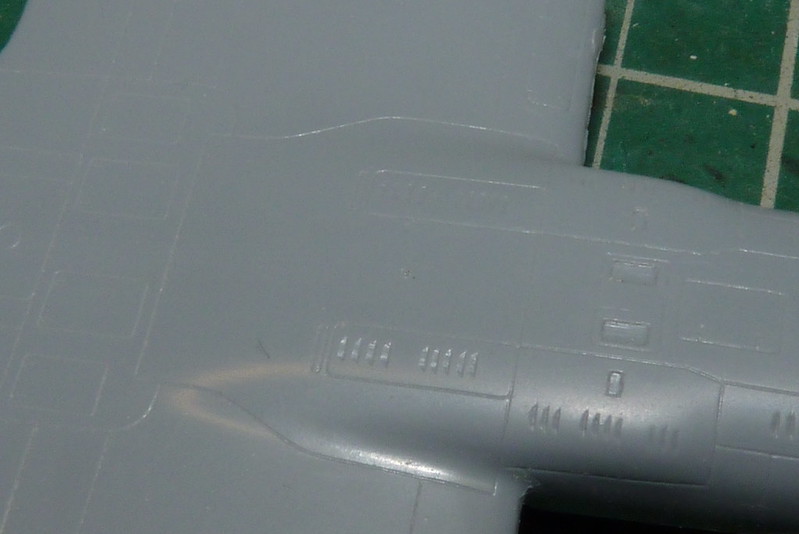
While I was waiting for all the glue to cure I moved my attention to the wings which were a good fit.