That S&M Viscount kit in 1/144th
Posted: May 7th, 2017, 2:25 pm
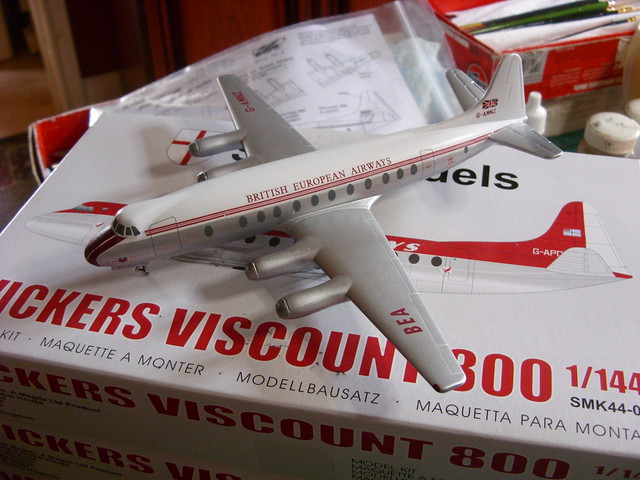
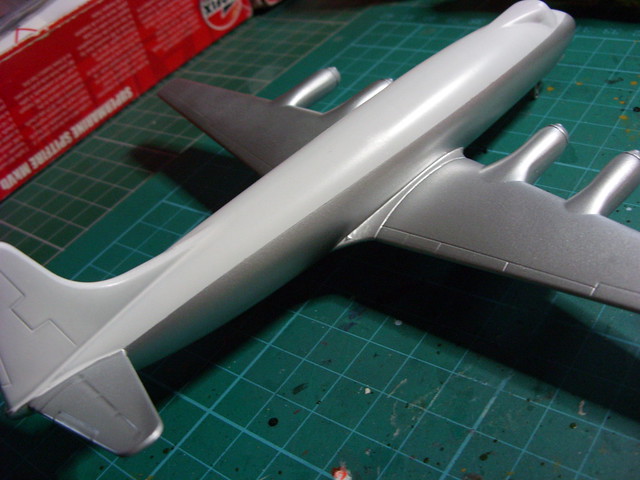
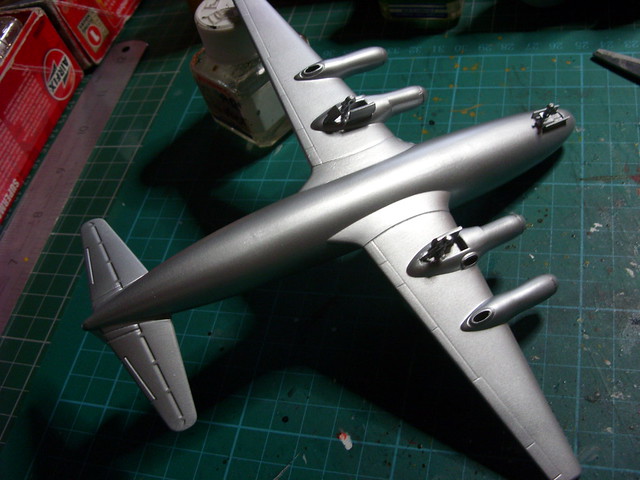
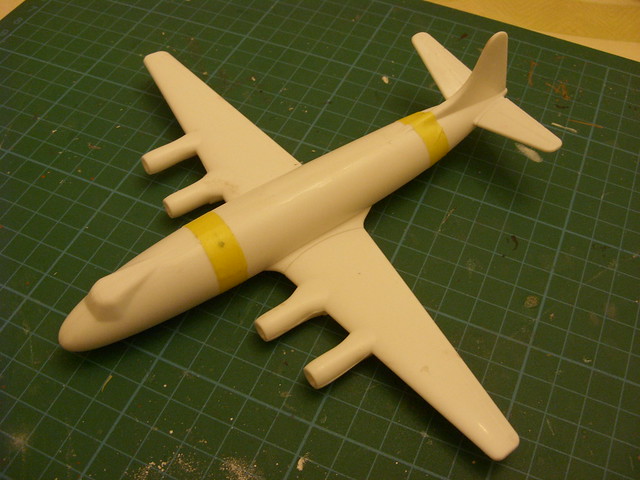
I picked one of these little kits up at Sword & Lance. I remember reading a review of this kit that was not overly inspiring, but I must say that it went together very quickly. I jumped onto Ebay and bought two more.
As you see, I have used the BEA decals from an old set that I bought from Welsh Models. I have used their decals before on the BEA DC-3 and Ambassador ( Elizabethan.) and they were fine. This time I had some problems. The decals are stored in their original packs, inside a box file, on the top shelf of my wardrobe, so they are in a good environment. Most adhered very well, but the long cheat lines went on in about six pieces. The nose decal was awkward too and had to be trimmed. I used soapy water over Kleer as a base for the longer decals, to allow a little adjustment. I used a soft brush, as usual, but they cracked at every touch. Still, they ended up quite nice and there is a bit extra on each piece, so I could patch it. When they were settled, I gave them a coat of thinned Kleer to hold them down. I have a few touch up jobs to do and then I can add the wheels etc. Quite impressed with the kit and am going to get another decal sheet for the RED BOX BEA scheme. I will scribe a little more detail onto the upper wing surfaces on the next one. The silver is Halfords Aluminium with a coat of Kleer and primer black. About 1% black. 5% may have been a little better. The white gloss is Halfords Appliance white.
I'm not sure who makes the decals for Mr Wade, but the carrier film just vanishes when applied. That's really good over these bright finishes.
More here . . . . . https://www.flickr.com/photos/23594891@ ... 2650/page2;