Without further ado.
Every now and again, a few neurons in my brain misfire, and I get the compunction to buy a 1:32 scale kit. I enjoy working in the larger scales, and I think the models tend to look great, but realistically, I don't have the space to display a collection of them. Hence, most of the ones I buy, maybe a dozen over the years, end up sitting in the attic, with one or two parts glued together. Many get resold. To date, one has been built.
But I saw a build video of this kit on youtube, and after seeing this kit at my LHS for about $30, I couldn't resist (nb: I was also heavily inspired by Fred's amazing build of his 1/32 Revell Arado, and Daz's Airfix big-kits on this forum). To prevent it from becoming another piece of attic insulation, I cleared off the bench as soon as I got it home, and began working.
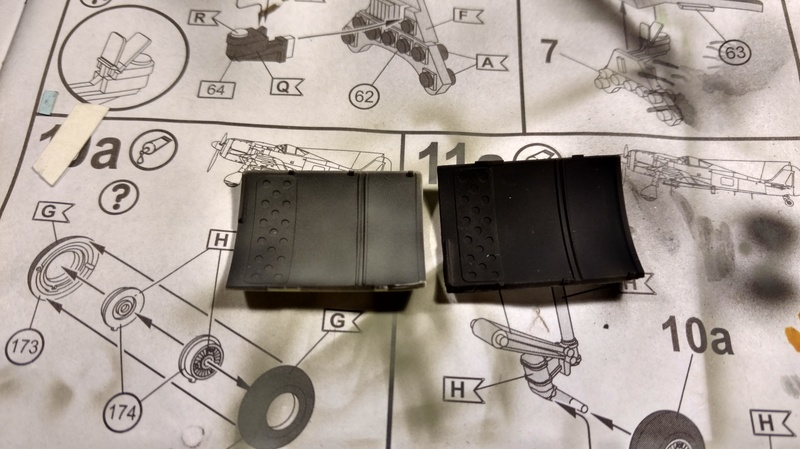
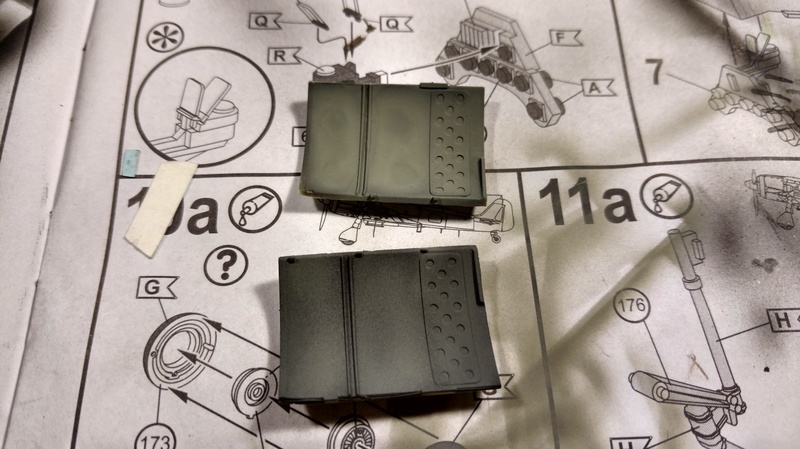
Revell gives you a lot for a low price. The kit has a full BMW engine, really nice landing gear, positionable flaps, and control surfaces, and the ability to post the engine covers open to show off that nice engine and machine guns. The cockpit is a little spartan, but so was the real thing.
I began with the tub, which is pretty work-a-day, so I spiced it up with some weathering of the floor area.
The base coat is a mix of Tamiya grays, with white added for highlight coats. Details are Vallejo colors applied with a small brush. I gave everything a dark brown wash, and semi-dry-brushed some silver scuff marks on the floor and edges of the pedals. I'll be adding straps to the rudder pedals shortly. Finally I applied a little bit of "Industrial Dirt" Mig pigment to the floor.
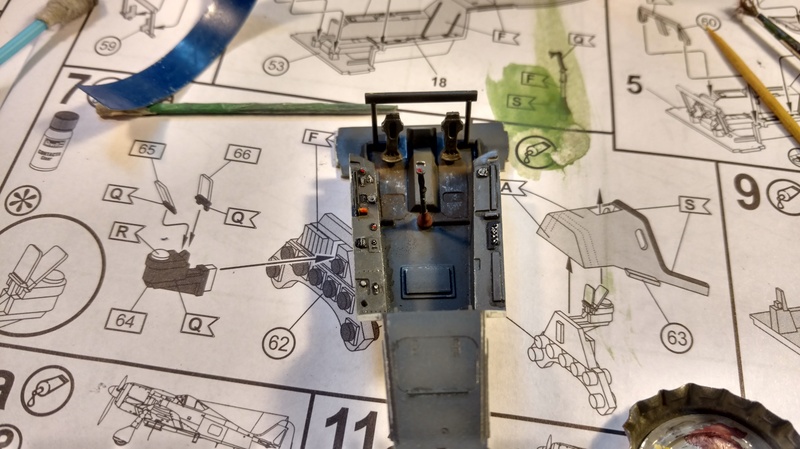
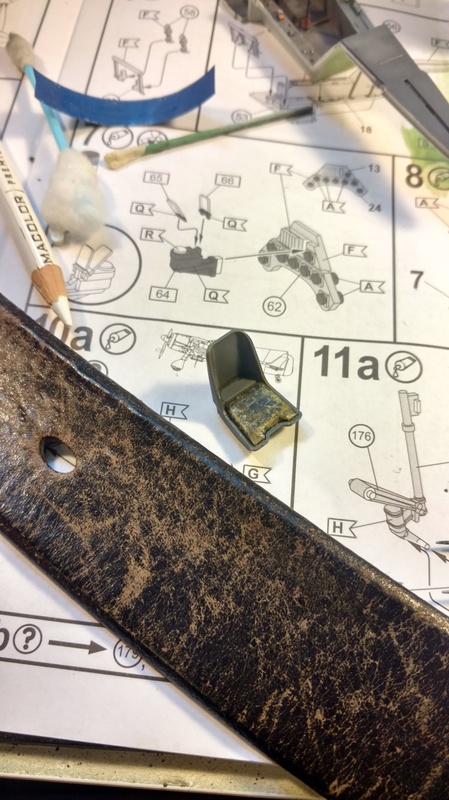
I started the seat too. The leather cushion was inspired by this old belt I have. This was a lot of fun to paint, and pretty simple too. I base coated with Vallejo black primer, and then stippled on some sand, and a light yellowish-gray shade. With a fine brush, I pulled some quick streaks across, to simulate cracked wrinkles. Once dry, it was given a translucent filter coat of a much thinned light reddish brown enamel.
Revell provides you with some seatbelt decals, but they look pretty cheesy. This might be an excuse to try out some of those Eduard fabric harnesses, but before I pull the trigger, I'm going to see if I can come up with a home brewed solution.