
Sorry I've been away for a while.
I remember this kit fondly from when I was a kid and I was most pleased to see it get a Red Box Re-release with an updated (and very extensive) new decal sheet and an improved painting guide, so I grabbed one. I love classic kits but will always go for the most recent release possible mainly for the superior decals.
The two colour schemes in the box were essentially the same, splinter camo over pale blue, but the second one had yellow bits underneath. I like yellow bits so the decision was made.

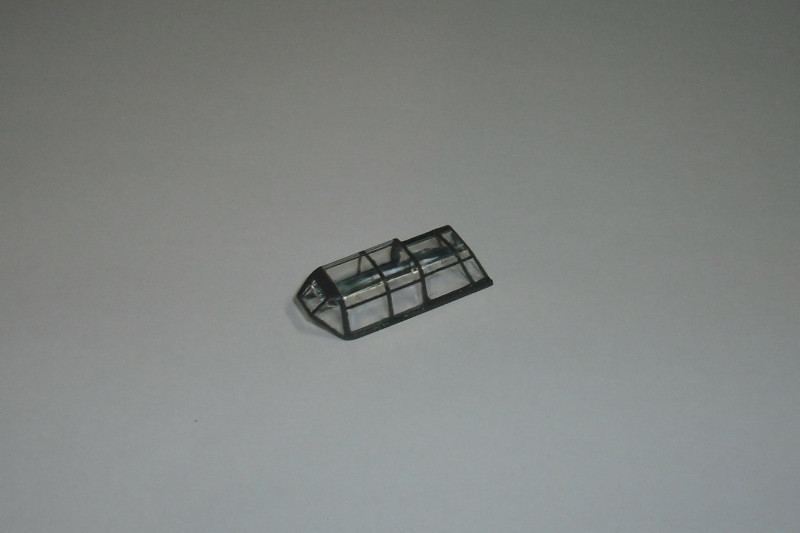
Job number one (as always for me) is to get canopy framing out of the way, a job I don't enjoy much! The canopy is supplied in two pieces, presumably to facilitate having it open. I wanted mine closed but they don't fit together very well. So I glued the two parts together then sanded them a little to blend them in with each other, then polished the sanded area back to clear and then masked up and did the framing lines.
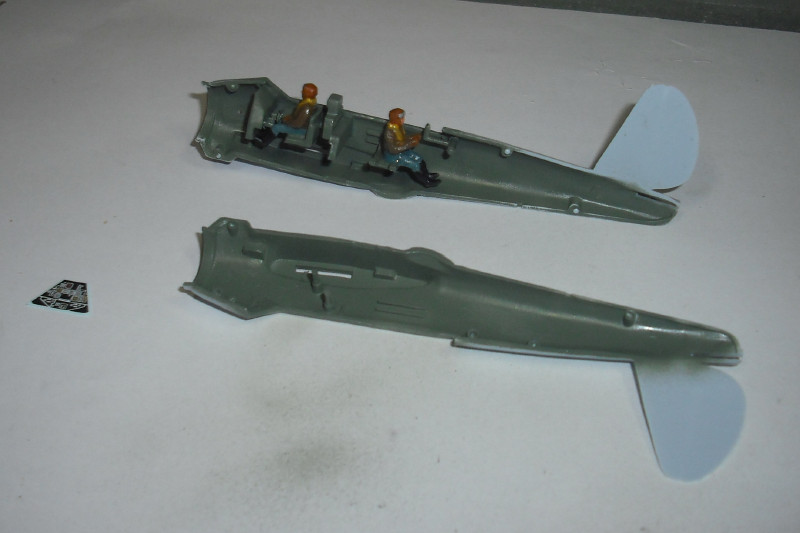
The fit of the instrument panel, bulkhead and seats was a bit sloppy so I glued them into one side and whilst the glue was still soft I kept offering up the other side to make sure everything was perpendicular and horizontal. Once set I sprayed it all up and added the figures before closing the fuselage up.
Also in this photo, on the left, you can see the rather nice instrument decal which I added later.
The rest of the airframe assembly was fairly painless but the hinge line gap for the movable control surfaces were just huge, a 1/72 aircraft fitter could have fallen through the gap! So I ran a shallow bead of filler along them so they'd still be visible but not so obviously gappy.
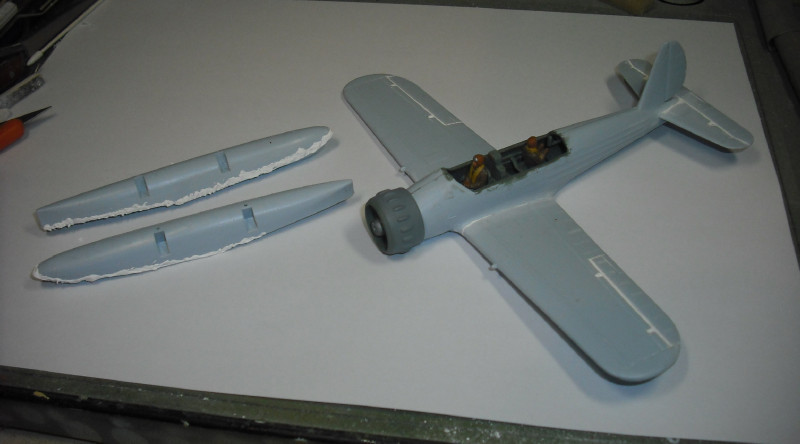
The floats needed quite a bit of filler, here they're waiting to be sanded down to the correct shape.
I don't normally prime anything but in this instance I gave the cowling a thick shot of primer because I had to do so much scrapping and sanding to get rid if a seam line and I needed to see that it had come out OK.
The yellow bits were sprayed then masked up for the pale blue, all pretty painless.

Then it was flipped over and the splinter camo was sprayed on. Easy straight line masking!

I decided it would be easier to assemble the floats and struts and put the rigging wires on before adding the whole lot to the main airframe, so I did.

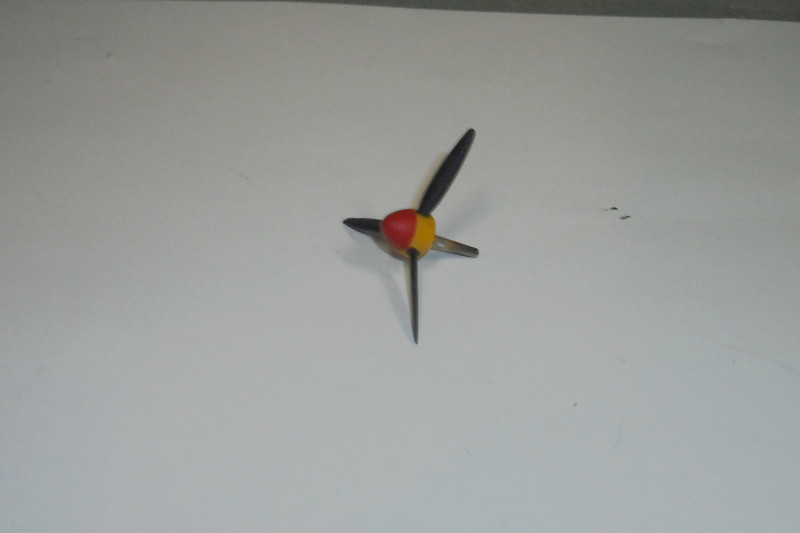
The propeller and the spinner were moulded as one piece which meant spraying the two-tone spinner was a bit fiddly. In the end Tamiya's stretchy masking tape 'for curves' saved the day.
This was followed by a long and arduous decal session, there were loads! But the quality was good.
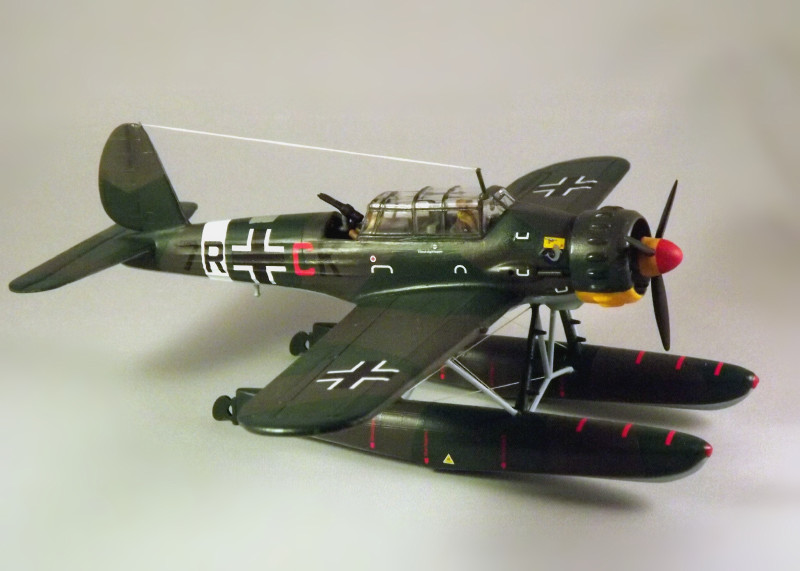
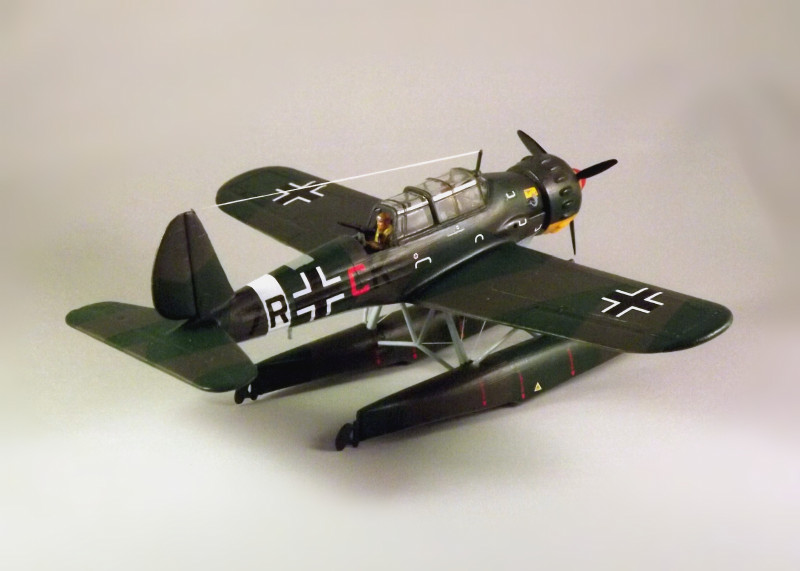
And here it is all finished, I hope you like it. the aerial twig looks crooked but apparently that's how it's supposed to be! To be honest it could do with a bit of weathering and chipping as these planes had a fairly hard life but I am really not very good at that sort of thing and I am frightened of screwing up the paint job so I'll live with my 'Clean' Arado!
Finish is all Humbrol enamels.

Thanks for looking,
Regards,
Zee28


