Anyway here we go.
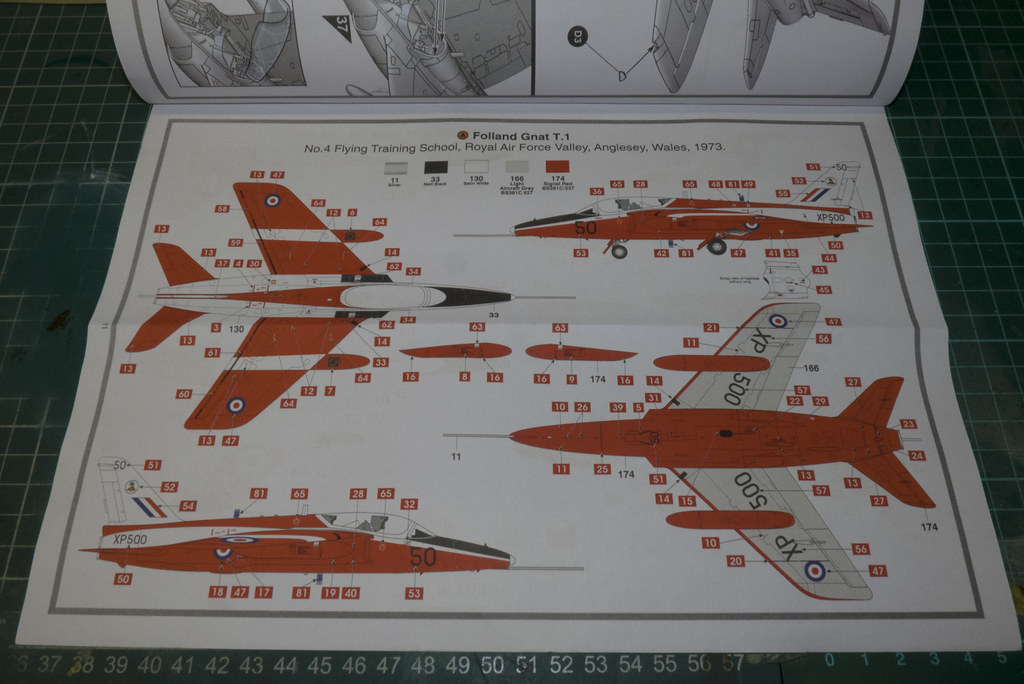

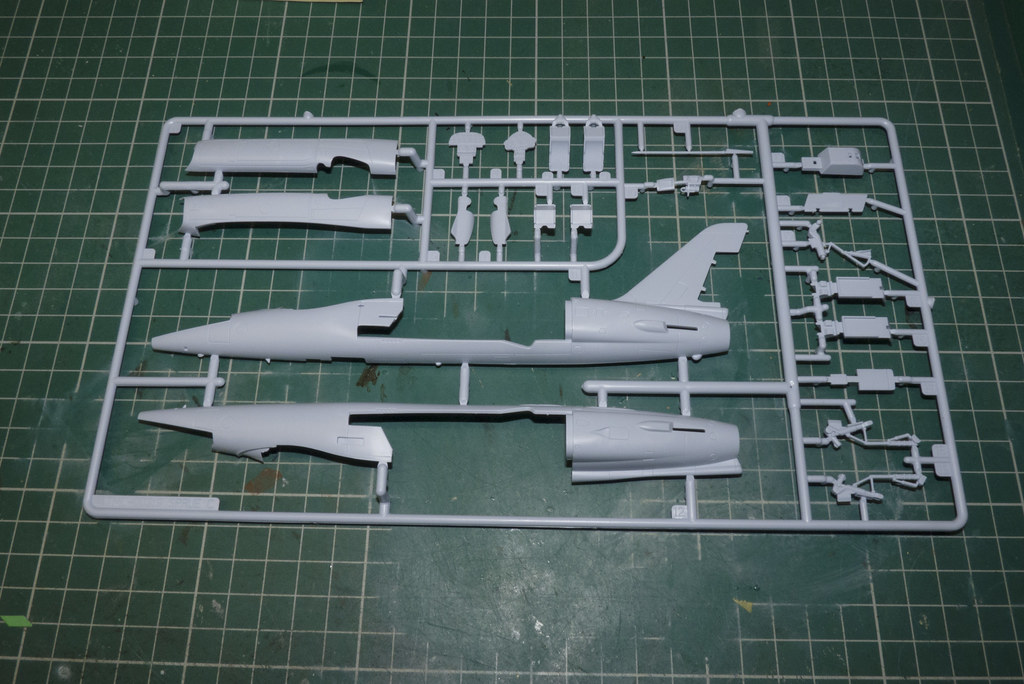
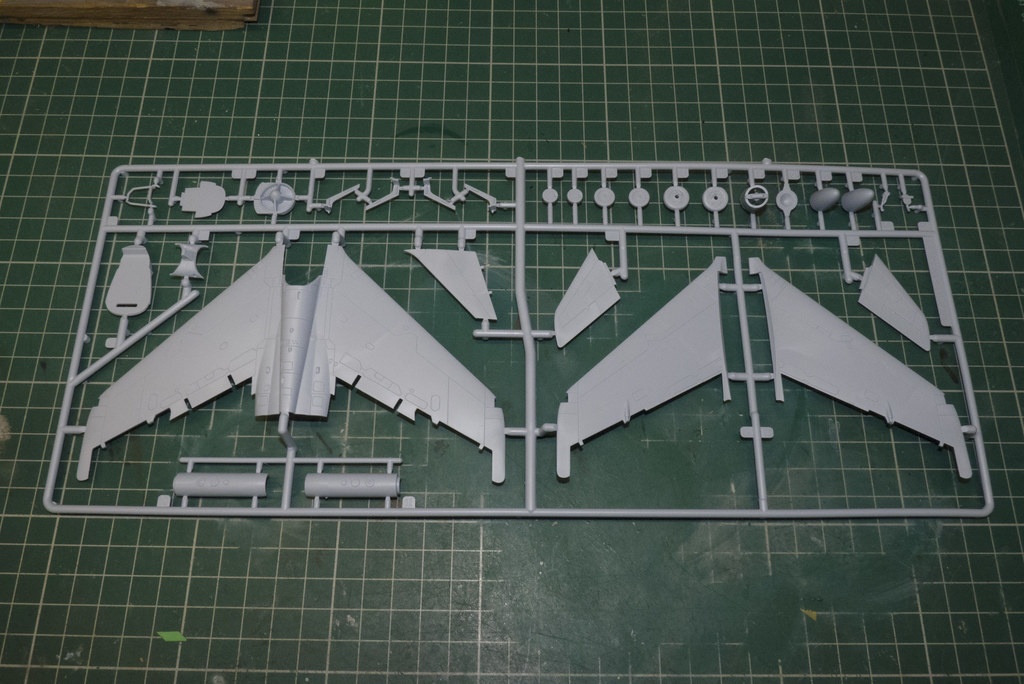
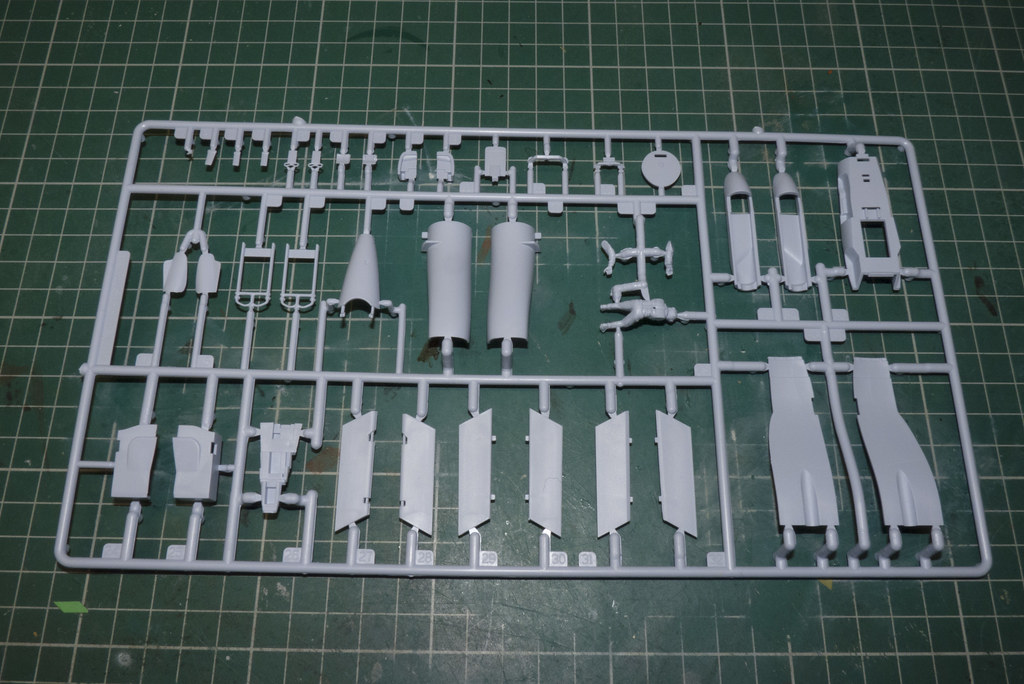
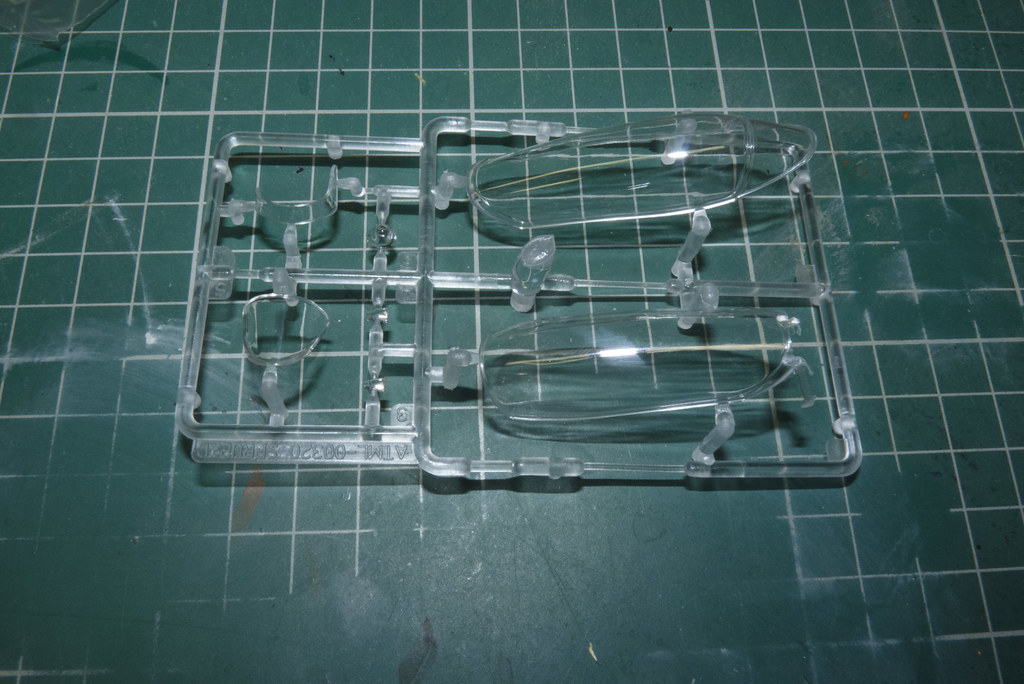
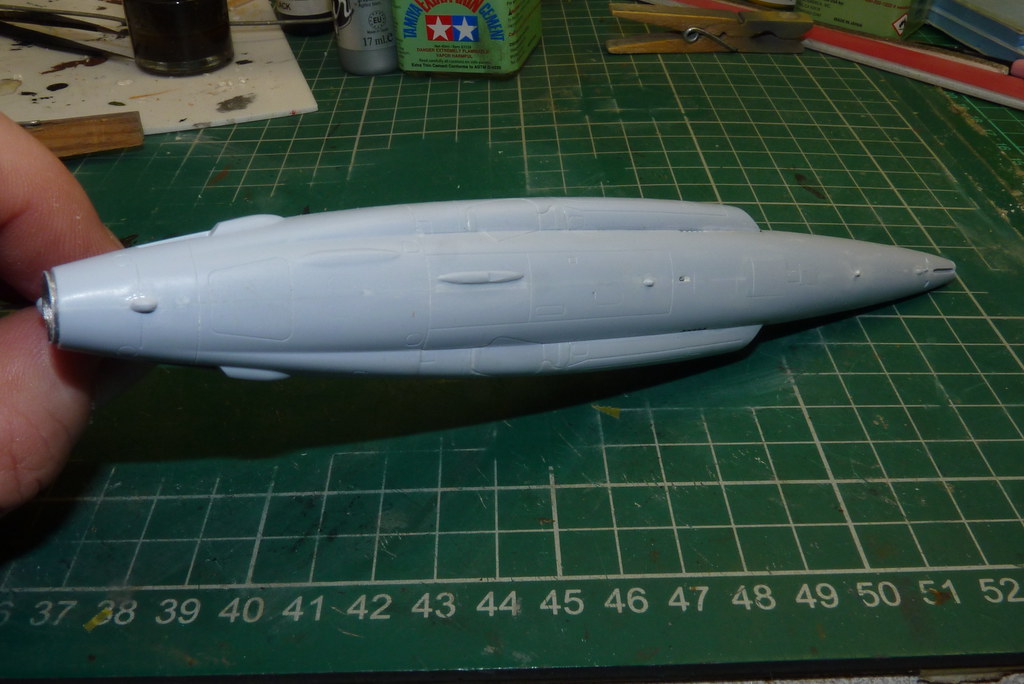
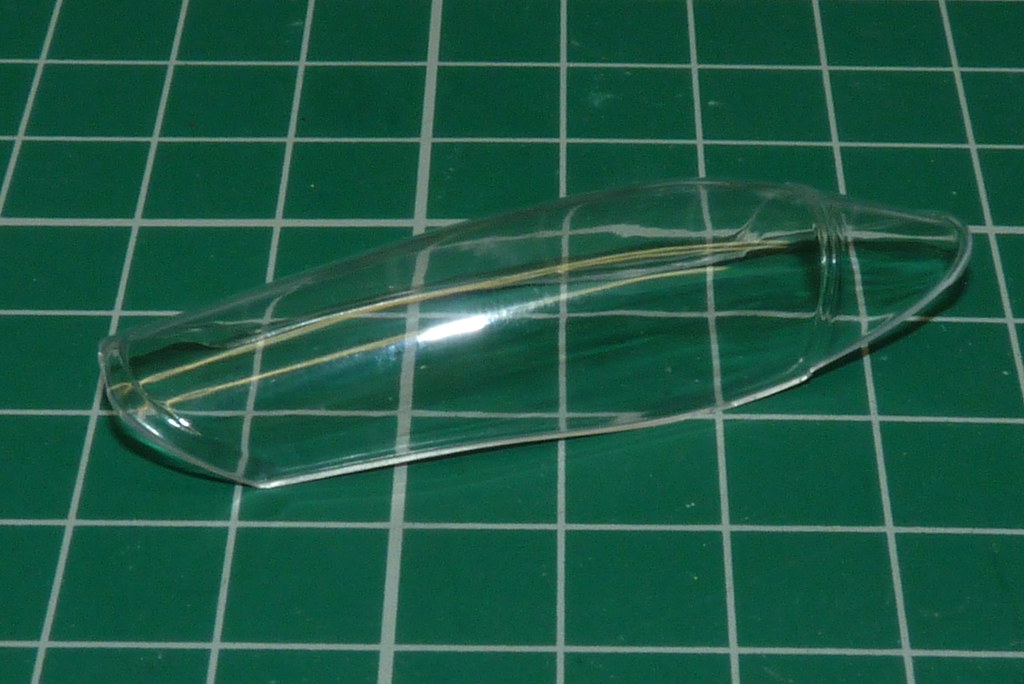
My first look at the kit and I am impressed. Everything is nice, clean and sharp apart from the pilot which is a shame but then again at lease you get a pilot. The clear parts are nice and you get a choice of open or closed canopy. I will be using the closed canopy option as its an in-flight display and as sods law would have it there are a few small scratches on the one I will be using, but they should polish out. As for the decal sheet, the are also clean and sharp. The instructions are very easy to follow and well laid out.
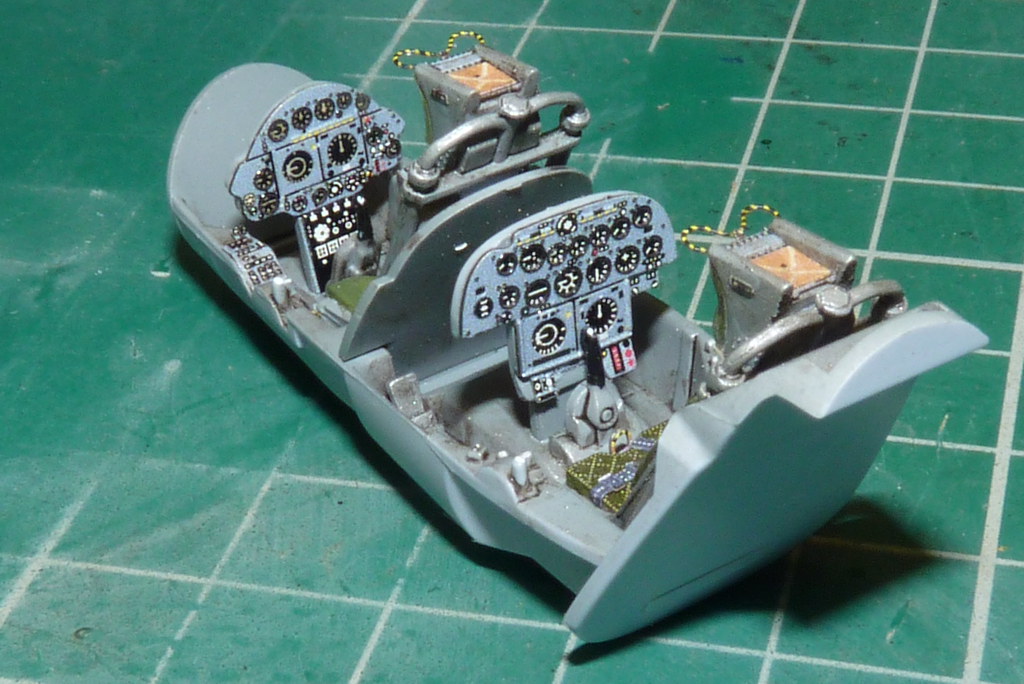
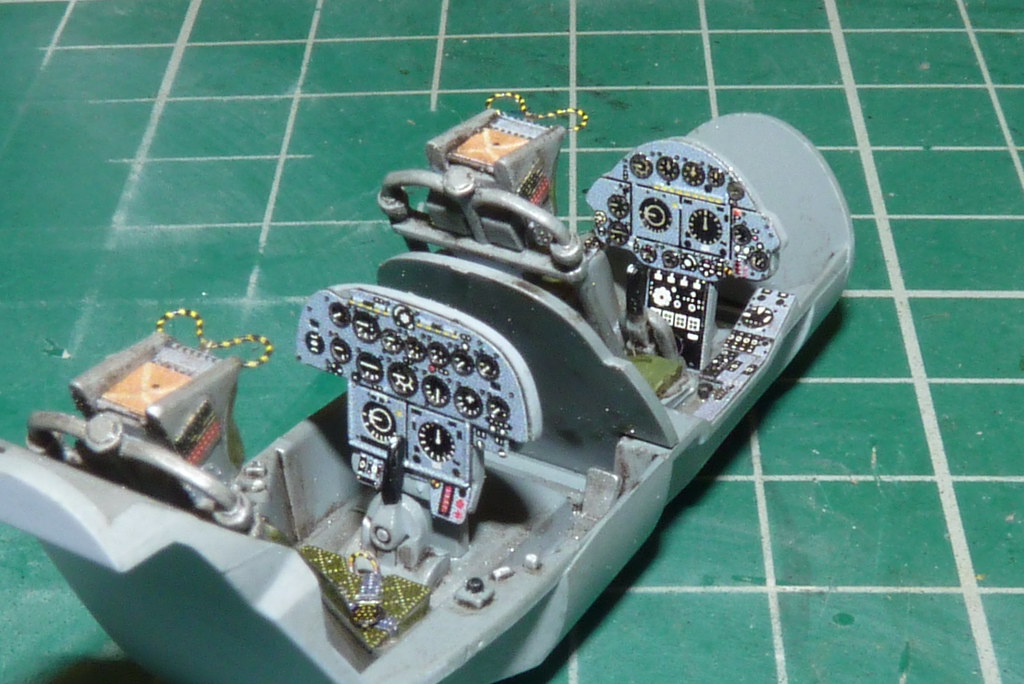
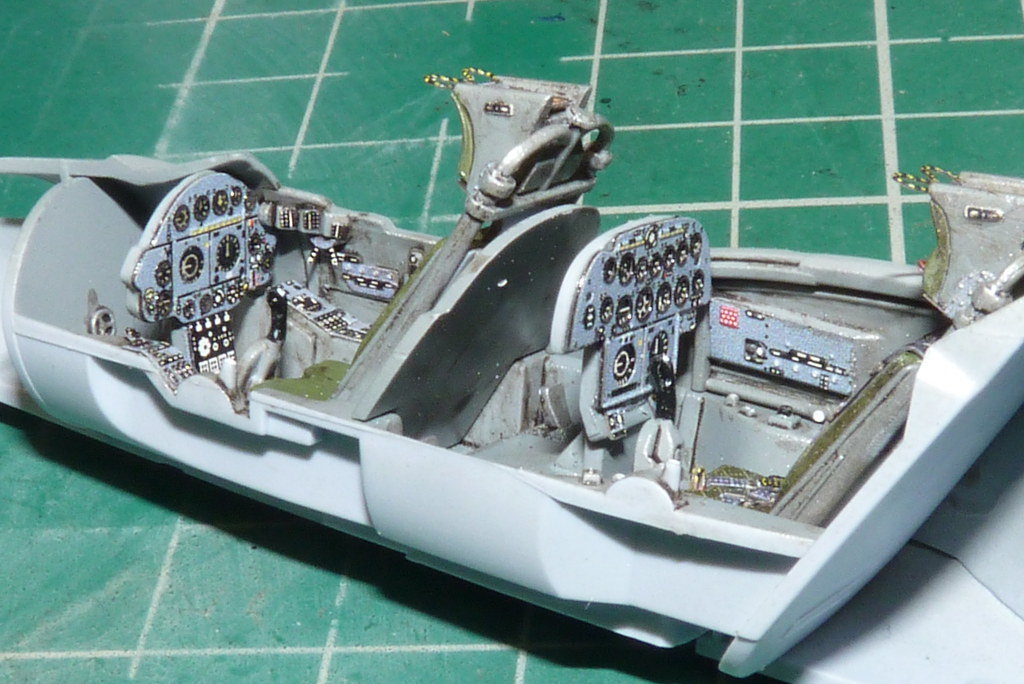
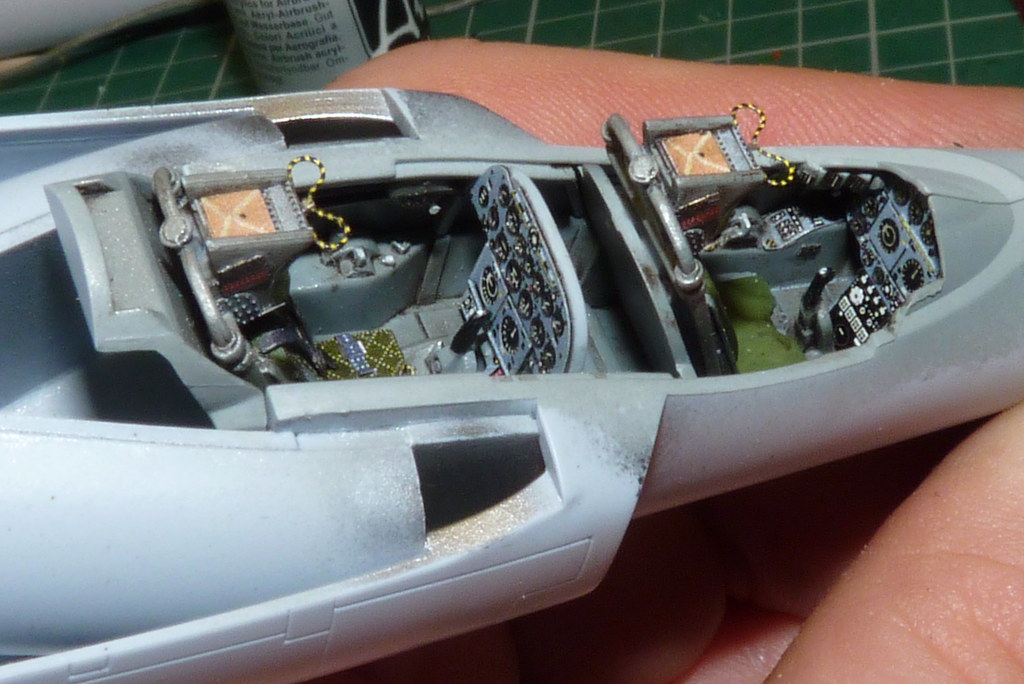
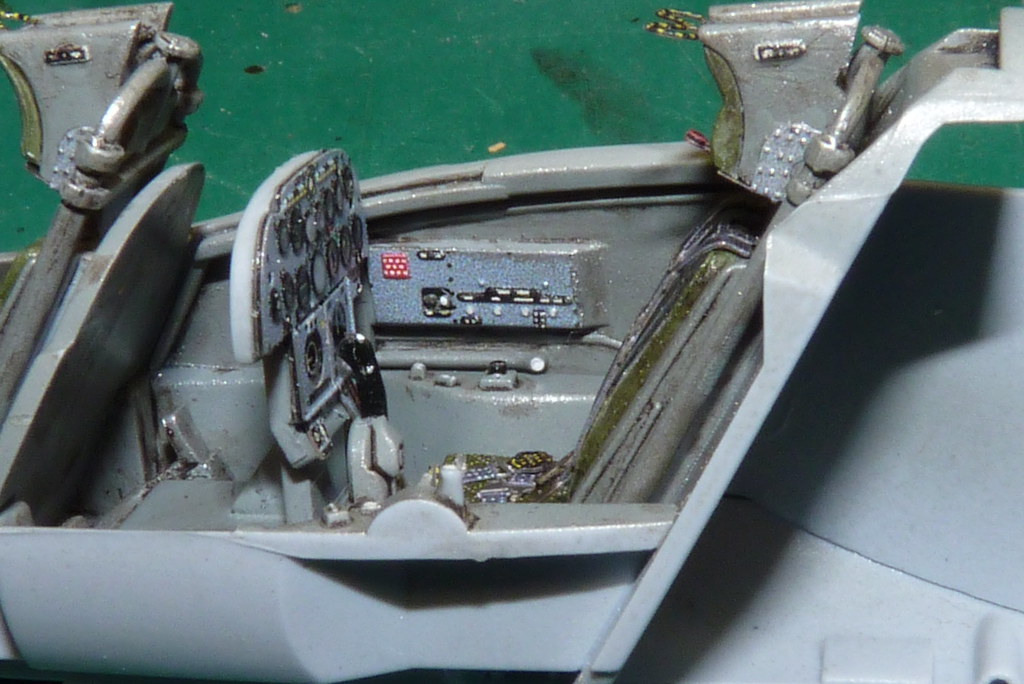
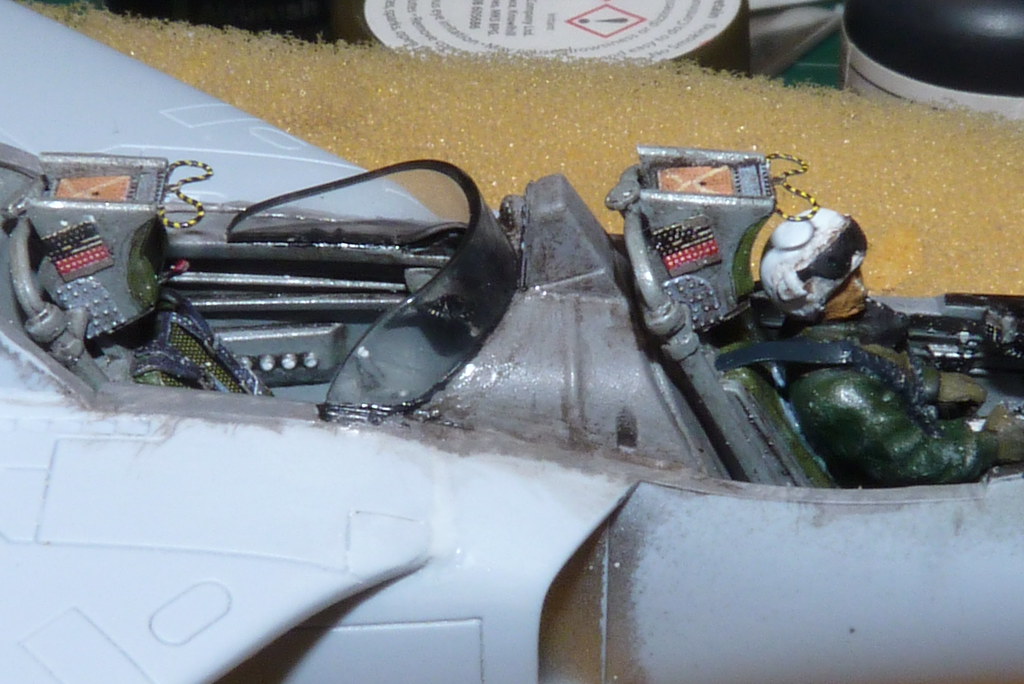
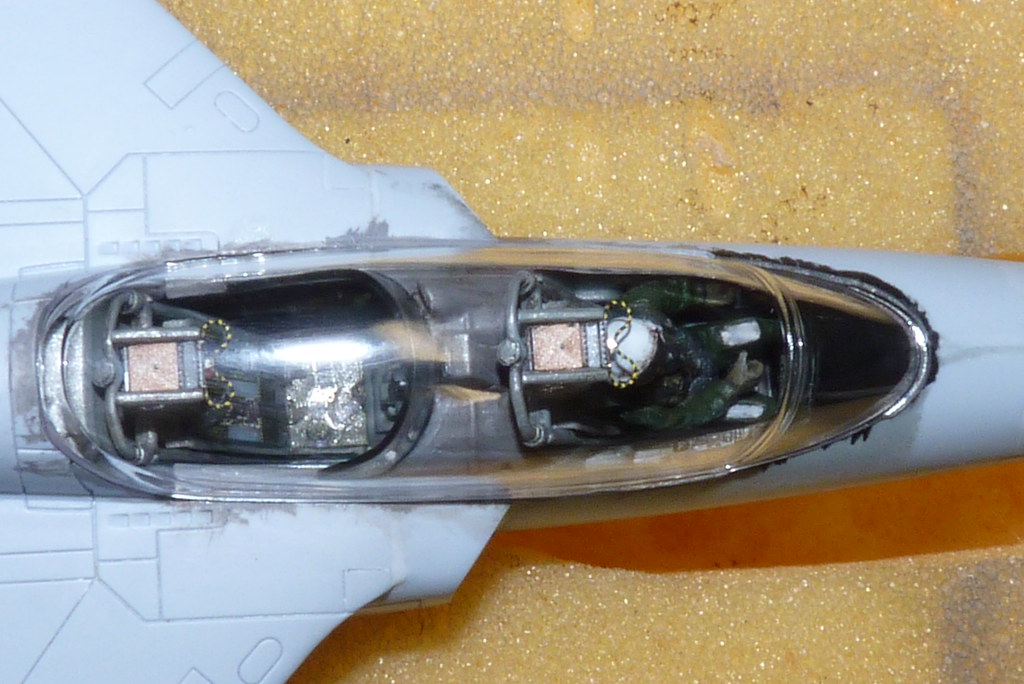
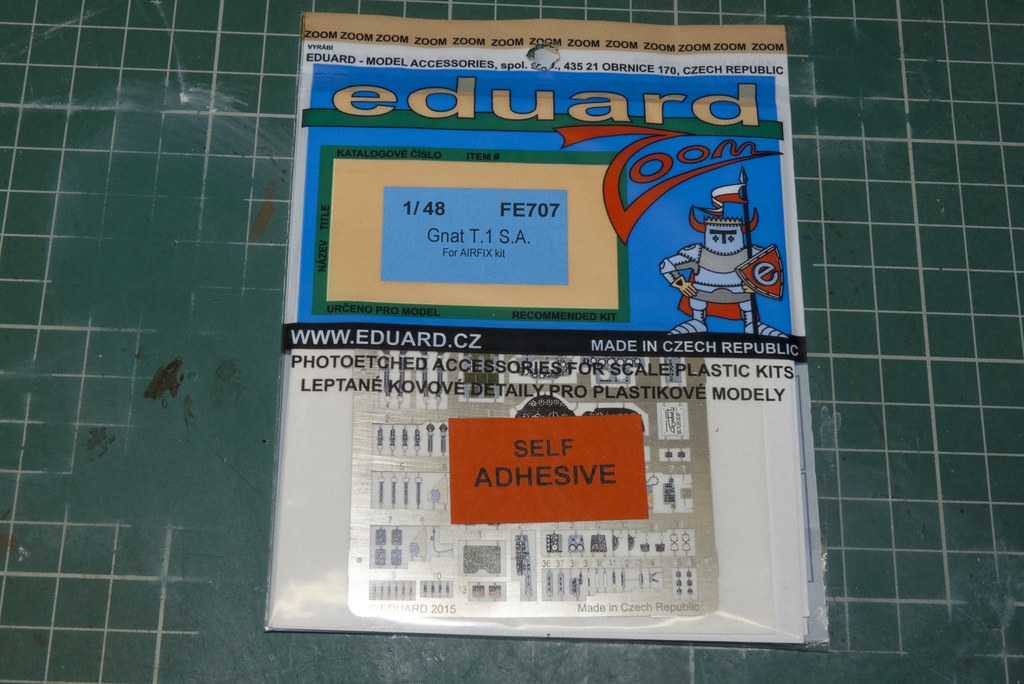
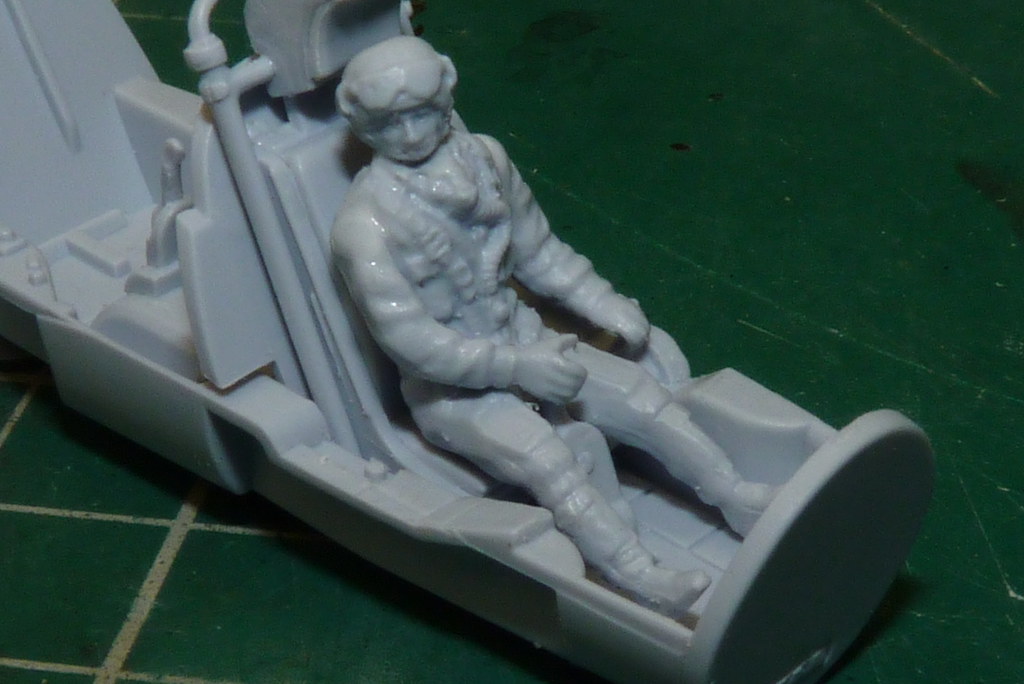
I am also going to use Eduard's photo etch set to add a bit more detail to the cockpit. I was going to use a resin pilot but I changed my mind and decided to use the kit one.
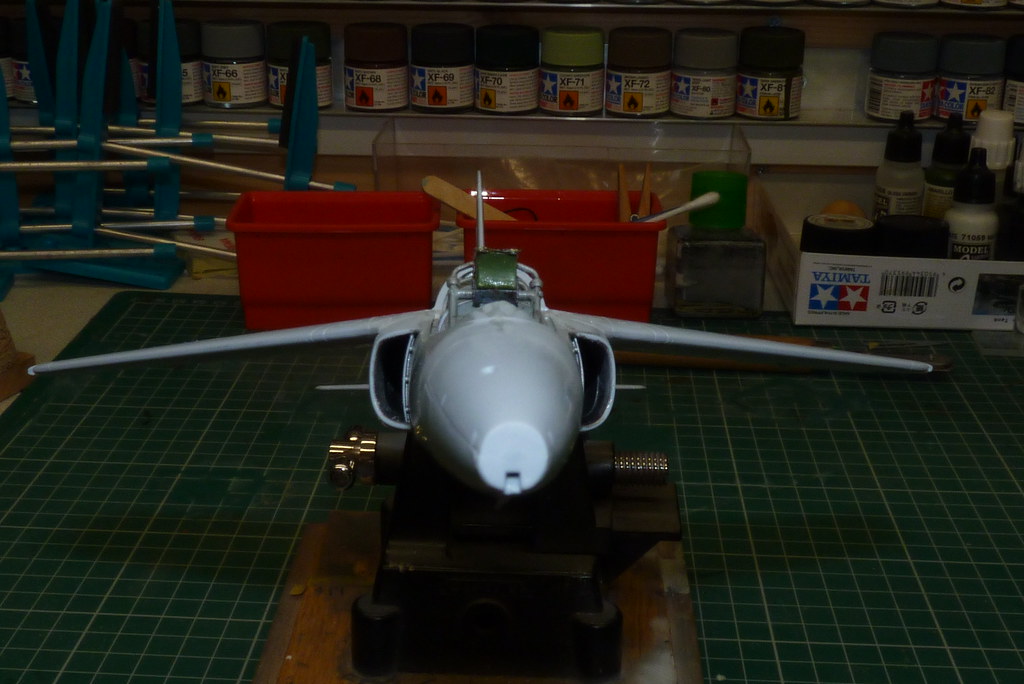
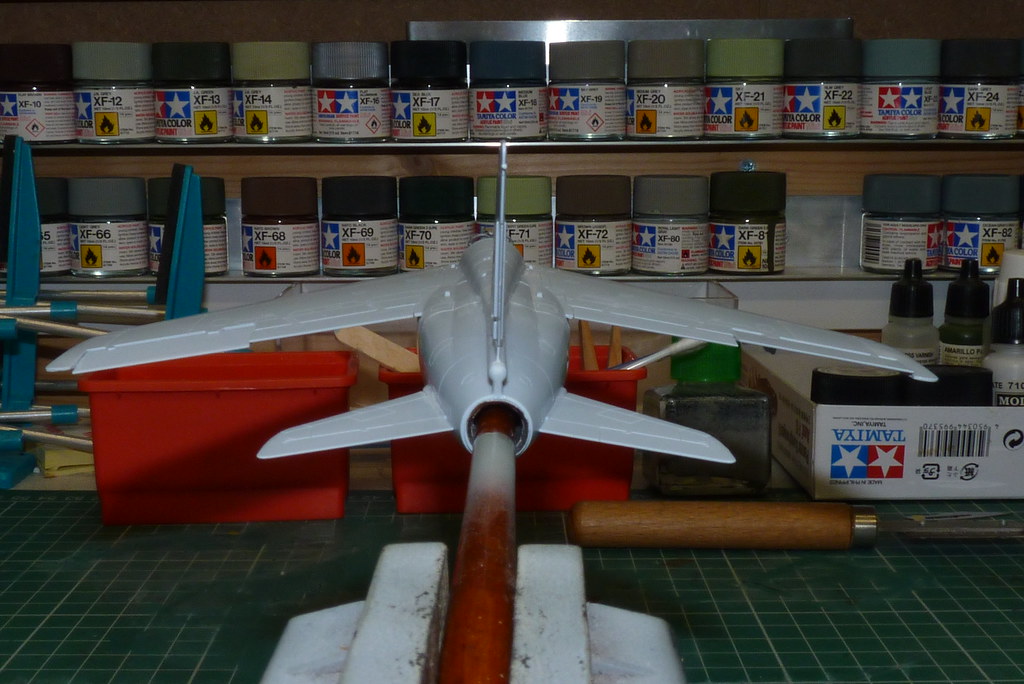
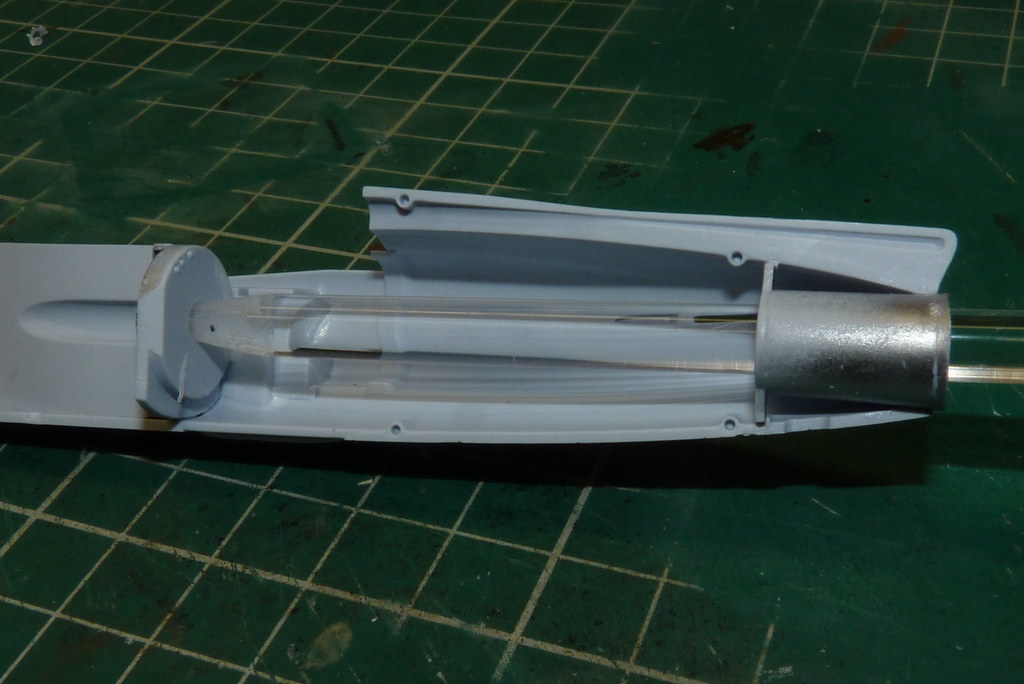
I am a starting this later than I wanted due to the fact that I had to fix my shed roof to make it watertight and keep the rain off me. That hopefully done and on with the build. I am going to use bent acrylic rod to support the aircraft and have it in a banking climb. So first I measured the internal diameter of the jet pipe which was just over 6mm I think and then I had a look to see if I had roughly the right size rod which for once I did.
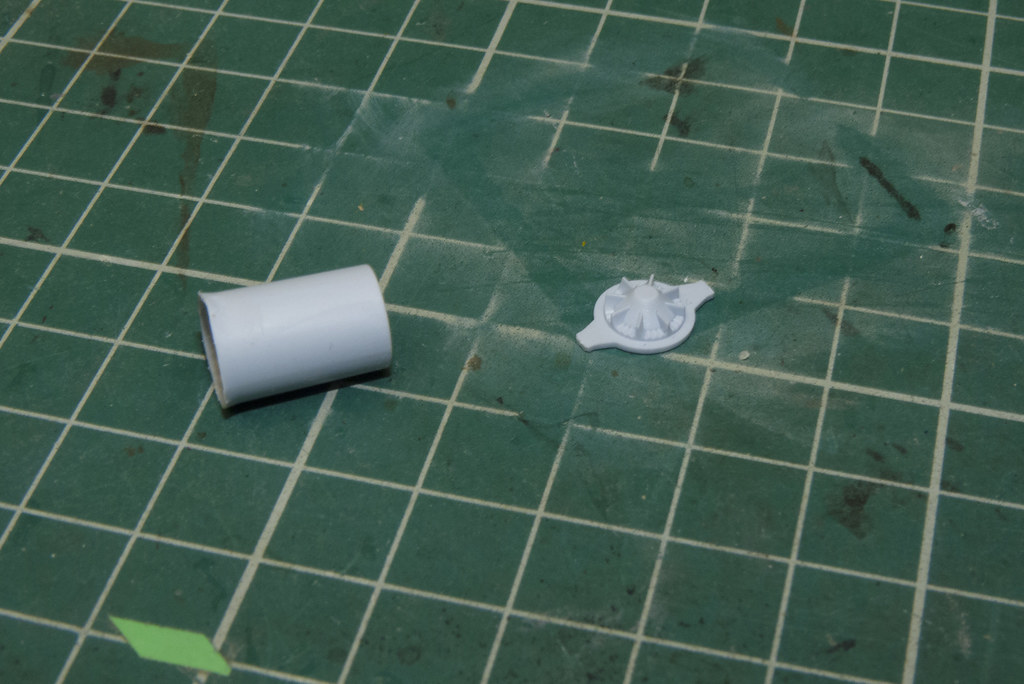
I attached the rear plate of the jet pipe and once the glue had cured I drilled out the 6mm hole first with a 3mm drill, then a 5mm and finally with a 6mm drill.
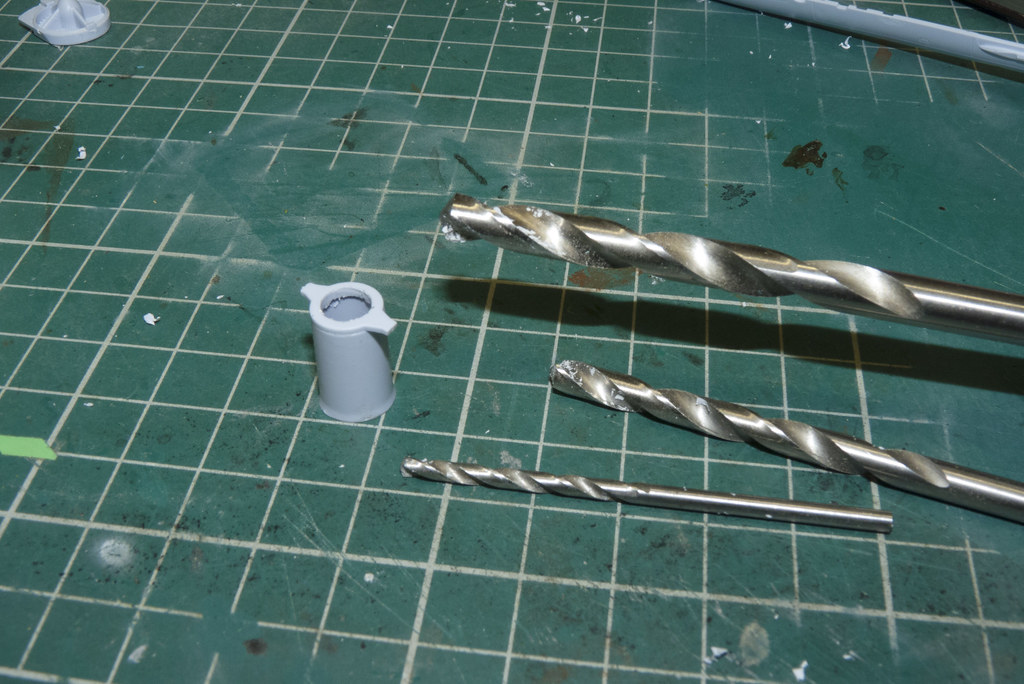
I did it this as I wanted a smooth regular hole for the rod.
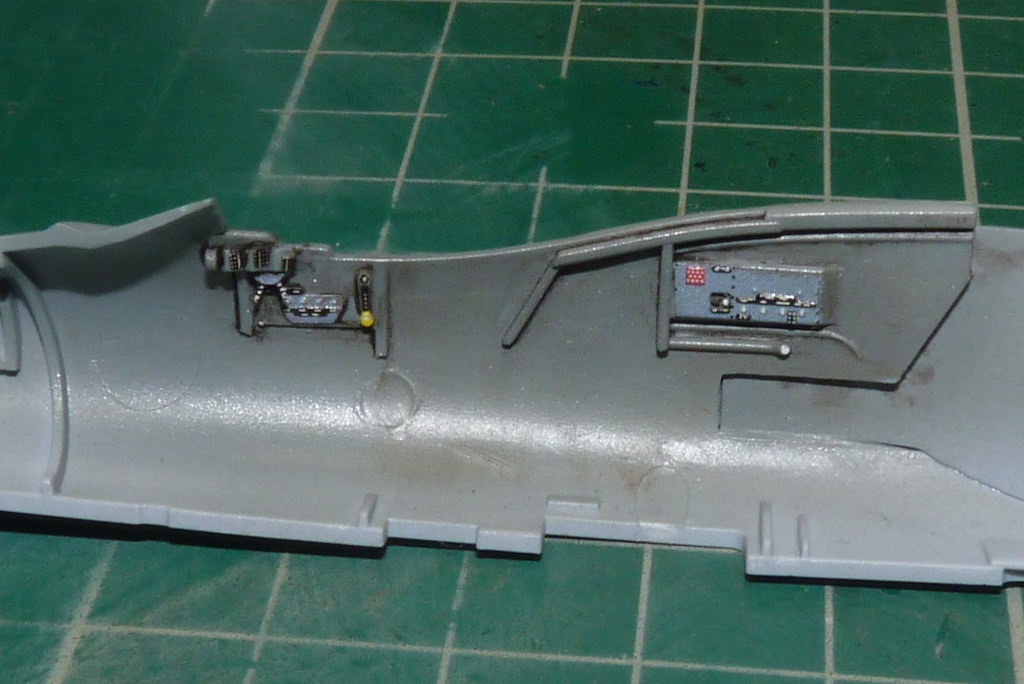
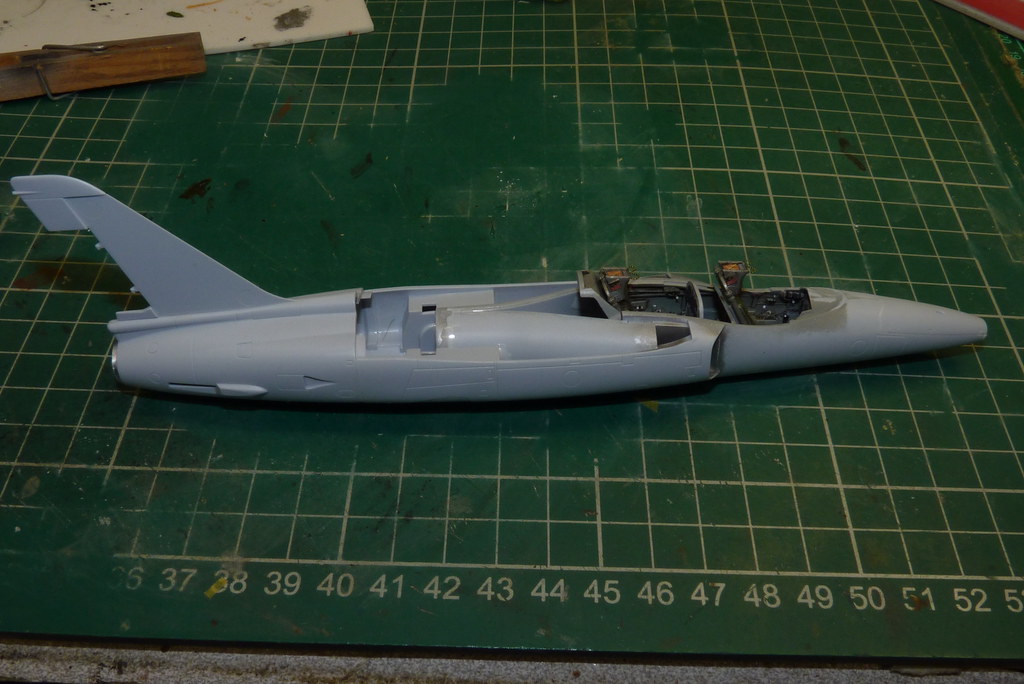
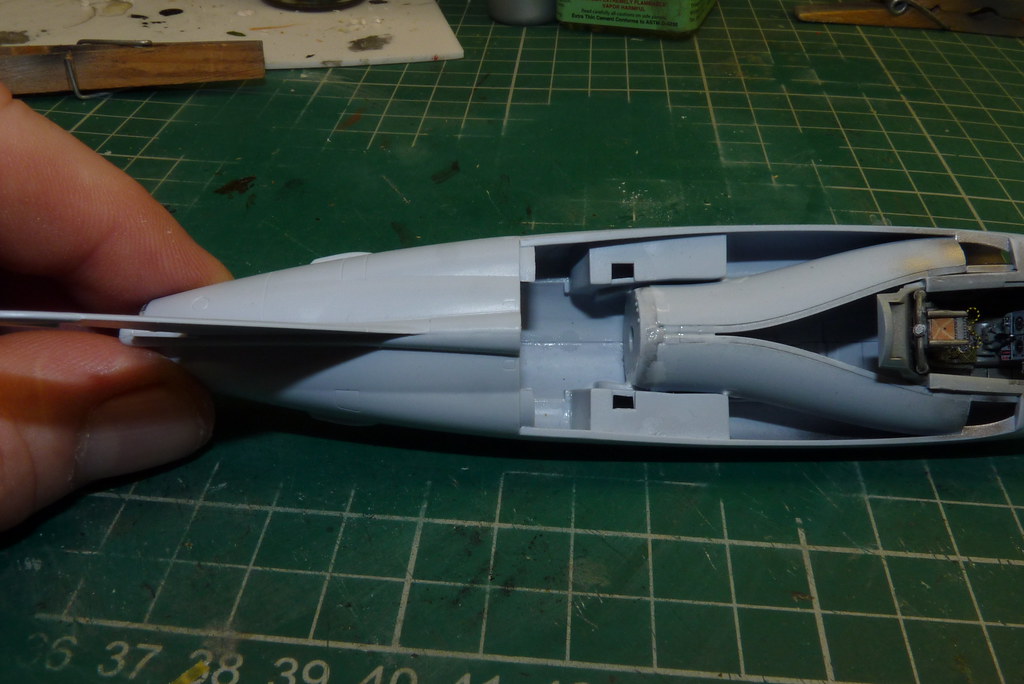
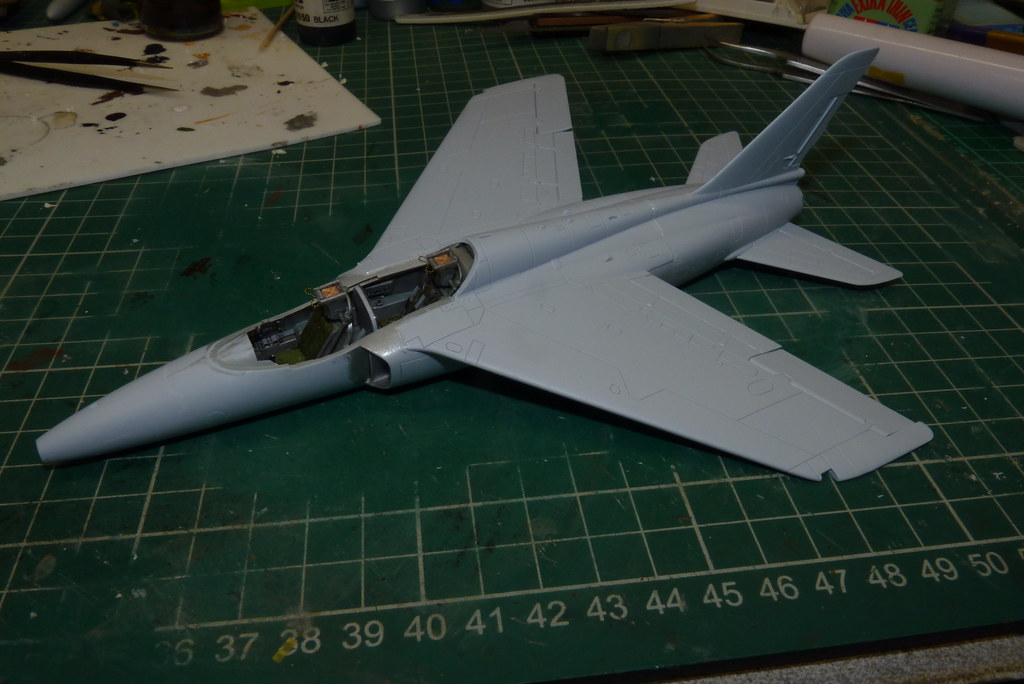
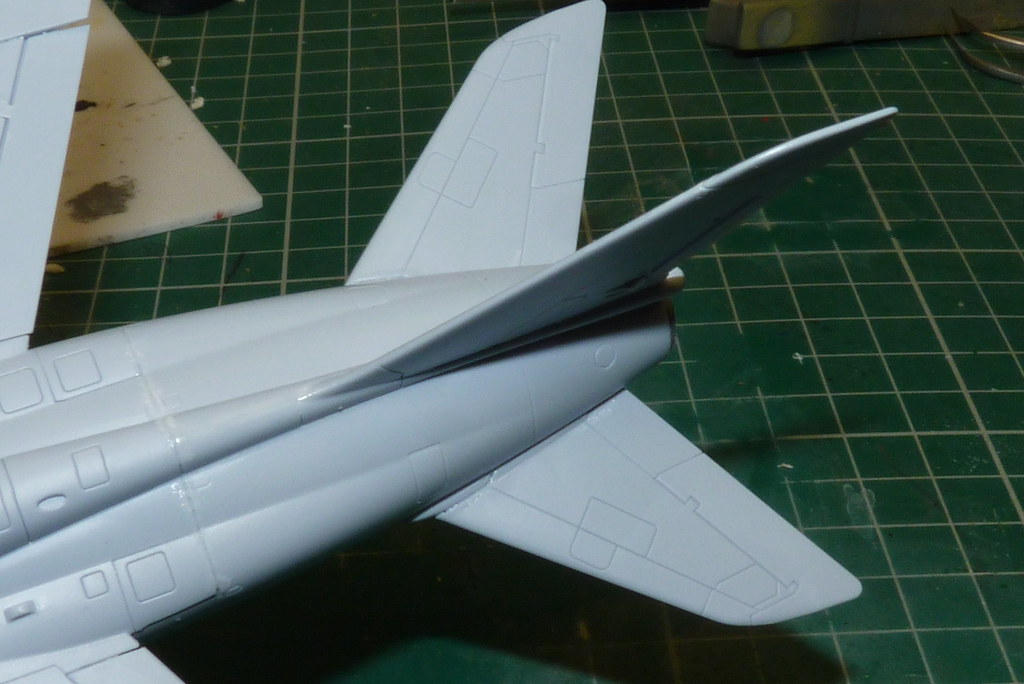
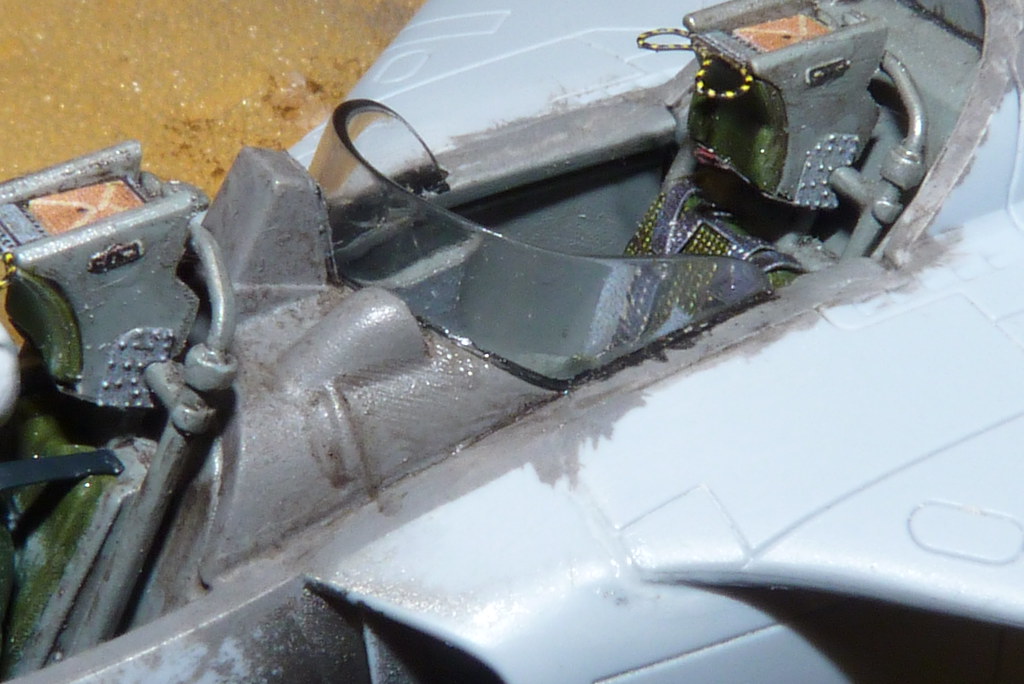
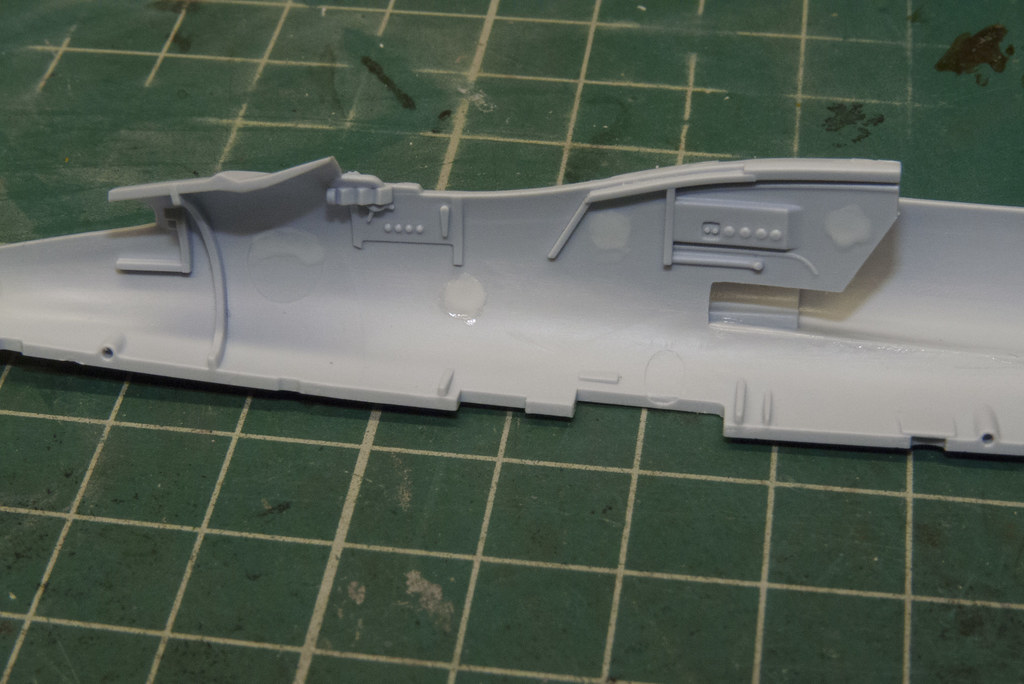
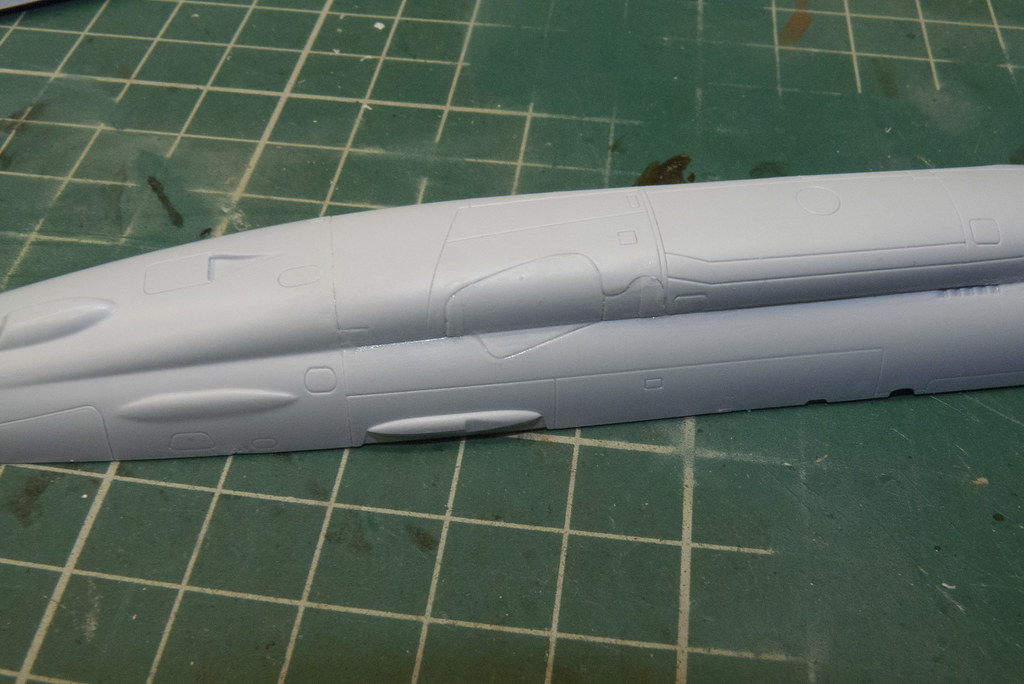
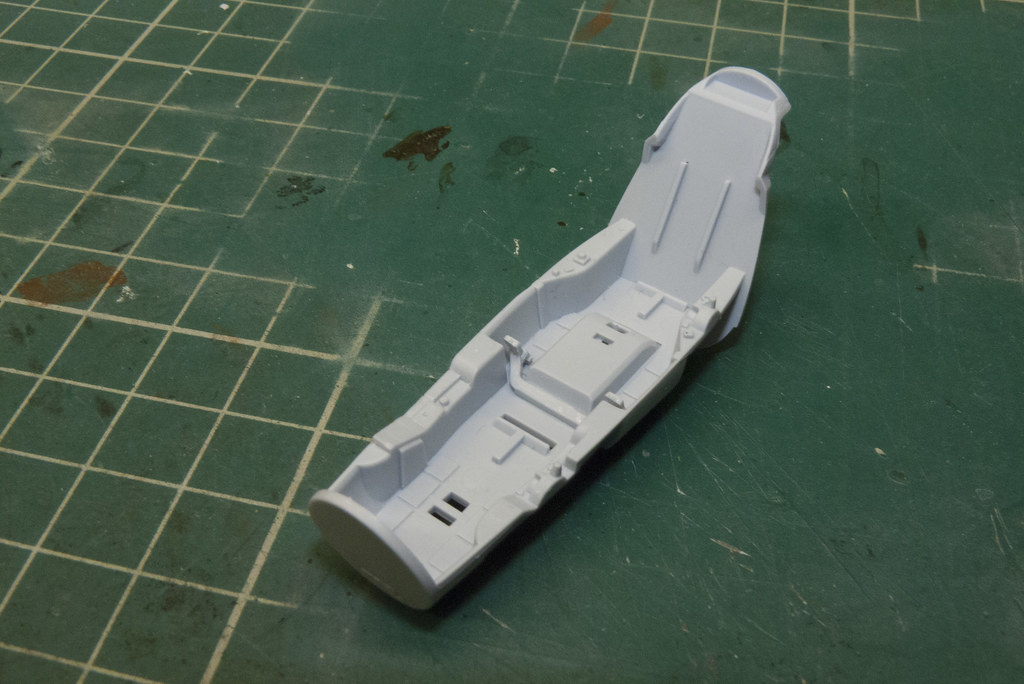
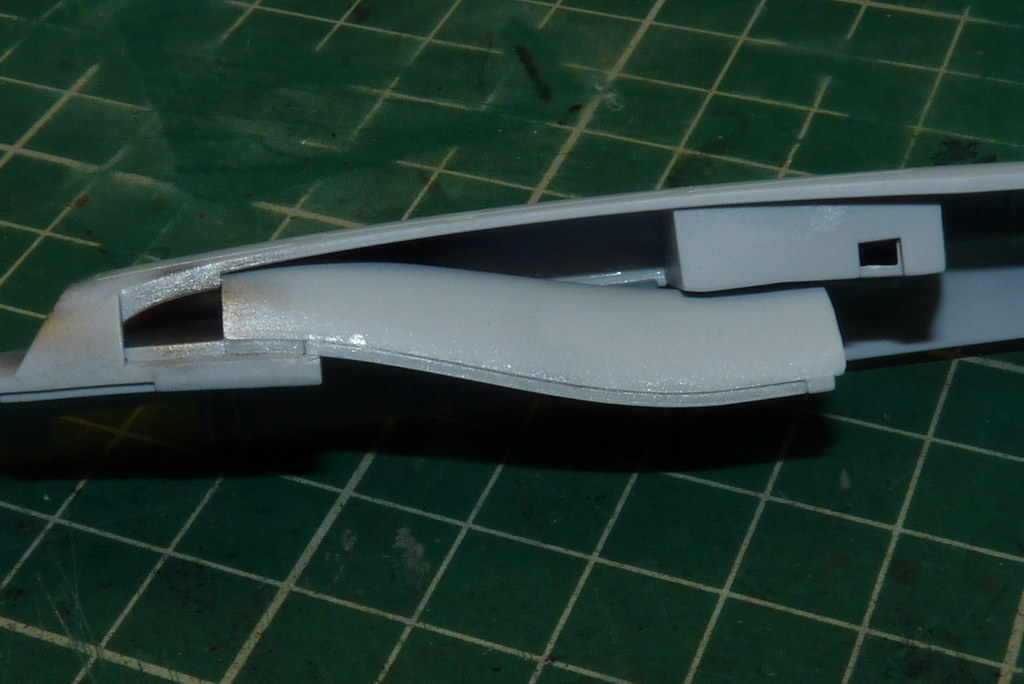
My attention then shifted to the fuselage halves. There were a few injection marks on the cockpit sides so I filled them and I attached the air intakes and wheel wells.
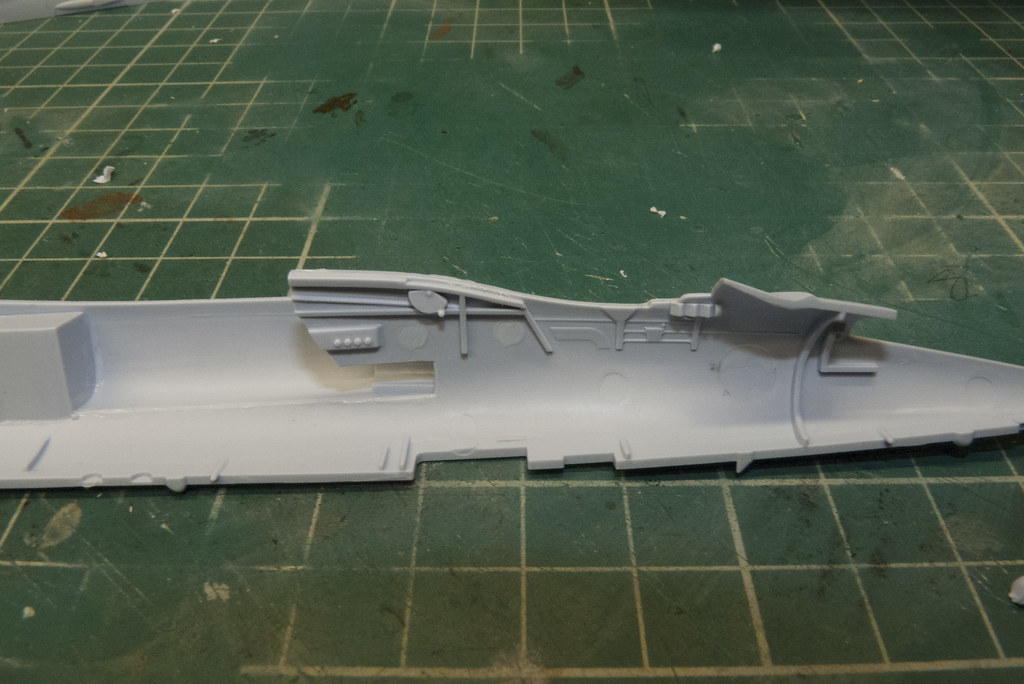
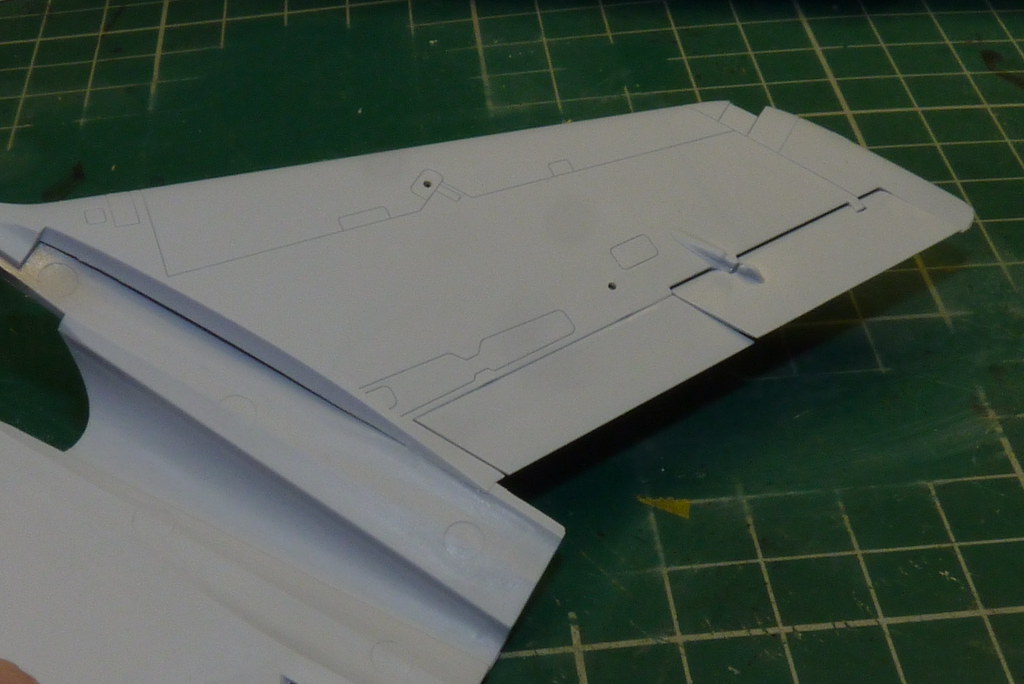
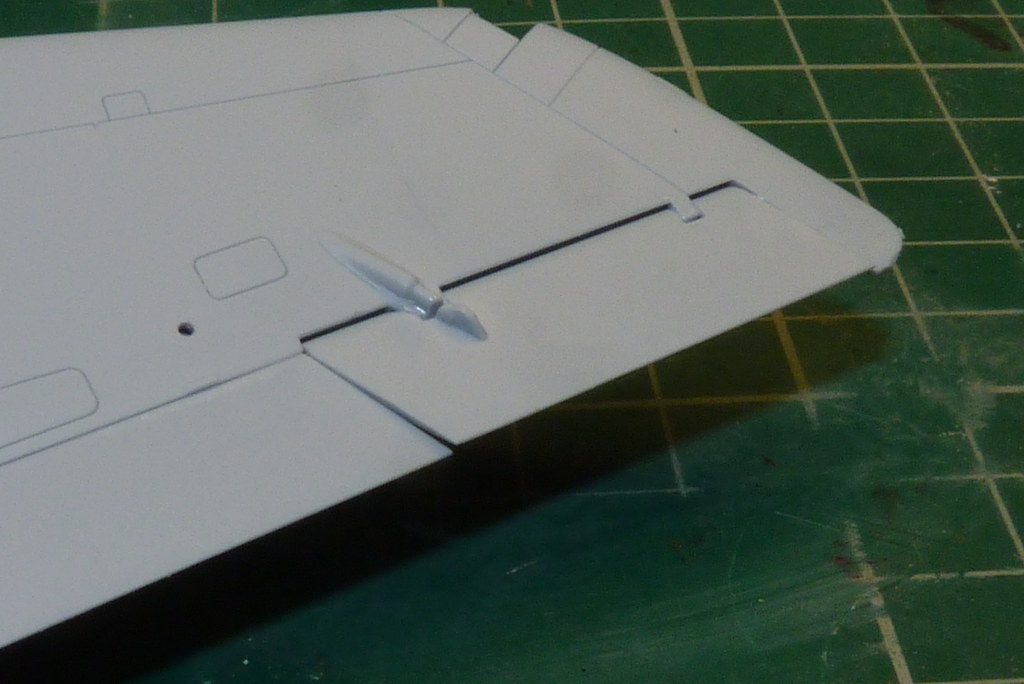
Then on went the wheel well doors without any problems.
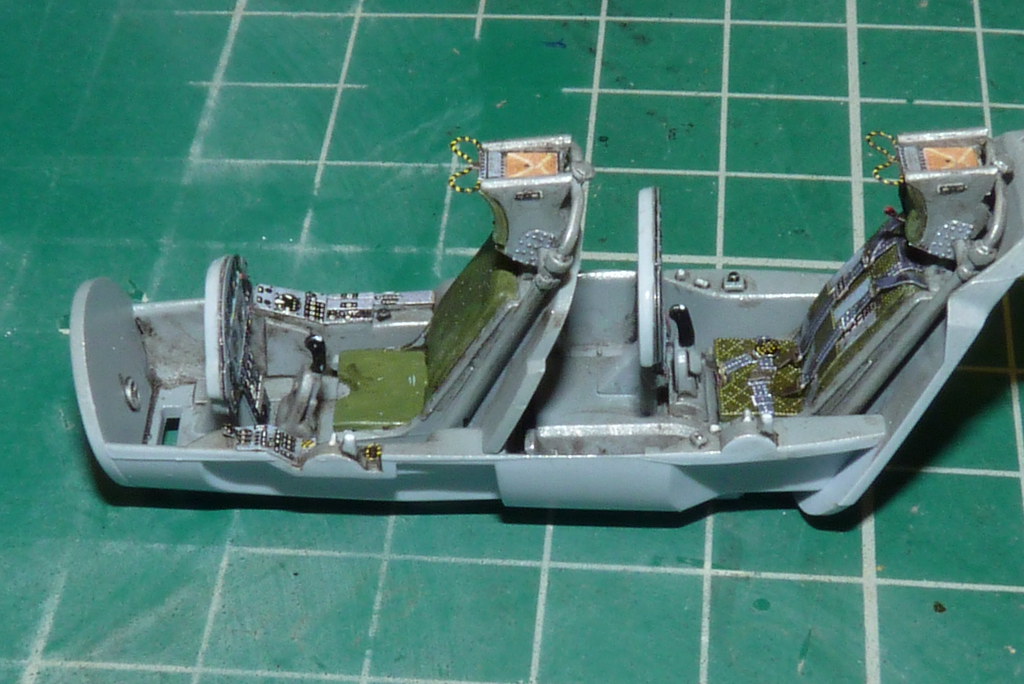
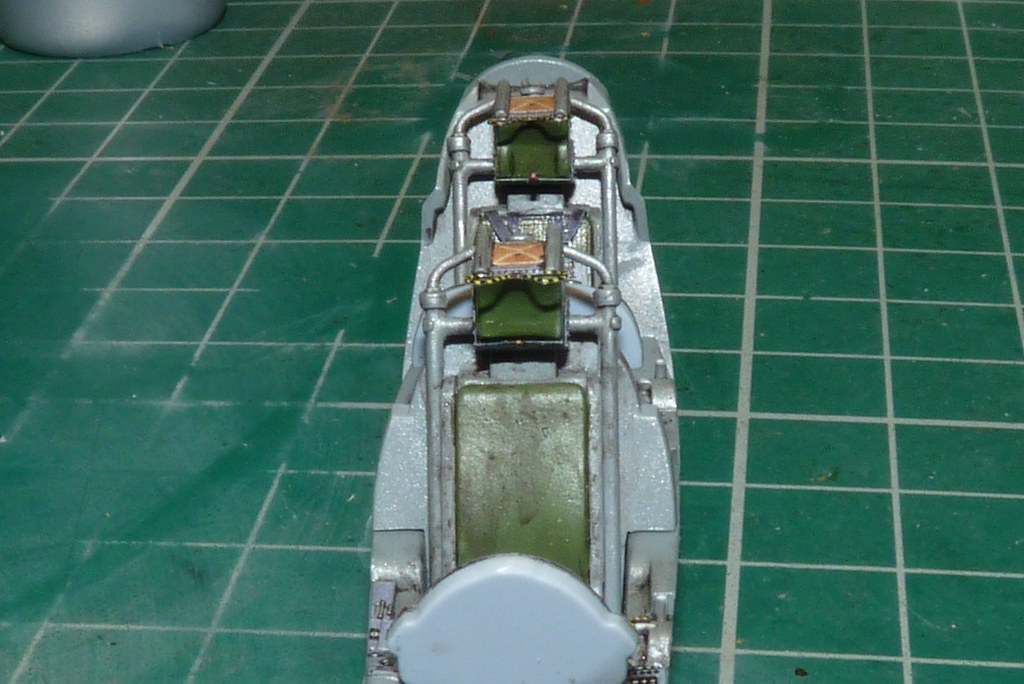
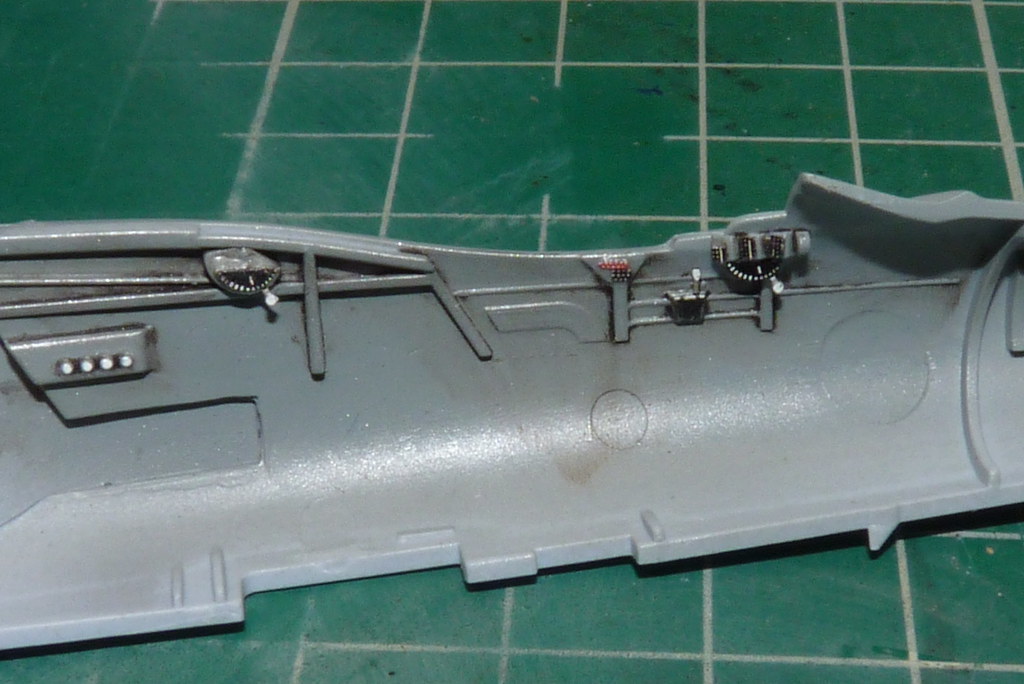
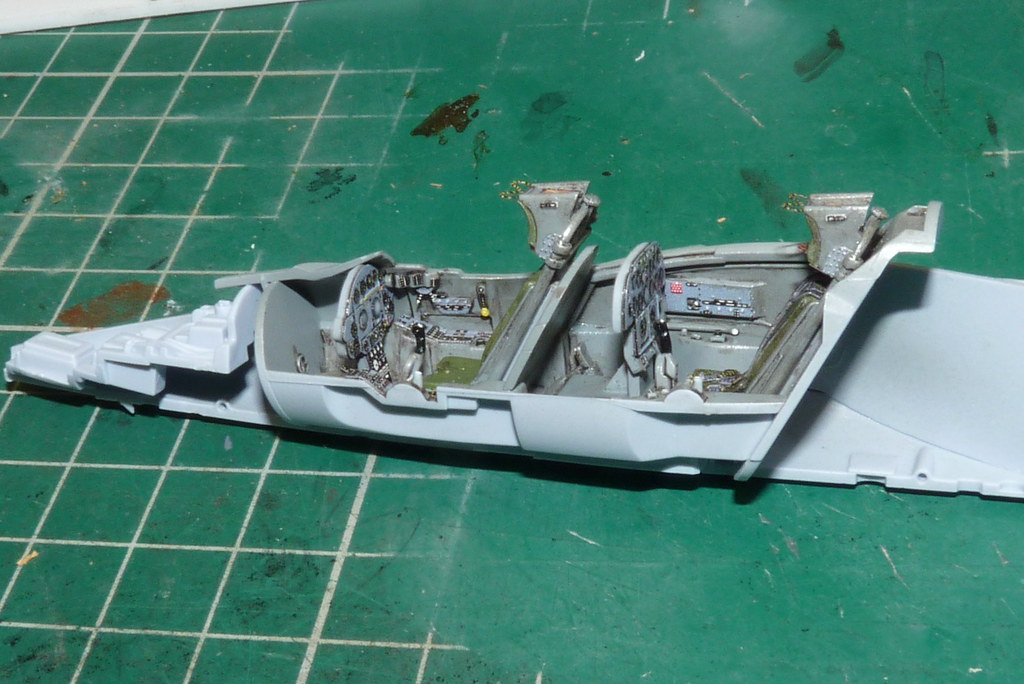
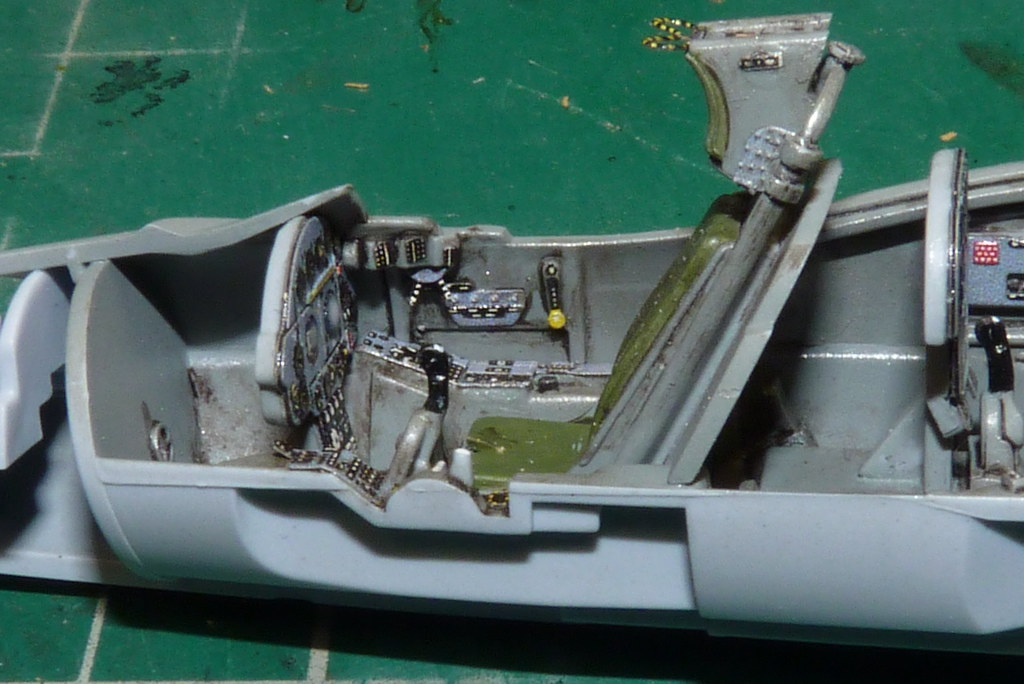
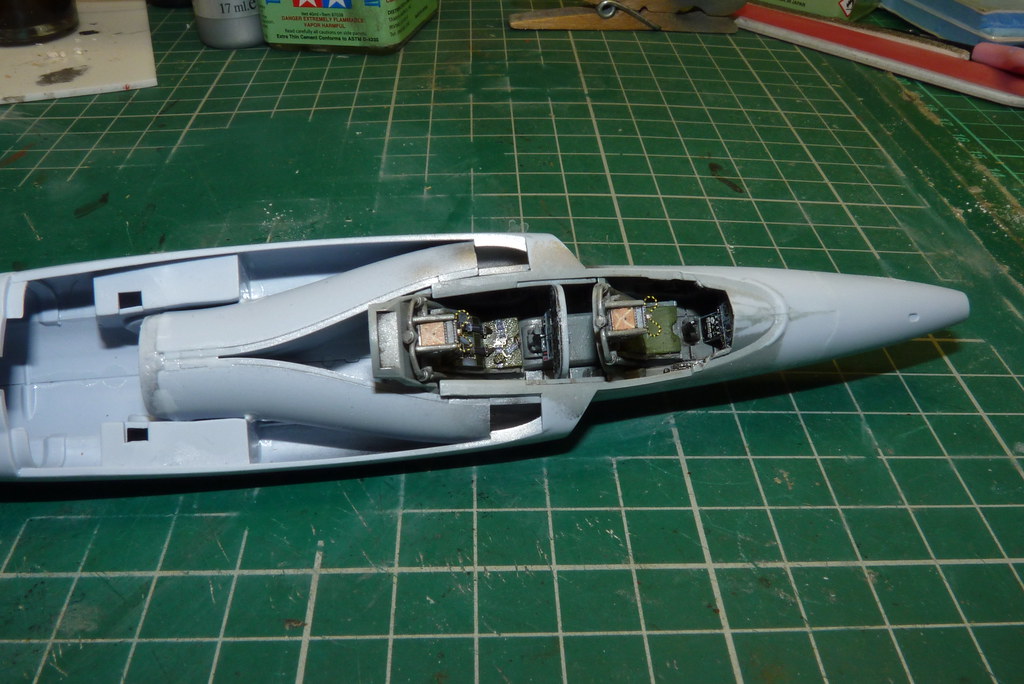
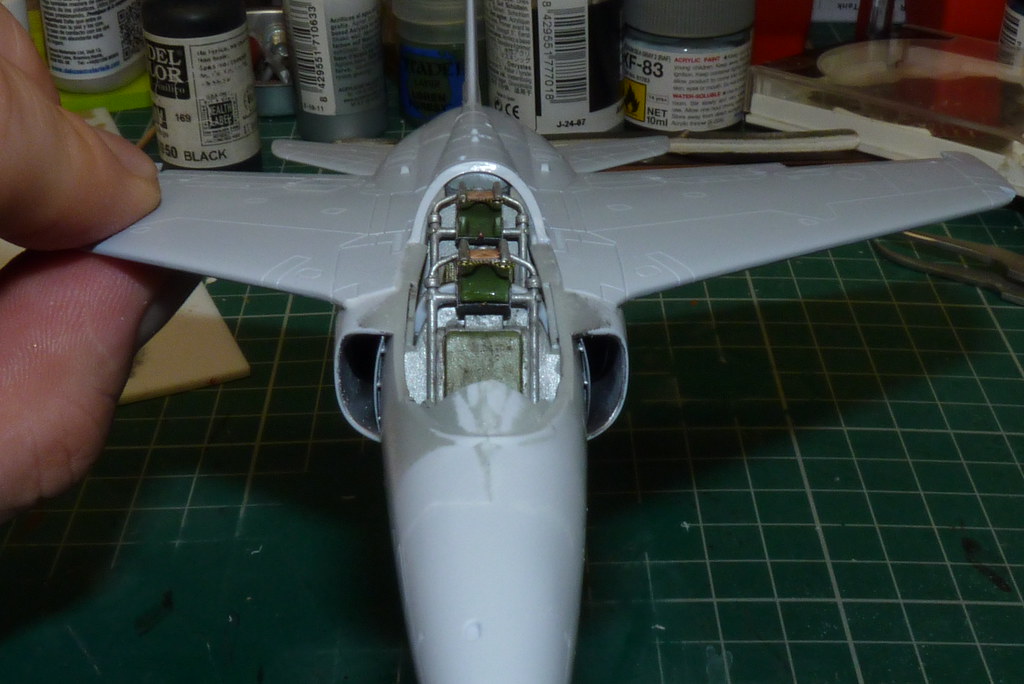
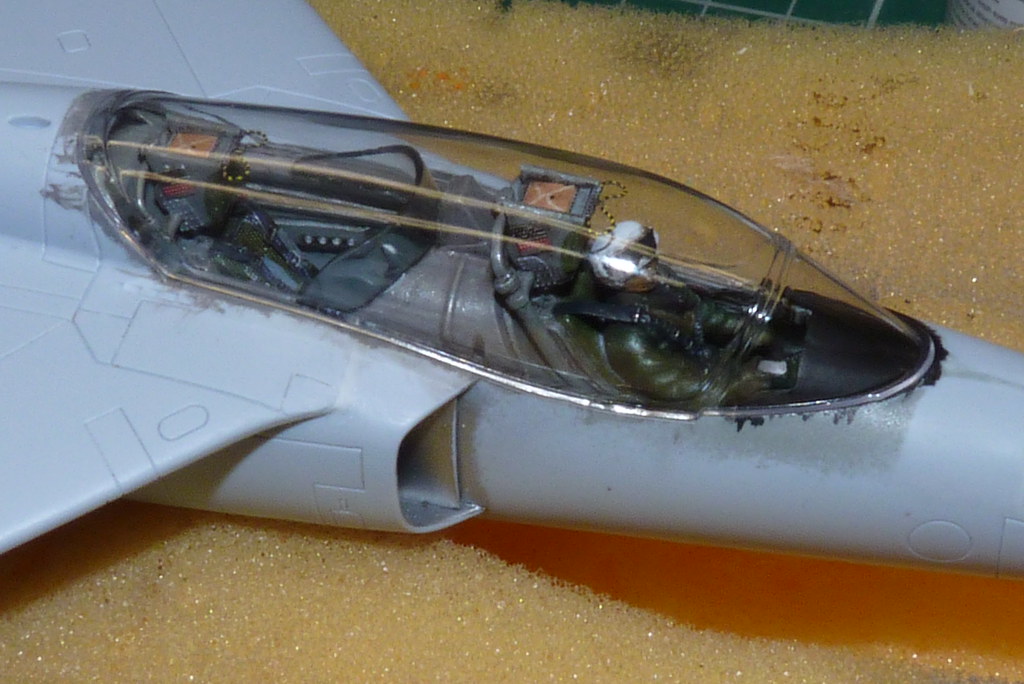
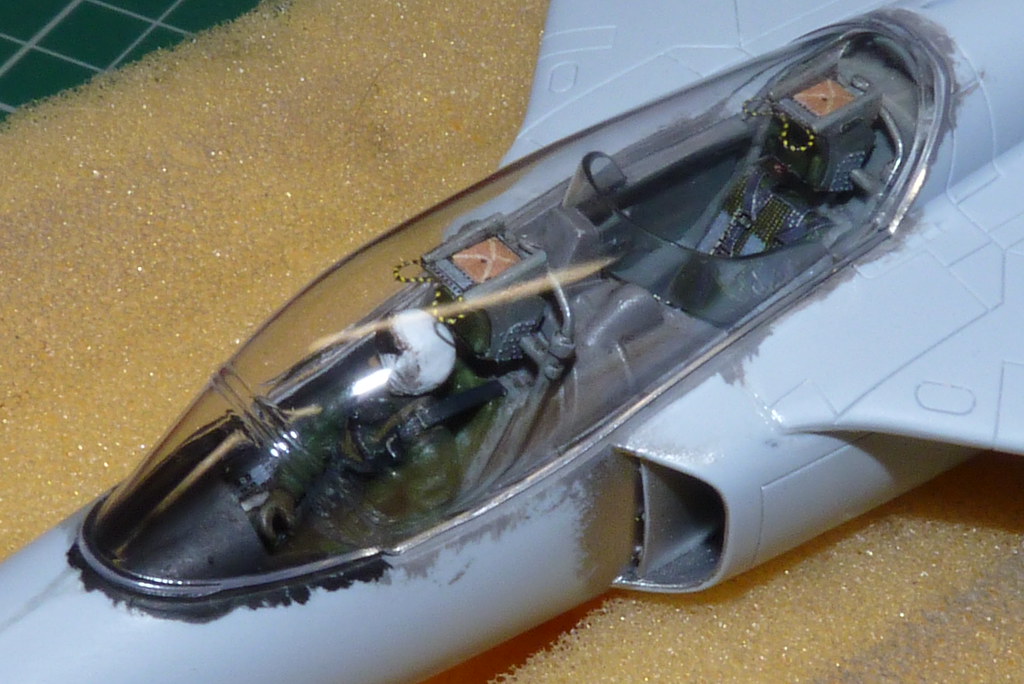
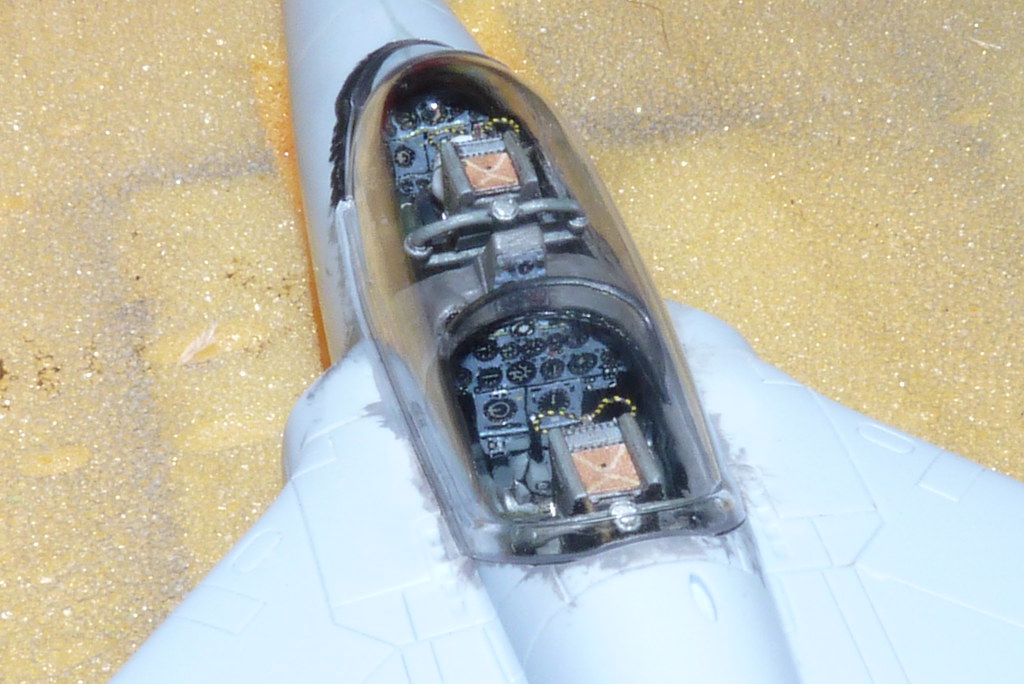
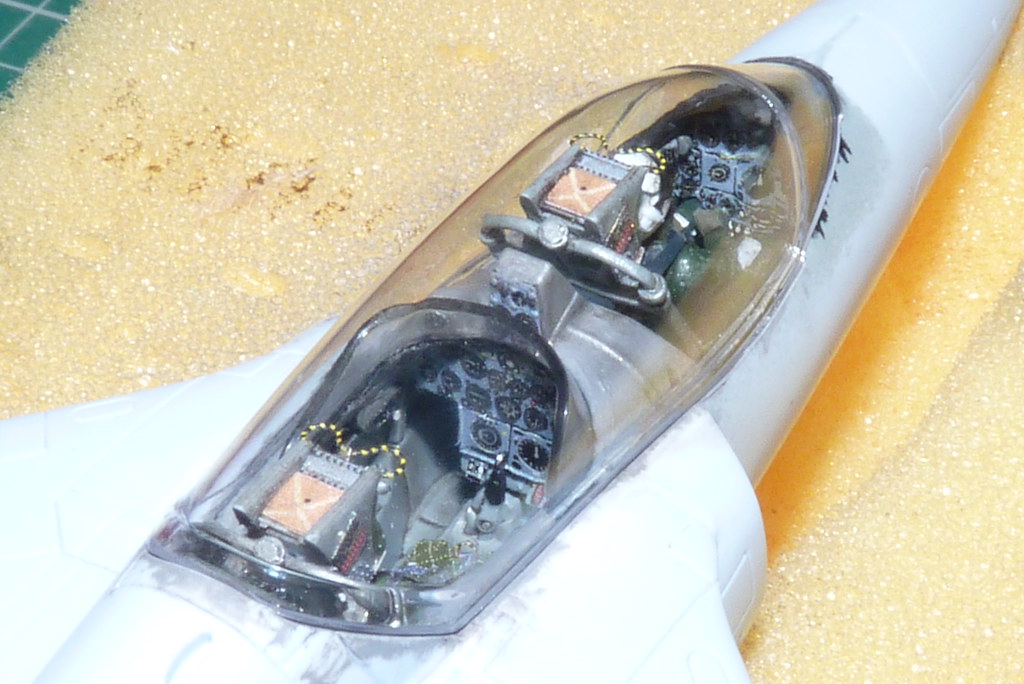
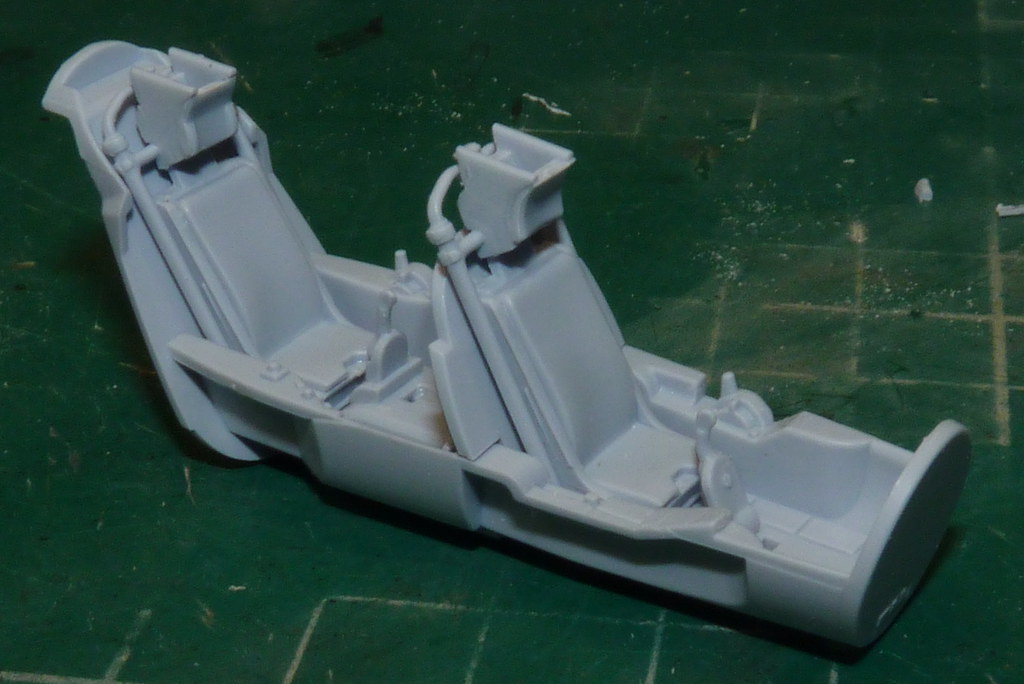
Now it was time for the cockpit tub, which again went together easily as per the instructions.
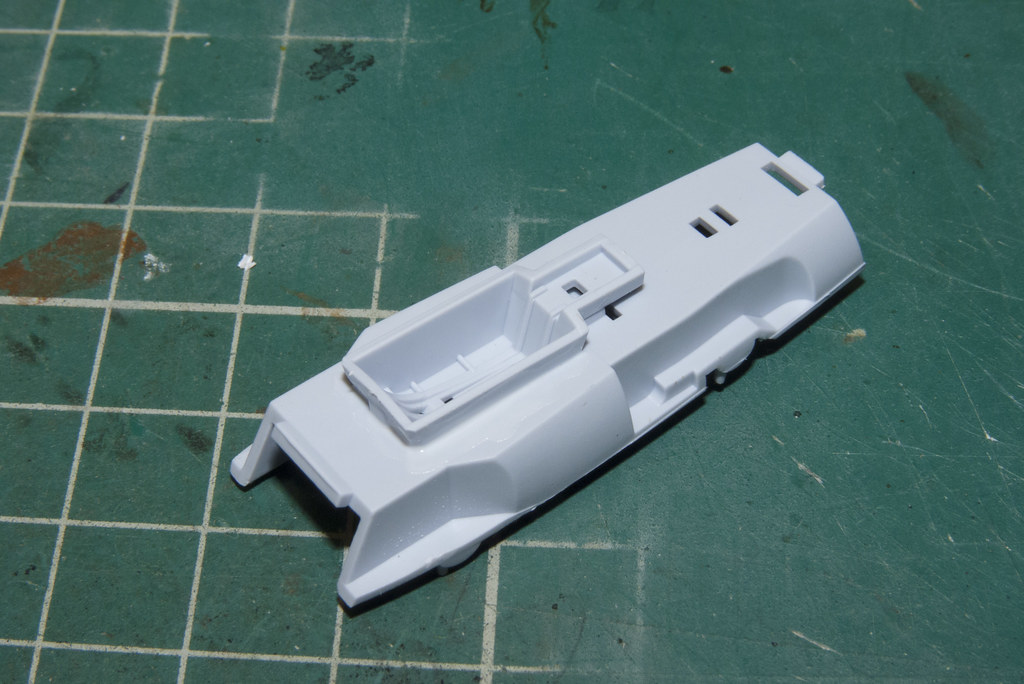
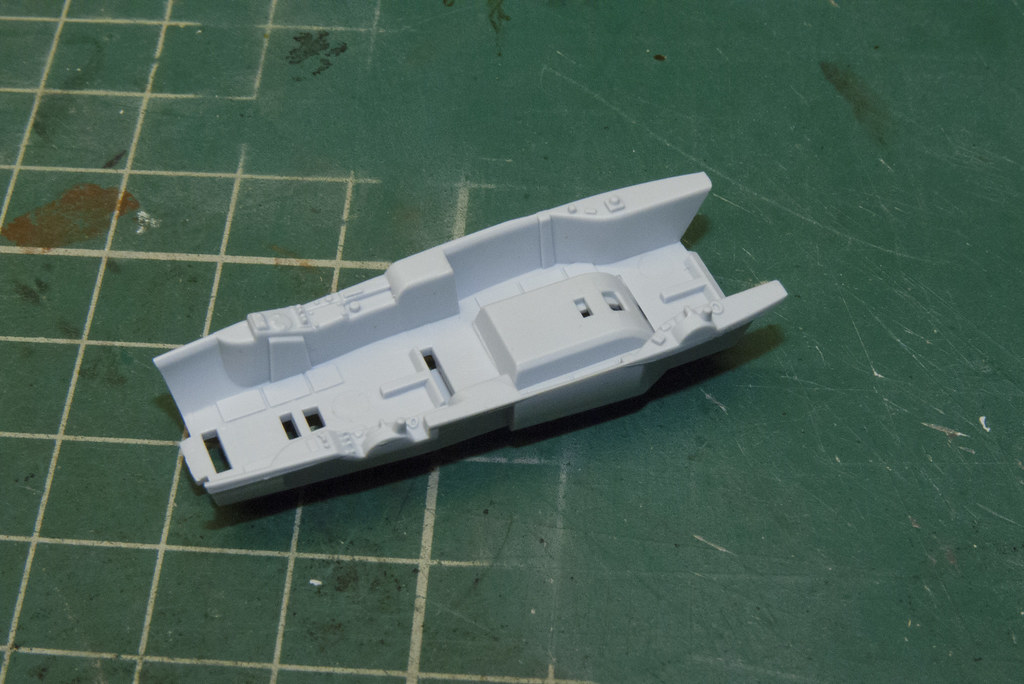
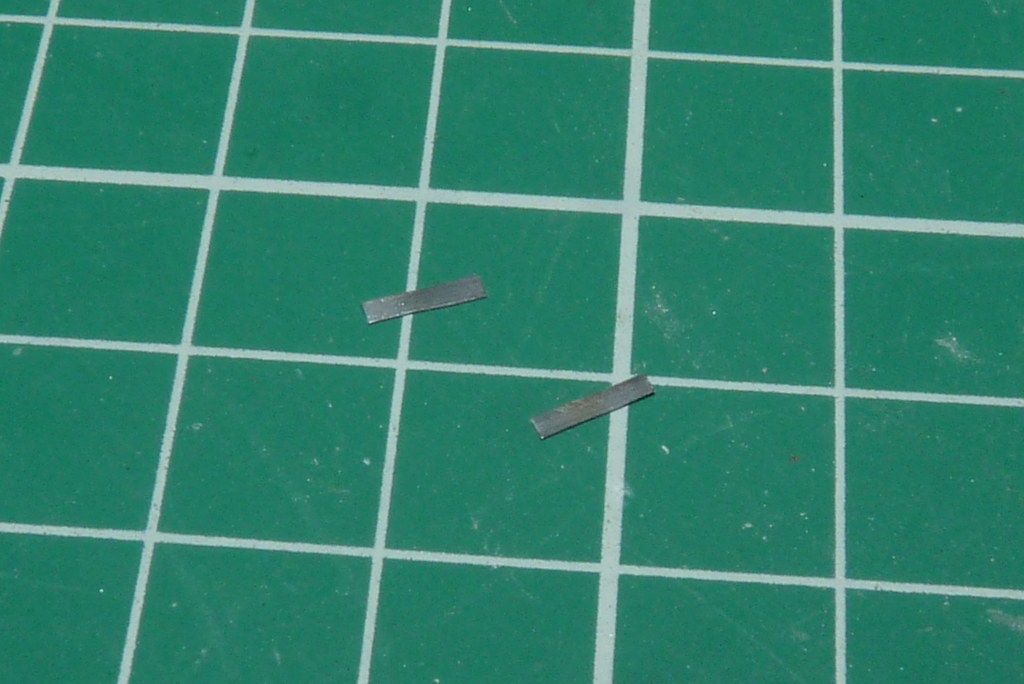
While I was doing this I also removed a bit of the instrument detail ready for the photo etch. I did the same for the seats but I haven't glued the seats to the tub yet.
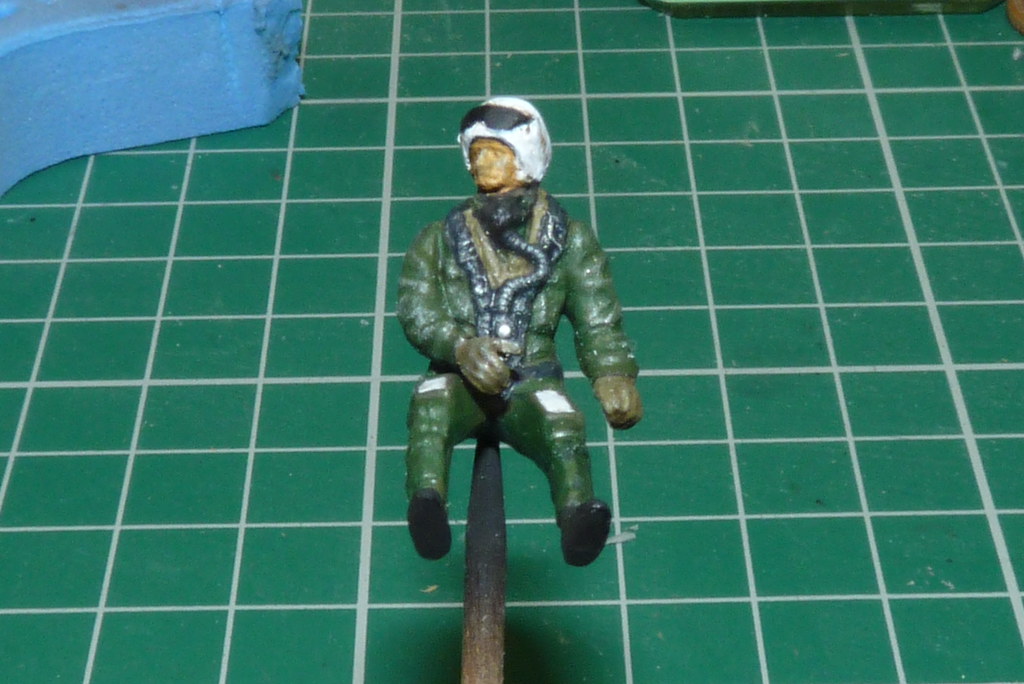
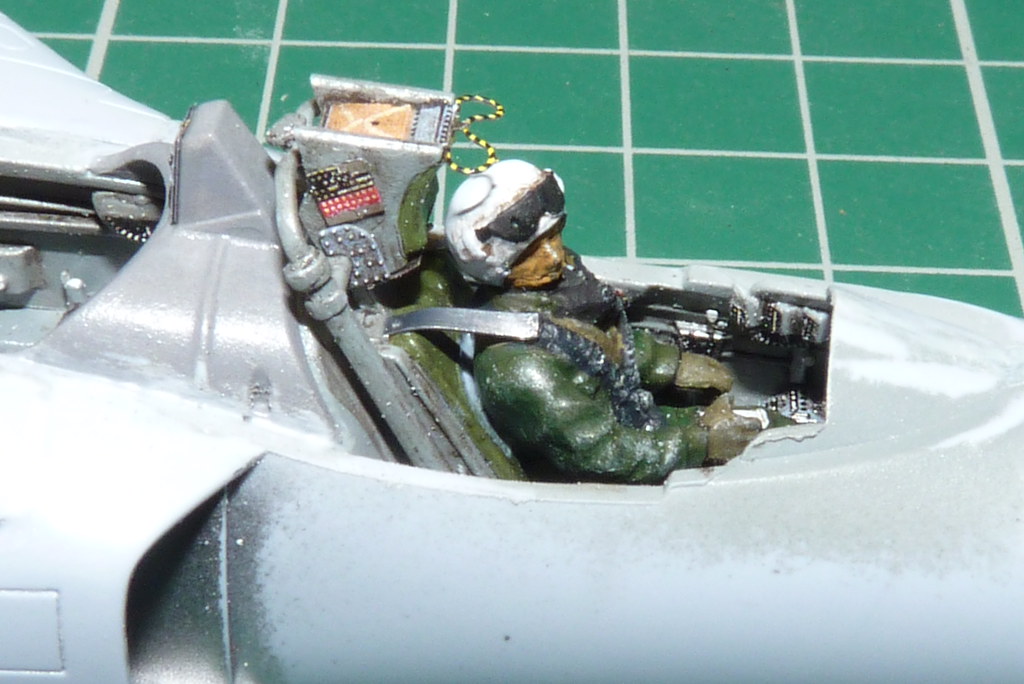
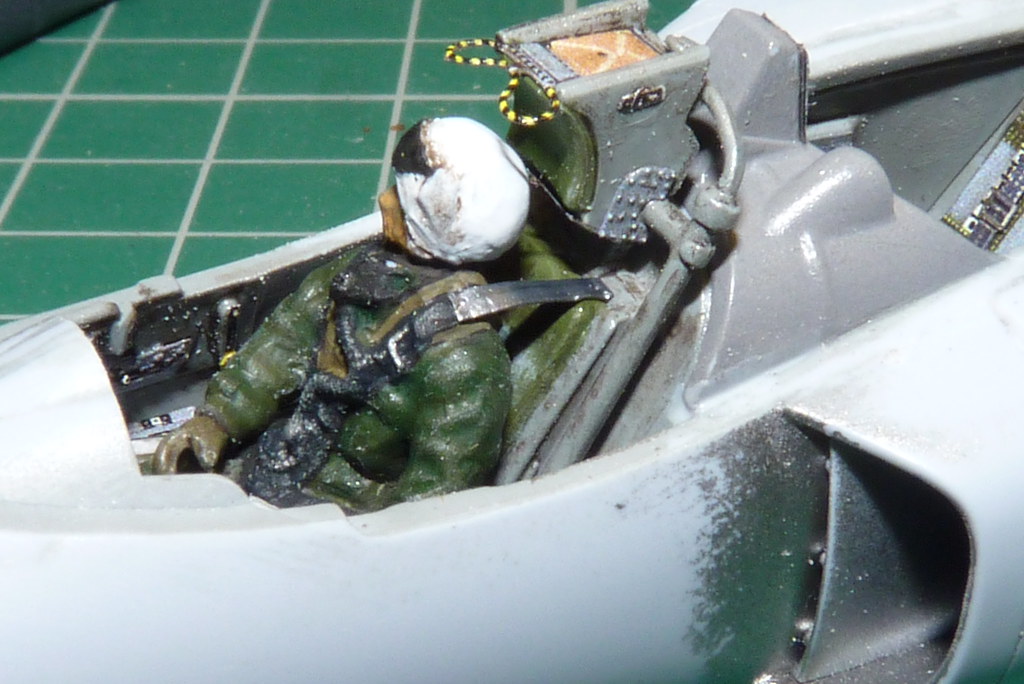
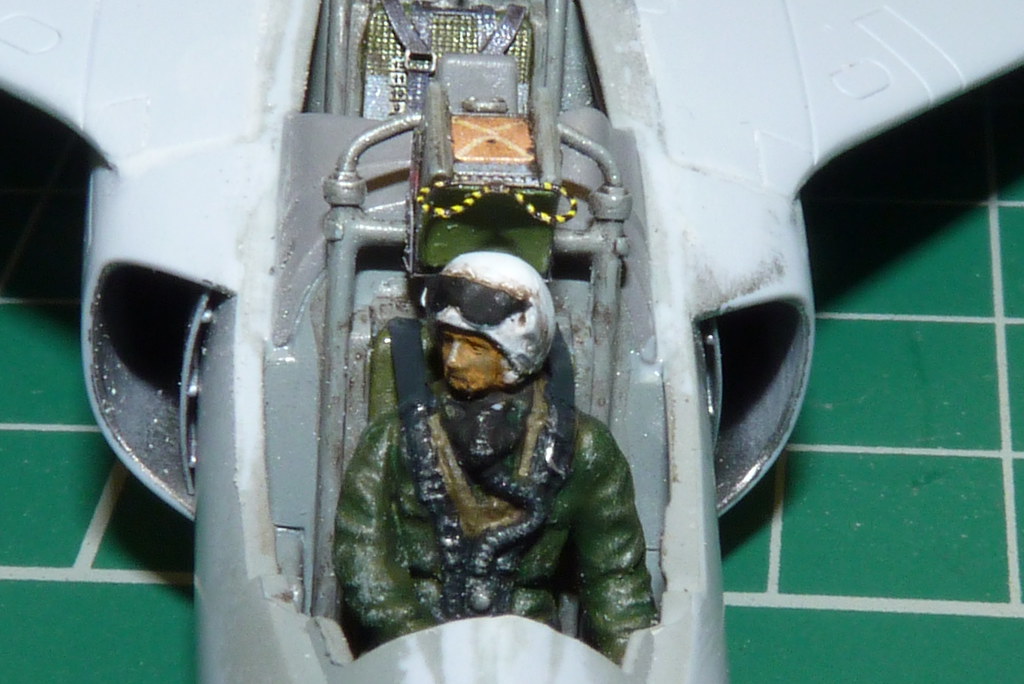
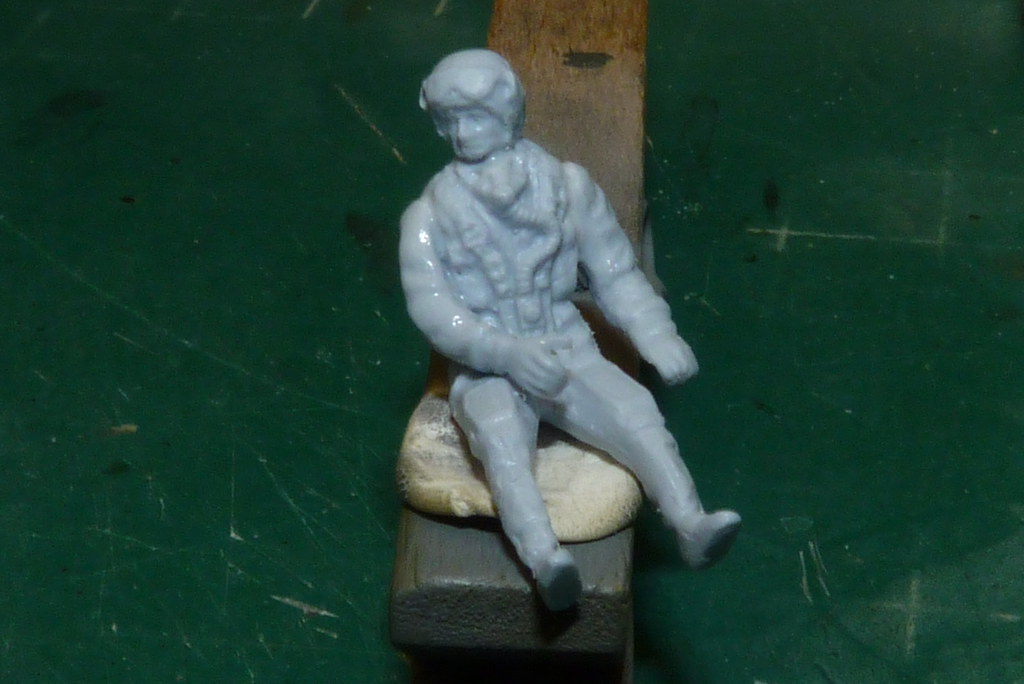
As for the pilot I cleaned him up as best I could and to add so life to him I chopped off his head. Strange I know but you have to be cruel to be kind as you will see.
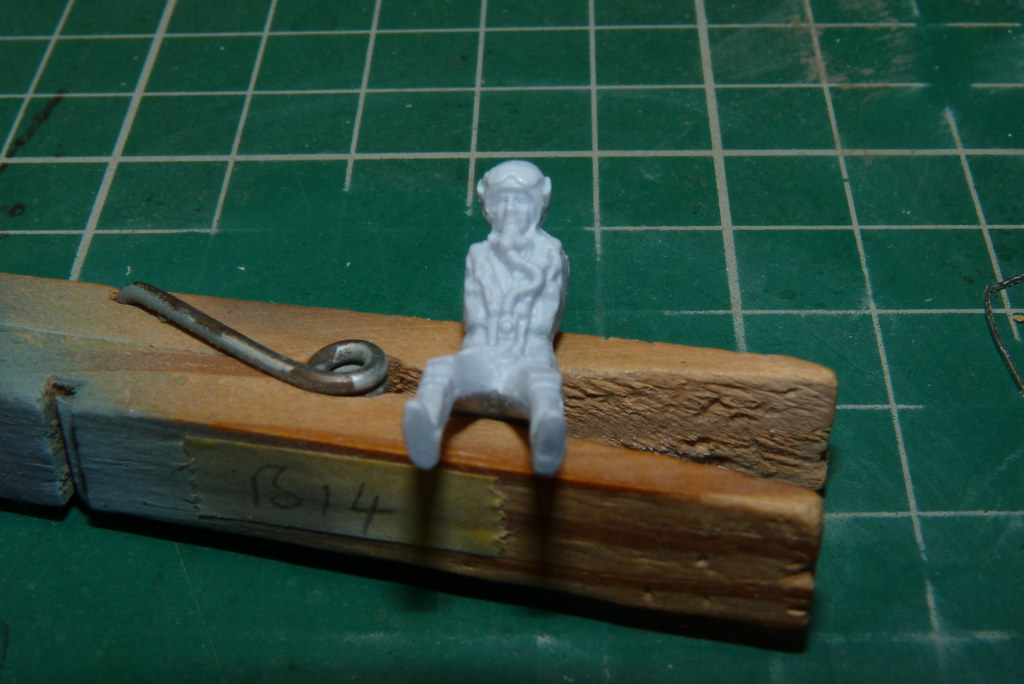
With the surgery done I drilled a hole in his head and neck to take a copper pin.

I used copper as it lets you move the head to the right position without snapping.

When I was happy I glued the head in position.


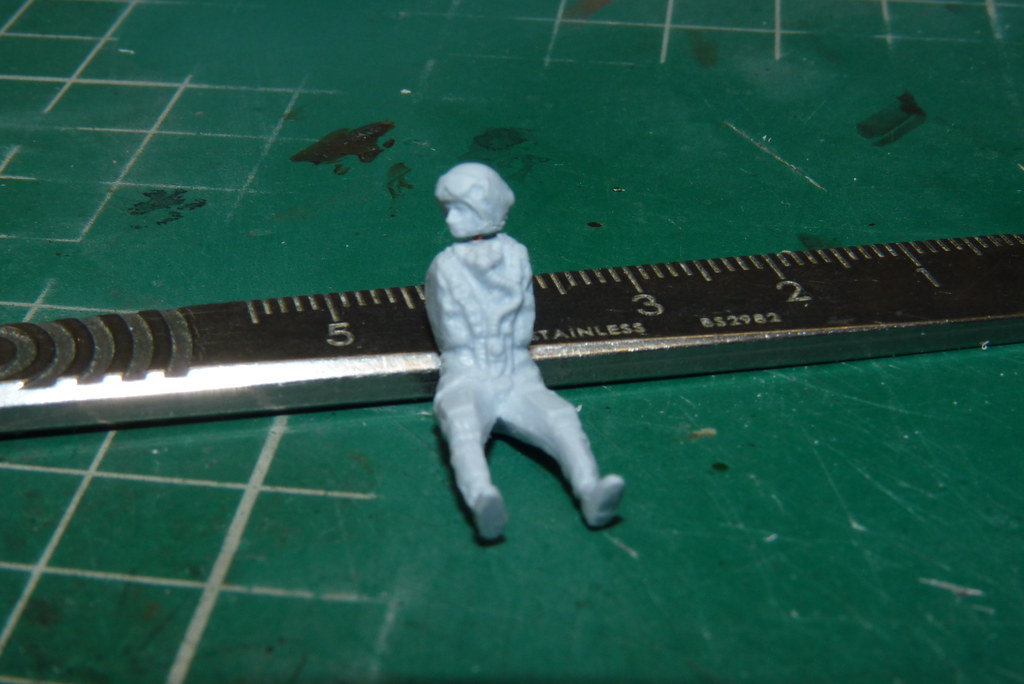
As I have said before the aircraft is going to be banking so hopefully now the pilot will be looking in a more natural direction than he was. Thats the plan anyway. His arms were attached one at a time and left to cure before moving on to the next. This was done to ensure his hands are covering the right controls. Again hopefully.
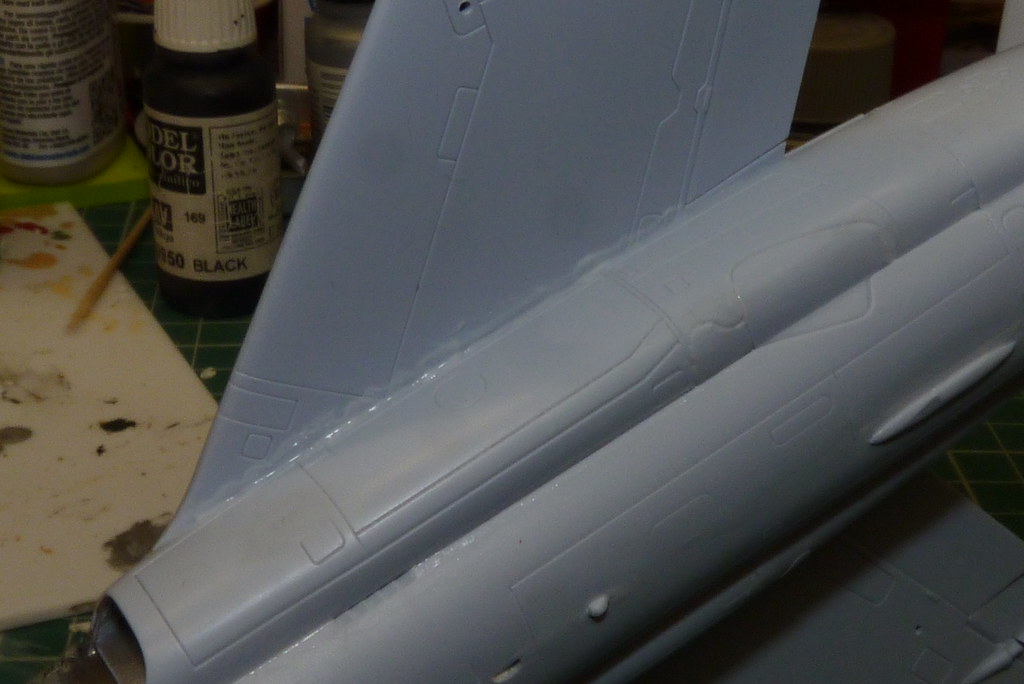
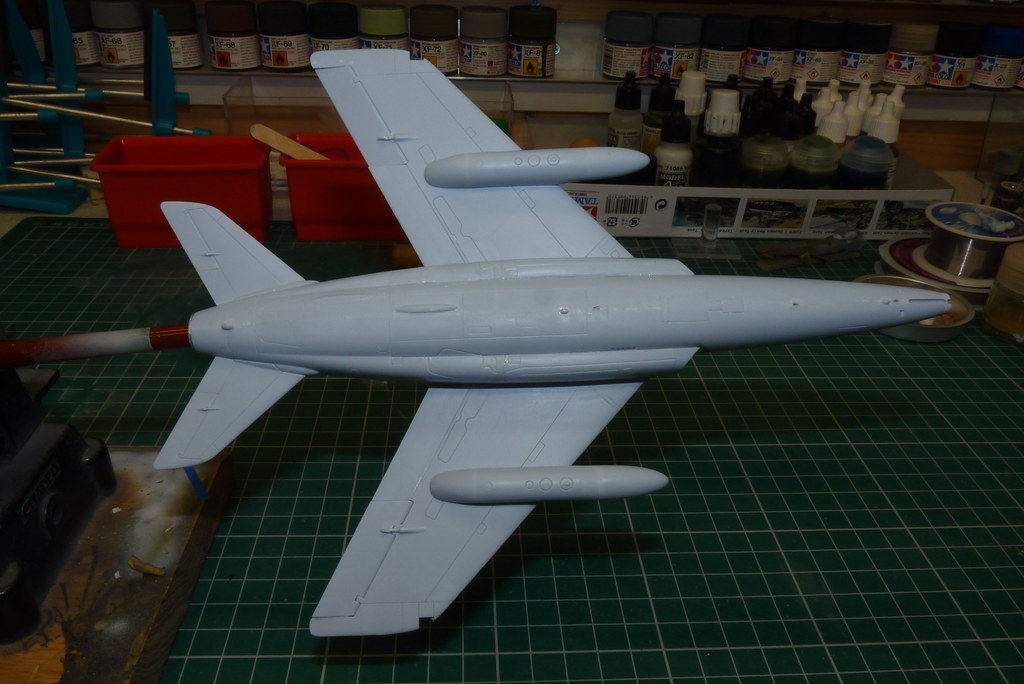
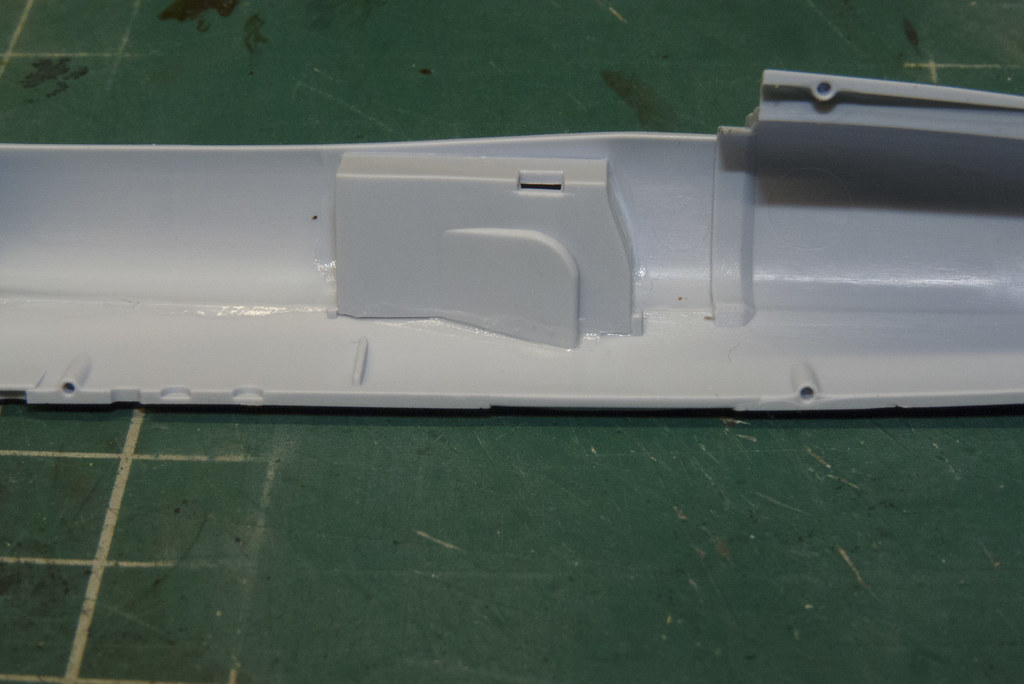
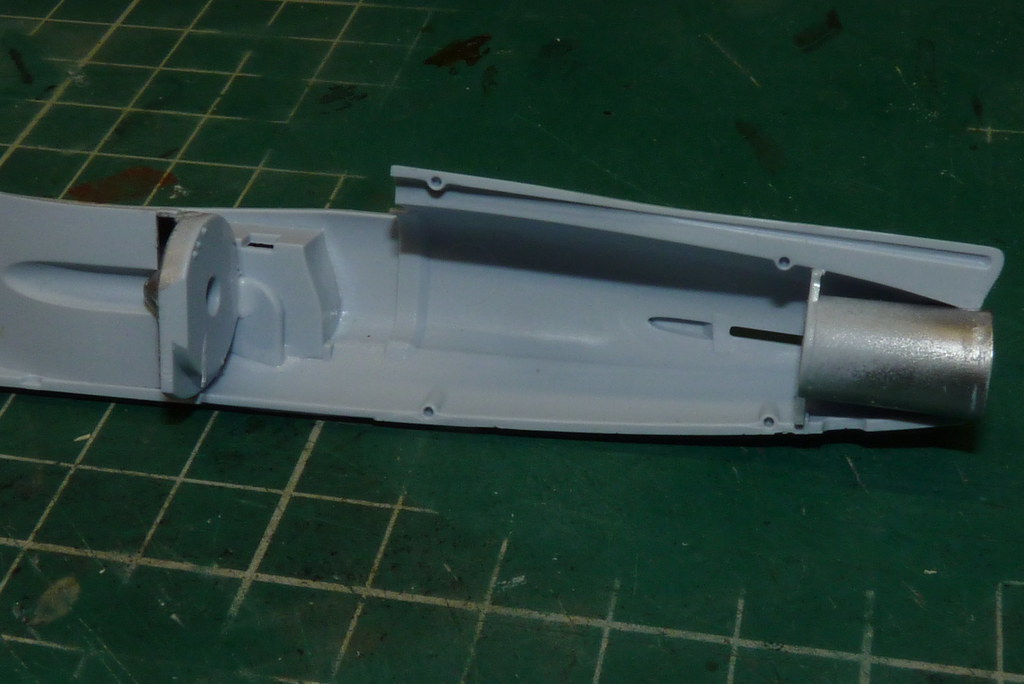
Next job were the internal air intake pipes that were painted and glued together and inserted without any problems.
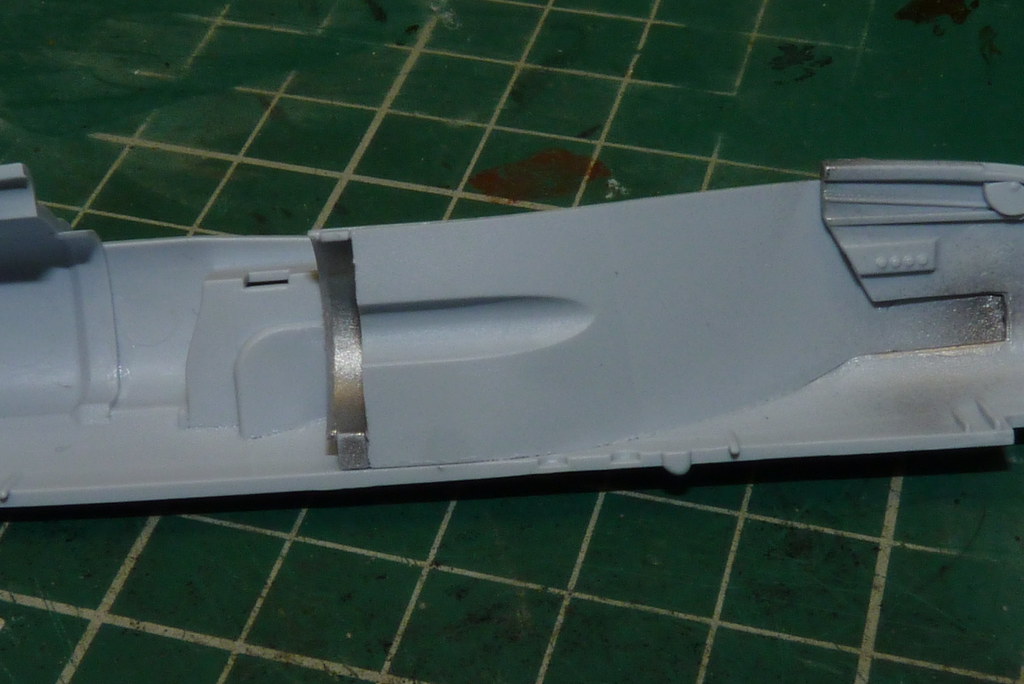

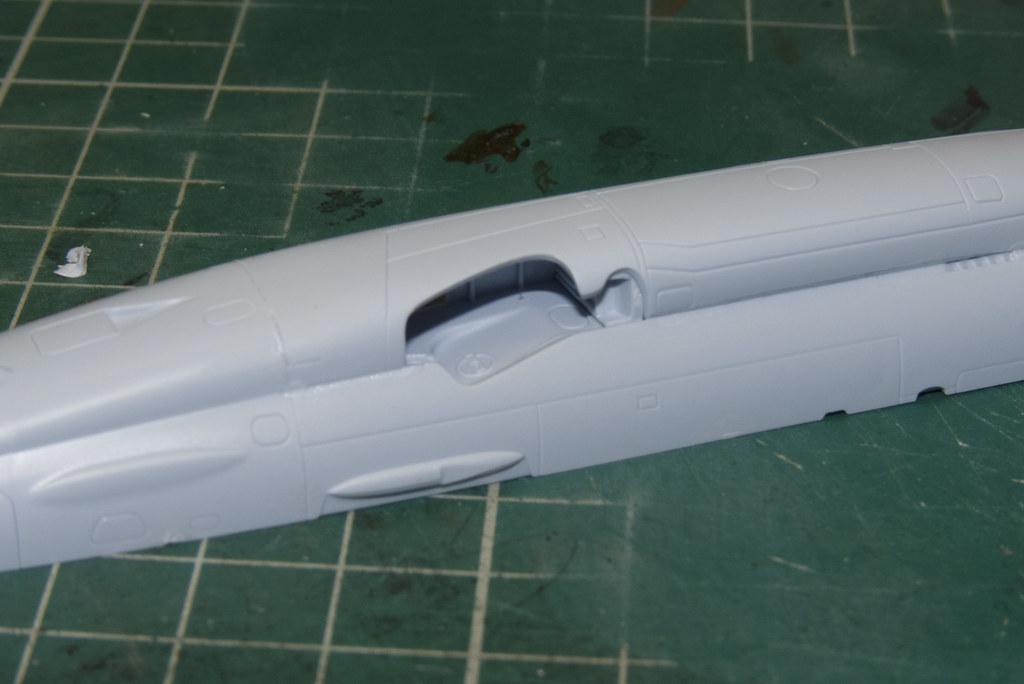
As for the fit, I would love to say it was due to my skill but no it is the kit. As you can see the fit is very good which so far is the story of the kit. Now for the turbofan which is an important part as you will see. I sprayed it and added a bit of an oil wash just incase it will be seen.
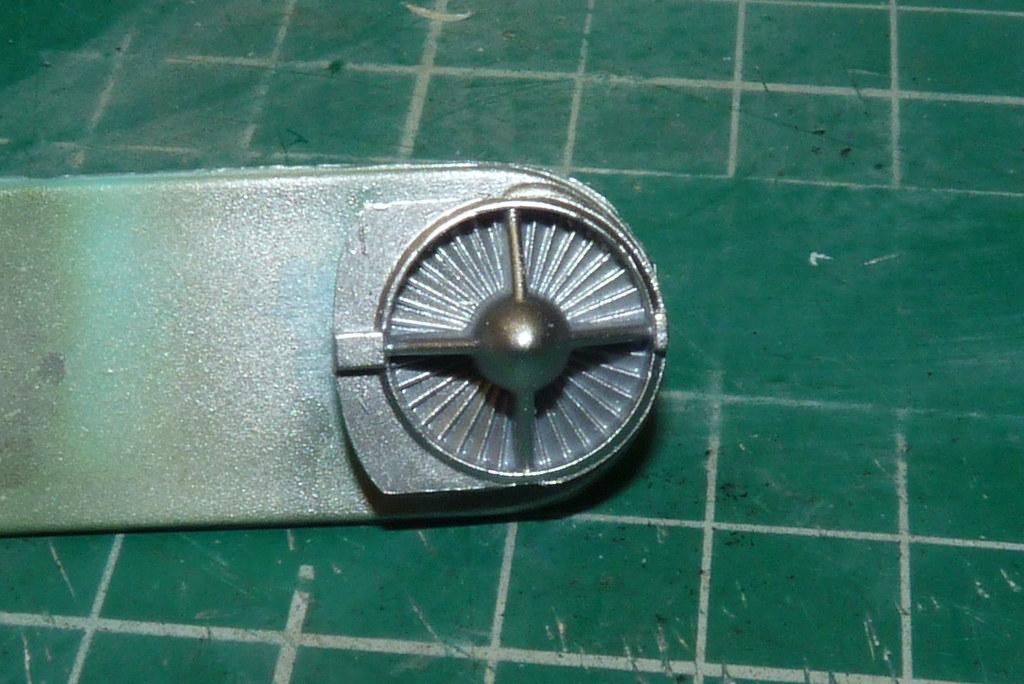

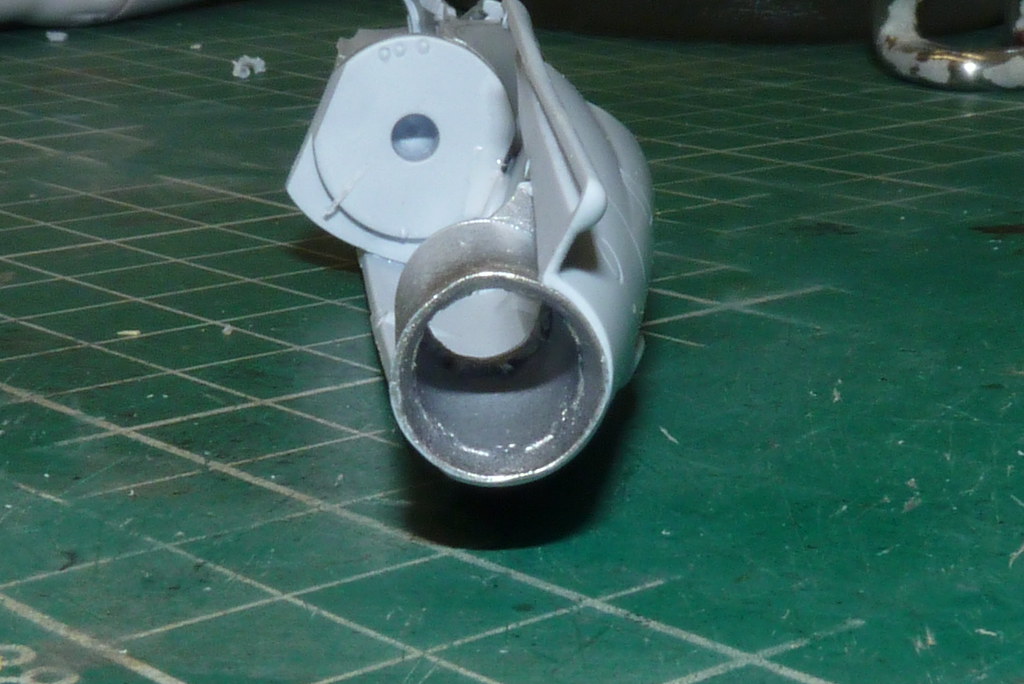
With that done I glued the jet pipe and turbofan to a fuselage half.
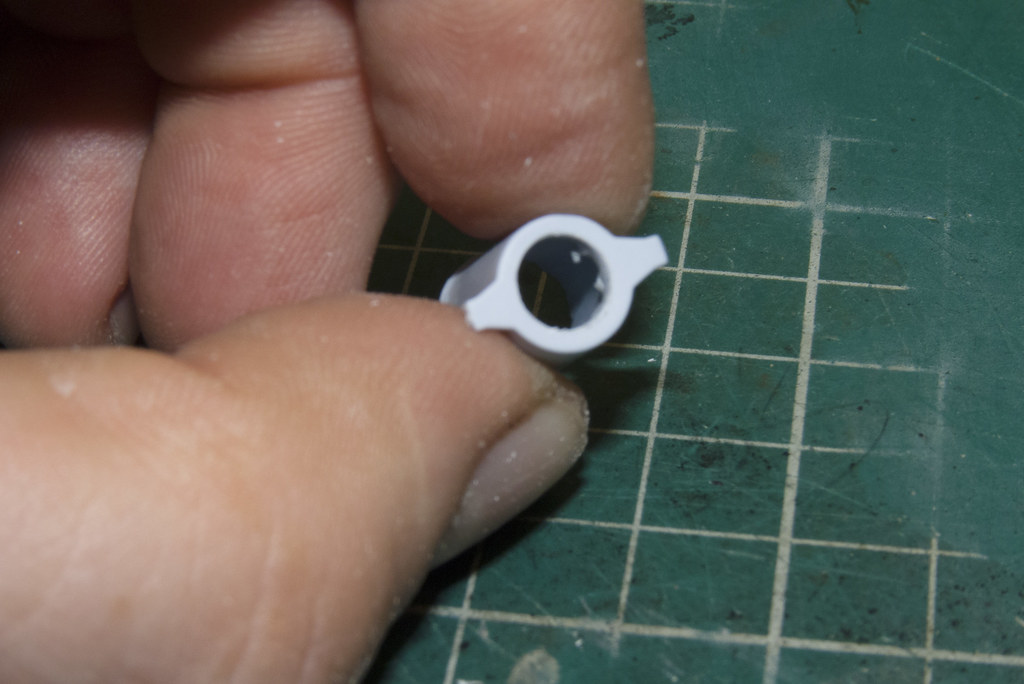
As you can see, the moulding at the back of the fan has a hole in it but not 6mm and due to the shape of the fan I couldn't drill in to it as I wanted it to support the end of the acrylic rod. Oh well never mind. To get around this I decided to use a pencil sharper to reduce the rod to the required size.
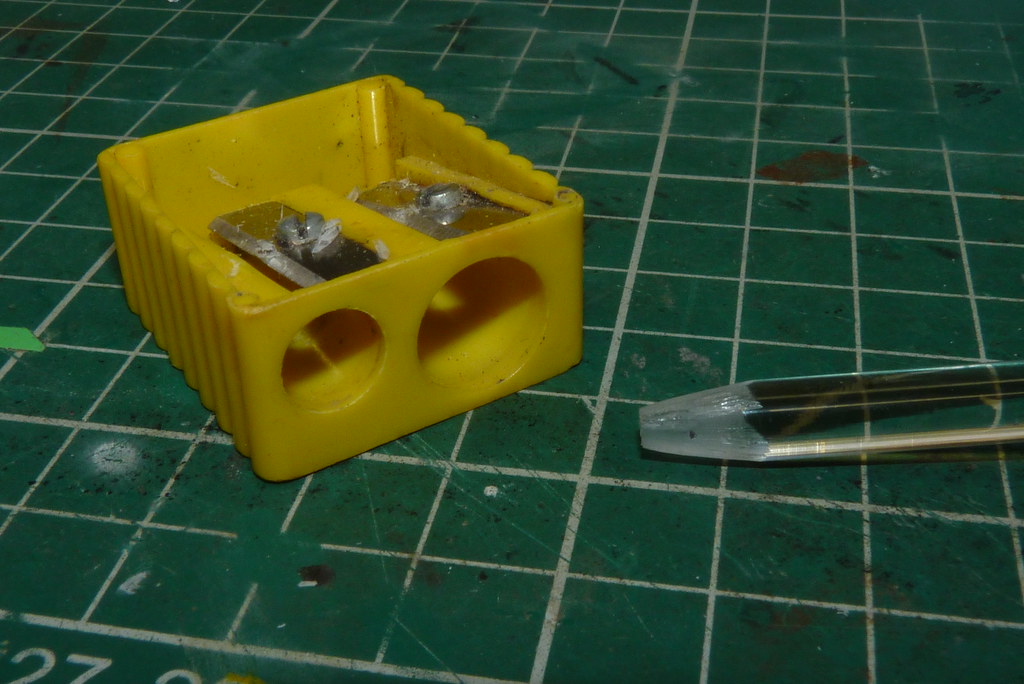
And it worked.

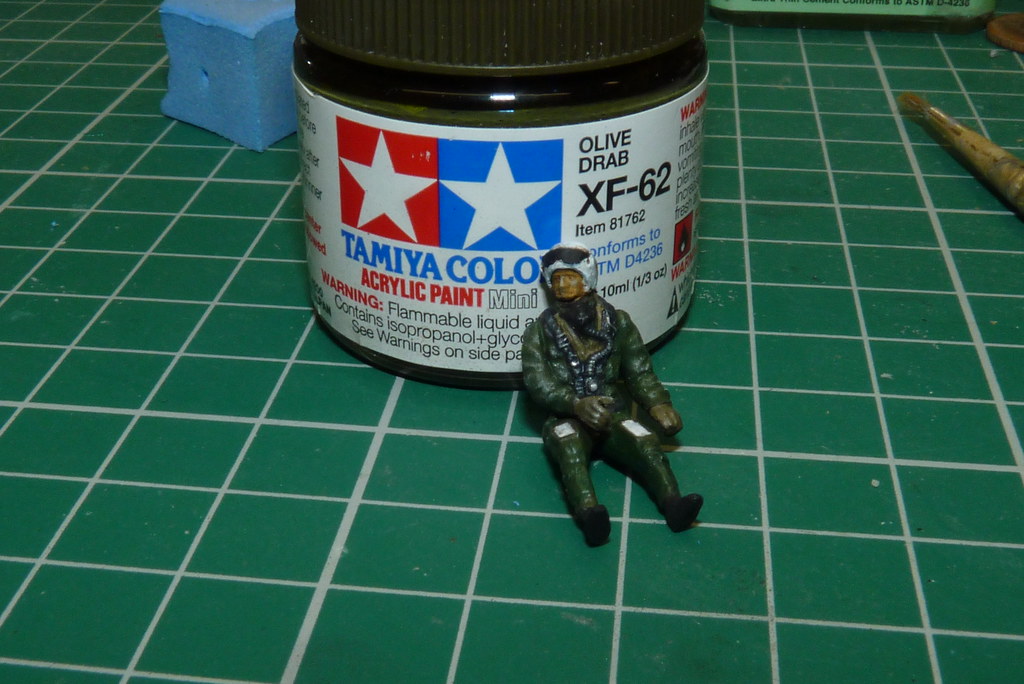
With that done I went back to the cockpit. I painted it and gave it an oil wash then I added a few bits of photo etch.