Now that I've got my act together I decided to have another go at building the Gloster Meteor III, the last time I tried I'd just got as far as putting the undercarriage on and then promptly dropped it (with wet paint) on the carpet
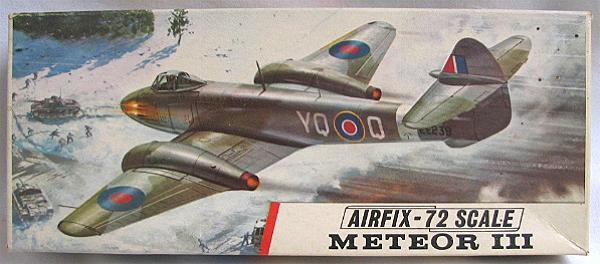
Here's the kit I decided to build
I was determined to a better job this time since my late but lovely father-in-law flew in one when he was in the RAF.
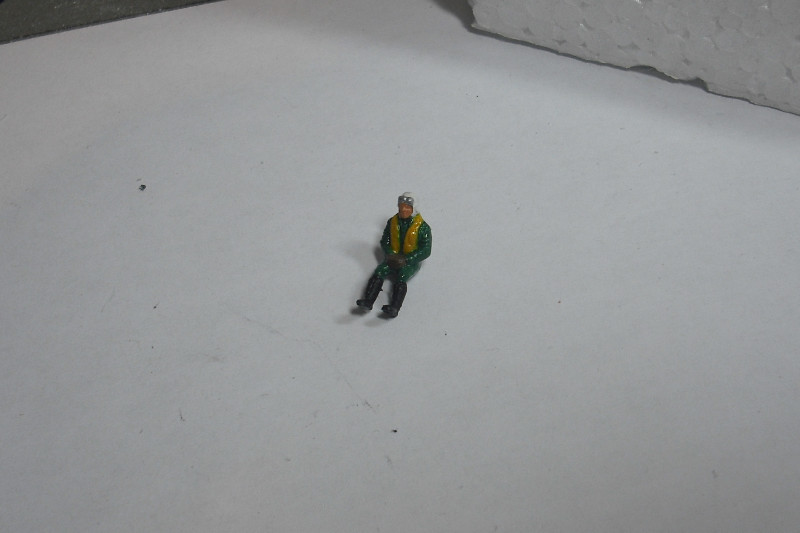
I started by painting my pilot.
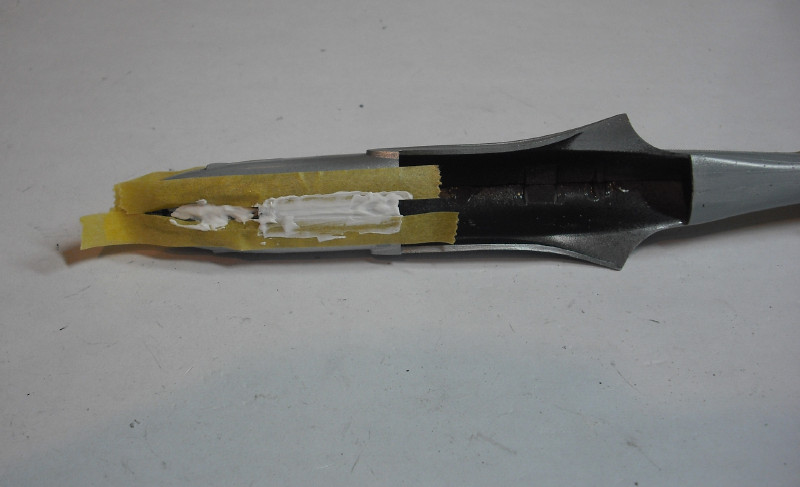
After doing that I added what I thought was plenty of nose weight (only to find out later that it was just enough
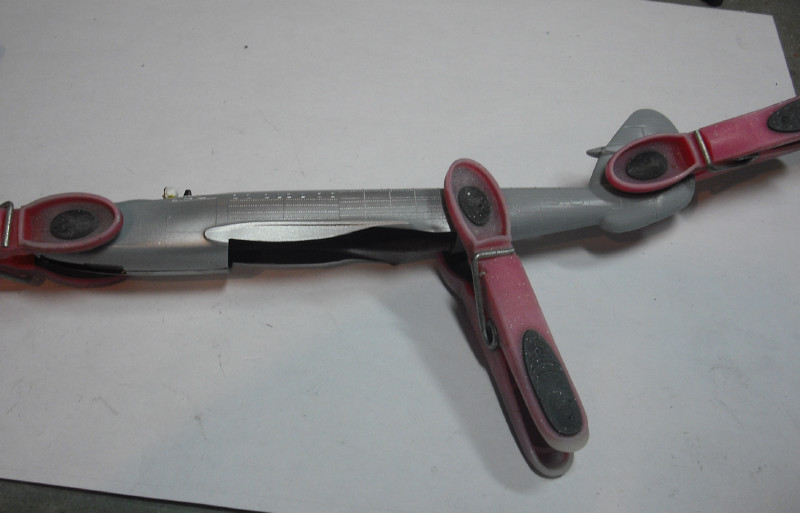
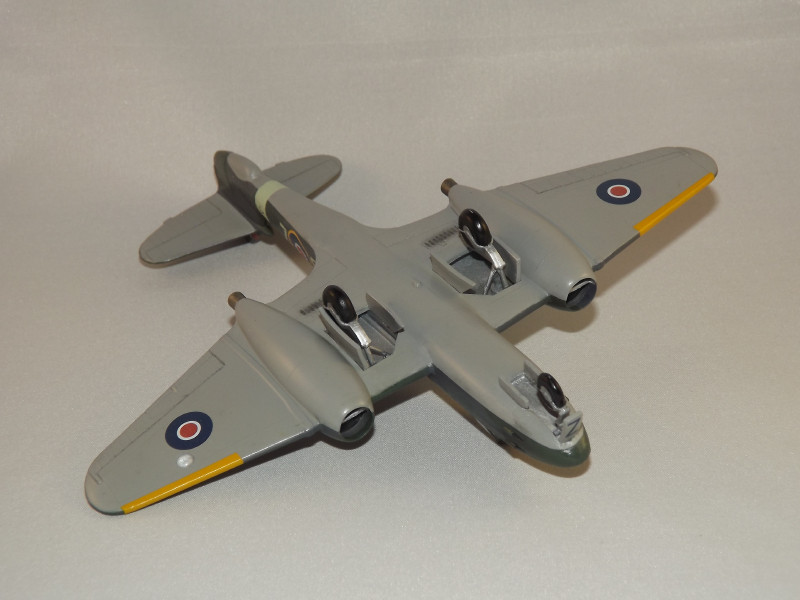
I sprayed inside the engine nacelles and u/c bays with aluminium before closing up the wings.
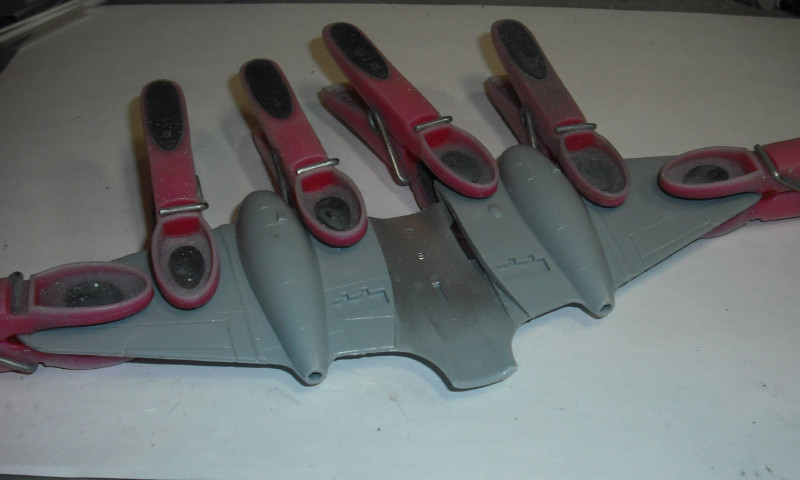
Once the glue had dried on the fuselage, I set about filling the seams. When I first looked at the kit it looked like it was going to be a good fit but it still needed a fair amount of work.
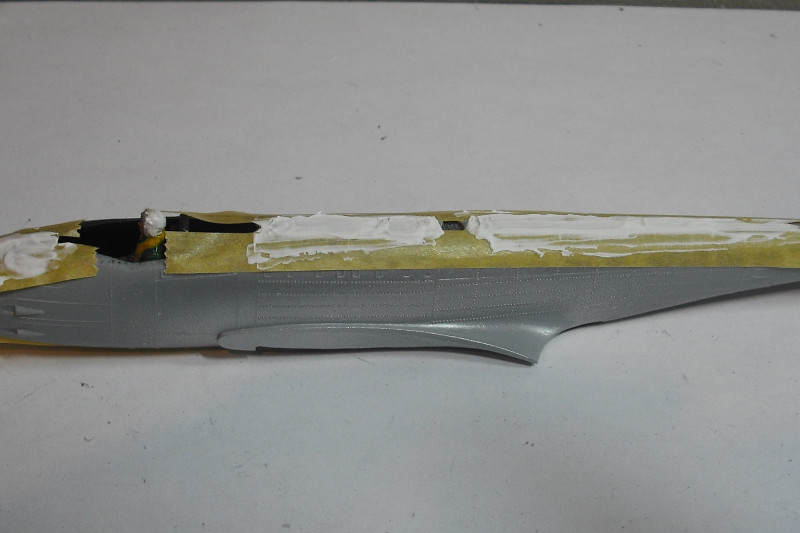
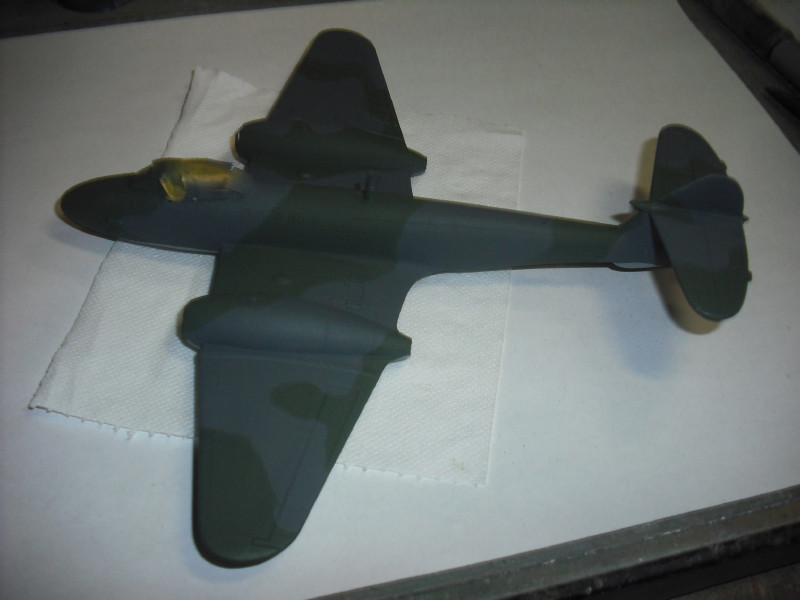
I sprayed the underside with light grey before masking up for the camouflage.

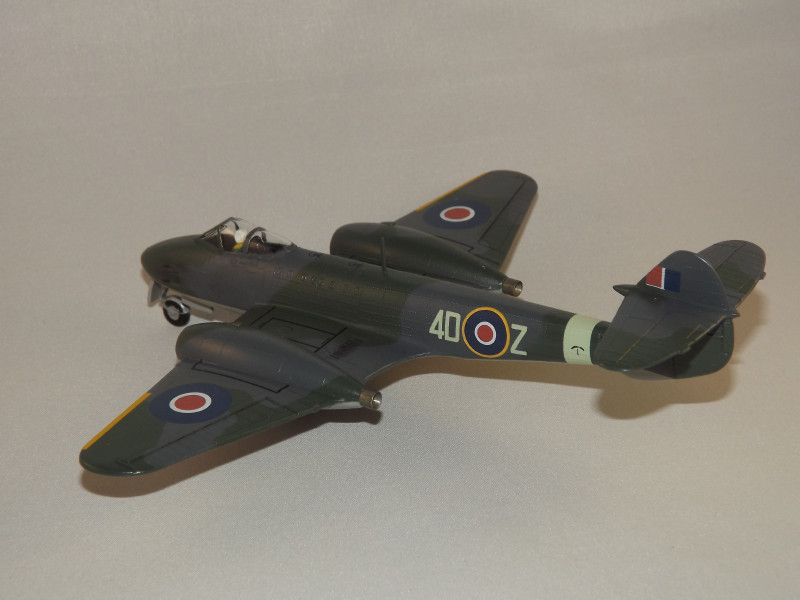
The camouflage was completed and it was all unmasked (except for the canopy) ready for Klear coat and decals.
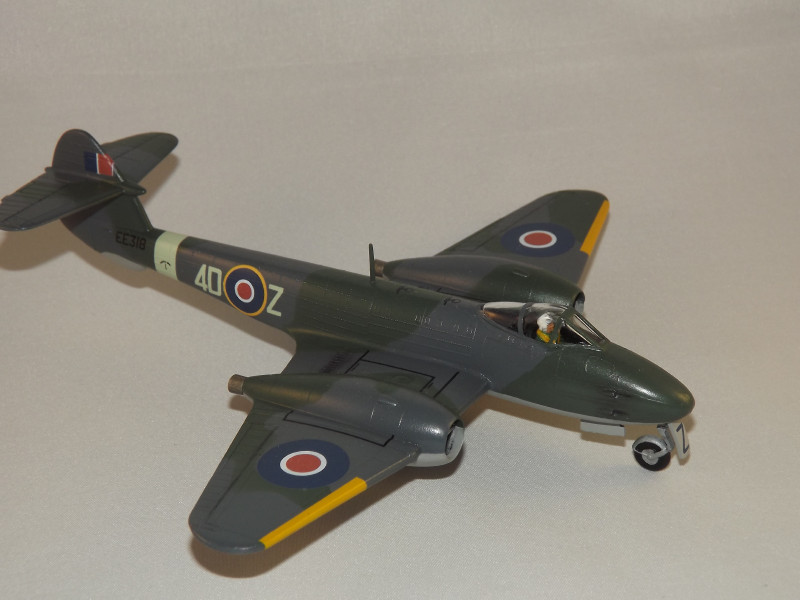
I then sprayed the leading edges with yellow,then the undercarriage was added (a lot of patience was needed for this as it was a very loose fit). I added the decals (which were very good for their age and gave no problems at all), then a satin coat all over and here's the finished product - I hope you like it.