
The Kit
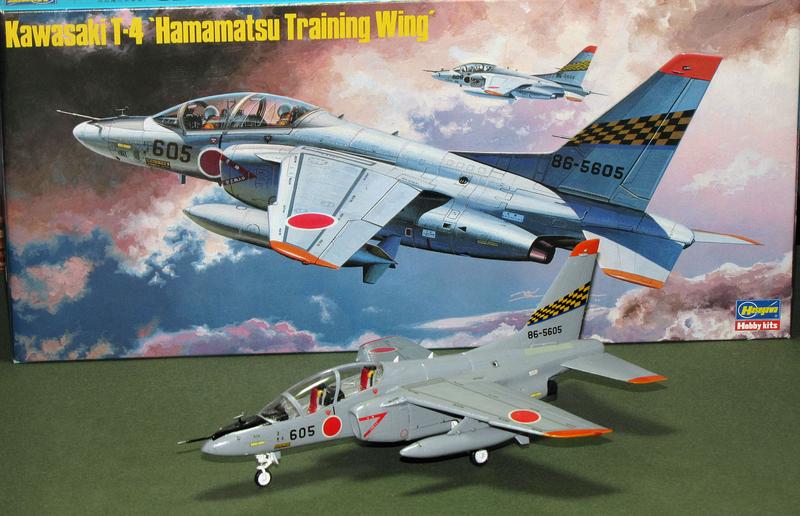
This kit is from Hasegawa, is in 1/72 scale, and was released in 1989. The instructions are nicely done (only a couple illustrations could be improved upon to show the proper angle of some parts during assembly). The kit has marking for two different aircraft from the Hamamatsu Training Wing. Decals are plentiful and well done (although some were printed a tad off-center and required a lot of trimming). Panel lines are lightly done. The cockpit lacks much in the way of details, however, you do get some nice decal control panels. There are no PE parts included.
The Build
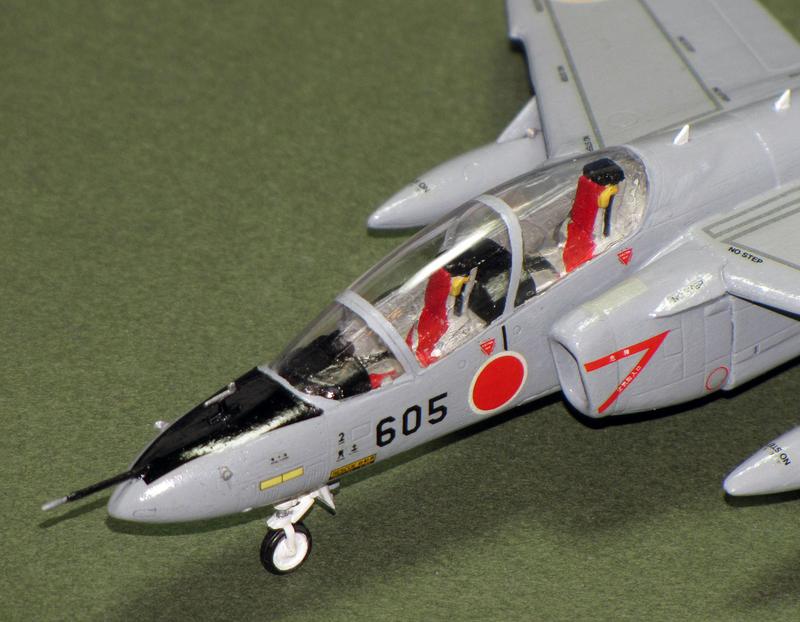
I chose to build the aircraft shown on the box-art. It is aircraft 605, from the 31st Training Squadron, 1st Air Wing, JASDF. I hesitate to criticize this kit as it is well-thought-of in many reviews. However, I will say it gave me more than a few problems or, shall we say, challenges, throughout the build. For example, if you are used to kits having fuselage assembly's that come in two halves that glue together, well, think again. This kit has SIX parts (cockpit tub, two forward halves, two rear halves, and bottom)! A little over-engineered which requires a lot of filler and extra work fitting parts together.
My skills at filling and sanding are really not up to scratch.
The clear parts had become loose in the box, so they were pretty scratched when I got to using them. I had to use plastic polish to polish out many of the scratches to make them clear again. They had also lost their shape a bit over the course of time. This made them difficult to attach correctly to the fuselage.
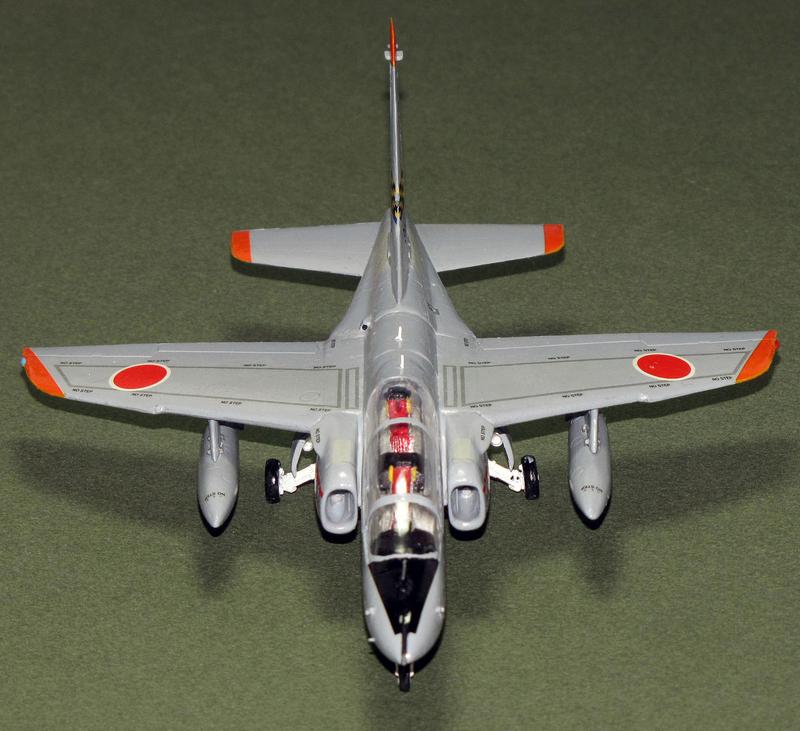
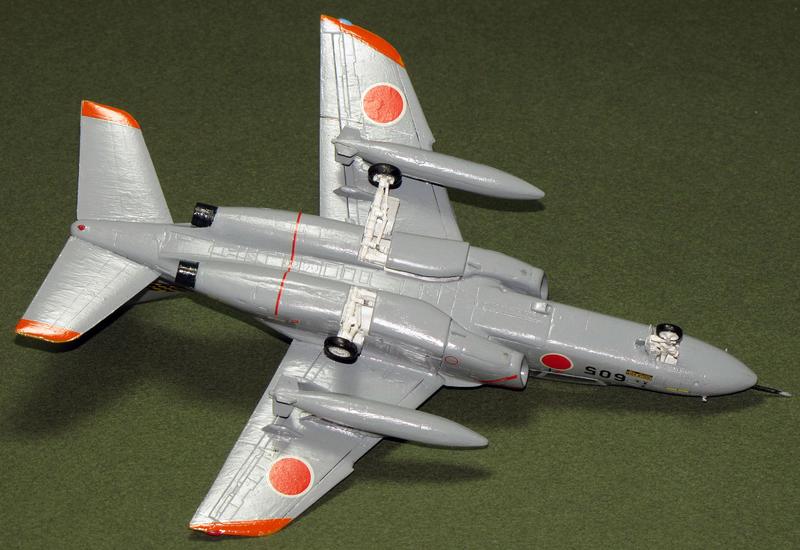
Right now the model is in its shiny clear-coat best. The weather here isn't right for using Dulcoat, so I think I may need to get some brush-on matt finish to make it look correct. A few of the decals didn't go into their correct positions (per the instructions) owing to them being a tad larger than they should have been (you can only trim so much). But that isn't too noticeable - at least that is what I keep telling myself.
For a relatively small model it took a lot of time and effort to build. Still, I like how it turned out. That said, there is still a lot of room for improvement.
Please feel free to offer any constructive criticism you may have so I can learn. Thanks!
Photos

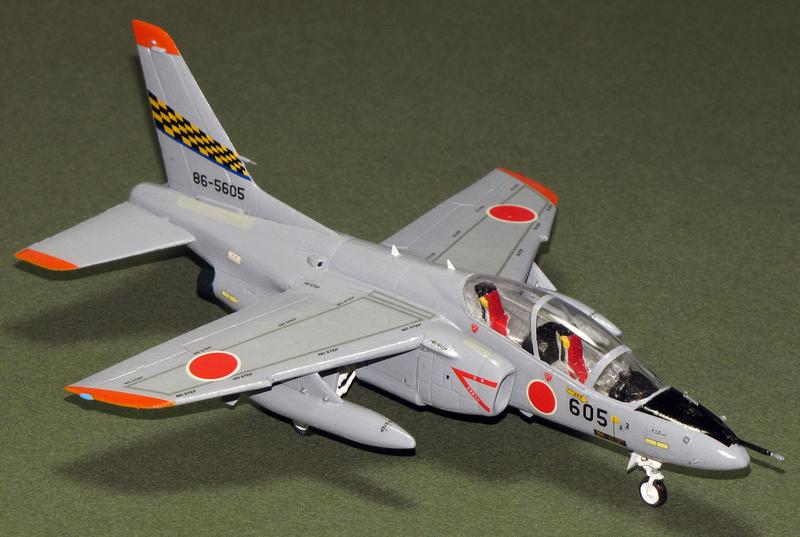
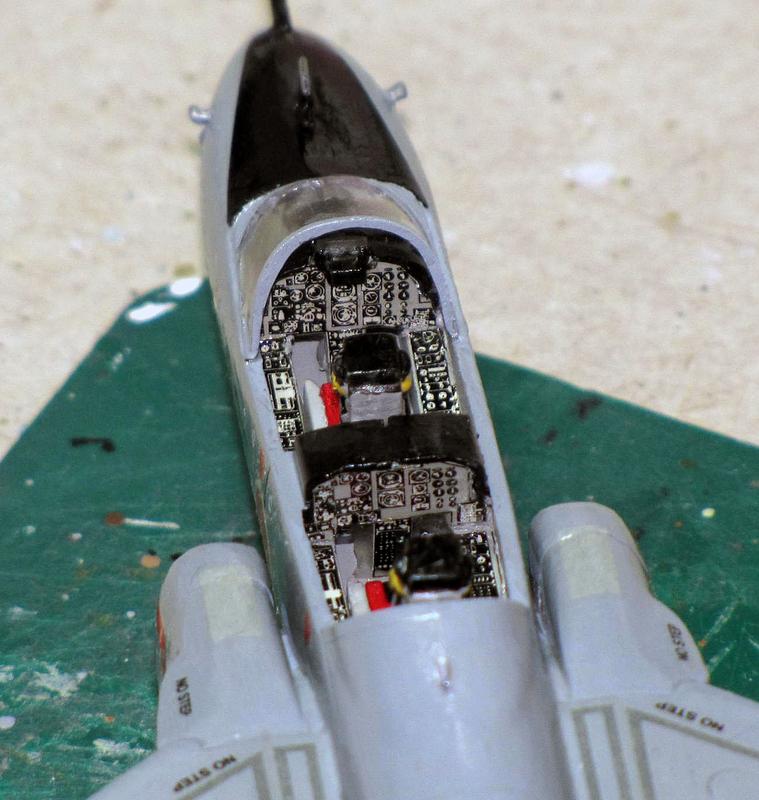
Here's a pic of the cockpit before the canopy went on. You can see the nicely appointed decal cockpit.


