SCRATCHBUILT DEWOITINE D510 in 1:48 scale
Posted: December 19th, 2017, 4:02 pm
Hi Guys
There has been a request that I might do a WIP on one of my scratch built models....so you can see how I go about it. I am not sure if this is the right section to put this on...I do hope so!
I have been scratch building now for a good few years and occasionally build a kit in between one of my projects....like the 1:20 scale B17G I am attempting to do. I use very basic materials ...Balsa wood ,yogurt pot plastic that I sometimes use in replacement to plastic card , annealed Coca Cola cans for the aluminum ,electrical wire ,cardboard ,paper etc etc...all basic stuff that I like to work with....never ever do I use after market stuff like PE...as that's got nothing to do with scratch building and besides I think that you could make most of the stuff your self and wouldn't cost the extortionate prices they charge!....but hey...that's my choice!
So normally I scratch build larger scale aircraft (1:20 scale ish!)...but sometimes I have a go at the smaller scales....I find that the smaller the scale the harder it is to fabricate so you will see some problems on the way with this WIP.
The methods you see me do here are the way that I scratch build....a lot of other modellers probably do it another way ...but I guess it really doesn't matter....besides lets face it ...there are no instructions to follow is there?
Any way I hope you find this WIP interesting...I do know that on these model forums it's not everybody's cup of tea but I hope it will be of some interest with you!
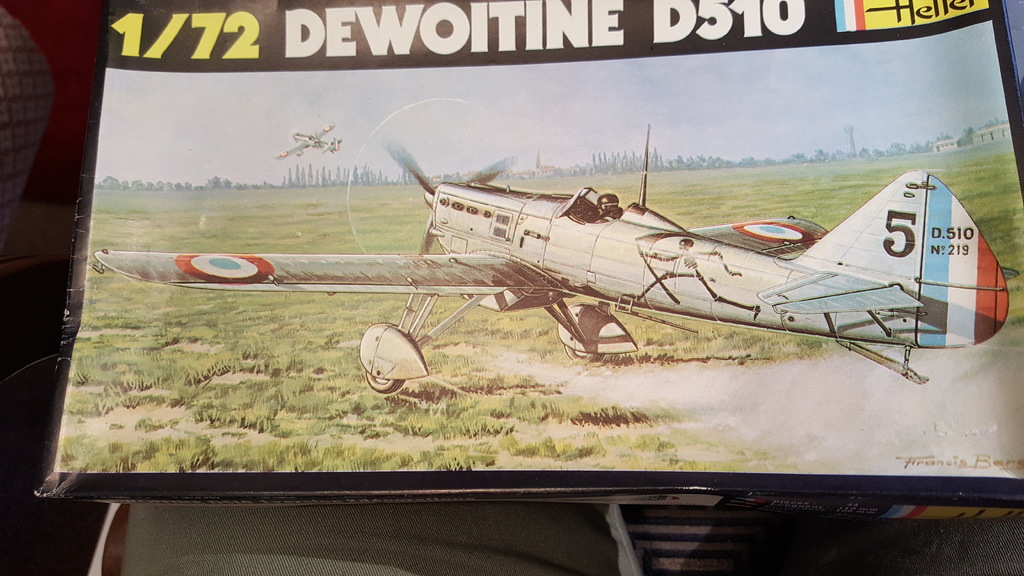
So to start .....here is the real Dewoitine D510...........

A wonderful "Retro" bird from the 30s..
I just love the shape of this bird!...kind of heavy chunky nose and large wing span...with an almost after thought of an undercarriage!....all this drew my attention and made me want to have a crack at it!
So here goes then...................
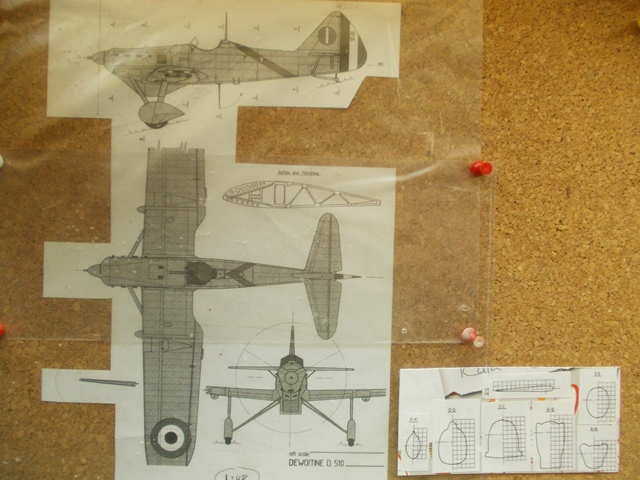
After not being very successful in finding any decent scale plans on the "ole" internet I came across a set that at least had a few formers to work with...although none for the wings!.....well I guess I will have to sort something out when the time comes to making the wings!
Here's the plans I am going to use pinned to the board......
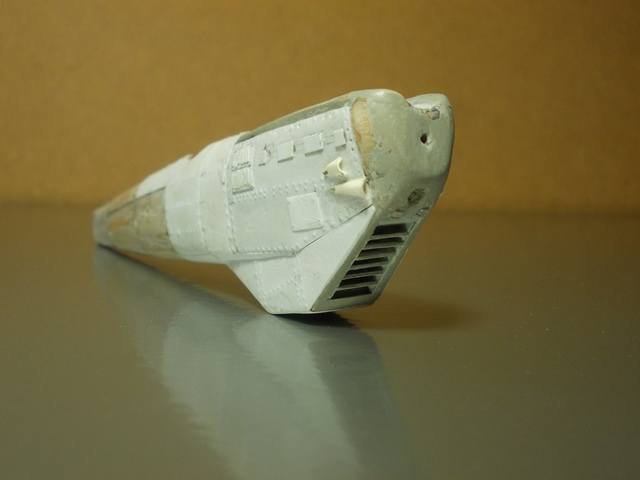
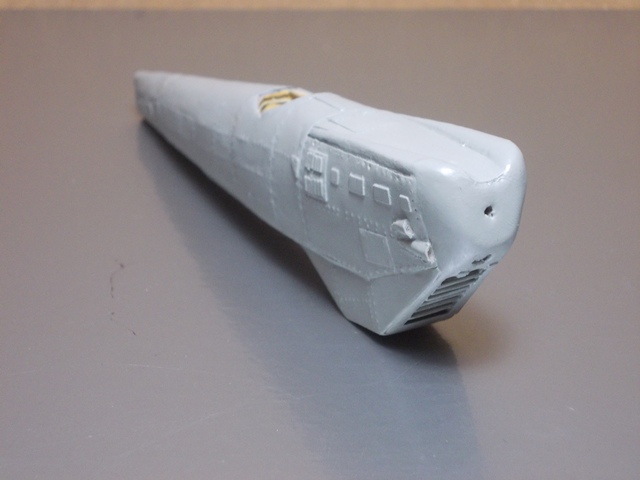
So first up was to construct the fuselage....because the plans are not that good I kind of made it up as I went along!....For this fuselage I used thin gauge hardwood for the formers,stringers and longeron. When that was set I filled in between the stringers with scrap balsa wood and when dry I sanded the balsa wood down to the hardwood stringers that then gave me the basic shape of the front end including the massive Radiator that just seems to be slung under the front nose!
Like so....
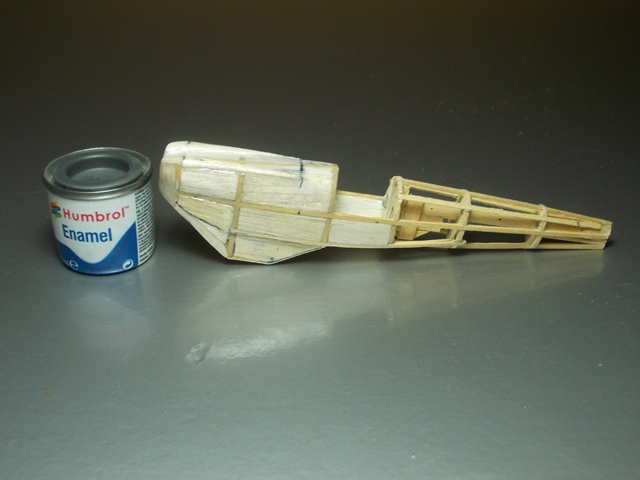
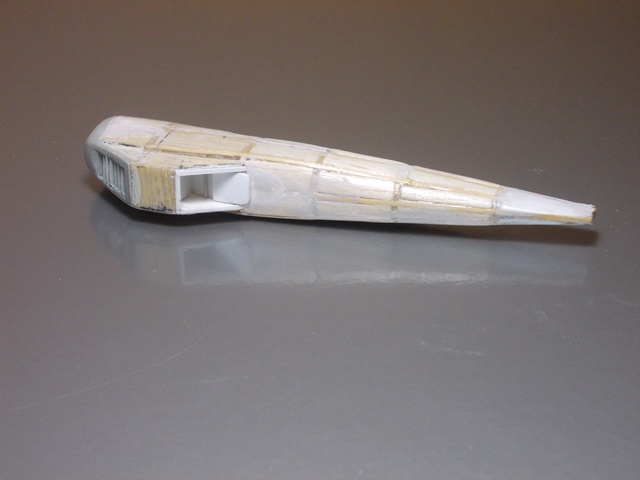
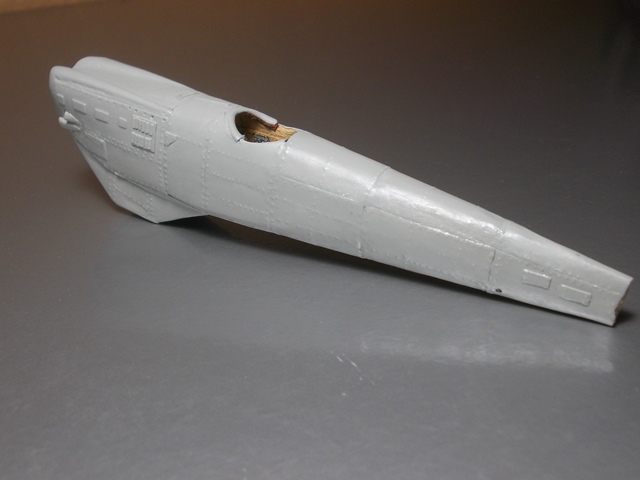
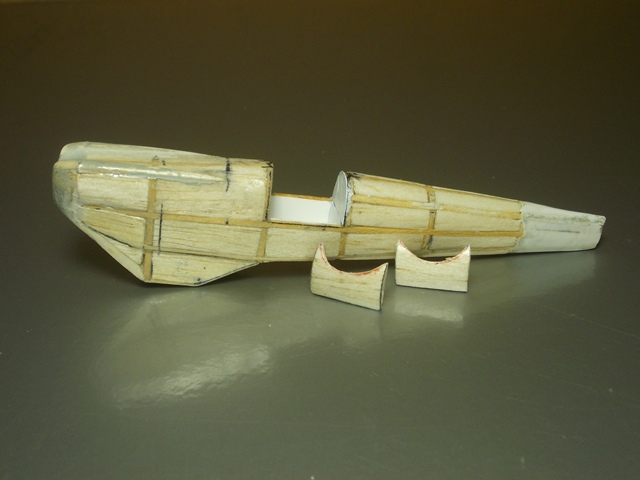
I then repeated the procedure for the tail......in this photo you can see the way I glue pieces of off cut balsa in between the stringers....looks a mess but I find it does the trick!
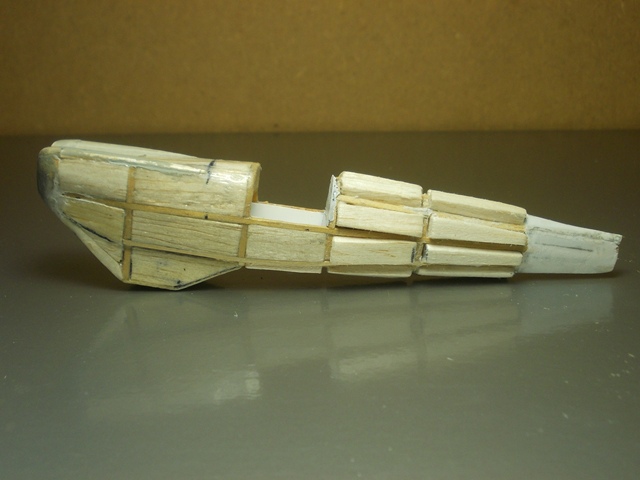
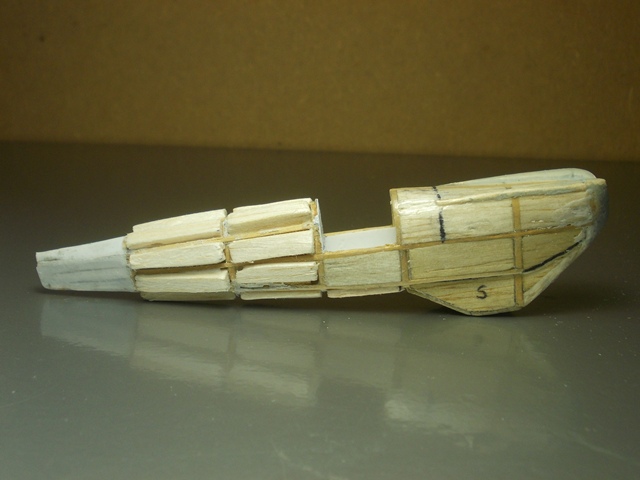
You can also see that there is a large gap half way up the fuselage?....well that is where the cockpit is and the reason there is this gap is so that I can reach inside with my pinkies to scratch some sort of cockpit!
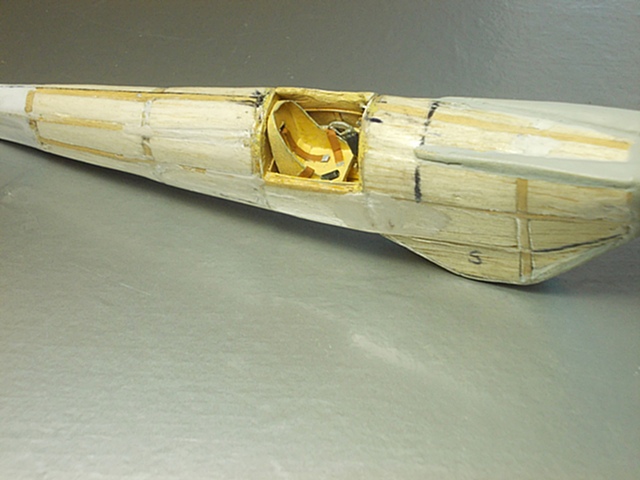
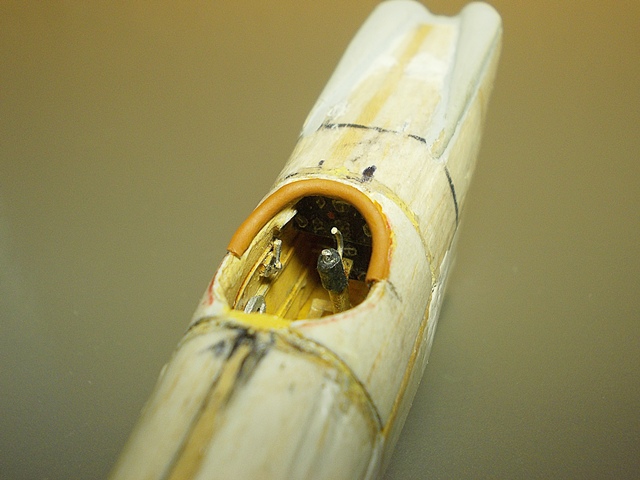
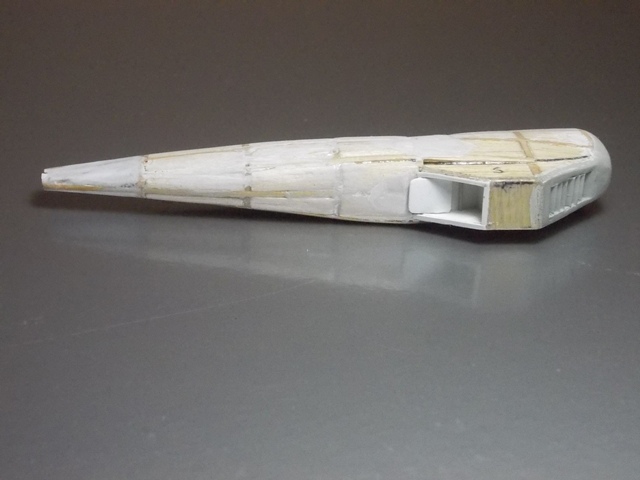
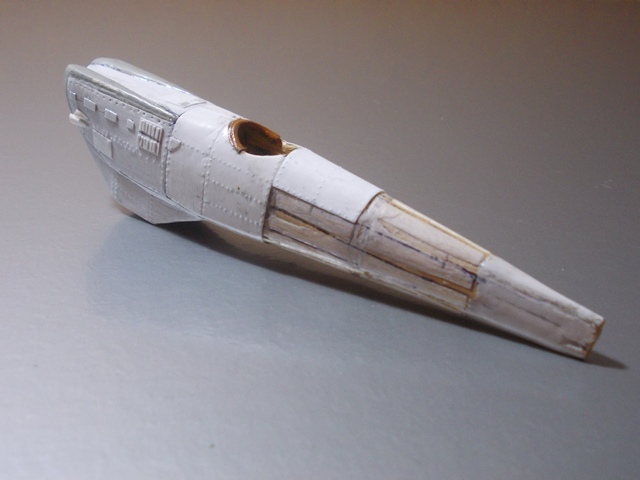
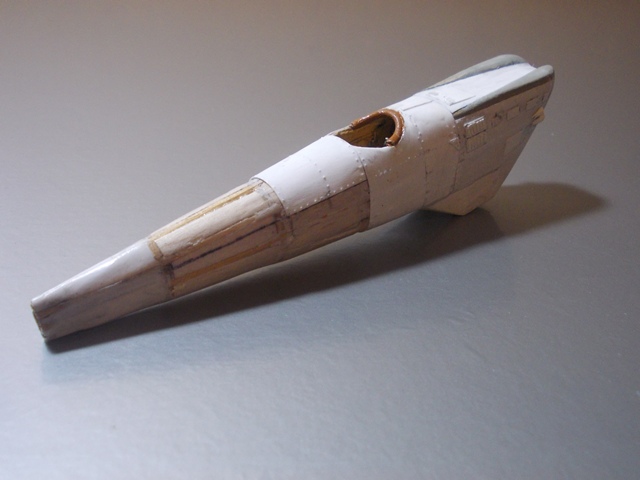
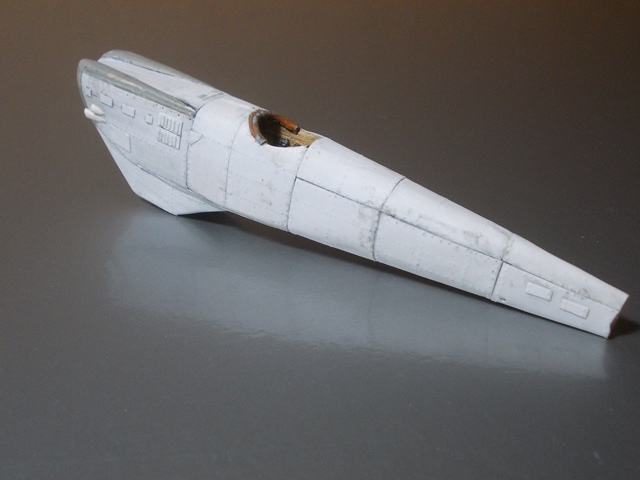
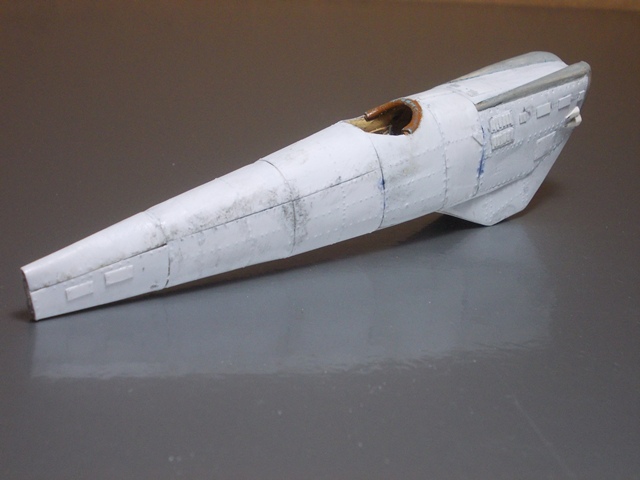
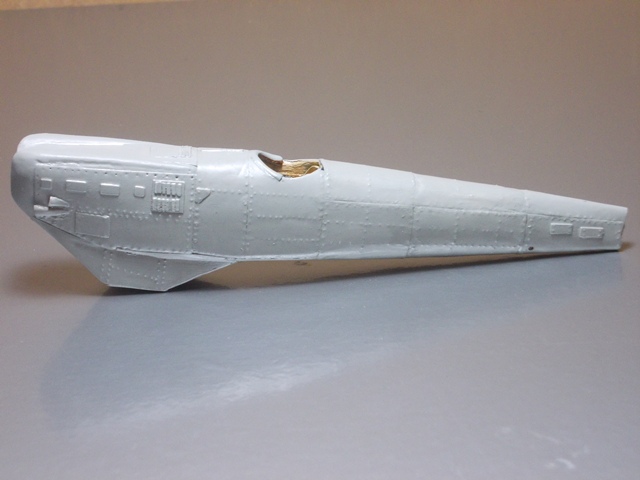
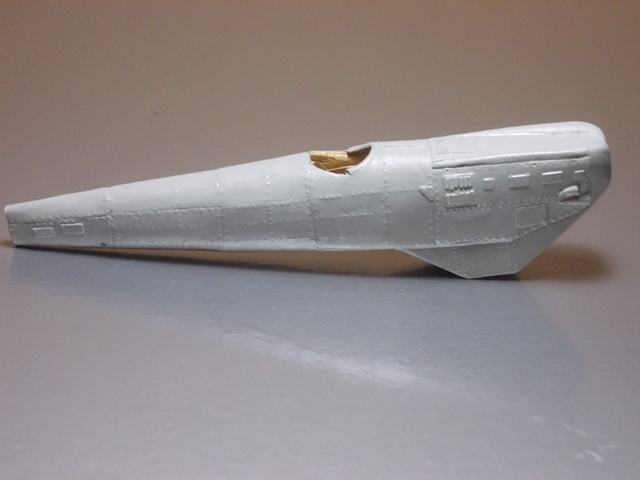
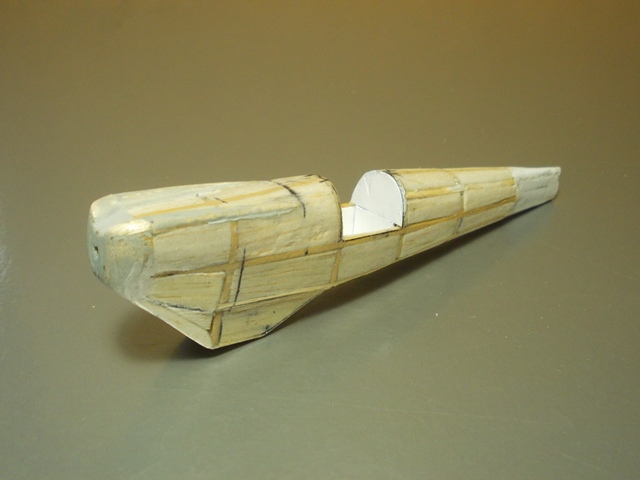
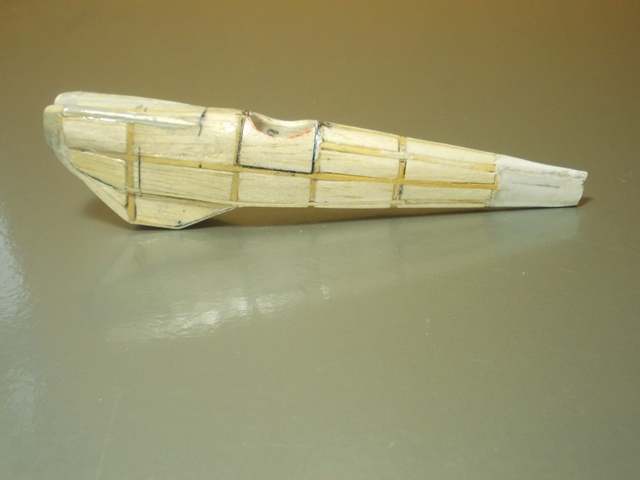
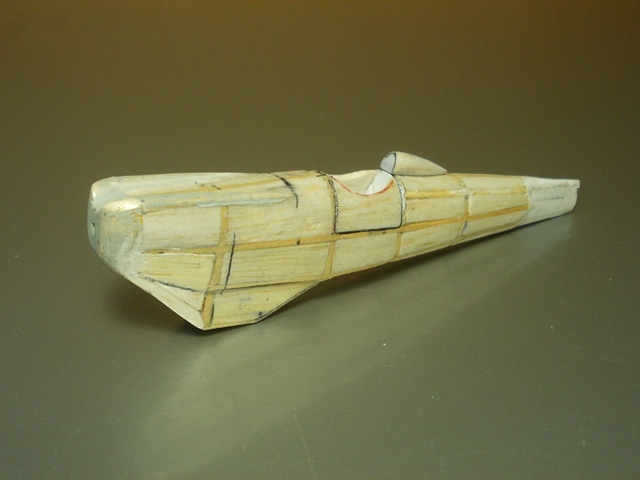
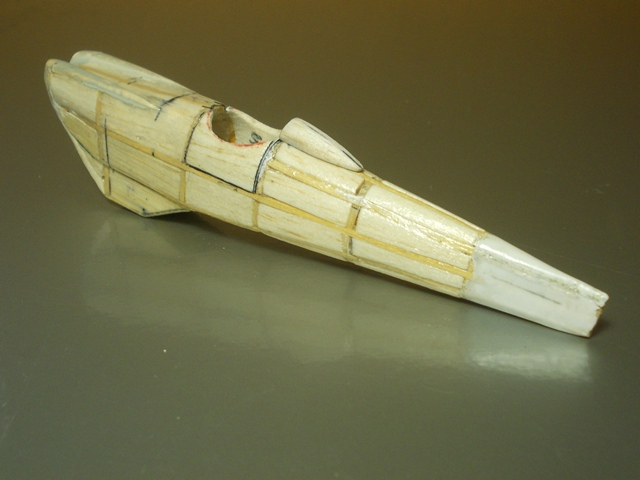
So have now sanded down the balsa to the formers to get the tail shape and given the whole fuselage a couple of white glue washes and then a few washes of Johnsons Klear to seal the wood ready for the next stage......oh...and I also tidied up the cockpit area and glued some plastic sheets on the walls and floor.
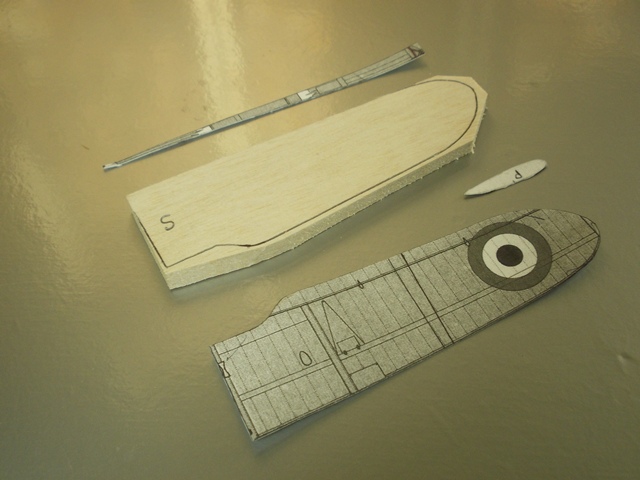
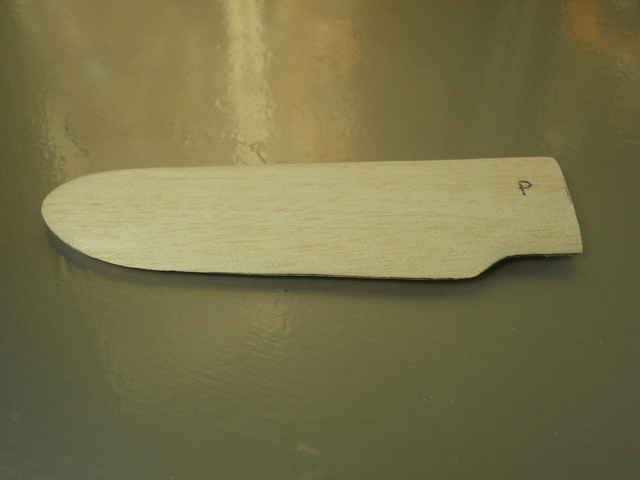
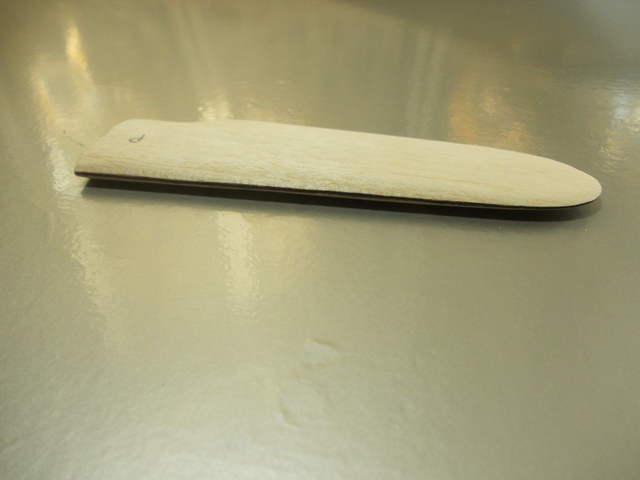
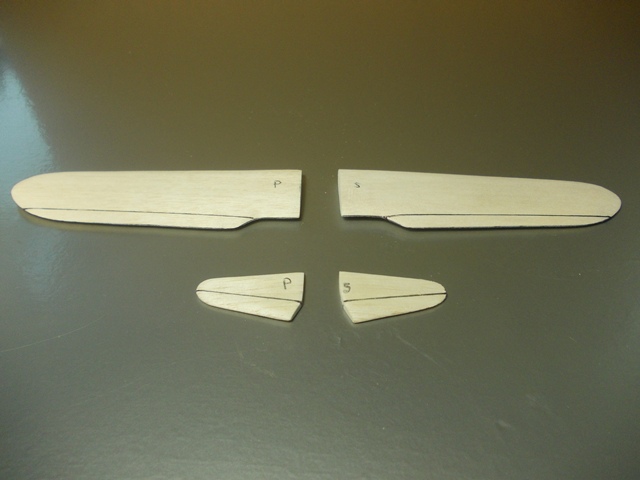
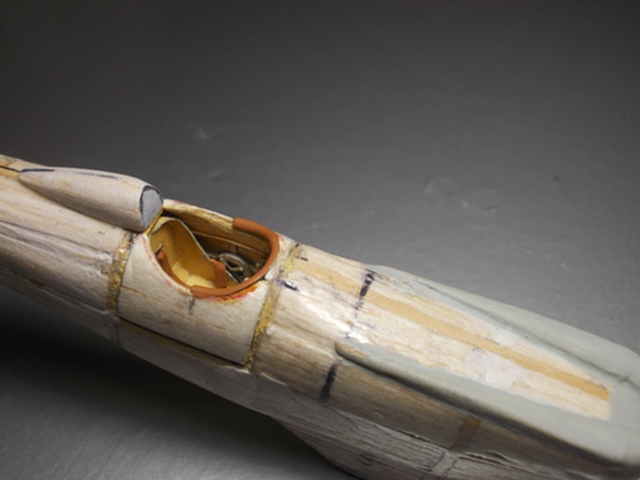
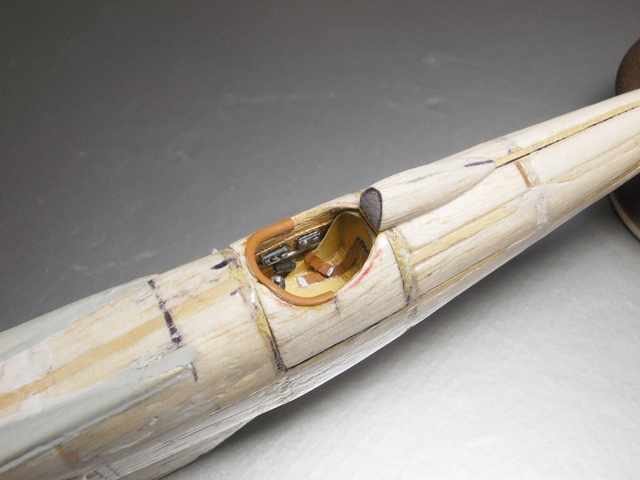
This next photo shows a couple of balsa panels I have made that will fill the cockpit sides at a later stage...
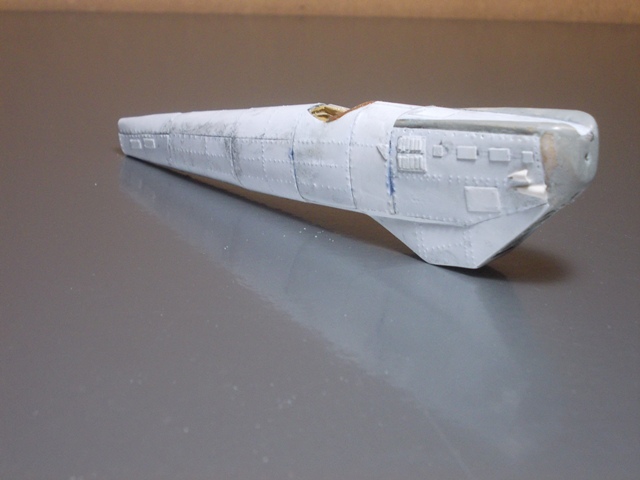
...and here they are dry fitted....
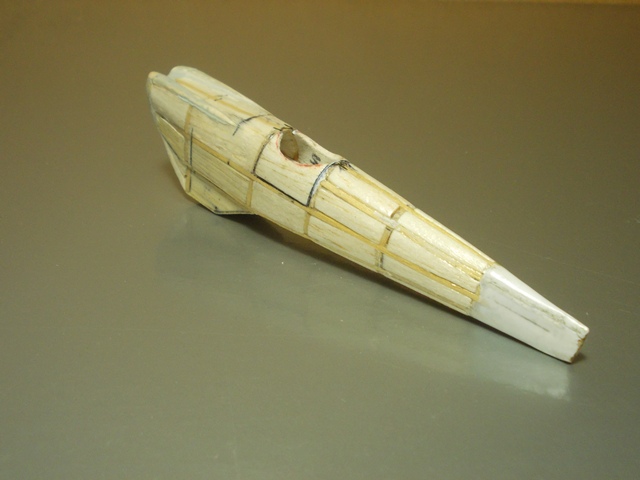
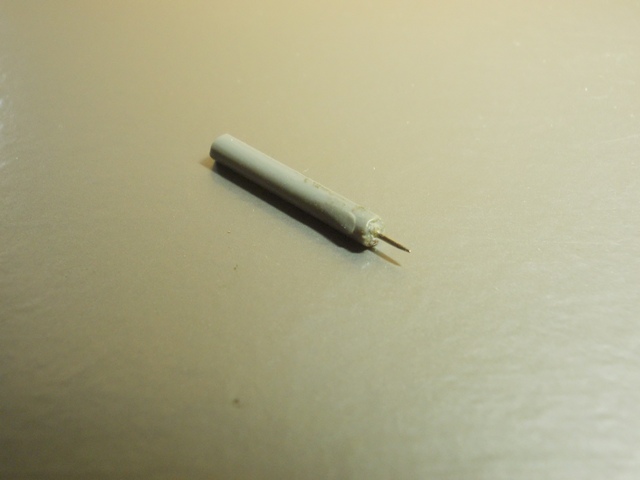
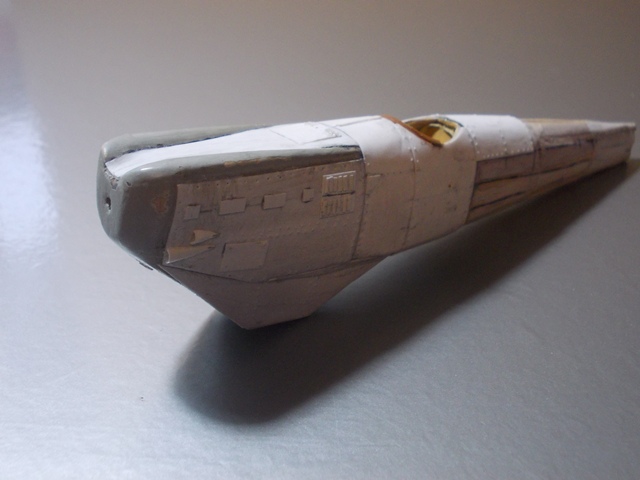
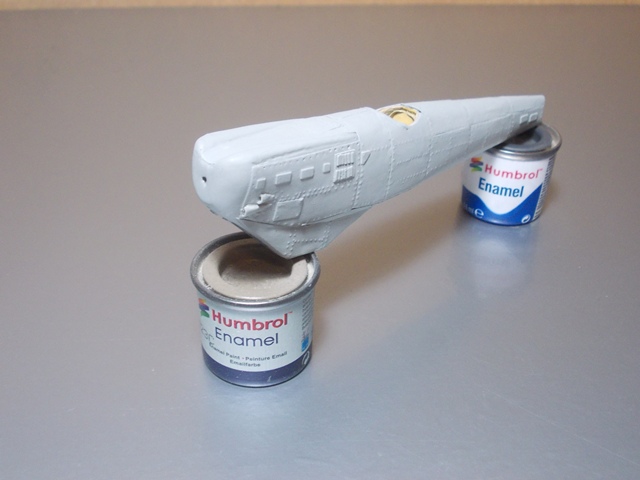
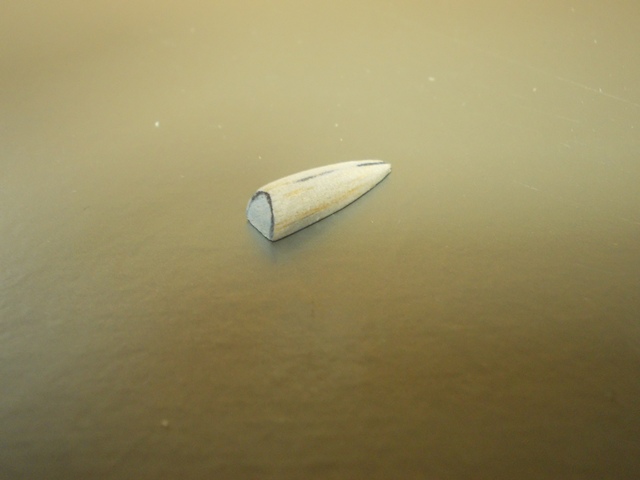
A head safety crash thingy (for want of a better word!!)...was made from Balsa and dry fitted to the fuselage next!
Next post ...The wings!
There has been a request that I might do a WIP on one of my scratch built models....so you can see how I go about it. I am not sure if this is the right section to put this on...I do hope so!
I have been scratch building now for a good few years and occasionally build a kit in between one of my projects....like the 1:20 scale B17G I am attempting to do. I use very basic materials ...Balsa wood ,yogurt pot plastic that I sometimes use in replacement to plastic card , annealed Coca Cola cans for the aluminum ,electrical wire ,cardboard ,paper etc etc...all basic stuff that I like to work with....never ever do I use after market stuff like PE...as that's got nothing to do with scratch building and besides I think that you could make most of the stuff your self and wouldn't cost the extortionate prices they charge!....but hey...that's my choice!
So normally I scratch build larger scale aircraft (1:20 scale ish!)...but sometimes I have a go at the smaller scales....I find that the smaller the scale the harder it is to fabricate so you will see some problems on the way with this WIP.
The methods you see me do here are the way that I scratch build....a lot of other modellers probably do it another way ...but I guess it really doesn't matter....besides lets face it ...there are no instructions to follow is there?
Any way I hope you find this WIP interesting...I do know that on these model forums it's not everybody's cup of tea but I hope it will be of some interest with you!
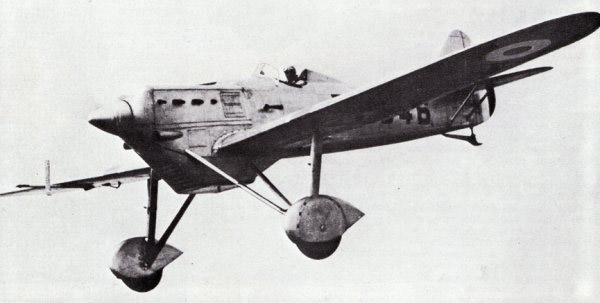
So to start .....here is the real Dewoitine D510...........
A wonderful "Retro" bird from the 30s..
I just love the shape of this bird!...kind of heavy chunky nose and large wing span...with an almost after thought of an undercarriage!....all this drew my attention and made me want to have a crack at it!
So here goes then...................
After not being very successful in finding any decent scale plans on the "ole" internet I came across a set that at least had a few formers to work with...although none for the wings!.....well I guess I will have to sort something out when the time comes to making the wings!
Here's the plans I am going to use pinned to the board......
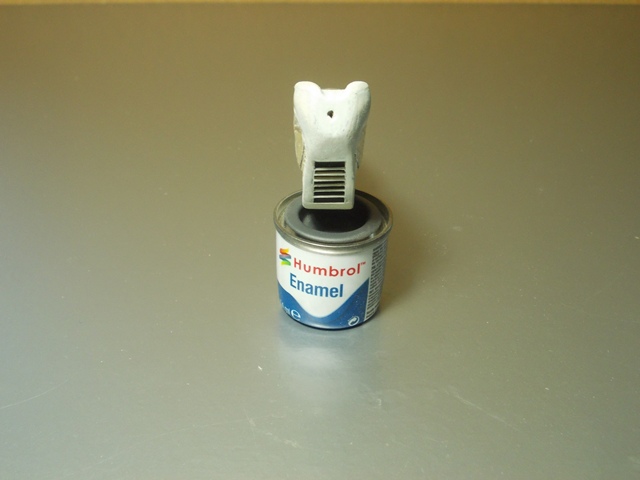
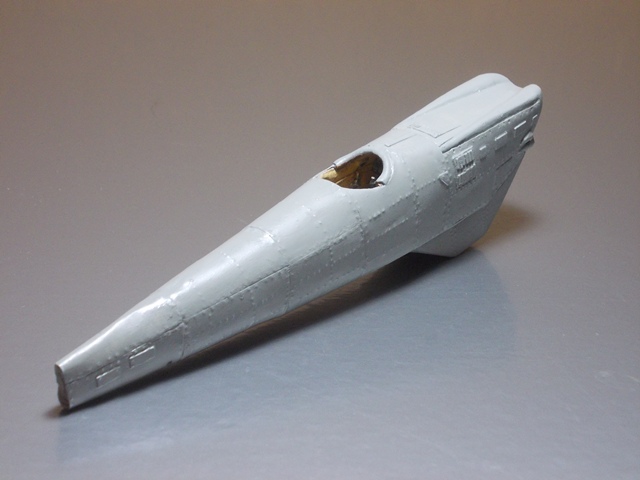
So first up was to construct the fuselage....because the plans are not that good I kind of made it up as I went along!....For this fuselage I used thin gauge hardwood for the formers,stringers and longeron. When that was set I filled in between the stringers with scrap balsa wood and when dry I sanded the balsa wood down to the hardwood stringers that then gave me the basic shape of the front end including the massive Radiator that just seems to be slung under the front nose!
Like so....
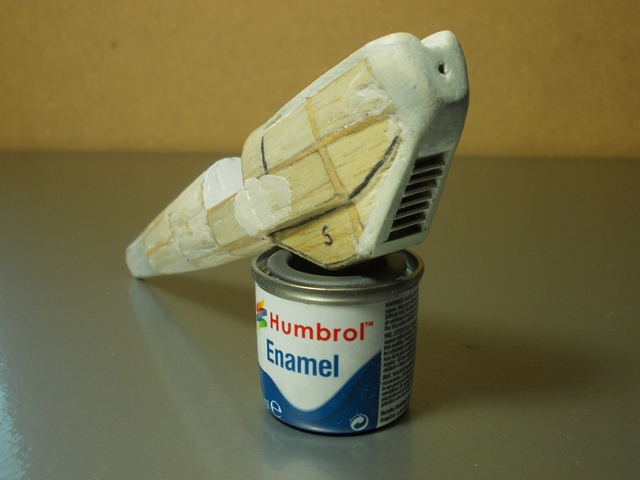
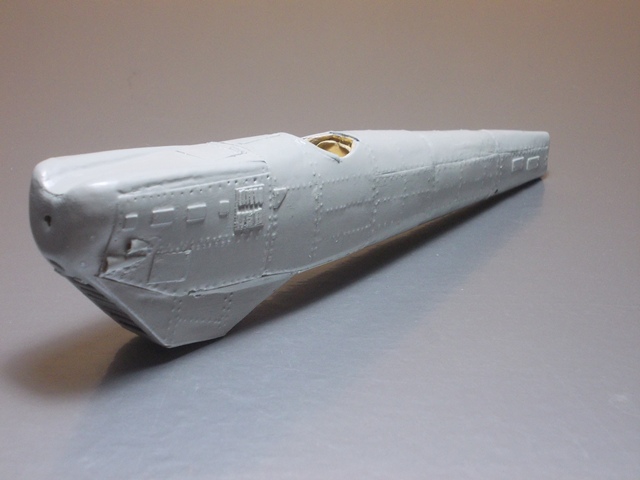
I then repeated the procedure for the tail......in this photo you can see the way I glue pieces of off cut balsa in between the stringers....looks a mess but I find it does the trick!
You can also see that there is a large gap half way up the fuselage?....well that is where the cockpit is and the reason there is this gap is so that I can reach inside with my pinkies to scratch some sort of cockpit!
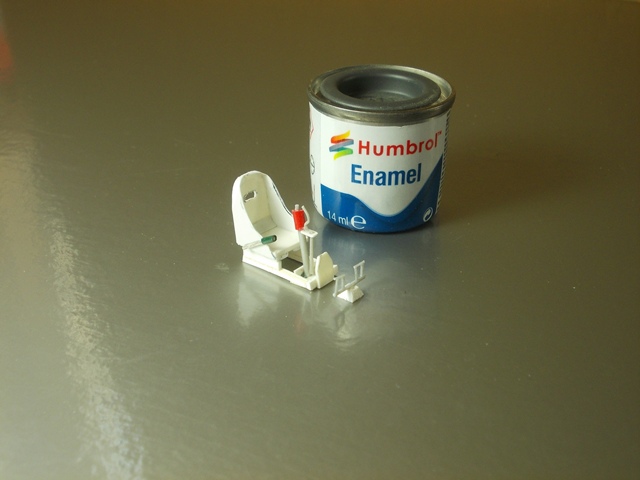
So have now sanded down the balsa to the formers to get the tail shape and given the whole fuselage a couple of white glue washes and then a few washes of Johnsons Klear to seal the wood ready for the next stage......oh...and I also tidied up the cockpit area and glued some plastic sheets on the walls and floor.
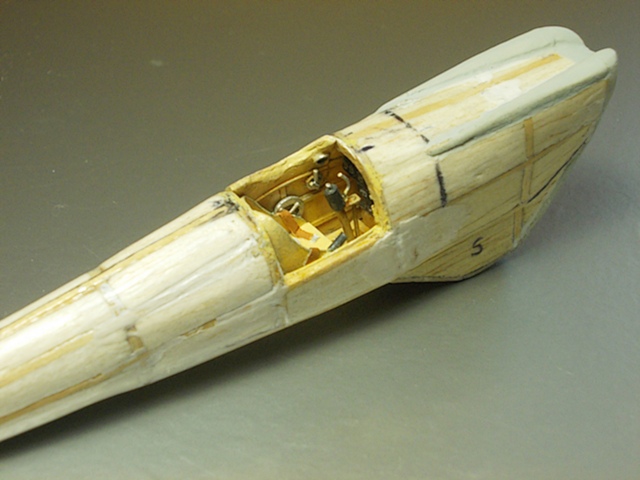
This next photo shows a couple of balsa panels I have made that will fill the cockpit sides at a later stage...
...and here they are dry fitted....
A head safety crash thingy (for want of a better word!!)...was made from Balsa and dry fitted to the fuselage next!
Next post ...The wings!