Page 2 of 5
Re: Airfix 1:144 Alitalia Boeing 727
Posted: February 8th, 2018, 10:25 am
by Tarkas
coptermech wrote:JamesPerrin wrote:Not a kit I've seen built before. Why didn't you use the kit windows and then fill the remaining gaps?
There are no clear windows with the kit. The openings are very small. The green decal runs the entire length of the fuselage right over the windows and doesn't have spots for windows. I suppose this is why window decals are supplied.
Could be worse. The old Airfix method of dealing with airliner windows in 1/144th scale was a real pain. They supplied clear plastic windows and the decal sheet included a full cheat line with no window holes in it. What you were supposed to do was paint the fuselage before assembling it, apply the cheat line decals and let them dry, and then punch window holes in them using a special little tool that was part of the kit. Once that was done (and assuming the cheat lines hadn't been torn to shreds as you punched put all the holes, you then added the windows from inside the fuselage and assembled it. How people coped with filling seams and the like, I don't know, nor what they were supposed to do with paint schemes like that of BOAC, where the cheat line wrapped around the nose.
I tried to do that for the first release of the Airfix Concorde kit, but gave up fairly soon and painted it as 002, the British prototype -- which the kit was based on, thereby being significantly different from both the pre-production and production aircraft. Never really worked out how to do the lettering along the fuselage because I didn't have access to generic letter decals and didn't know about Letraset, but it looked all right, especially alongside the 1/132 scale Tu-144 that I had (VEB Plasticart? Some Eastern European kitmaker, anyway).
Re: Airfix 1:144 Alitalia Boeing 727
Posted: February 8th, 2018, 12:05 pm
by Crashpilot
coptermech wrote:.............
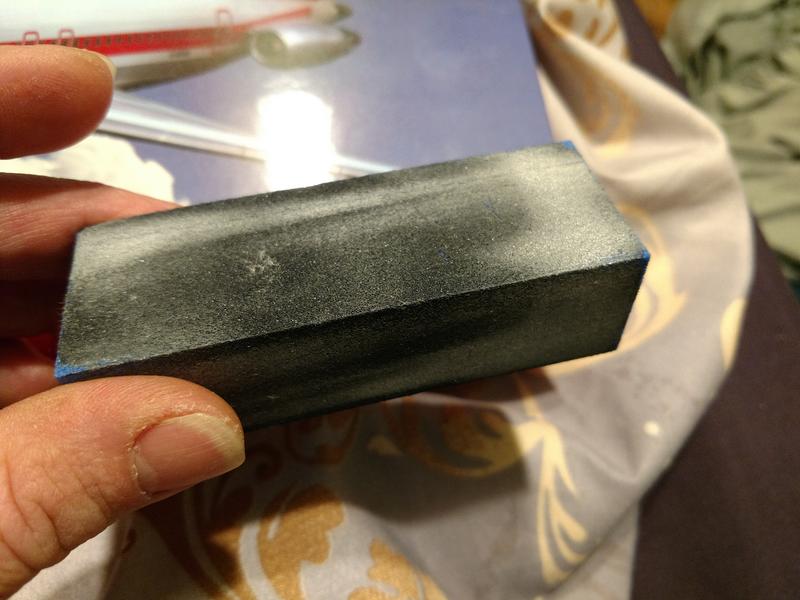
Was out with the wife and daughter, and they wanted to stop by a local beauty supply shop. So, as I was just sitting there while they were shopping, I noticed this and picked one up. It's a soft foam sanding block used for fingernails, but it worked perfectly sanding down the fuselage. It conformed very nicely to the contours. I'll have to go back and pick up different grits.
Ha, that´s how my buddies from my modelling club do it, too!
"No, darling, I don´t mind coming to the beauty supply shop with you, it´s not a bore at all, you know, they really have some interesting stuff for me there

!"
Re: Airfix 1:144 Alitalia Boeing 727
Posted: February 8th, 2018, 12:18 pm
by Kitaholic
I use a similar thing from Boots, 4 grades on one block for £2. Can use them wet and they're washable too
Re: Airfix 1:144 Alitalia Boeing 727
Posted: February 11th, 2018, 1:14 am
by coptermech
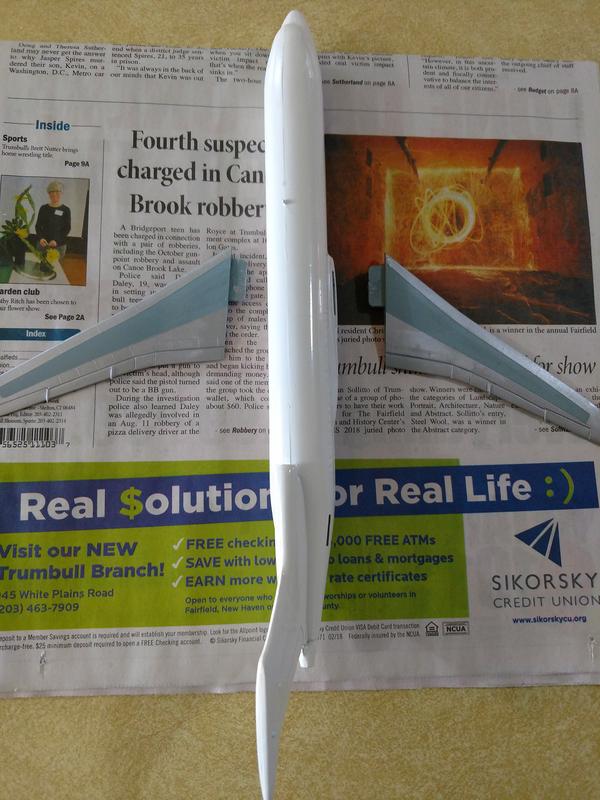
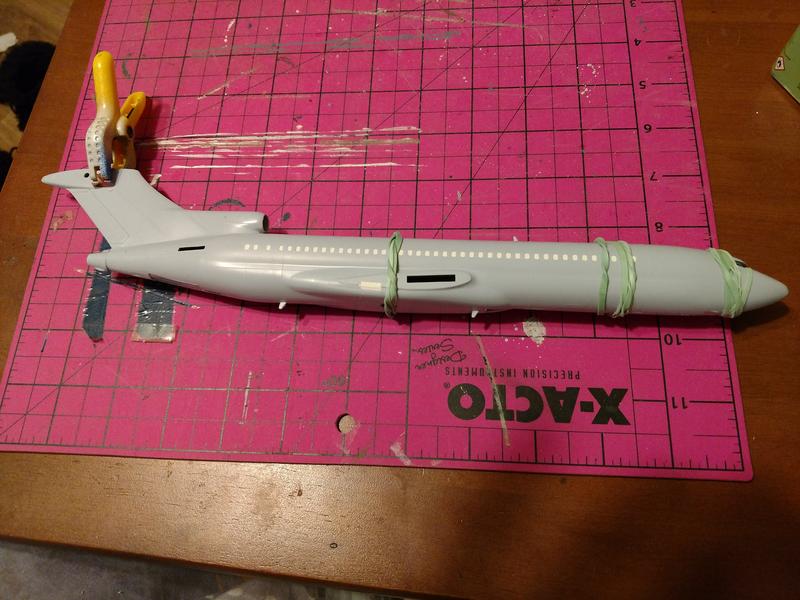
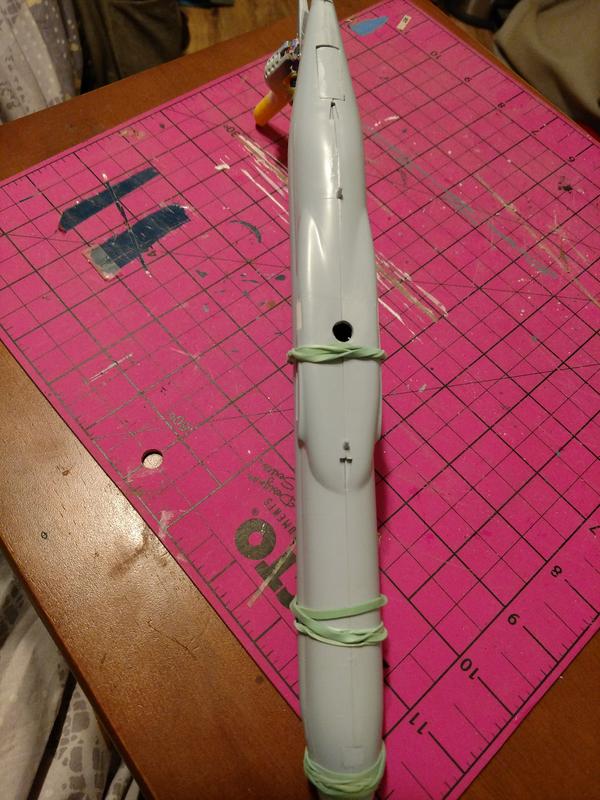
A bit more progress. The fuselage is assembled and drying. I've decided to do this in flight, so a bit of work to close up the wheel wells and air stair door. Once everything is dry, I'll fill in and sand down the gear door and air stair. Otherwise, aside from cleaning up the seams, it doesn't look like any other filler is needed.
I've also made a hole to fit a threaded bushing into so I can mount this to a base later on.
Re: Airfix 1:144 Alitalia Boeing 727
Posted: February 11th, 2018, 12:05 pm
by Dazzled
Crashpilot wrote:coptermech wrote:.............
Was out with the wife and daughter, and they wanted to stop by a local beauty supply shop. So, as I was just sitting there while they were shopping, I noticed this and picked one up. It's a soft foam sanding block used for fingernails, but it worked perfectly sanding down the fuselage. It conformed very nicely to the contours. I'll have to go back and pick up different grits.
Ha, that´s how my buddies from my modelling club do it, too!
"No, darling, I don´t mind coming to the beauty supply shop with you, it´s not a bore at all, you know, they really have some interesting stuff for me there
!"
Mrs Dazzled picked up a pack of these sanding blocks from a pound shop in Telford because she thought "they might be useful for me".
I think she's a keeper

Re: Airfix 1:144 Alitalia Boeing 727
Posted: February 13th, 2018, 7:52 pm
by coptermech
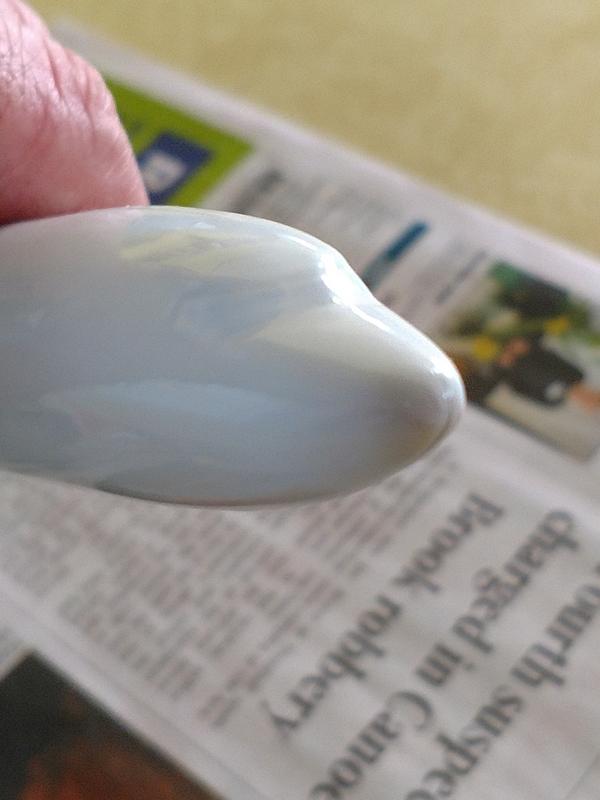
Small speed bump with some paint....the gray I used on the wings didn't come out well. So, a chance for me to try out removing it with oven cleaner.
Re: Airfix 1:144 Alitalia Boeing 727
Posted: February 17th, 2018, 4:48 pm
by coptermech
Re: Airfix 1:144 Alitalia Boeing 727
Posted: February 18th, 2018, 7:28 pm
by coptermech
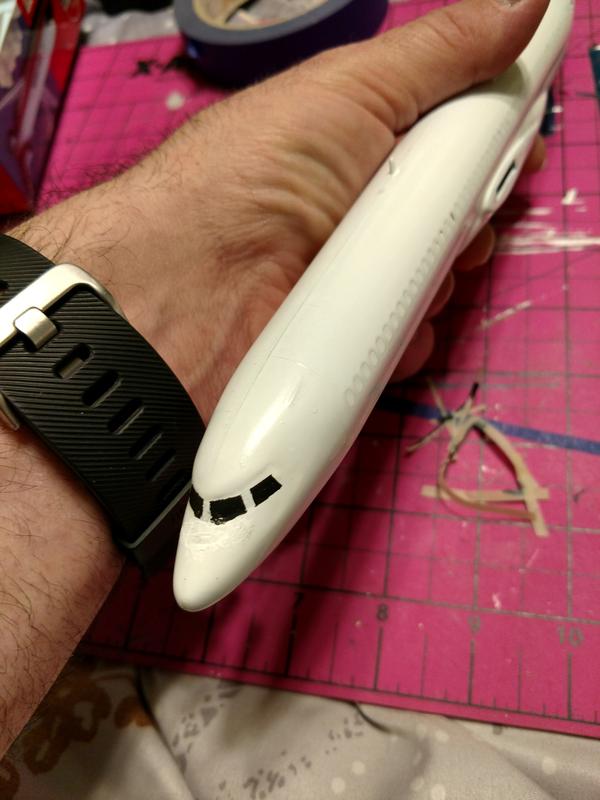
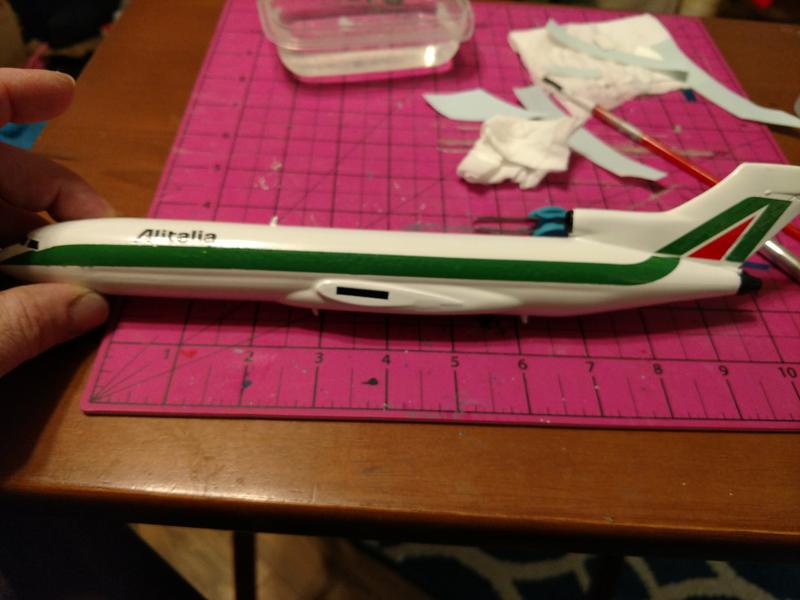
Cockpit windows painted on. Ready to start decals on this later.
Re: Airfix 1:144 Alitalia Boeing 727
Posted: February 18th, 2018, 8:55 pm
by coptermech
First set of decals on. Behaving so far.
Re: Airfix 1:144 Alitalia Boeing 727
Posted: February 18th, 2018, 10:05 pm
by PTB11
Very nice work so far, Tony.
Re: Airfix 1:144 Alitalia Boeing 727
Posted: February 18th, 2018, 10:19 pm
by iggie
Nice! I always liked the old Alitalia schemes; colourful but striking as well
Re: Airfix 1:144 Alitalia Boeing 727
Posted: February 18th, 2018, 10:38 pm
by coptermech
Thanks for the comments!!
Re: Airfix 1:144 Alitalia Boeing 727
Posted: February 18th, 2018, 10:40 pm
by coptermech
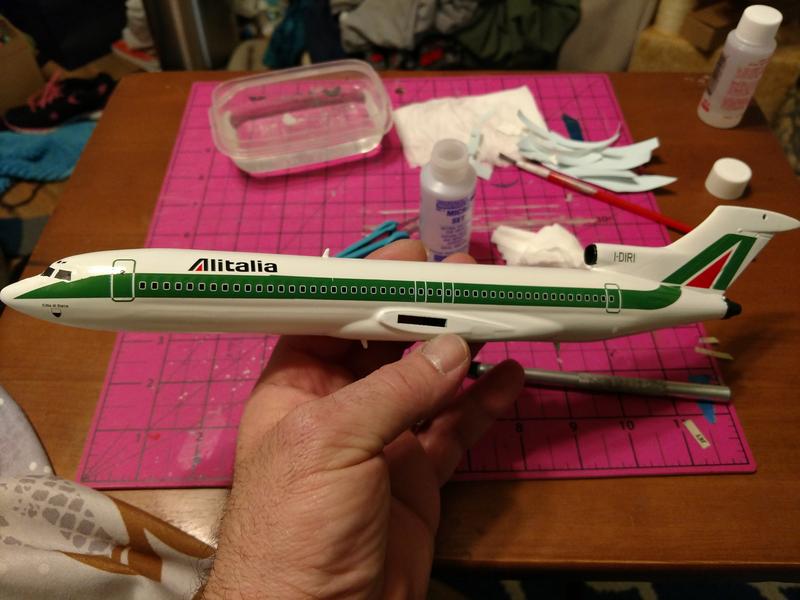
First side decals all done. I'll do the other side tommorow after they've set up.
Re: Airfix 1:144 Alitalia Boeing 727
Posted: February 18th, 2018, 11:57 pm
by coptermech
Another shot with the wing in place. It's not fastened in yet. I'll do that at the end. They are a nice tight fit, and it's easier to decal without them in the way.
Re: Airfix 1:144 Alitalia Boeing 727
Posted: February 19th, 2018, 3:16 am
by Clashcityrocker
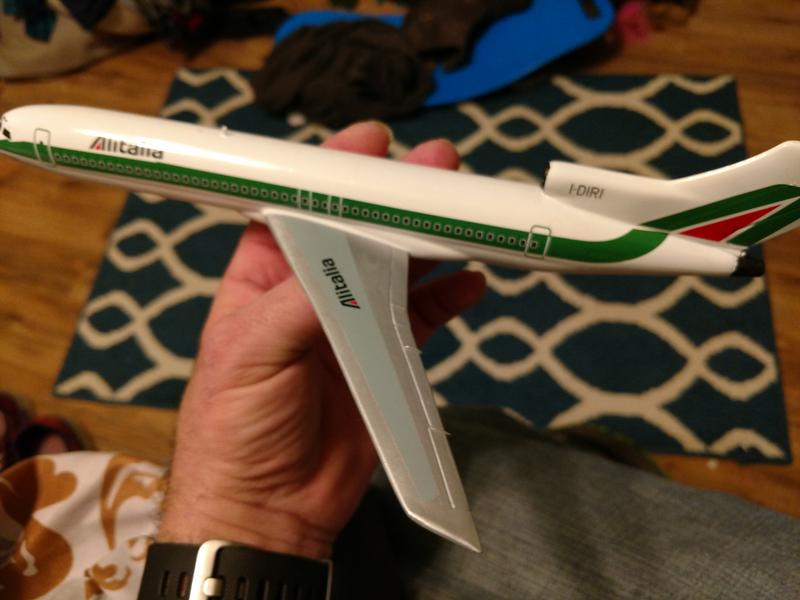
That's coming together nicely. Great decals.
Nigel