Airfix 1/72 Lysander conversion to a P.12 tandem
Posted: February 8th, 2018, 6:11 am
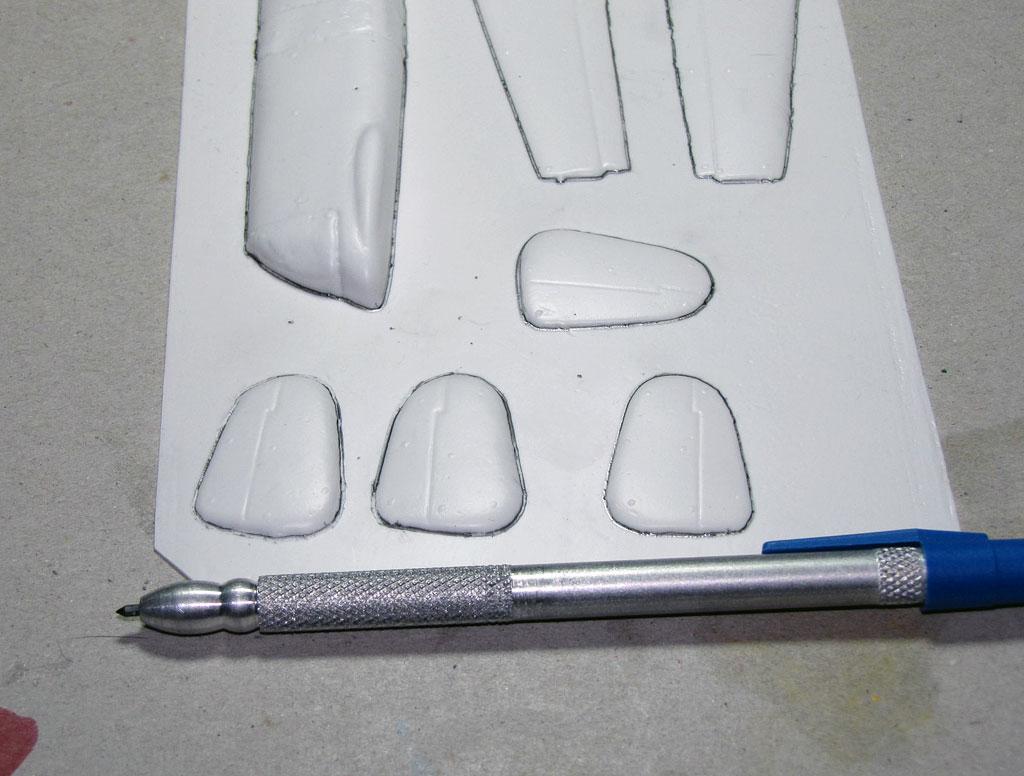
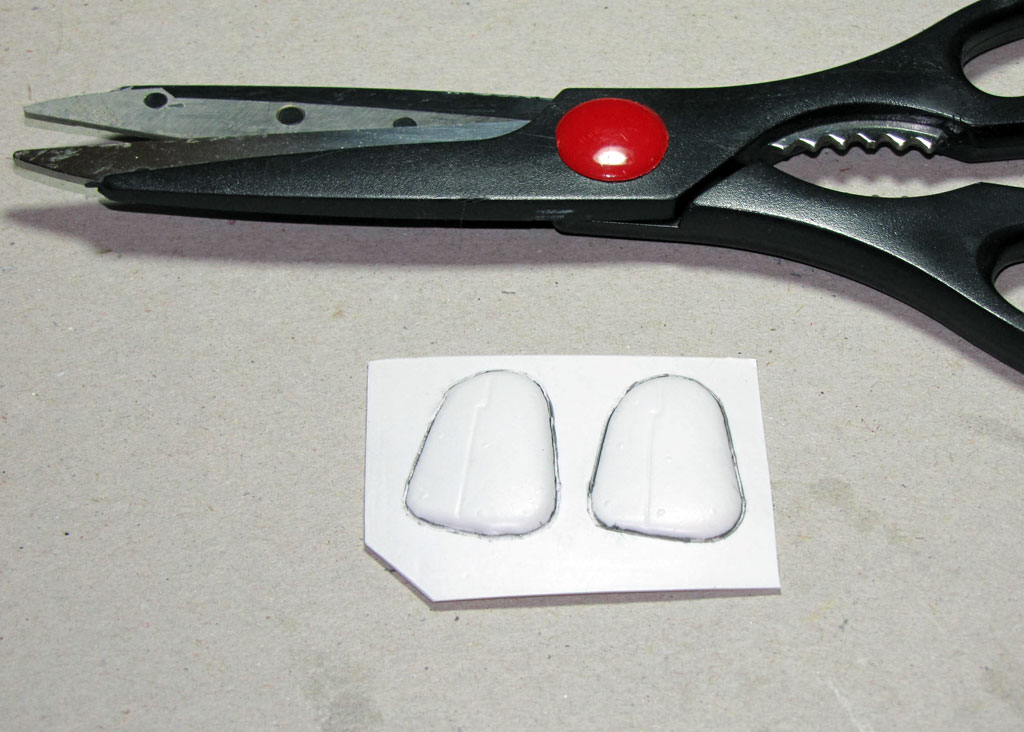
Here's a project I hope to start in the very near future. It will be the first time I have dealt with vacuformed plastic parts (let alone mating them to a normal injection-molded kit). I do this to learn what I am getting into when I plane to do a vacuformed 1/72 Martin P6M Sea Master. 
What I hope to build is a Lysander P.12 (aka: Westland Wendover) with the Delanne tandem wing. This is a very odd looking aircraft which was designed for beach strafing should the Germans land on the coasts of England. Here's a pic of the real beast in flight:
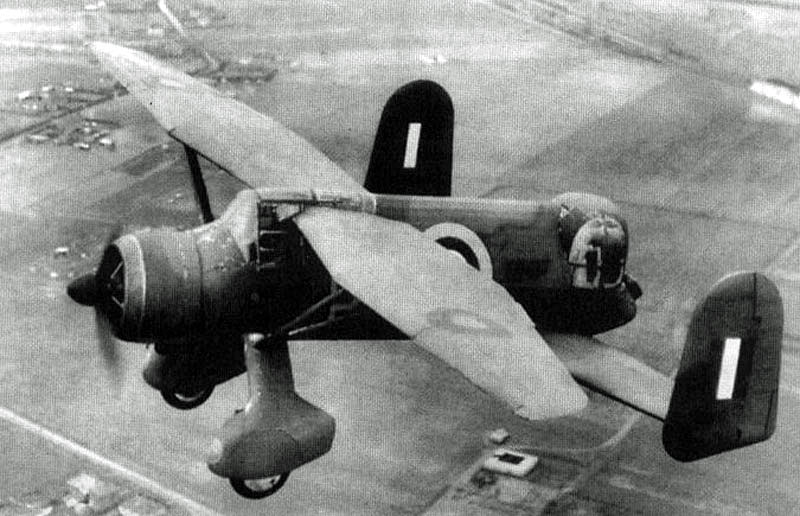
By most accounts it was easy to fly and would serve as quite a stable gun platform. Speaking of which, the rear turret of the prototype, which was never equipped with guns, used a Nash & Thompson powered turret for testing. Had the aircraft gone into production, it would have been equipped with four .303 Browning machine guns. It was also considered that it would be a good idea to mount two 20mm cannons on the main landing gear fairings for ground attack (one gun to each wheel fairing).
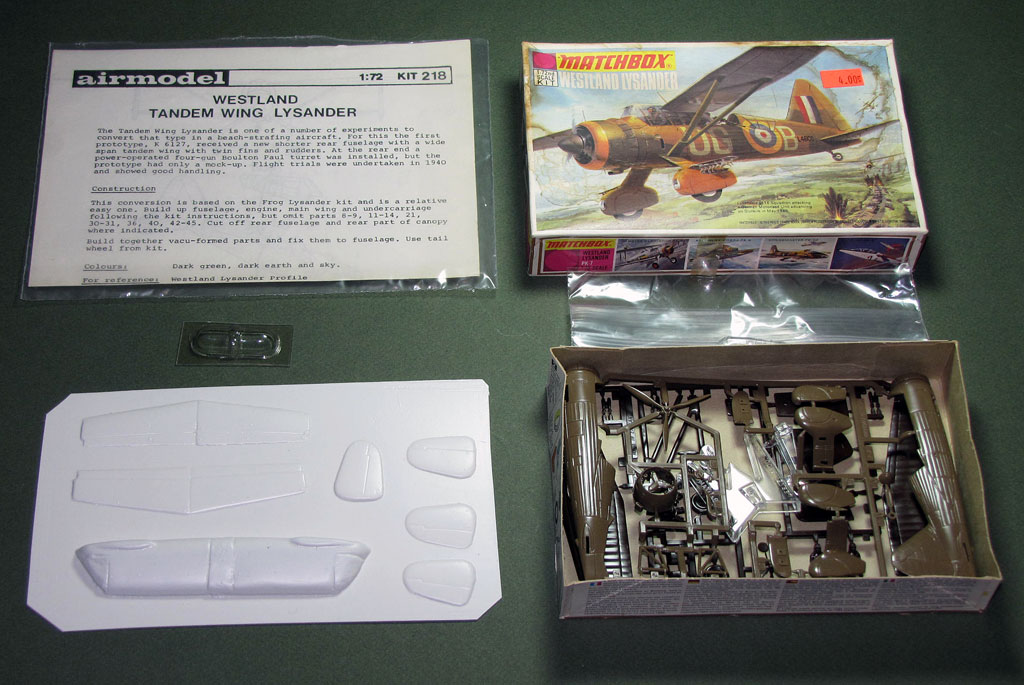
First I had to find a 1/72 Lysander model. Cheap. I say this as I didn't want to booger-up an expensive model for a project the likes I've not done before. I thought it would be easy. Well, that was wrong and not even close! I went to all my usual model kit haunts to no avail. Kits were either long gone or, if in stock, expensive (@ $20.00 USD). So I was feeling a bit let down by the time I posted "need" here on the forum. I was really happy, and I mean REALLY HAPPY, when a few members offered me a kit from their stashes. That was really awesome of you all and you have my sincere thanks. The kit I did receive was from mod and fellow forumite, Jeff S.
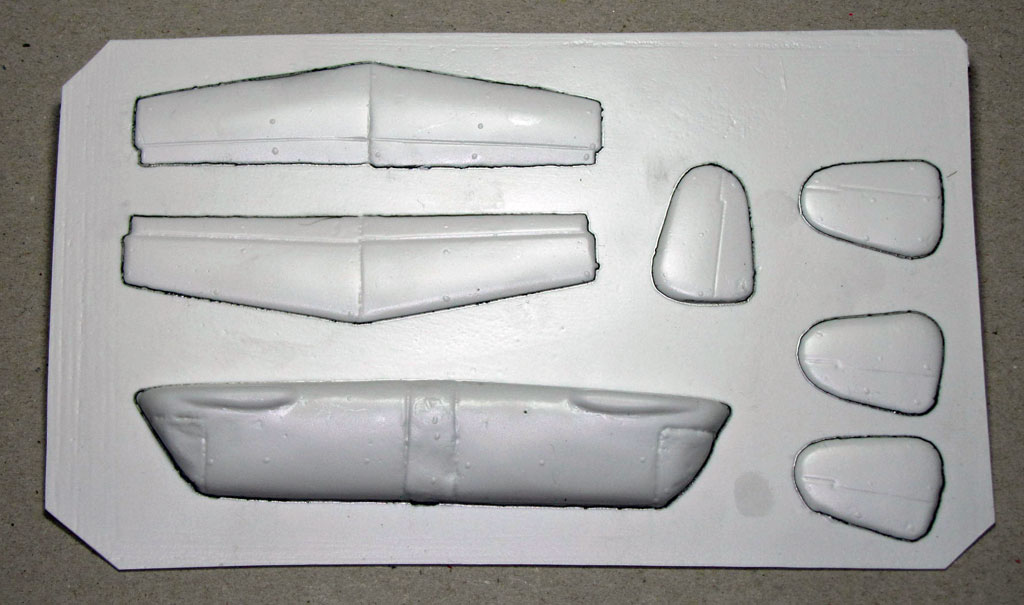
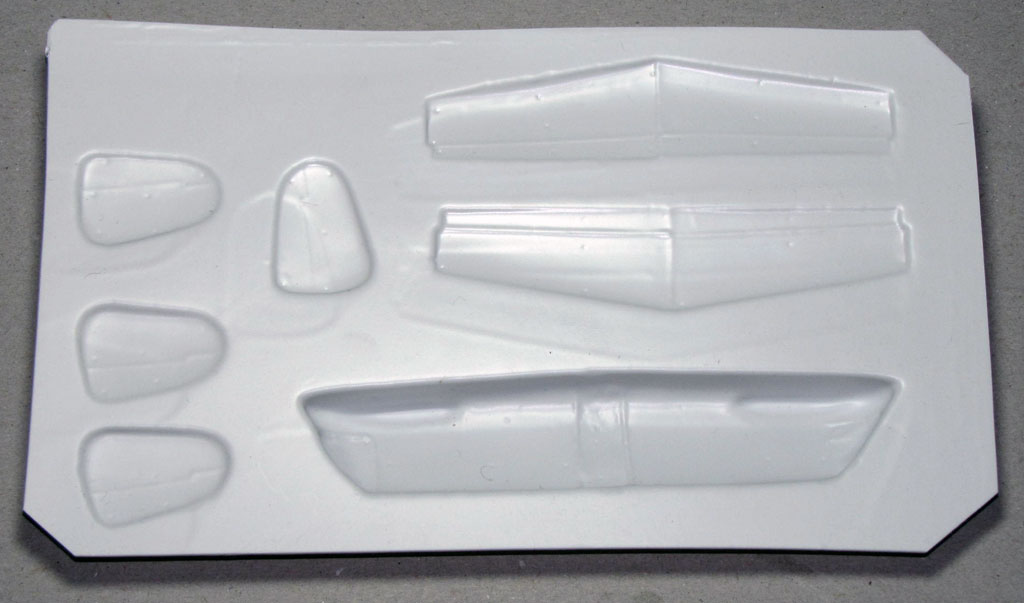
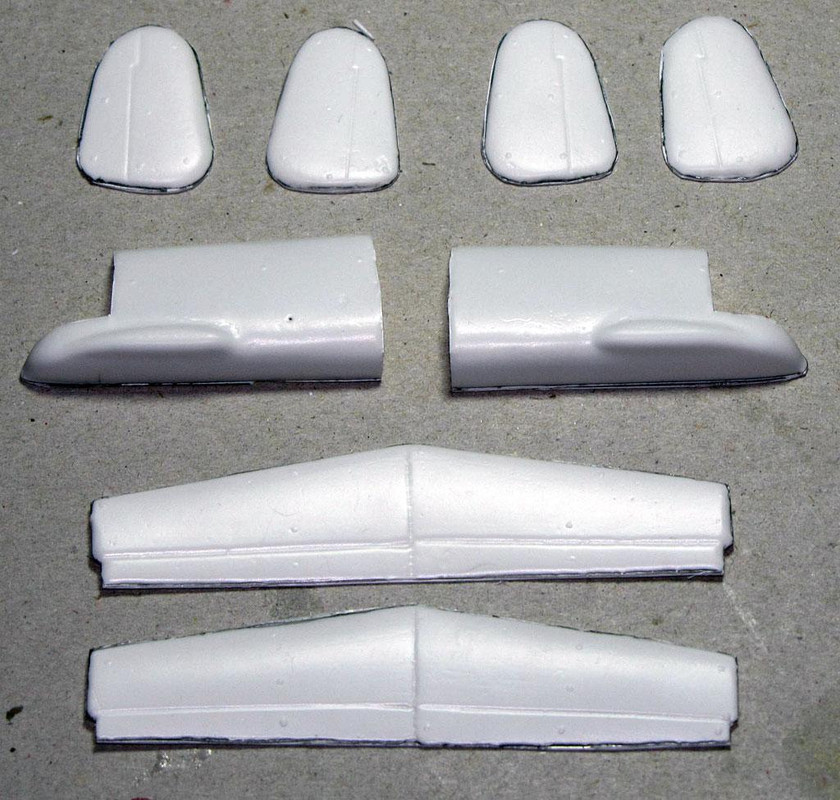
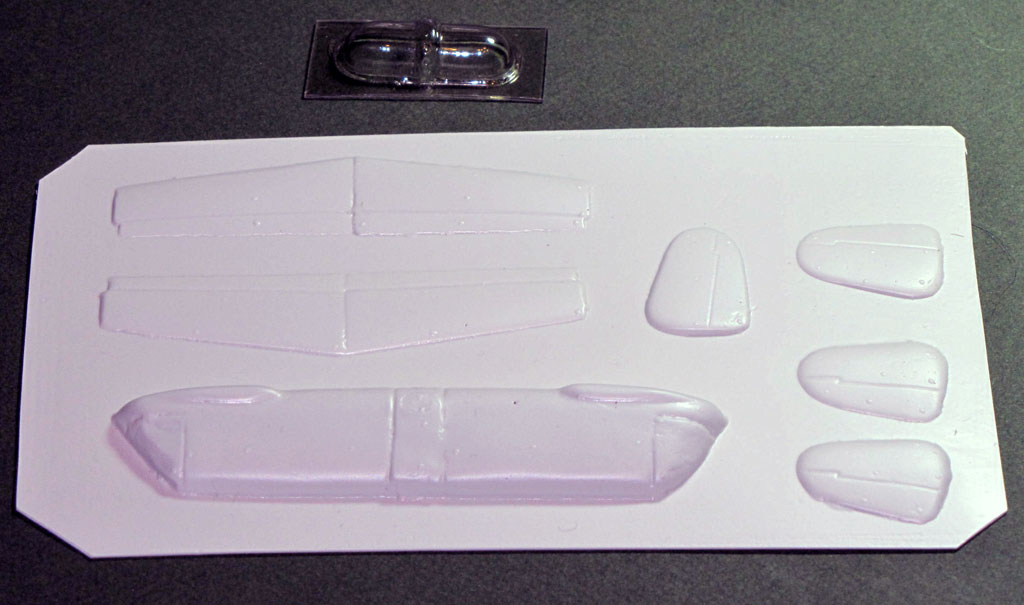
The easy part, surprisingly was getting the vacuformed conversion kit. I got it on Ebay for around $7.00 USD.
Then came the search for paint in the RAF Prototype Yellow color. I was able to get that from Sprue Brothers with little trouble. So everything is now in place to start working of this unusual aircraft.
Here are some pics of the kits I have to work with:
Decals were the last hurdle to overcome. I went through my entire box of extra decals and found enough to complete the model (I'm pretty sure). I even have some of the prototype circle-P decals! I don't think they are exactly right for the scale of the model, but I think they will be close.
This will be on ongoing build as I need to find time to work on it along with online research in how to build vacuformed plastic kits. I'm also going to try a Blitzbau build so it is a month of firsts for me. Please feel free to chime in anytime with observations, ideas, or hints on how best to do this. That SeaMaster model is sitting in its box in the corner of my office and I can almost hear it laughing at me.
What I hope to build is a Lysander P.12 (aka: Westland Wendover) with the Delanne tandem wing. This is a very odd looking aircraft which was designed for beach strafing should the Germans land on the coasts of England. Here's a pic of the real beast in flight:
By most accounts it was easy to fly and would serve as quite a stable gun platform. Speaking of which, the rear turret of the prototype, which was never equipped with guns, used a Nash & Thompson powered turret for testing. Had the aircraft gone into production, it would have been equipped with four .303 Browning machine guns. It was also considered that it would be a good idea to mount two 20mm cannons on the main landing gear fairings for ground attack (one gun to each wheel fairing).
First I had to find a 1/72 Lysander model. Cheap. I say this as I didn't want to booger-up an expensive model for a project the likes I've not done before. I thought it would be easy. Well, that was wrong and not even close! I went to all my usual model kit haunts to no avail. Kits were either long gone or, if in stock, expensive (@ $20.00 USD). So I was feeling a bit let down by the time I posted "need" here on the forum. I was really happy, and I mean REALLY HAPPY, when a few members offered me a kit from their stashes. That was really awesome of you all and you have my sincere thanks.
The easy part, surprisingly was getting the vacuformed conversion kit. I got it on Ebay for around $7.00 USD.
Then came the search for paint in the RAF Prototype Yellow color. I was able to get that from Sprue Brothers with little trouble. So everything is now in place to start working of this unusual aircraft.
Here are some pics of the kits I have to work with:
Decals were the last hurdle to overcome. I went through my entire box of extra decals and found enough to complete the model (I'm pretty sure). I even have some of the prototype circle-P decals! I don't think they are exactly right for the scale of the model, but I think they will be close.
This will be on ongoing build as I need to find time to work on it along with online research in how to build vacuformed plastic kits.