I haven't posted a WIP before of this B17G build ...so I thought I would give it a go and see if any one is interested!
After a break from this build I now think its time I got back to the task in hand ......and that is to continue with this beast!
It was good to put this B17G down for a bit and have a go at something else but there is so much to do with this project that I am now ready and sort of focused to continue!
For those of you that have seen the photos of this build...here is a recap..you know that I started with......
Phase 1.....Nose section back to the top turret
Phase 2.....Bomb bay

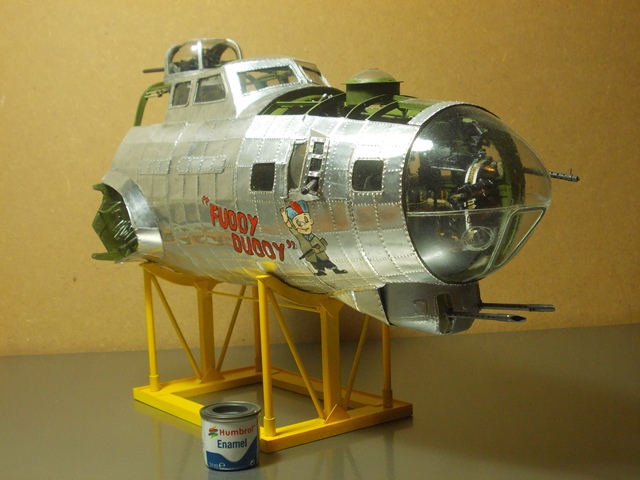
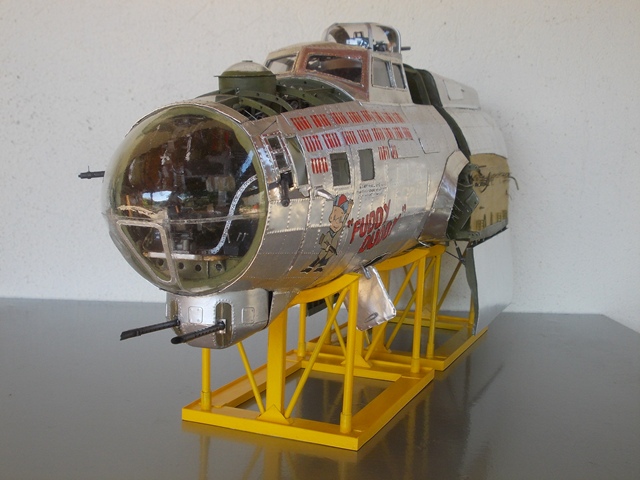
So now we have nearly half the Fuselage complete.........
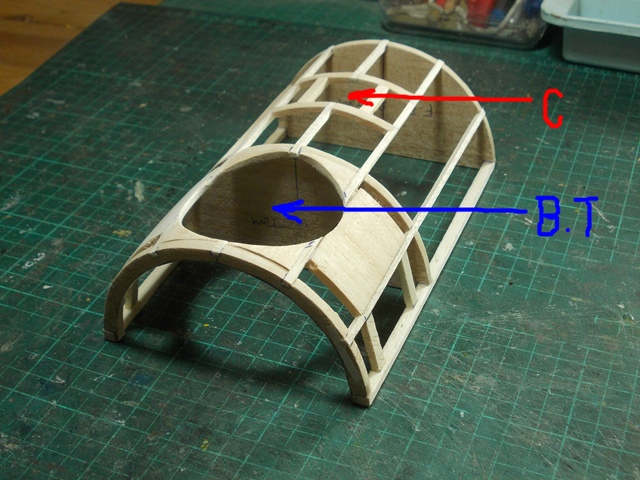
...and so its on with phase 3.....the radio room/ball turret station.
As usual its going to take weeks to finish this phase and I will be using the same building method and materials as before...IE scraps of this and that!. Onto the first photo then..........
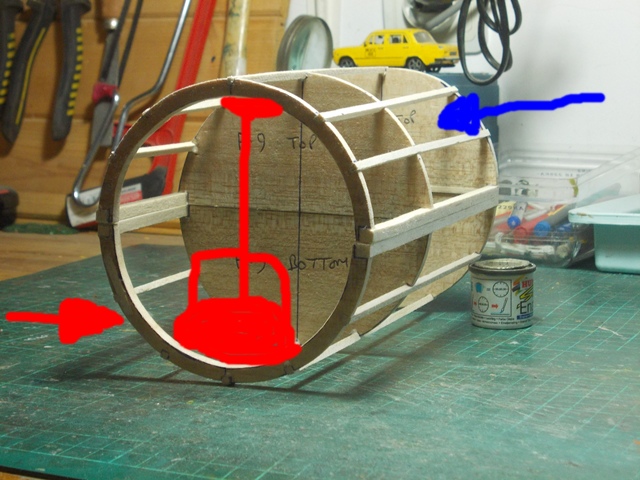
Here we have the scaled up 1:20 scale plans pinned to the building board and the red circle shows the area I will be constructing (Radio room) and the blue cross depicts the position of the ball turret......
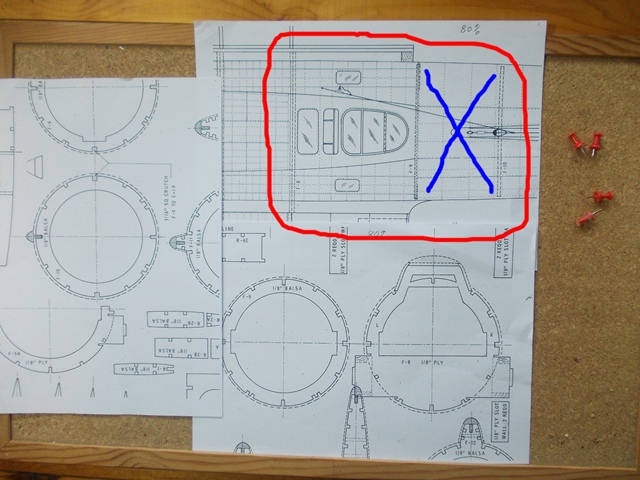
At first ,my idea was just to build the radio room but for displaying purposes it will be better to tag the ball turret to the rear of the radio room bulk head. I will need to construct "an open top" of the radio room so you can see all the detail...as I did with the cockpit in phase 1...not sure how to do this but will work it out when I get to that point!!
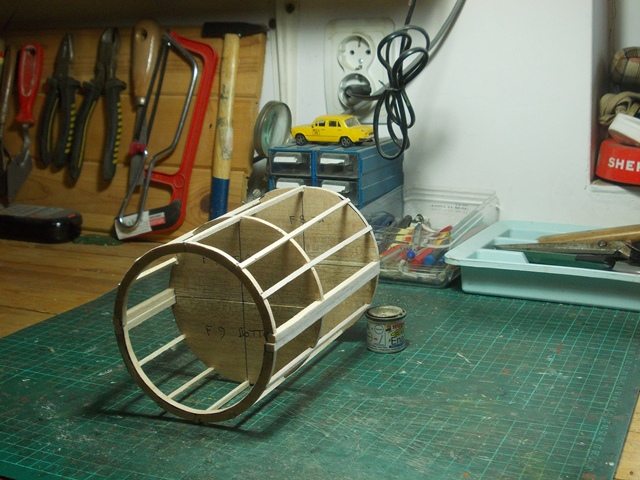
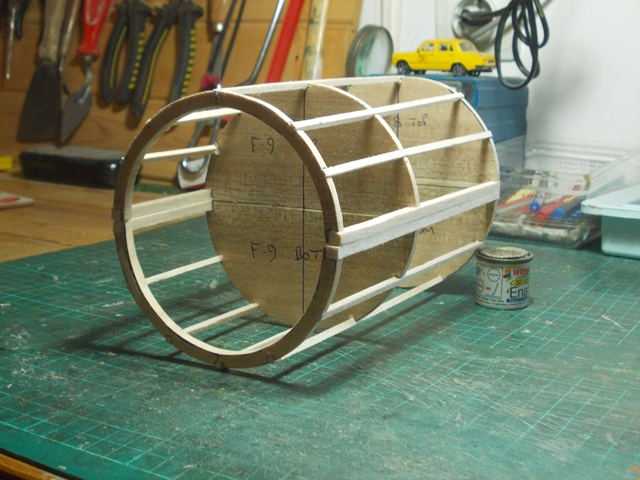
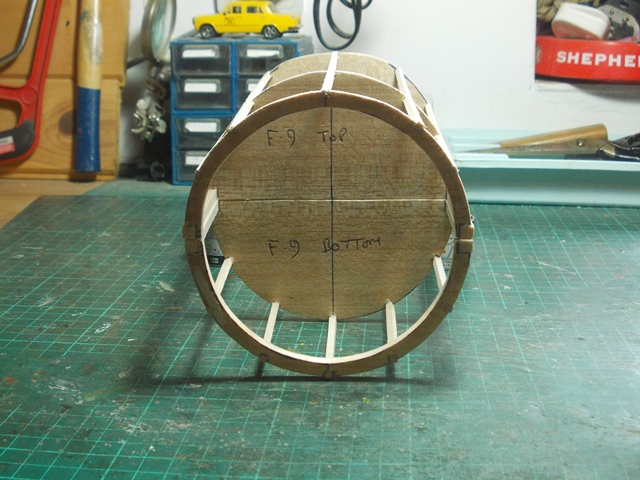
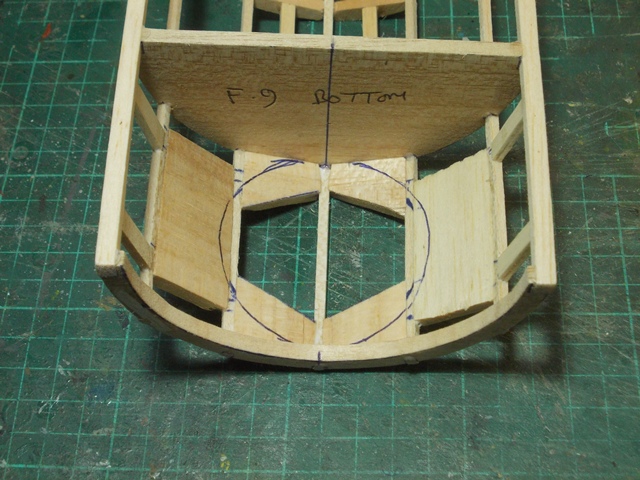
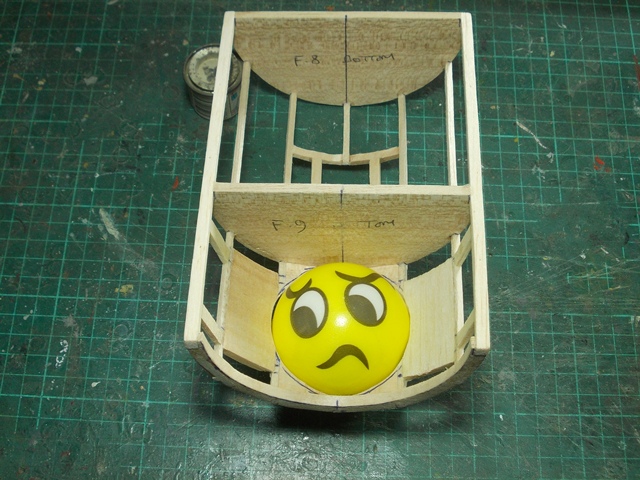
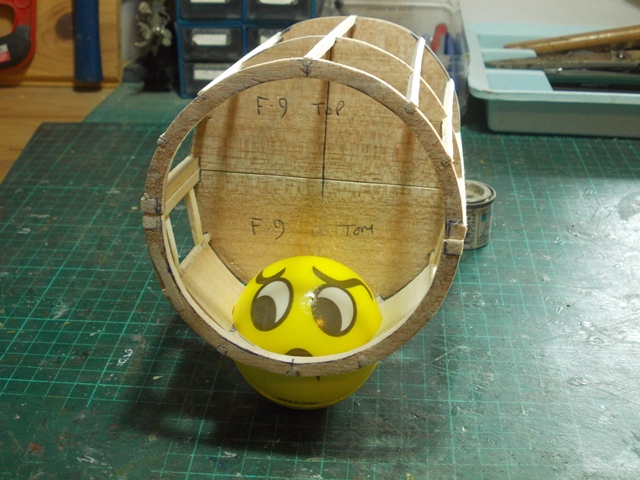
So former's were made for the bulk heads and marked out on a sheet of 5mm balsa wood....only 3 bulk heads for this phase!
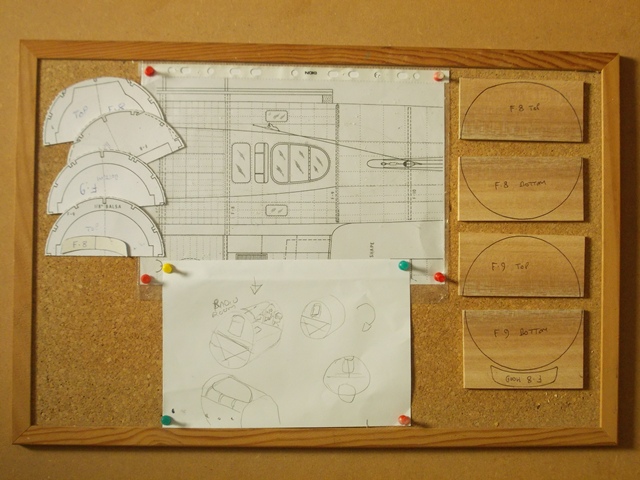
Here they are all cut out ready....
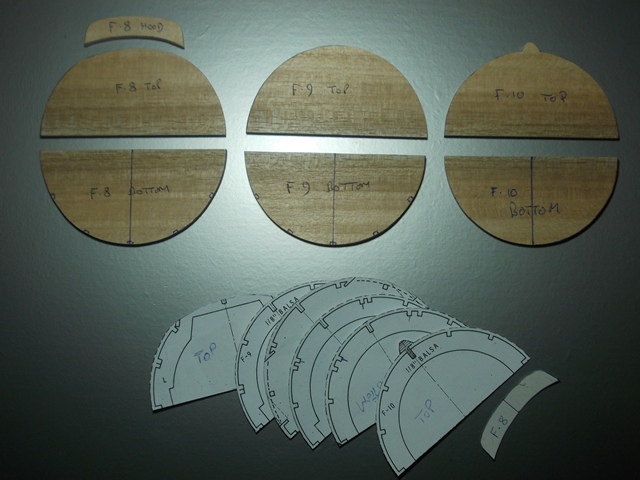
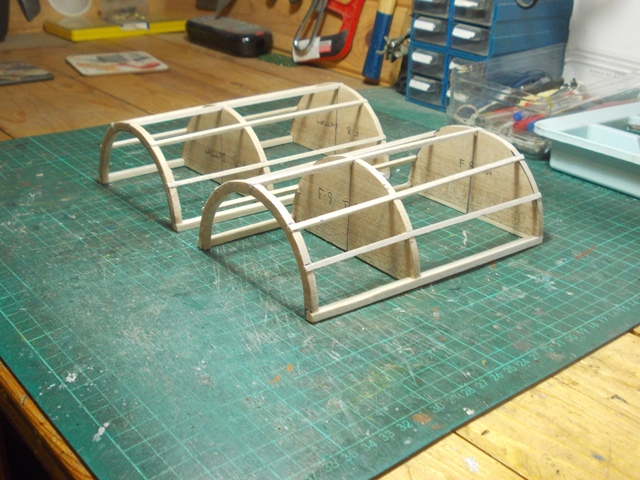
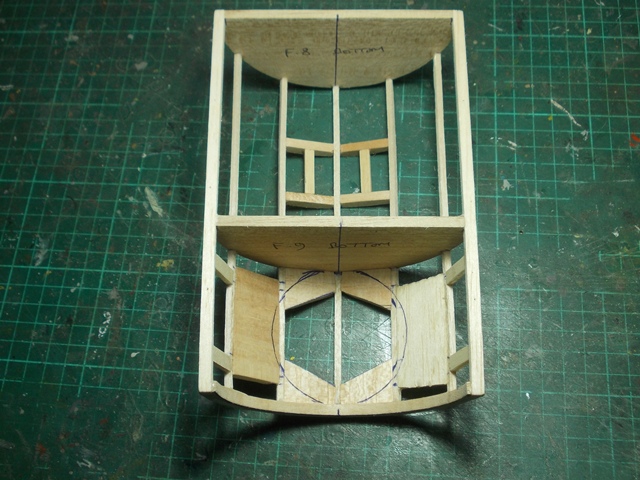
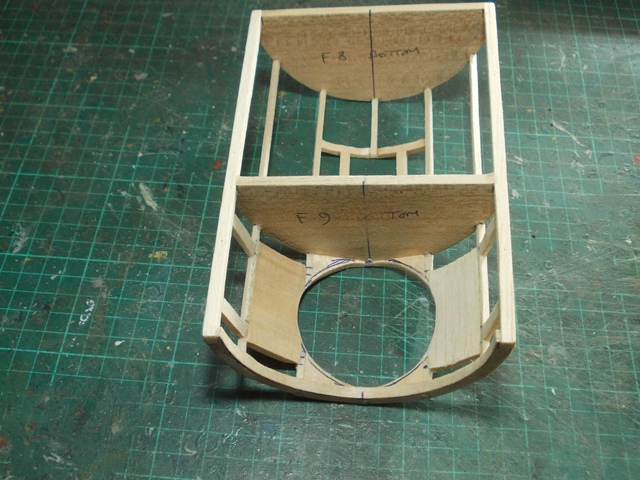
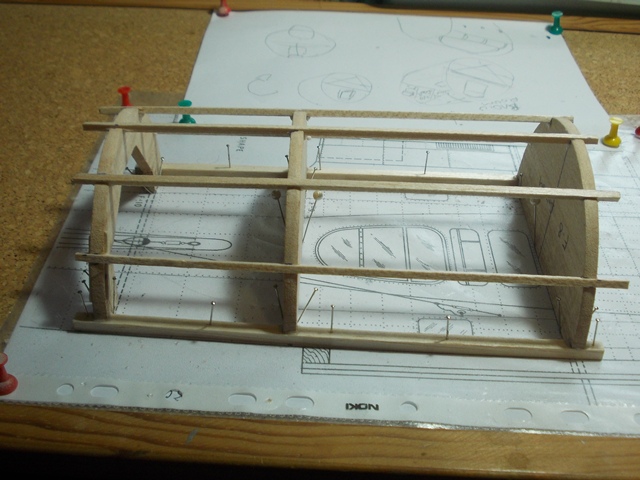
I am going to build this section as I did in phase 1 and 2....in two halves.
Starting with the lower half here are the former's and stringers in place....
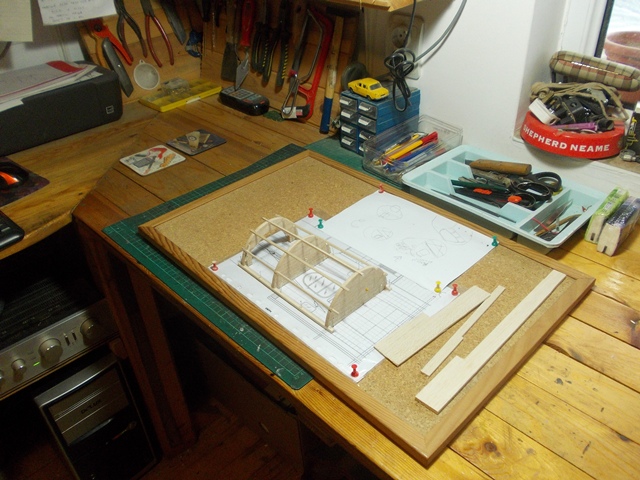
So that is as far as I have got at the moment.
I do hope that this continued build will give interest to some of you as I do know that its predominately kit builds here;)
Until the next post....of many I fear!
Cheers
Fozzy