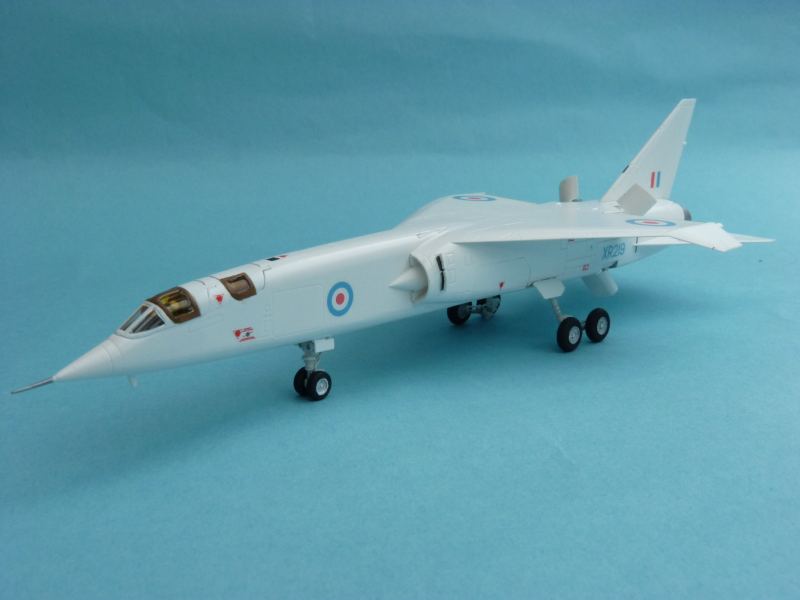
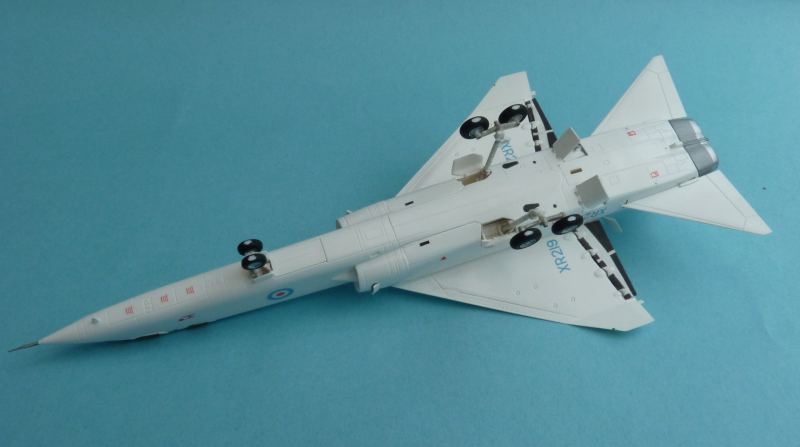
One thing I wanted to do was to represent the a/c as it flew and not as a museum piece. In the main this meant that most of the undercarriage doors that are displayed open on the surviving airframes were closedd shut. Yes that excluded a lot of nice detail but is shouldn't actually be visible. Also the bomb bay was closed up too, this was the only place filler was really needed as the doors slightly sunk along the join line. Some support from the inside would have remedied this.
When the a/c was taxiing on the ground the aux air ducts on the side of the intakes were open. I decided to add these right at the end of the build and so rather than try cutting them out I painted the 'openings' black and simply glue card doors to the outside. I don't think the airbrakes were used in landing but I allowed myself to have them open for dramatic effect.
The model was painted with Halfords white primer and appliance white. This is about the whitest white you can get and even Citadel Skull White looks creamy in comparison. I found a good match though, of all things, was Humbrol Acrylic Satin White 130. I had a small pot from a starter kit and this was handy for touching up and painting those aux doors.
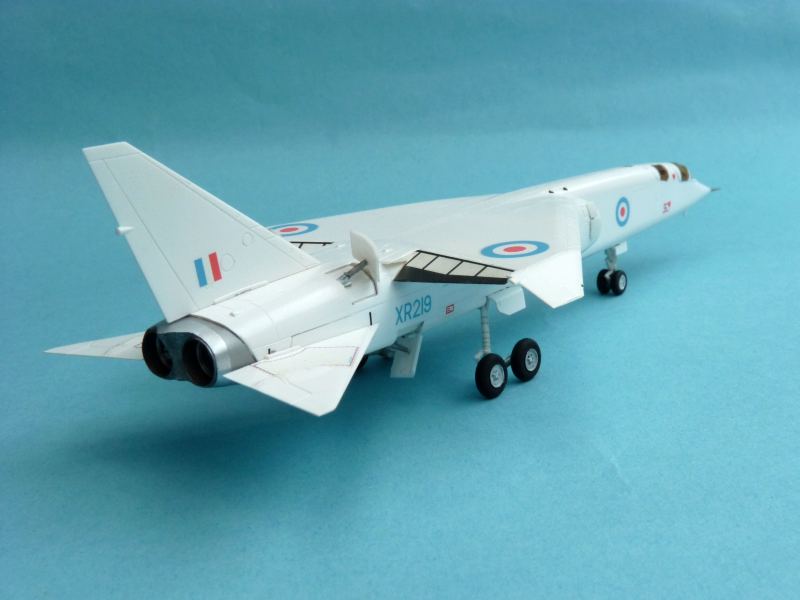
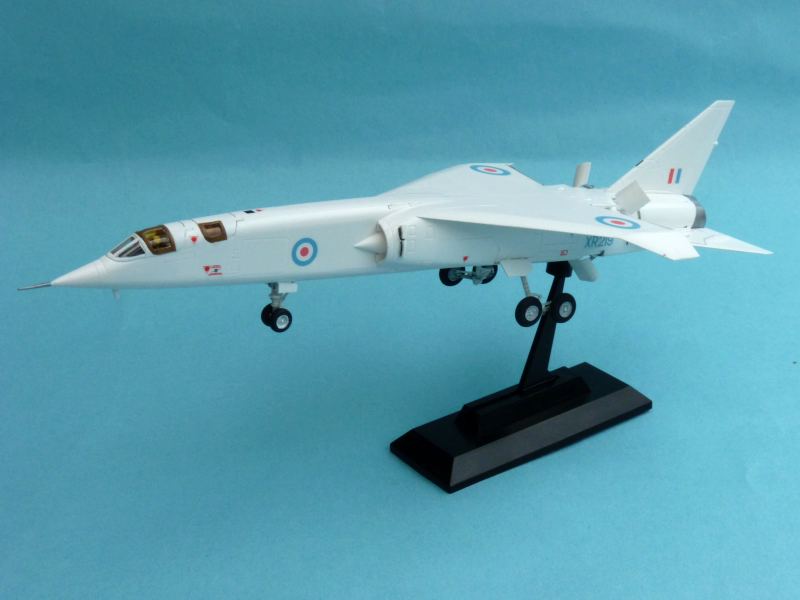
I started this kit last year on holiday and got most of it completed by October. Then SMW happened and I didn't touch it again till a week or so ago when I sprayed the brown canopy and had a very pleasant time decalling and building up the undercarriage. Unfortunately though I had a complete disaster, when trying to paint the exhaust with Alclad II, twice! I made the mistake of using gloss black enamel as an undercoat. Firstly this is only needed for Chrome where I've had not problems however the Aluminium just ate straight through it. The second time my airbrush needle had jammed open and I hosed the thing down with solvent which ate the plastic and required my to coat the whole part in Mr Surfacer and sand back to smooth surface. This has had the side effect of shrinking the part so it doesn't quite match up with the rear fuselage
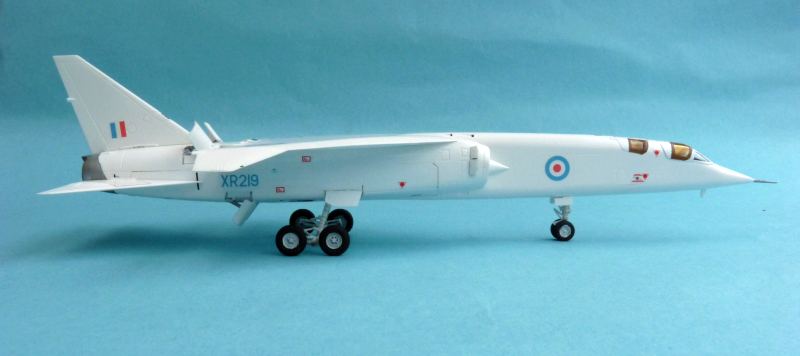
The finished model looks stunning and beautifully captures the look of the a/c. The included stand lets you pose it on final approach. I had considered modding the bogies to dangle like the real a/c but would have limited by display options to the stand.
Unfortunately today was rather overcast so I may redo these photos at later date.

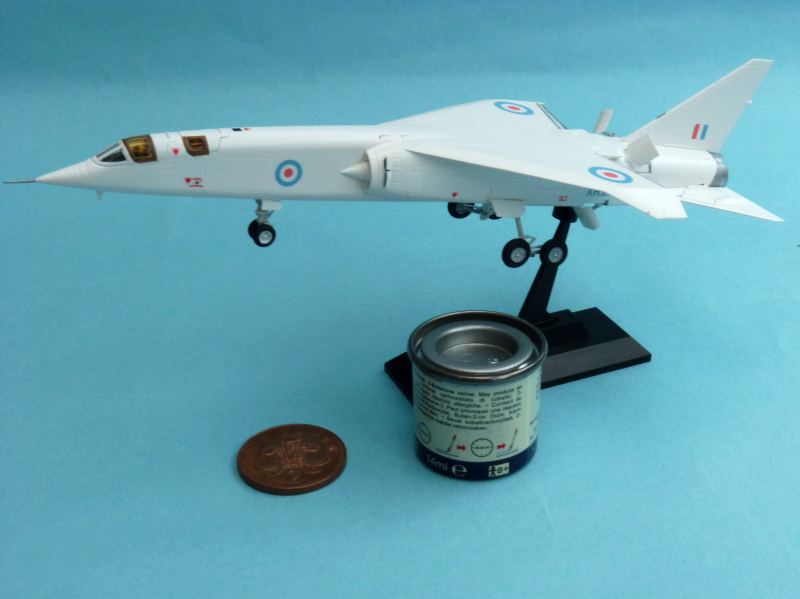
BTW a 2pence piece is exactly the same size as a Humbrol paint lid!