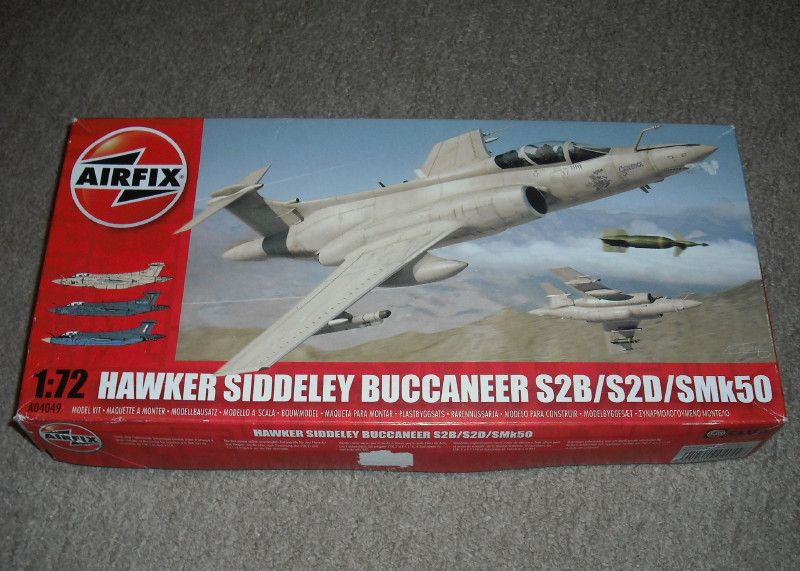
Well, the Girlfriend bought me this for Christmas, so I thought I ought to build it.
Initially I wanted to do the version depicted in the box art, but then I realised that without quality pre-shading, weathering, oil stains and the like, which I am not capable of, it would probably end up looking like a big pink toy jet rather than looking real, so, after a glance at the painting guide I choose the South African version, it was colourful, different and interesting, so decision made.
The cockpit interior went together quickly….
Despite it’s age (around 1960 for the majority of the tooling I believe) there are some nice touches to this kit. The seats are particularly well done with a good shape and seatbelts moulded in for those good modellers that want to pick them out. Consequently I simply shot everything with Matt Black and readied it for pilot figures (lazy, see). At the same time I sprayed the intakes with the Airfix recommended shade of light grey and painted the intake fans also as per their colour call-outs. The new decal sheet provided lovely instrument and side panel decals for both pilot positions, very nice! So these went in too.
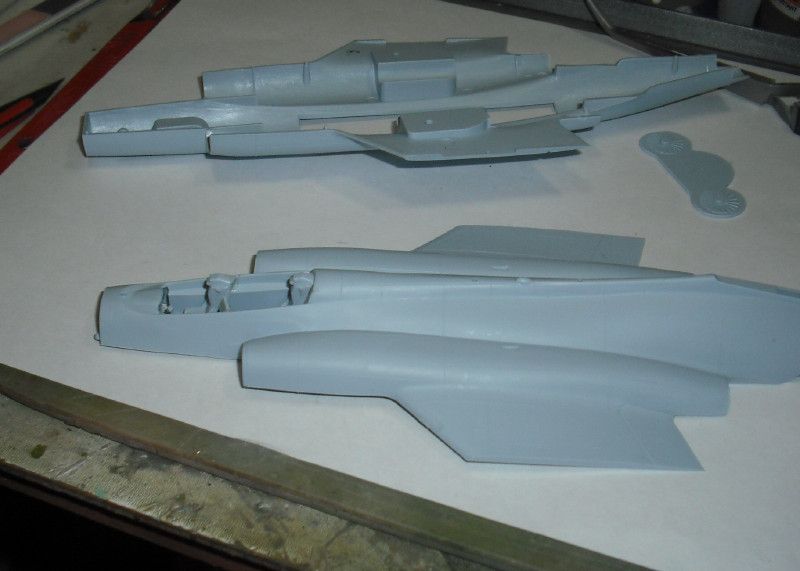
Major assembly went quickly and OK. Needed a bit of filler here and there but essentially it looked OK, so I ran with it. Worst area for filling was around the tail/air brake area. I now wish I posed it open, which would have meant less filler and more visual interest for the finished model. Oh well……
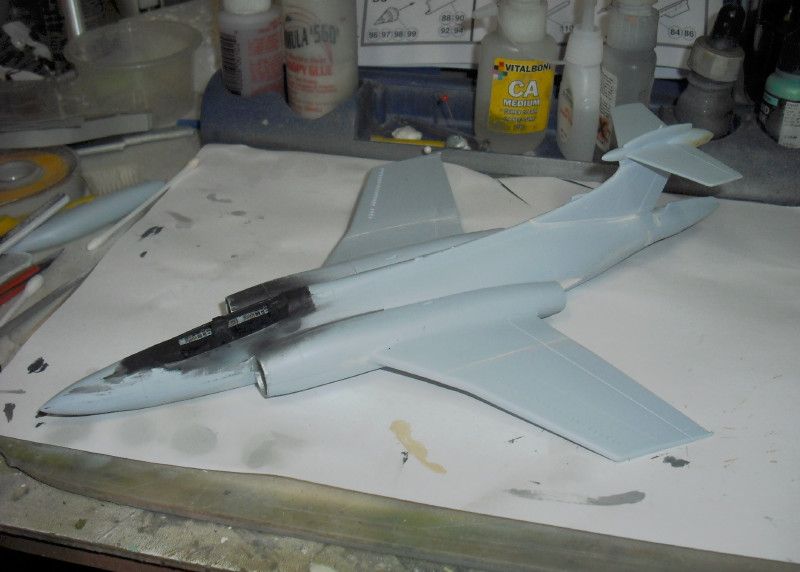
Whilst that all dried I decided to frame the canopy and paint the pilot figures. I followed Airfix’s moulded-in guides for the canopy framing, which, to be honest, were probably a bit on the thick side. But looking at the positives, the canopy was nicely moulded, very thin and incredibly clear, which was nice!
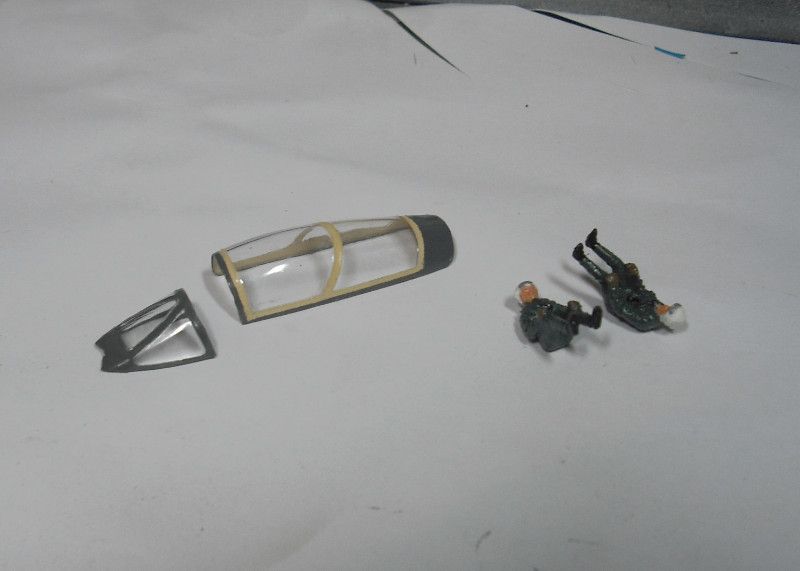
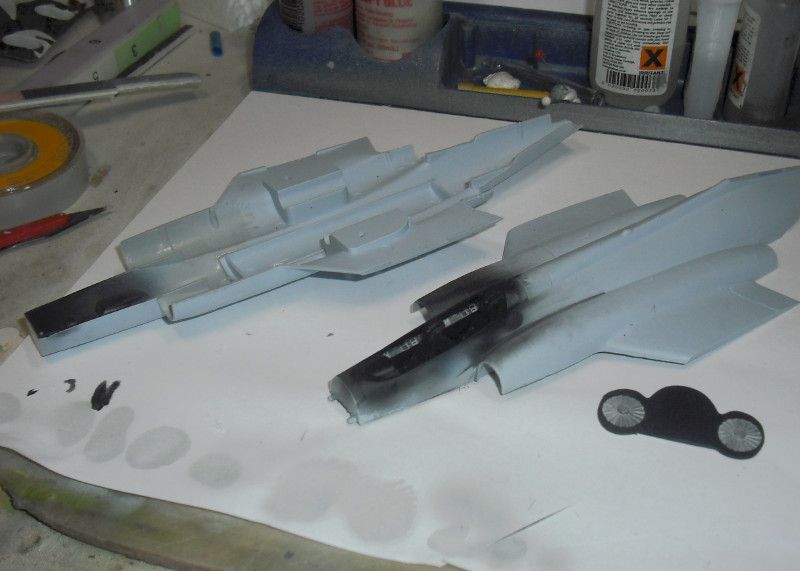
The pilots and canopy were added and then masked off, then I sprayed the nose area in the Radome Tan colour.

Then I sprayed the tail/air brake area black and masked off both the nose and tail ready for major painting.
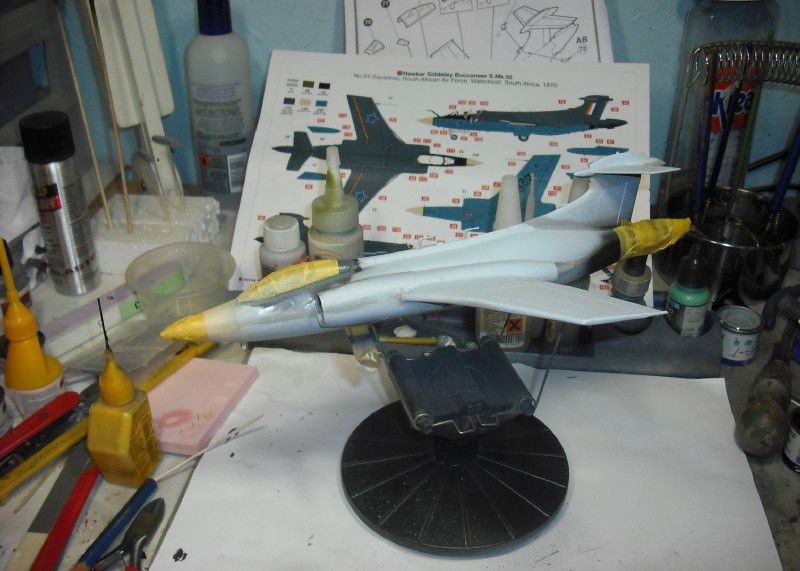
I shot the underside with PRU Blue as specified in the Airfix painting guide, I’ll mask off and do the undercarriage bays later and do them in the light grey (Hu 64).
Then an extensive masking session ensued ready for upper colours (yawn……I don’t like masking).
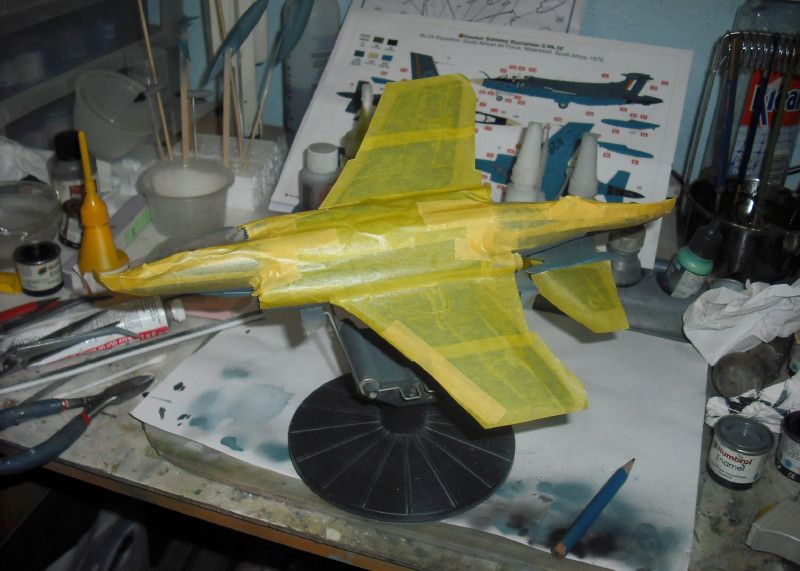
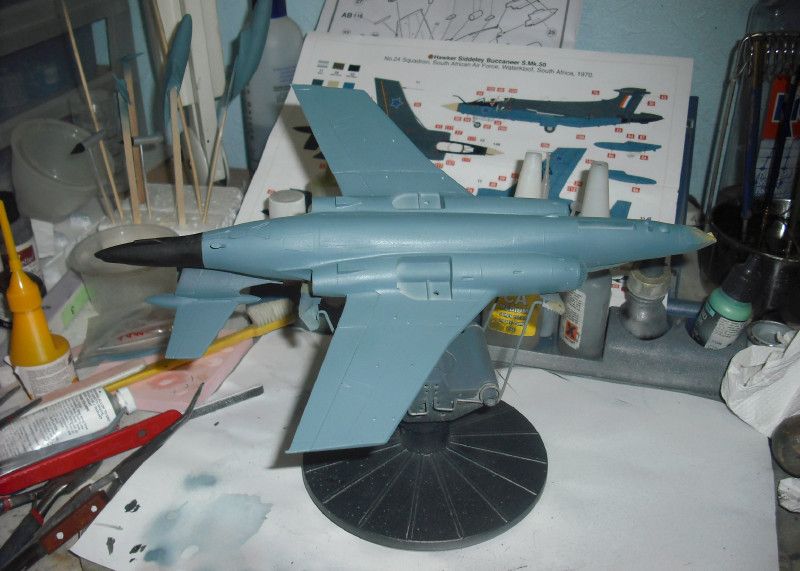
After shooting it all with the dark grey I then masked up for the black nose area.

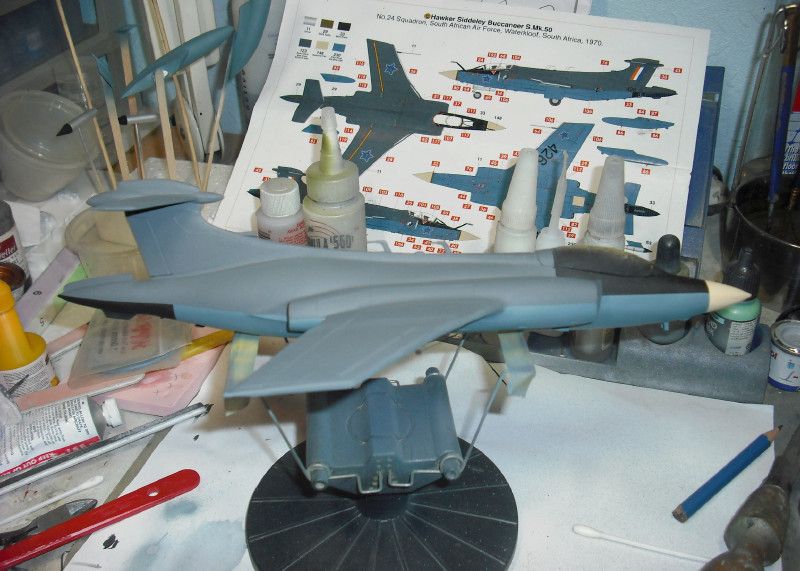
After removing all the masking tape there was that lovely ‘Ta-dah’ moment, not looking too shabby at the moment……
Then I sprayed the undercarriage bays, I added all the little bits and bobs, and masked and brushed painted all the little bits; aerial thingies, undercarriage, silver leading edge bits, lights and stuff. Then I Kleared it all, added the delicious (and extensive!) new Airfix decal sheet, then shot the whole thing with a Satin Coat. Decals were accurate, opaque and behaved wonderfully, the new Airfix decals are the business!
The only disappointment with the decals is that Airfix thoughtfully included the stripe that divides that Radome nose with the rest off the fuselage. Unfortunately the decal was in exactly the same colour as the nose so would have been invisible, but a quick image search on the web showed it to be darker, so I masked it off and brushed on Dark Earth to make the ring.

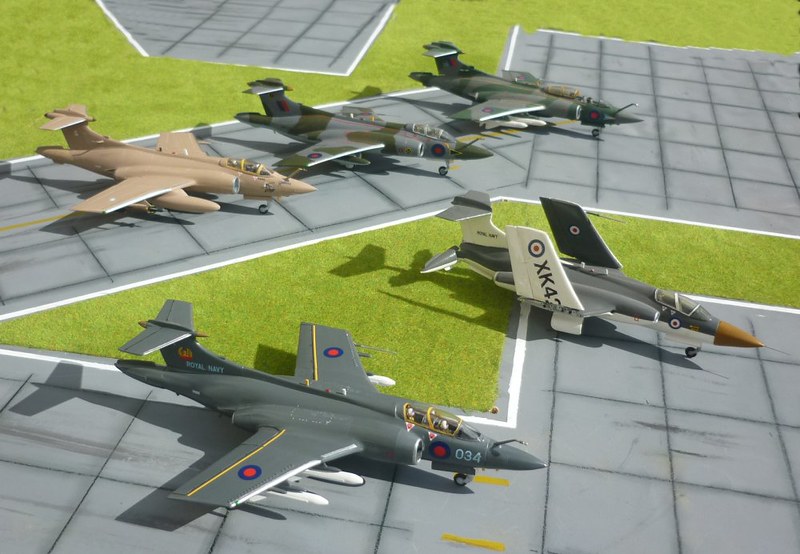
Basically, I am please with the finished result, it looks OK-ish
Zee28