Willi Reschke was born February 1922. He joined the Luftwaffe in 1941 and commenced pilot training in 1942. In June 1943 Reschke served with Jagdgruppe 102, in Zerbst to undergo operational training. On completion of training, Unteroffizier Reschke was posted to 1 staffel, Jagdgeschwader 302, based near Vienna in June 1944. By wars end he was credited with 28 aerial victories in 70 missions.
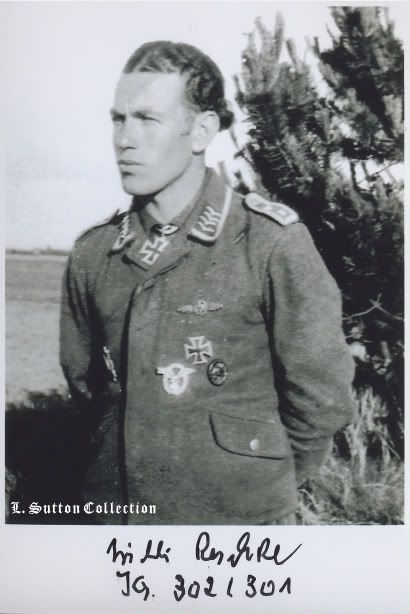
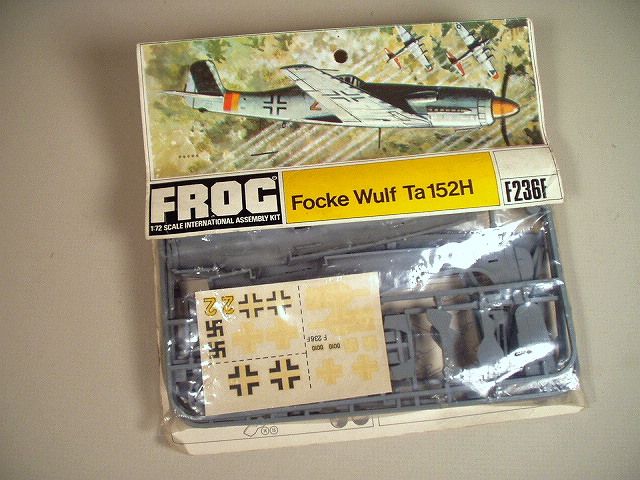
In 1999, Reschke recounted his wartime experiences in print, published in English in 2005 as "Jagdgeschwader 301/302 'Wilde Sau': In Defense Of The Reich with the Bf 109, Fw 190 and Ta 152;" including writing about the late-war period he spent flying the exotic Focke-Wulf Ta 152 high-altitude fighter-interceptor designed by Kurt Tank.
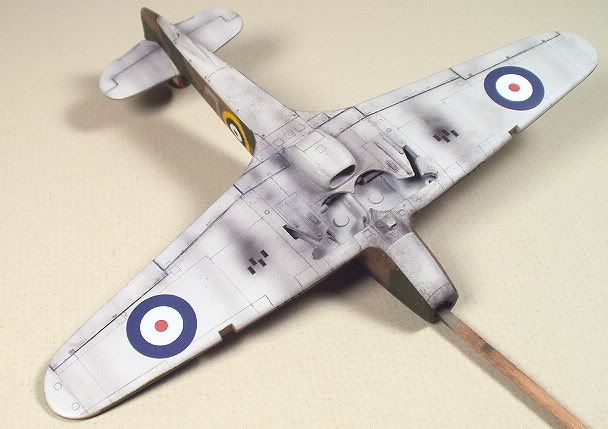
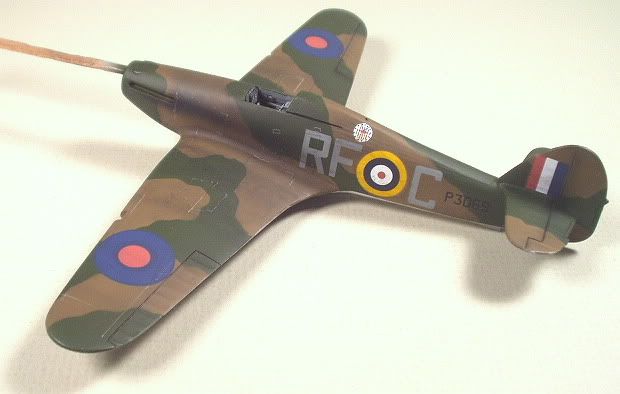
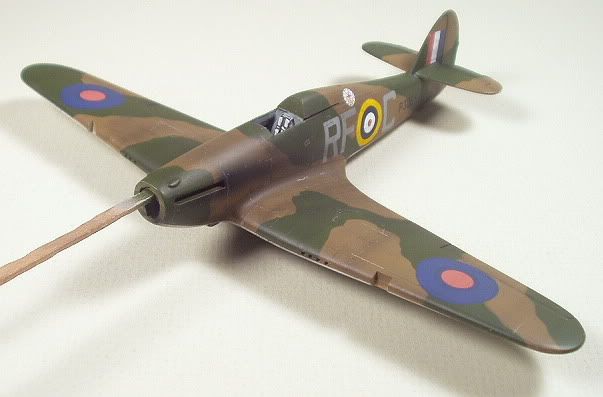
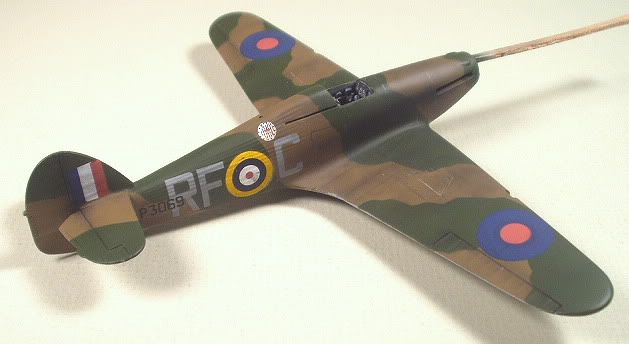
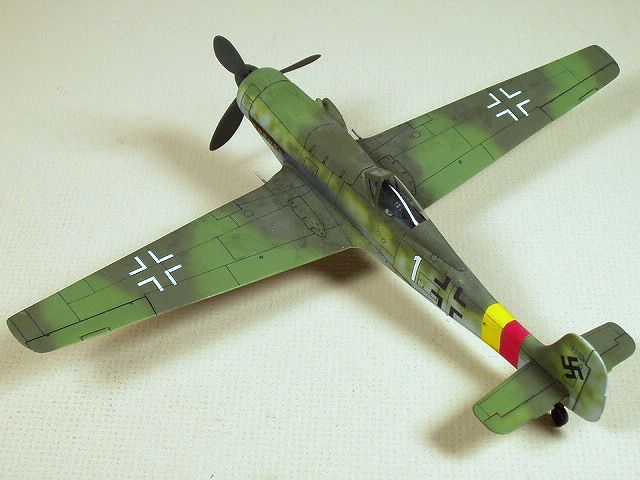
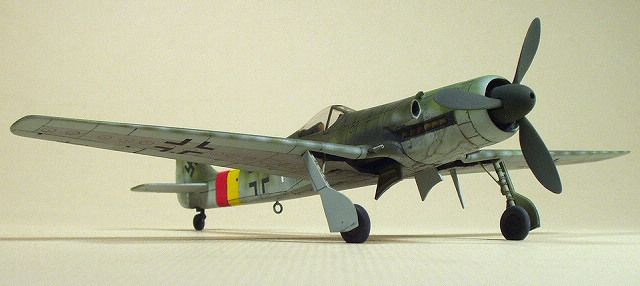
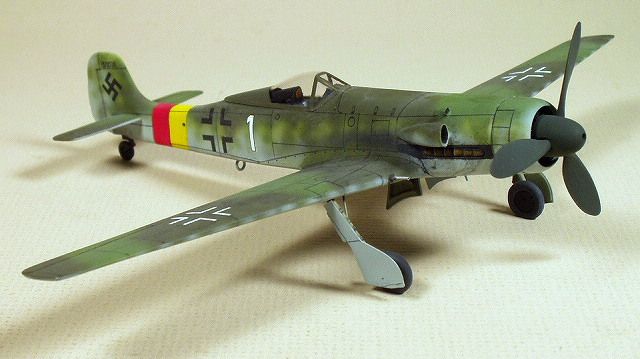
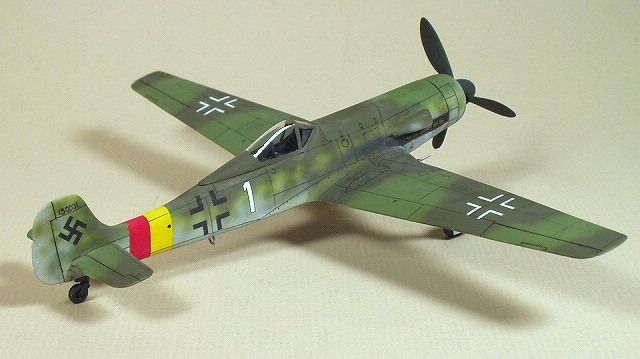
On 14 April he flew the new Focke-Wulf Ta 152, "white 1" for the first time and claimed a Hawker Tempest of No. 486(NZ) Squadron. In this engagement he shot down pilot W/O Owen J.Mitchell who was killed. I also plan on building Mitchell's Tempest from the FROG kit.

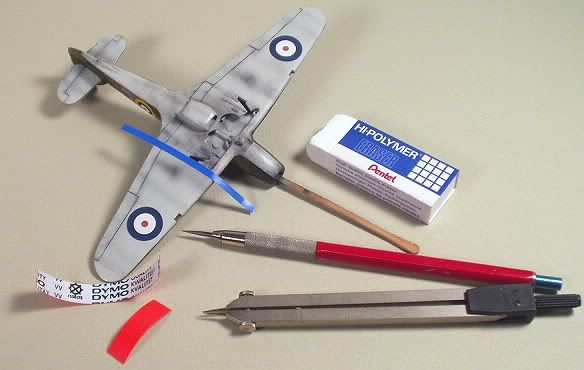
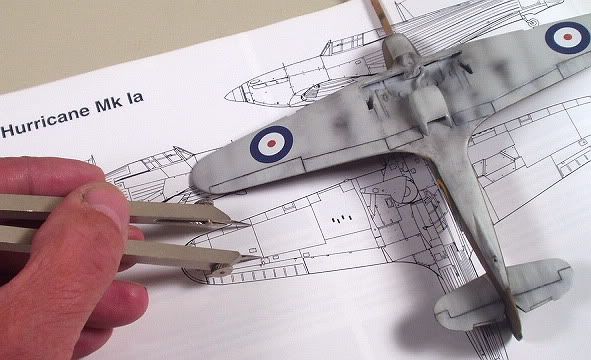
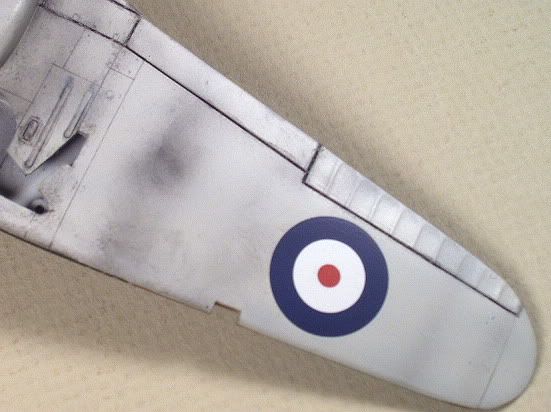
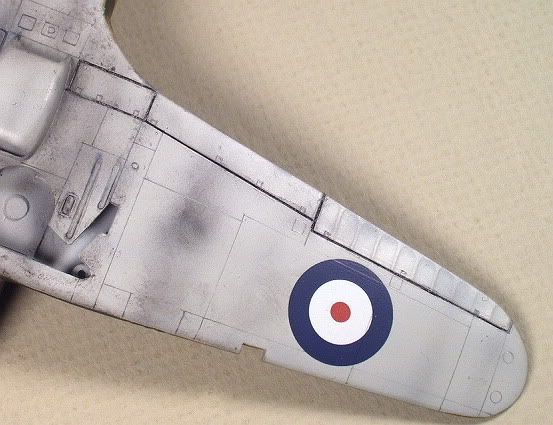
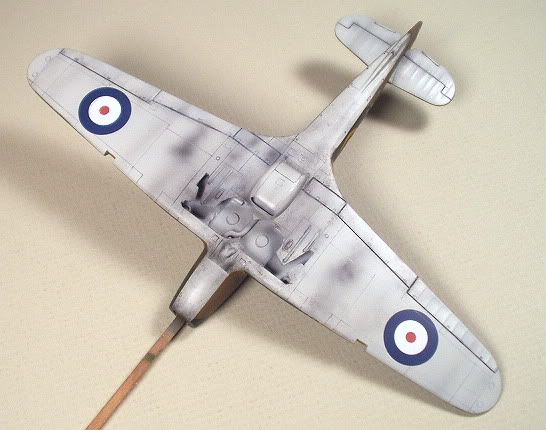
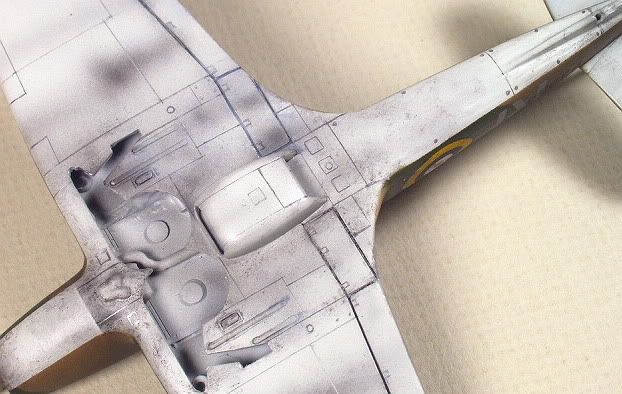
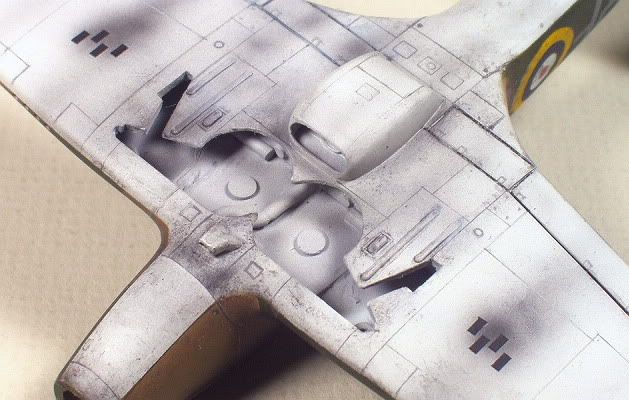
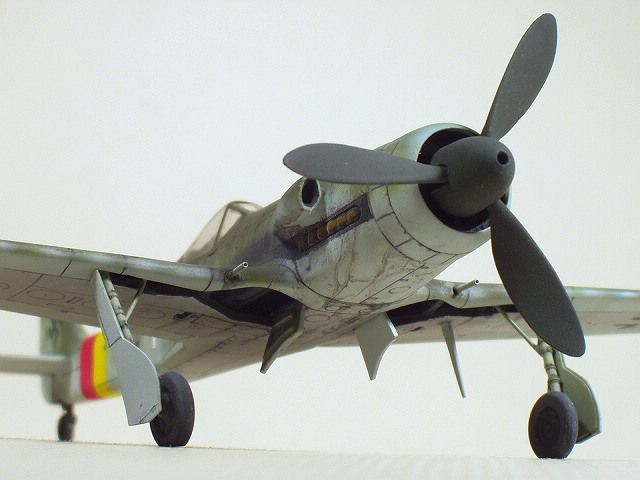
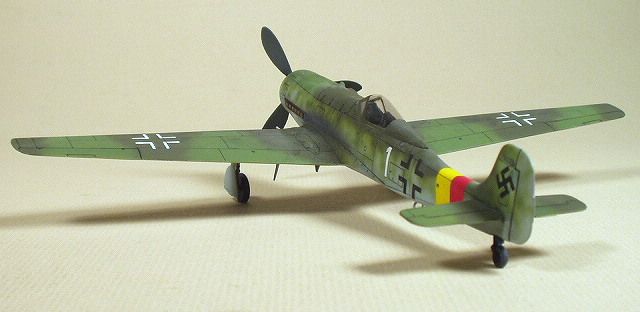
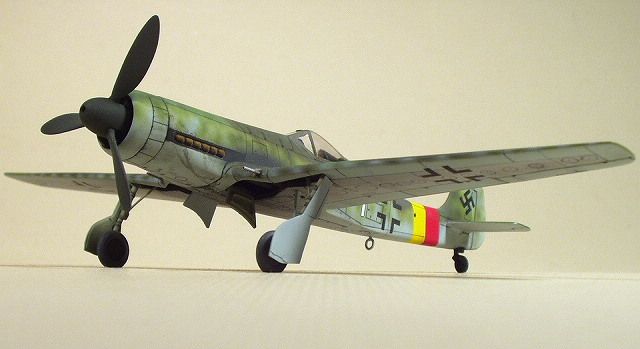
All surface detail was sanded off and panel lines drawn on in ink using the thinnest of these.
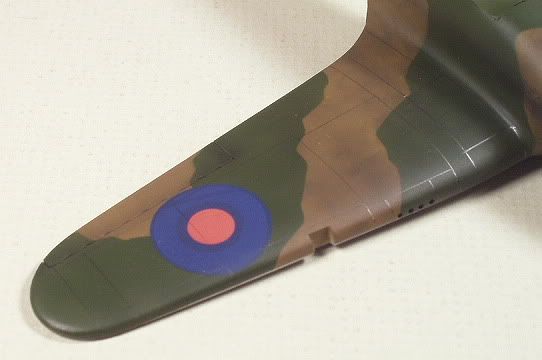
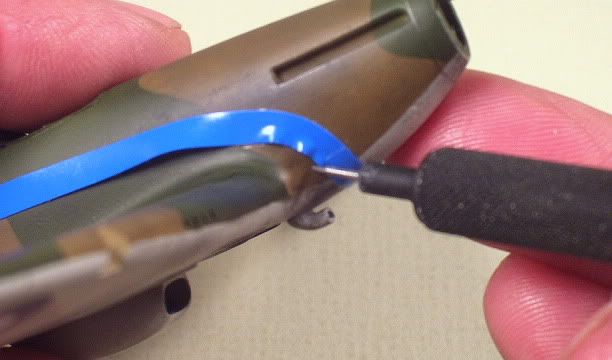
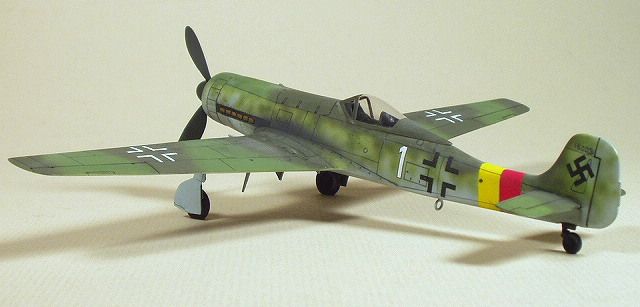
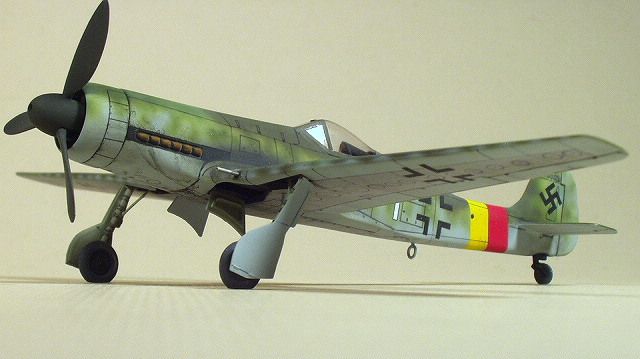
In addition to the Italeri parts mentioned above, I added my own vac canopy and aftermarket decals.

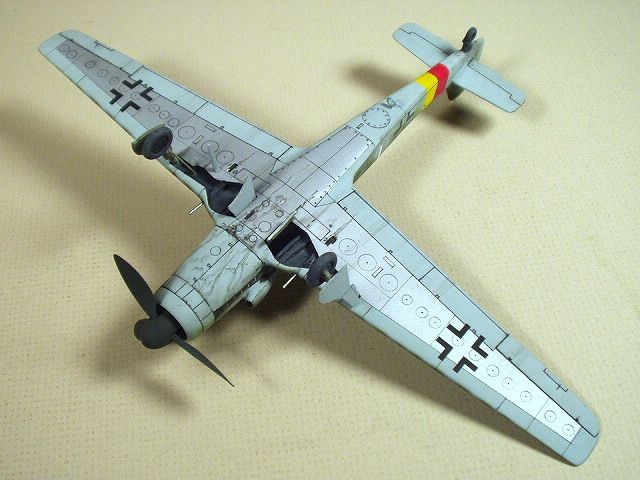
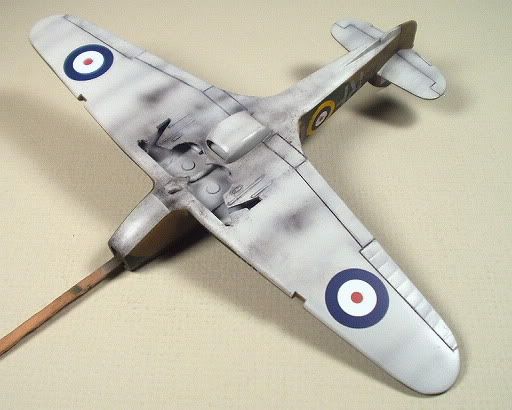
A terrific little kit and with the addition of the other parts builds up quite well.
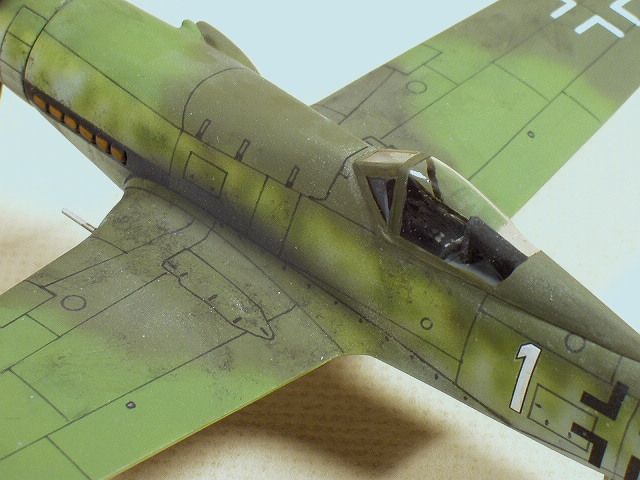
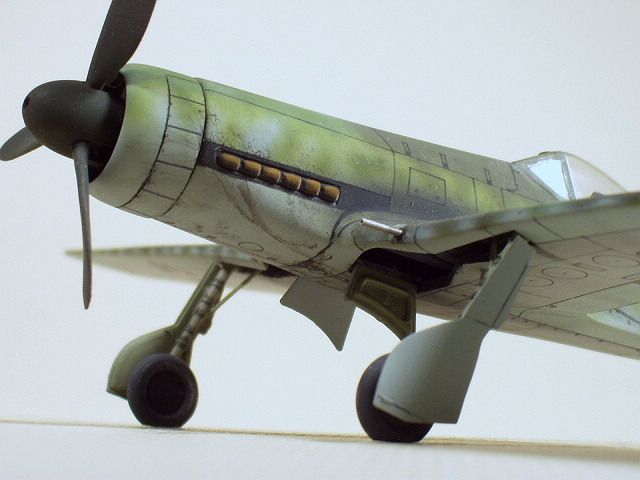
Wing guns are steel surgical tubing from the dentist.
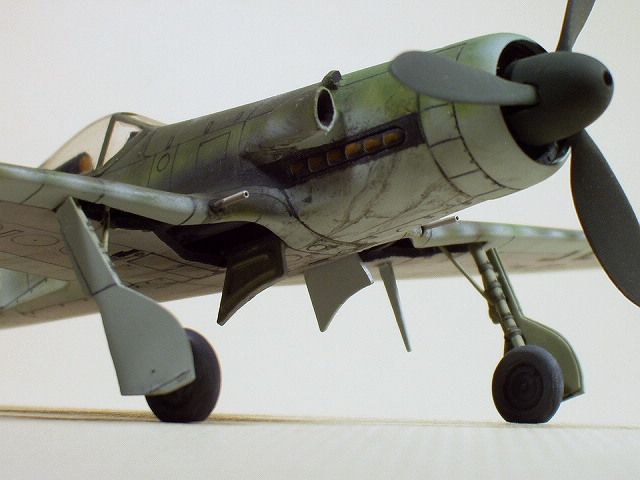
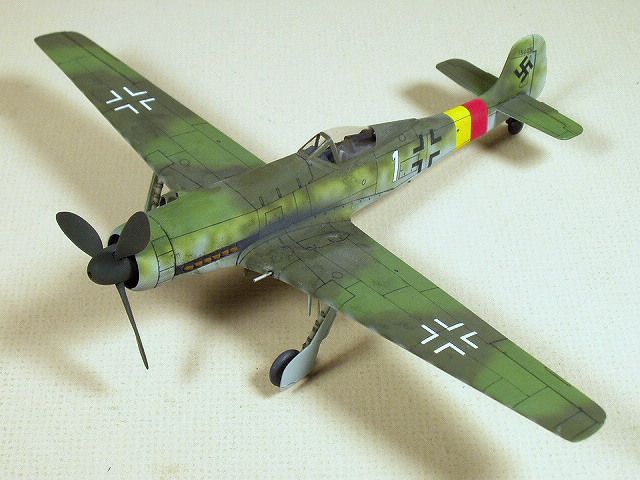
I really enjoyed this build and was surprised how well the simple changes improved the old kit.
Who has more fun than we do?...................NOBODY !!!