MerlinJones wrote:Have you cut out the openings under the wing, or is that paint?
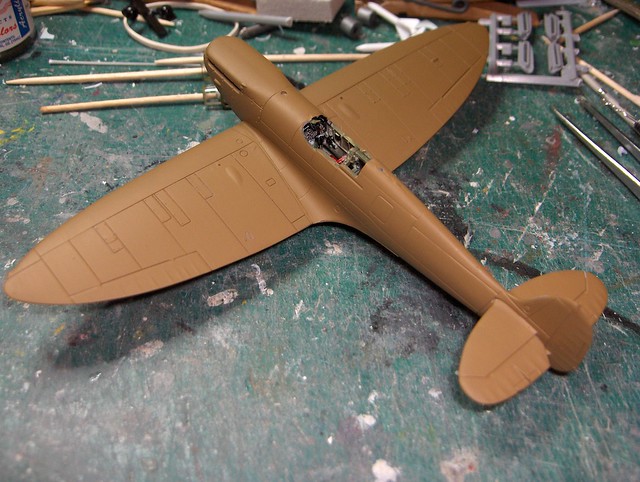
The spent cartridge slots are moulded into the wing, no cutting is required. The instructions advise you to paint the insides of the wing black. It's really no big deal to set up the wing either using bands as Chuck E demonstrates, or using tape from tip to fuselage. An alternative way of getting everything set up would be to cement the upper wing pieces to the fuselage before adding the lower wing. There are diagrams in the instructions that show rigging angles.
If you're inferring that it might pose a problem for tyro builders, that may well be the case. In my experience most tyros won't give a hoot about correct dihedral angles.
Peebeep is spot on Bruce. There is a problem with the dihedral. As you say, average modellers should fix this without any issues. In a lot of Spitfire kits you can get this issue and need to do something positive to ensure that the angle is OK. This is my third build of this tooling and two have needed a little adjustment. All 3 have needed a rubber band to hold the angle while the cement sets.
The model still assembles OK without this, but the dihedral will look odd. To us experienced modellers at least.
To pare away the plastic on a wing root, I hold the craft knife in a fist, hold my thumb against the part and draw the back edge of the blade towards me. If you worry about cutting your thumb, you can stone off the sharp cutting edge. I found that 4-6 strokes at each edge was sufficient. I did each of the 4 straight sections separately. I spent about 5 minutes getting a good dry fit with a very small gap at the wing joint. About 0,1 mm inc max ( 0.004" in old money. ) When the rubber band is applied, the gap closes and gives you a nice dihedral. I find this a very simple fix for this model. Life is about learning new skills.
As I also mentioned, you need to remove the raised edge that the instrument panel rests against too, in my opinion. The panel itself needs a little touch too and then you don't get that little gap in front of the windscreen. The little location pip at the rear upper fuselage never seems to fit either, so I just slice it off.
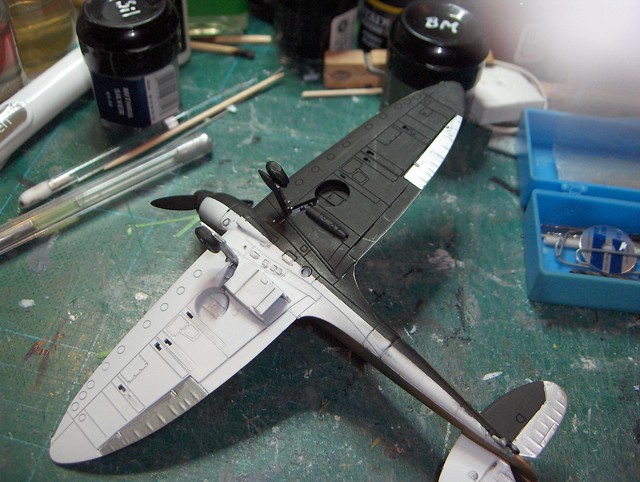
I always paint inside the wing to get the ejector chutes to show up. This is the paint you can see.
MerlinJones wrote:What is it with those awful panel lines?!?
Regards,
Bruce
I like em,
Think for the kit cost they're utterly fantastic, lets face it, for £5.99 if you expect Tamiya 24th scale realism then you're hoping a bit much
Thanks Chuck...I was after confirmation that fit was good enough, even though the wings may be 'flat', if built as per the instructions.
Given how relatively simple it is for the experienced modeller to achieve an accurate model, it remains a pity that Airfix did not manage the same for the inexperienced modeller. 3-view images of Spitfires are readily available, so 'even' some new modellers may spot the discrepancy.
The cut out ejector chutes are a nice touch.
MerlinJones wrote:What is it with those awful panel lines?!?
Regards,
Bruce
Think for the kit cost they're utterly fantastic, lets face it, for £5.99 if you expect Tamiya 24th scale realism then you're hoping a bit much
You like them, as do many others. I do not. C'est la vie.
I'm not expecting 'Tamiya 1/24th Scale realism'...I am expecting basic 1/72 realism, on a par with 21st century Revell, Academy, Sweet, Platz, Eduard, Zvezda, etc., etc..
I can also get a new Spitfire kit from Hobby Boss, for less than a fiver. Lots more are available for less than£6.
Just to confirm : The kit has the lower wing section moulded in one piece and this has the dihedral formed onto it. The problem lies in the fact that the fuselage / wing root section is a little too wide which pushes the wing flat again.
I was very pleasantly surprised by the Mk I. After the Mig and Bf-110 I wasn't expecting much from the kit, but it does live up to all the hype. If this kit is the same mould than I will be picking up two so I can build one of each.
This weekend I made some progress on the Mk1a which is of course the same kit and the fit is like Chuck's MkIIA: very good if you follow the few hints he gave. I really like this little kit.
Henk
I had an hour or so on the kit tonight until we decided to get the beers out !
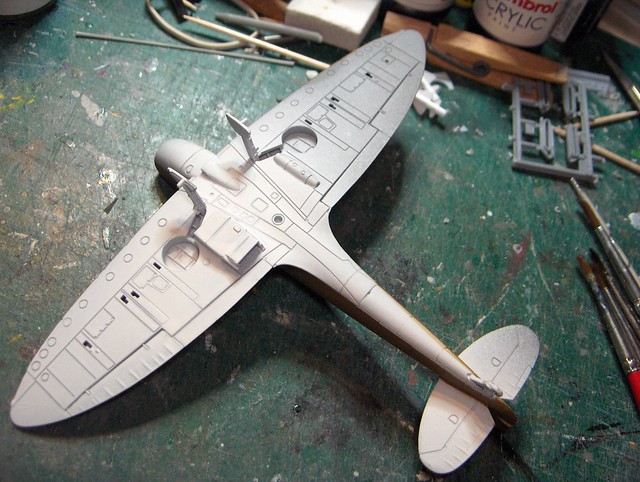
2 Coats of Aeromaster Dark Earth.
A single coat of white car primer.
Humbrol Matt Black handpainted. Aluminium control surfaces.
2 coats of Aeromaster Dark Green and a little highlighting, which will be toned down later.
Freehand painting ( Apart from the centreline. ) before the beer.
Total time to this point is around 4 hours.
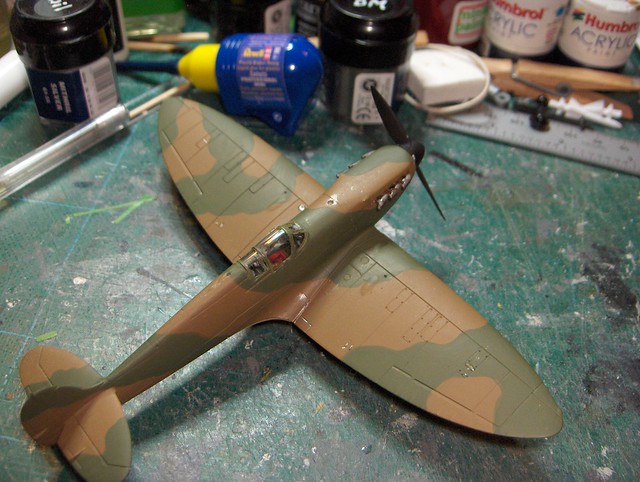
Almost done now. Been a bit tied up with work. I'll tidy a couple of things up and get the camera charged up for some better shots tomorrow. It's really been a simple build. Very enjoyable and it looks good. I bough two more today to bring the total up to four, plus six of the original Series 1 kit. The colours look a bit washed out here, so I'll try natural light tomorrow.