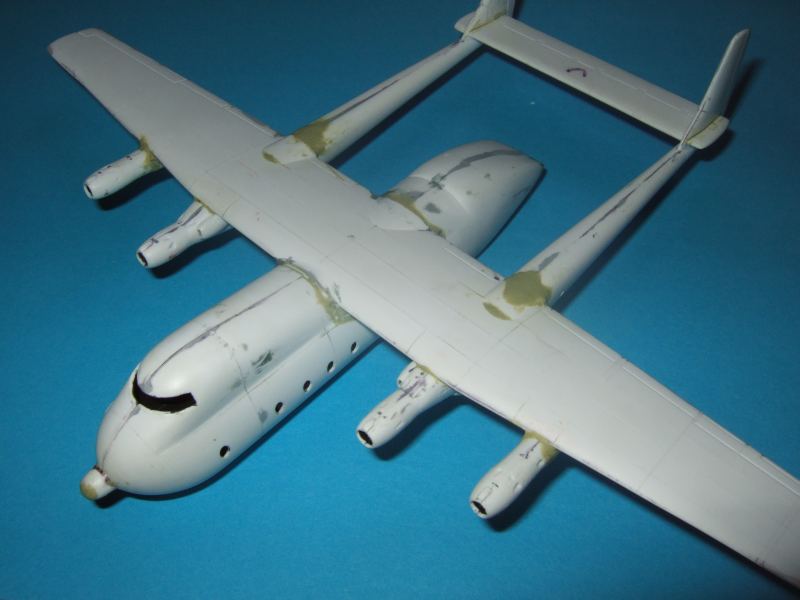
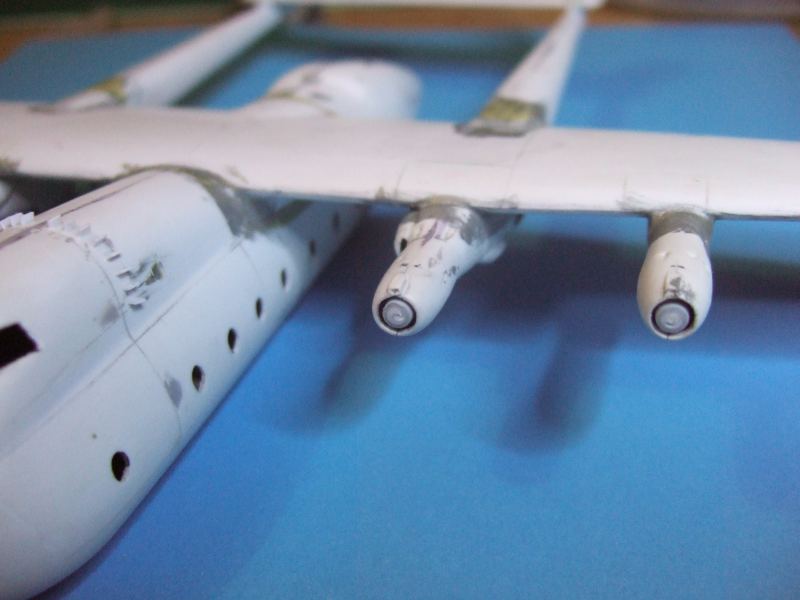
The booms were stuck on with tube cement after careful alignment, a thin shim of card was needed between the wing and the rear of the starboard boom to drop the tail down a little so the tailplane was straight. The tailplane was initially unglued until the booms were correct and then liquid cement run round the joints to lock it in place. I've added the first application of milliput here, the underside is pretty good and the putty is mainly need to fair the upper surfaces into the wings. The outer engines though require plenty to form the nacelles fairing.
The thimble nose needed some care in positioning as I hadn't made a great job as sanding the base square.