So - a coat of Zinc Chromate later, and it was ready to roll.
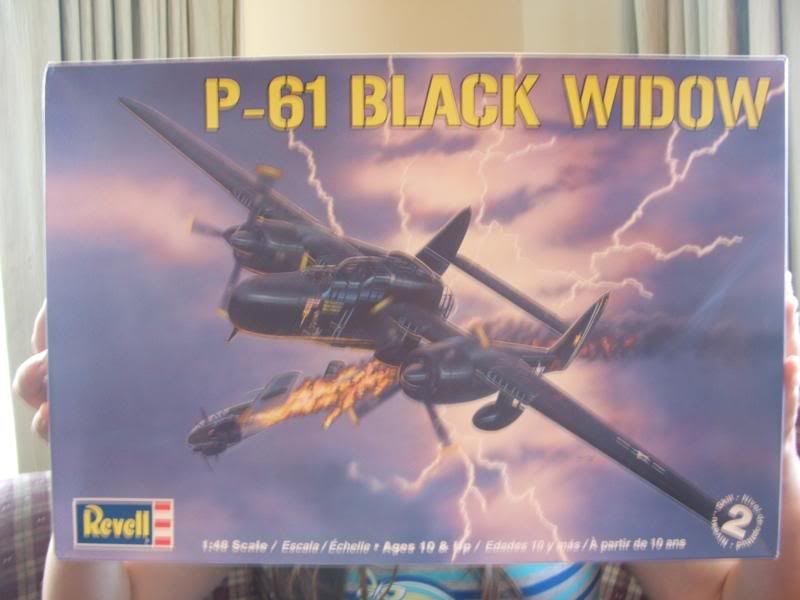
First - the KIT:
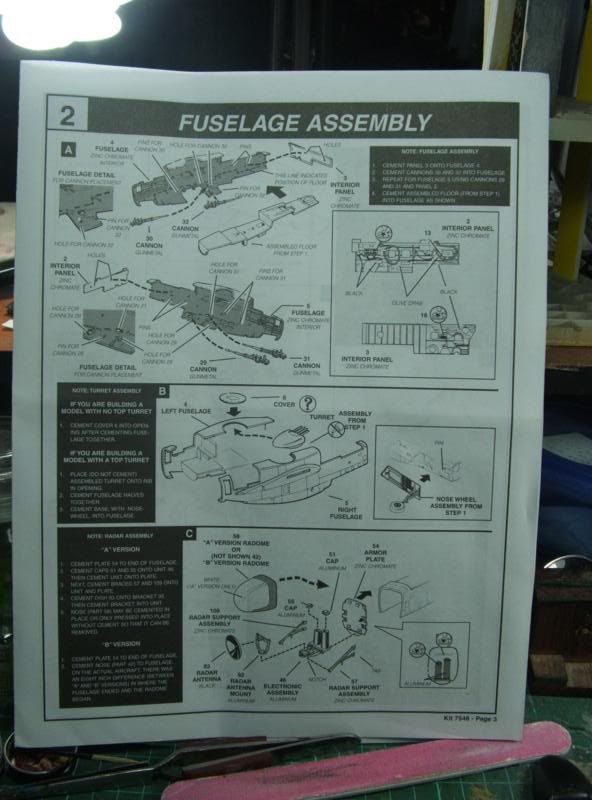
My plan is to do each step of the instructions as a separate post - so, here's step one!
Brushwork first, instrument panel, armests, other crew area details.... set it all aside to dry.
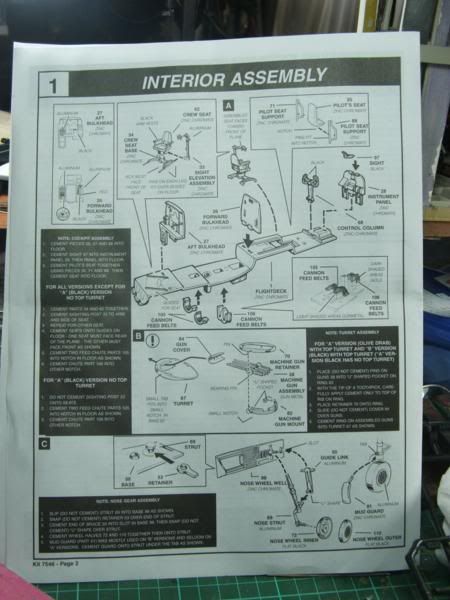
Step One.(A)
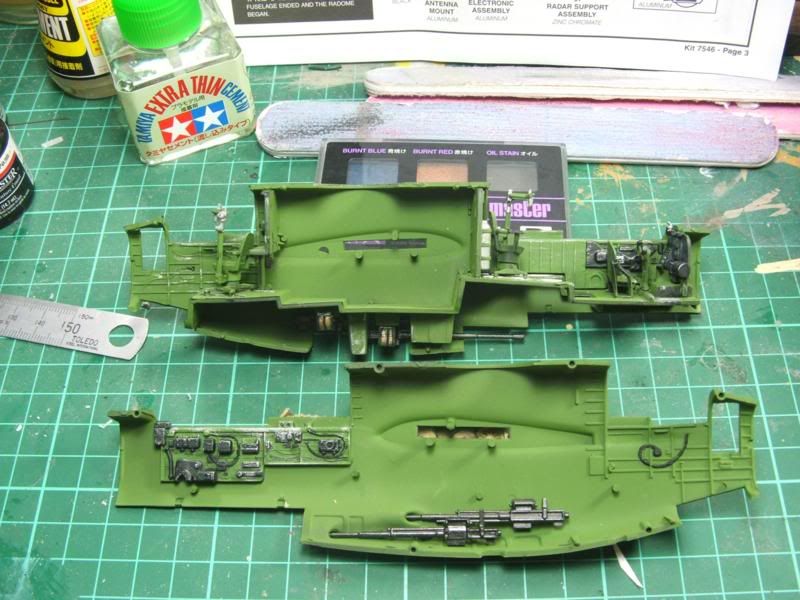
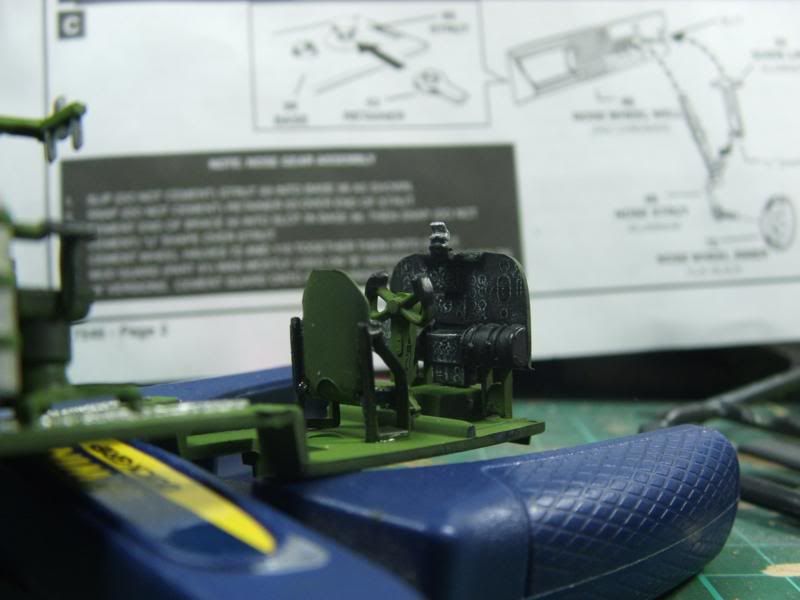
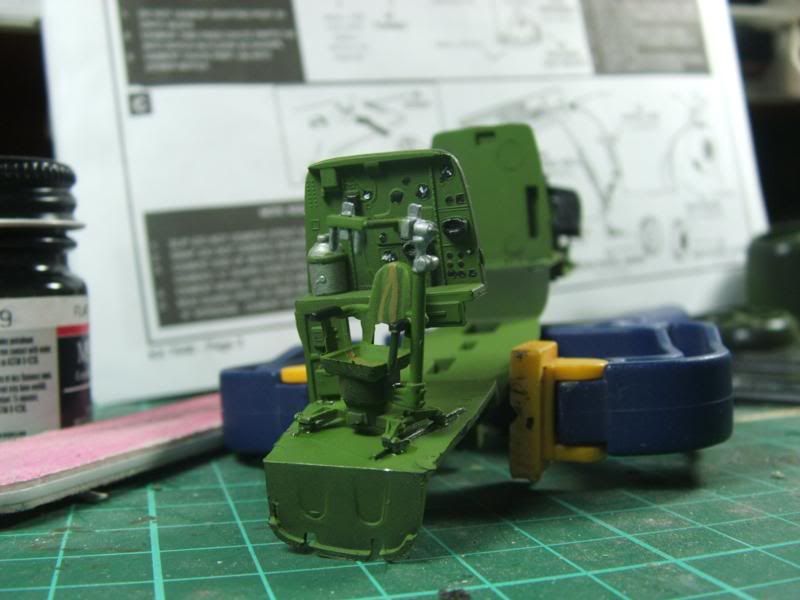
Like most kits - it starts with the cockpit. I was tempted to make some seatbelts - but just followed the lightly engraved ones that were on the seats to paint them. It all went together just fine, but it wasnt til I finished that I realised the floor was warped. (You can see it in the photos....) I'm just hoping that when I close the fuselage up that I can straighten it out.
The Front Office - Notice the warping of the floor piece.
Back of the Front Office
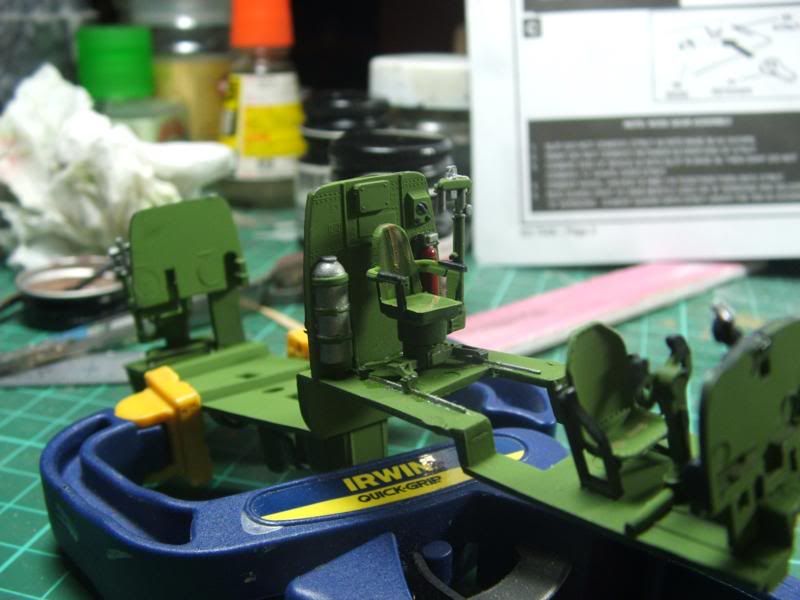
The Back Office
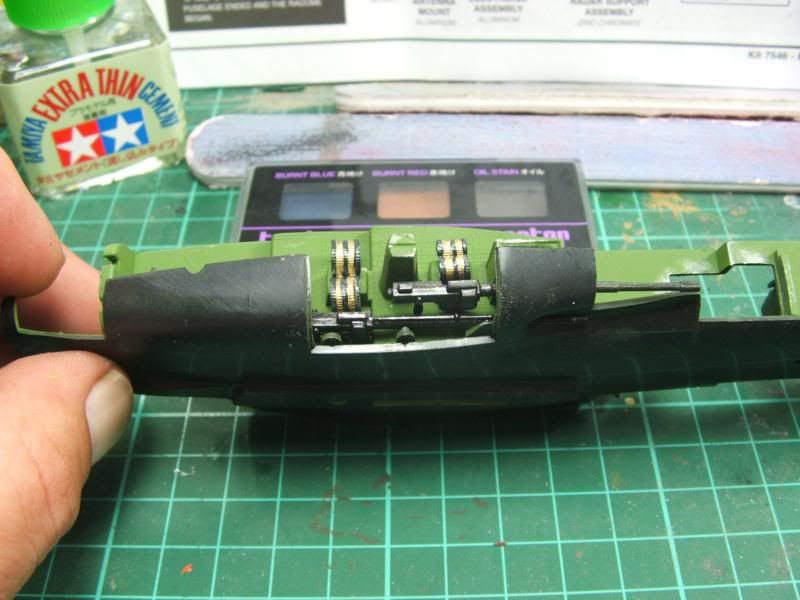
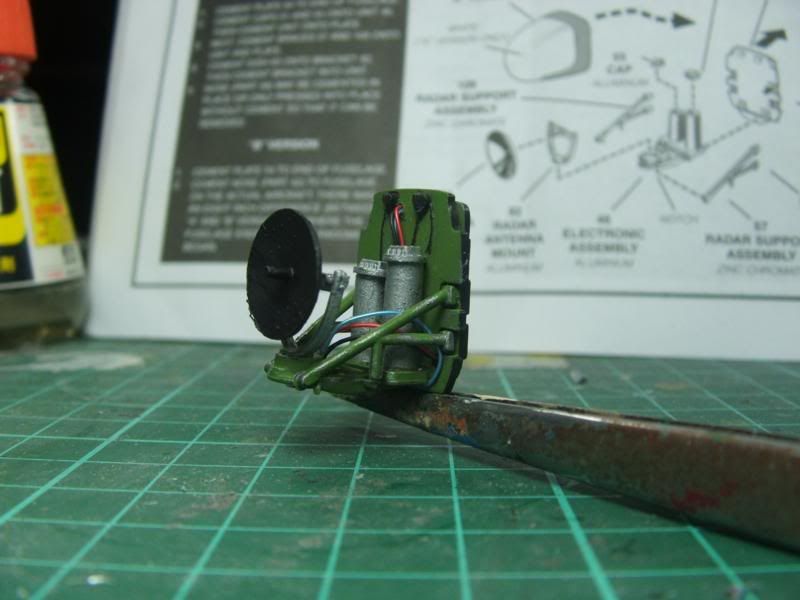
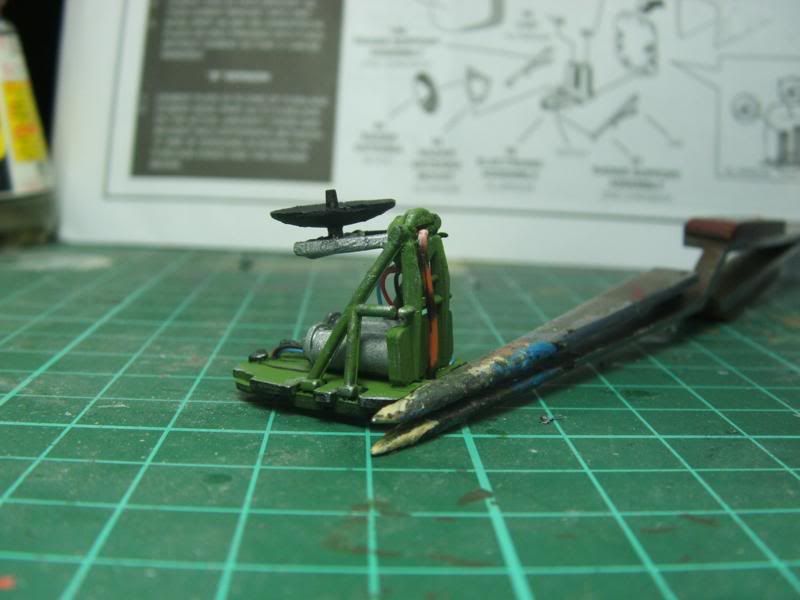
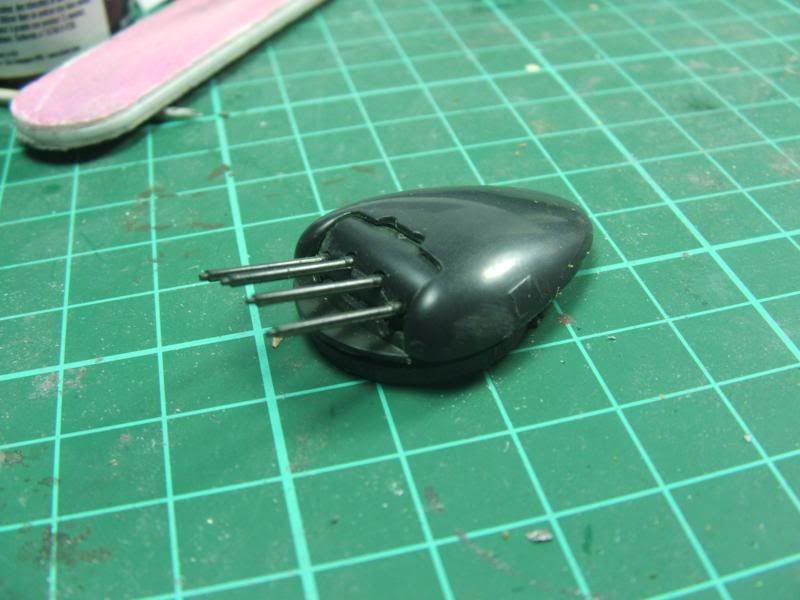
(B) Strangely enough - the Upper Turret was next. Again, this went together with a minimum of fuss. I didnt paint any of it - figuring I'd detail the guns after the overall paint job had been done. (I could just see what was going to happen if I tried to mask the gun barrels off...) Once this assembly had dried, I drilled out the gun barrels.
The Turret
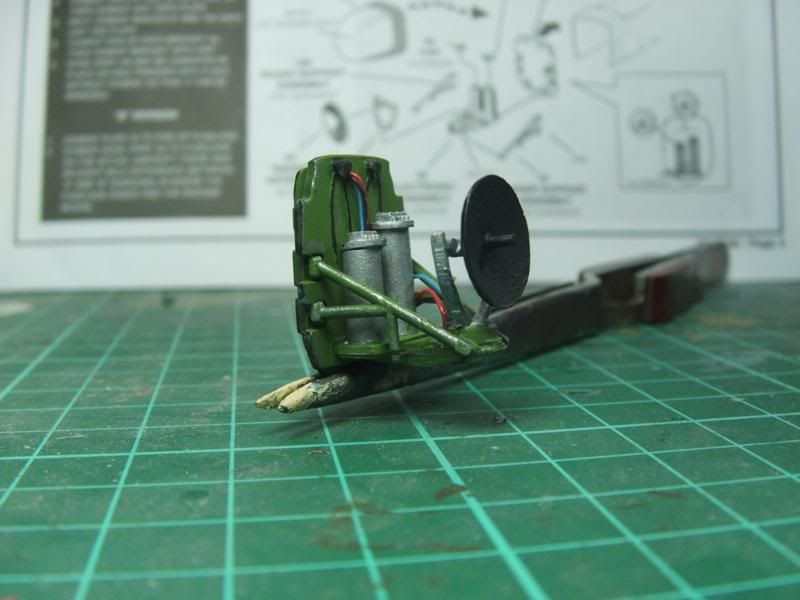
(C) the front undercarriage and bay. I decided to leave the oleo until after the main paint job had been done - again, I could see parts coming off attached to the masking tape. I'll come back to this bit!
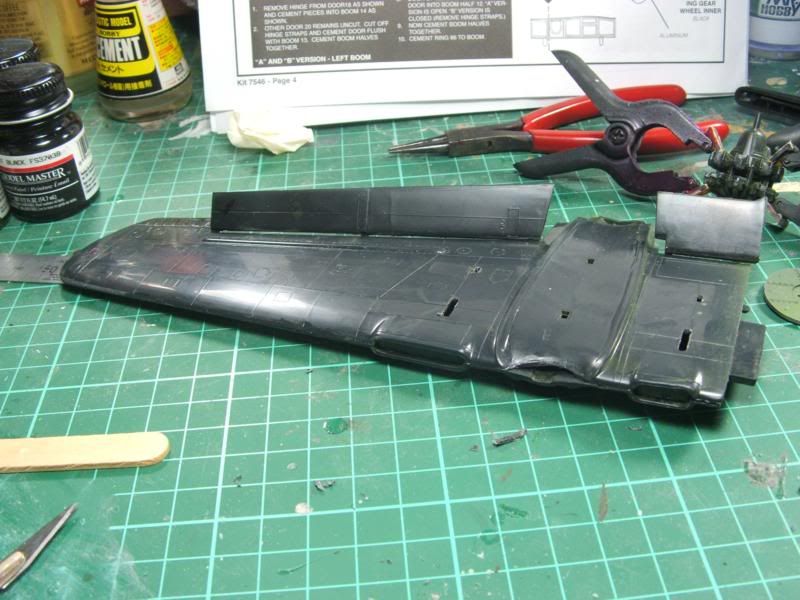
That's it so far - next up is to close the fuselage up - stay tuned!!