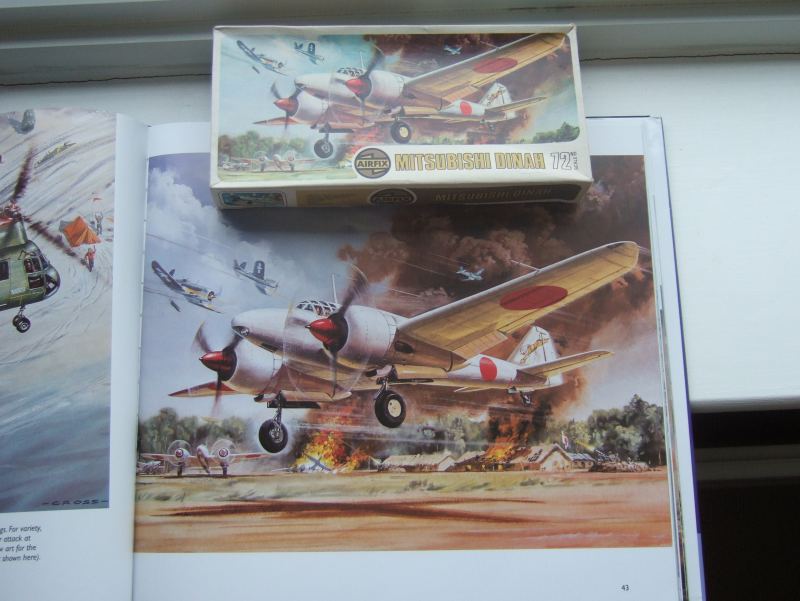
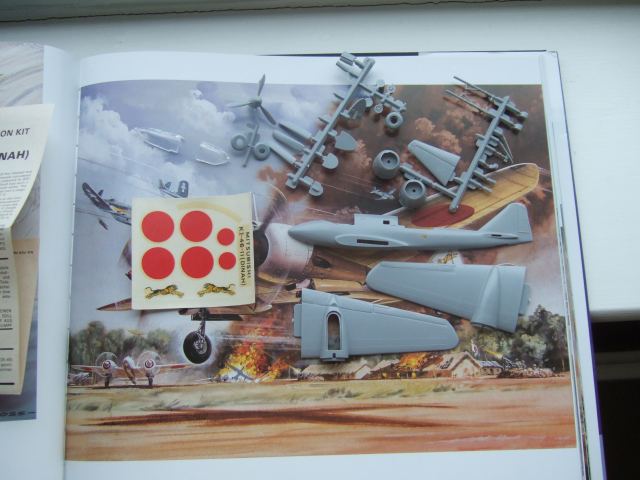
Thanks to TimJ who picked this up at Cosford but offered to sell it on to me. It's great that this has the correct artwork on the box. Despite the old boxing the kit it of an even older vintage and it looks like the moulds had already started to suffer (of course someone could have put newer plastic in and older box
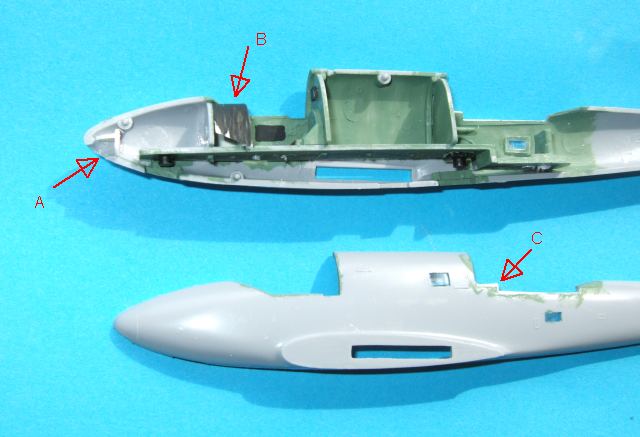
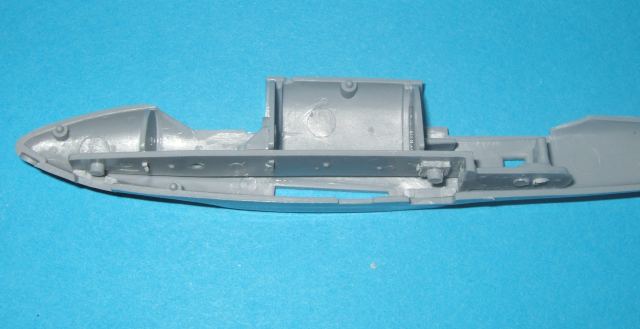
The interior is basic as you would expect I won't do too much in here as the thick heavily glazed transparencies will render it futile. Note though they have moulded some rudimentary cameras on the underside of the floor. I cut back the wide tabs that would hold the clear parts right back apart from the corners.
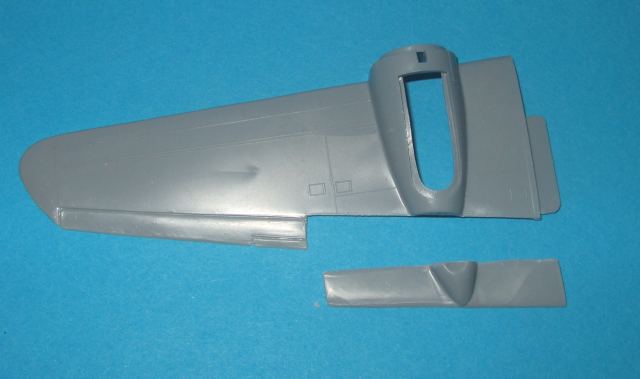
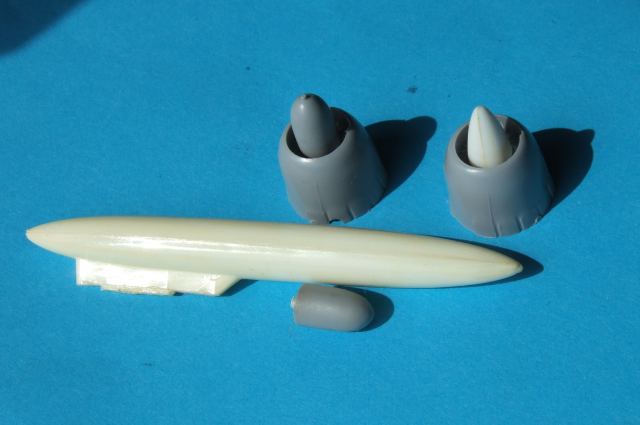
I've mainly been cleaning up the other parts. One of the spinners was badly swollen around the middle an I was glad I cut cut the props off so I could go at it with a coarse sanding stick. The other job was to separate the flap from the lower wing halves, so they could be lowered as in the picture.