In order to preserve any form of sanity over the period and to give my brain a break from tax work, I've been reading up on project Apollo and have really built up a head of enthusiasm for doing an Apollo related subject.
I decided that it was about time I had a Saturn V in my collection - especially as it will provide an impressive comparison to my already completed similar scale Space Shuttle and Saturn IB.
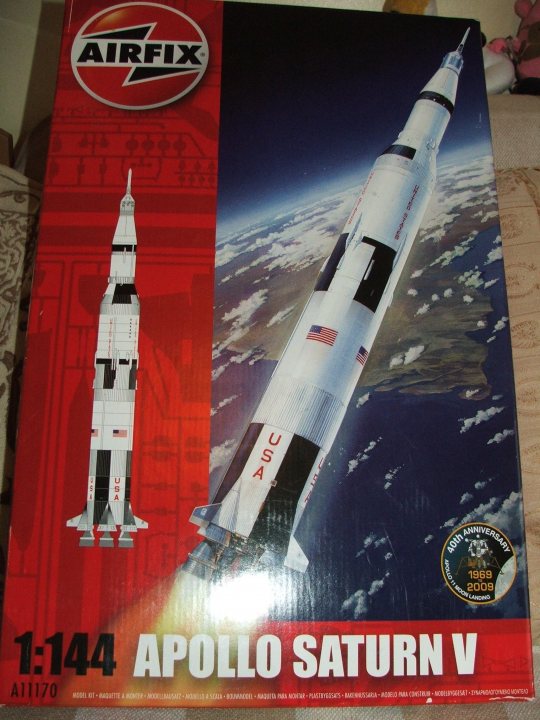
The kit I have in my collection is the re-released and updated version of the now very old Airfix Saturn V. Like the Saturn IB model, Airfix released corrected versions in 2009/10. The main area of correction is the Command/Service Module (CSM) which is now of the correct dimensions and features the proper surface details for a Block II Command/Service module. The original kit had a Command Service Module which was under scale and the panel details were based on Block I designs - which were never used for manned Apollo missions.
As a consequence of the CSM dimension corrections, the Lunar Module Adaptor fairing is now also corrected.
Elsewhere the model remains much as it has since it was first released in 1970.
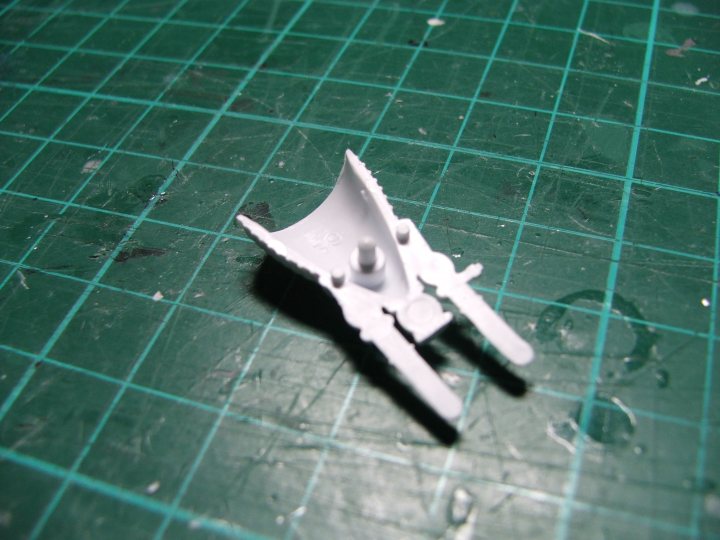
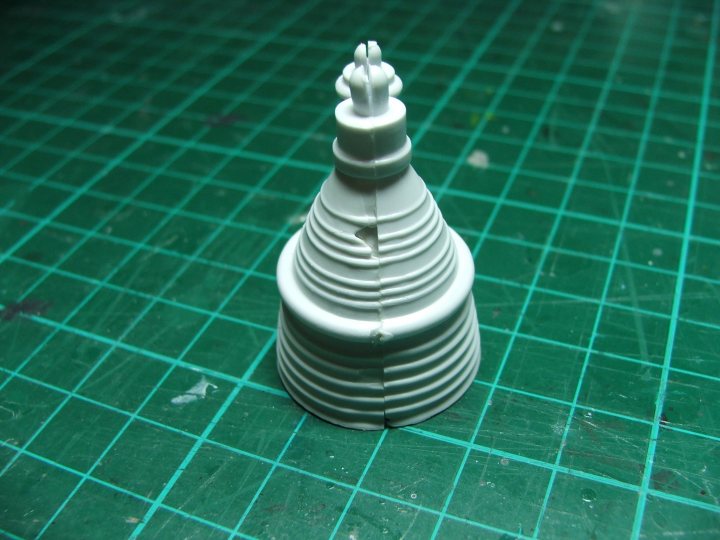
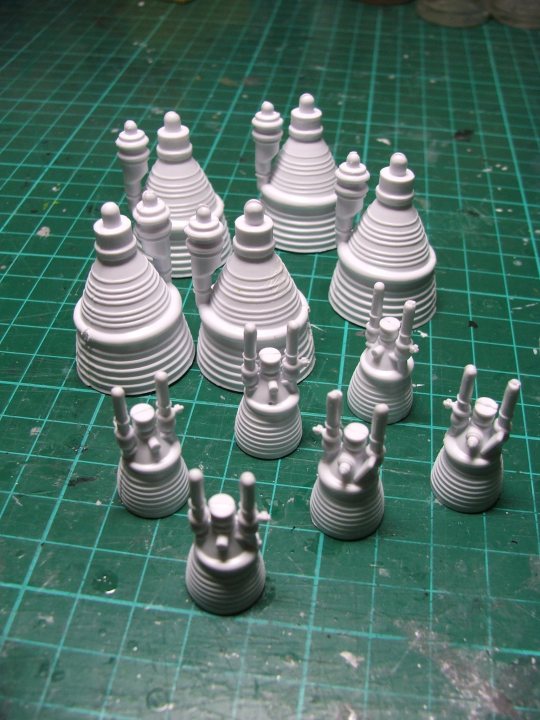
The moulds are definitely past their best and a close inspection of some elements, such as the first stage engines (the mighty F1) shows plenty of flash and, in one case, an actual hole in the engine exhaust bell - which will have to be patched somehow.
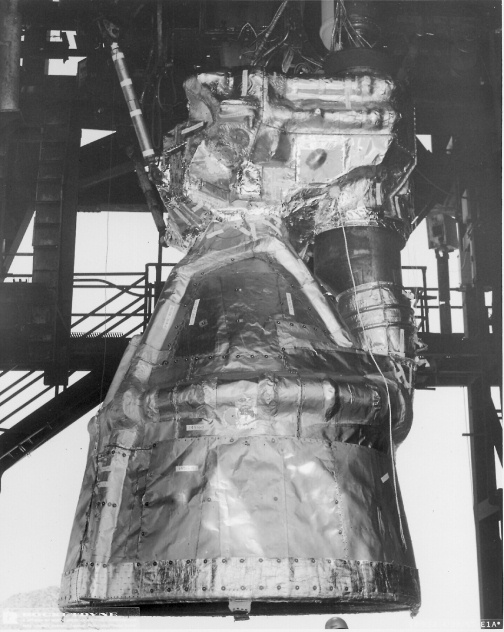
I'm not terribly worried about seam lines or damage etc on these engines because, in real life, when sitting on the pad ready for launch, these engines were "batted" i.e. they were covered in a heat protective ablative material - rather like a blanket. I intend to use foil to replicate this material and it will hide a multitude of mould flaws, damage etc.
I built an Airfix Saturn V way back in 1980/81 and it will be an interesting experience revisiting this monster after three and a half decades.