Now for the jet intake area.
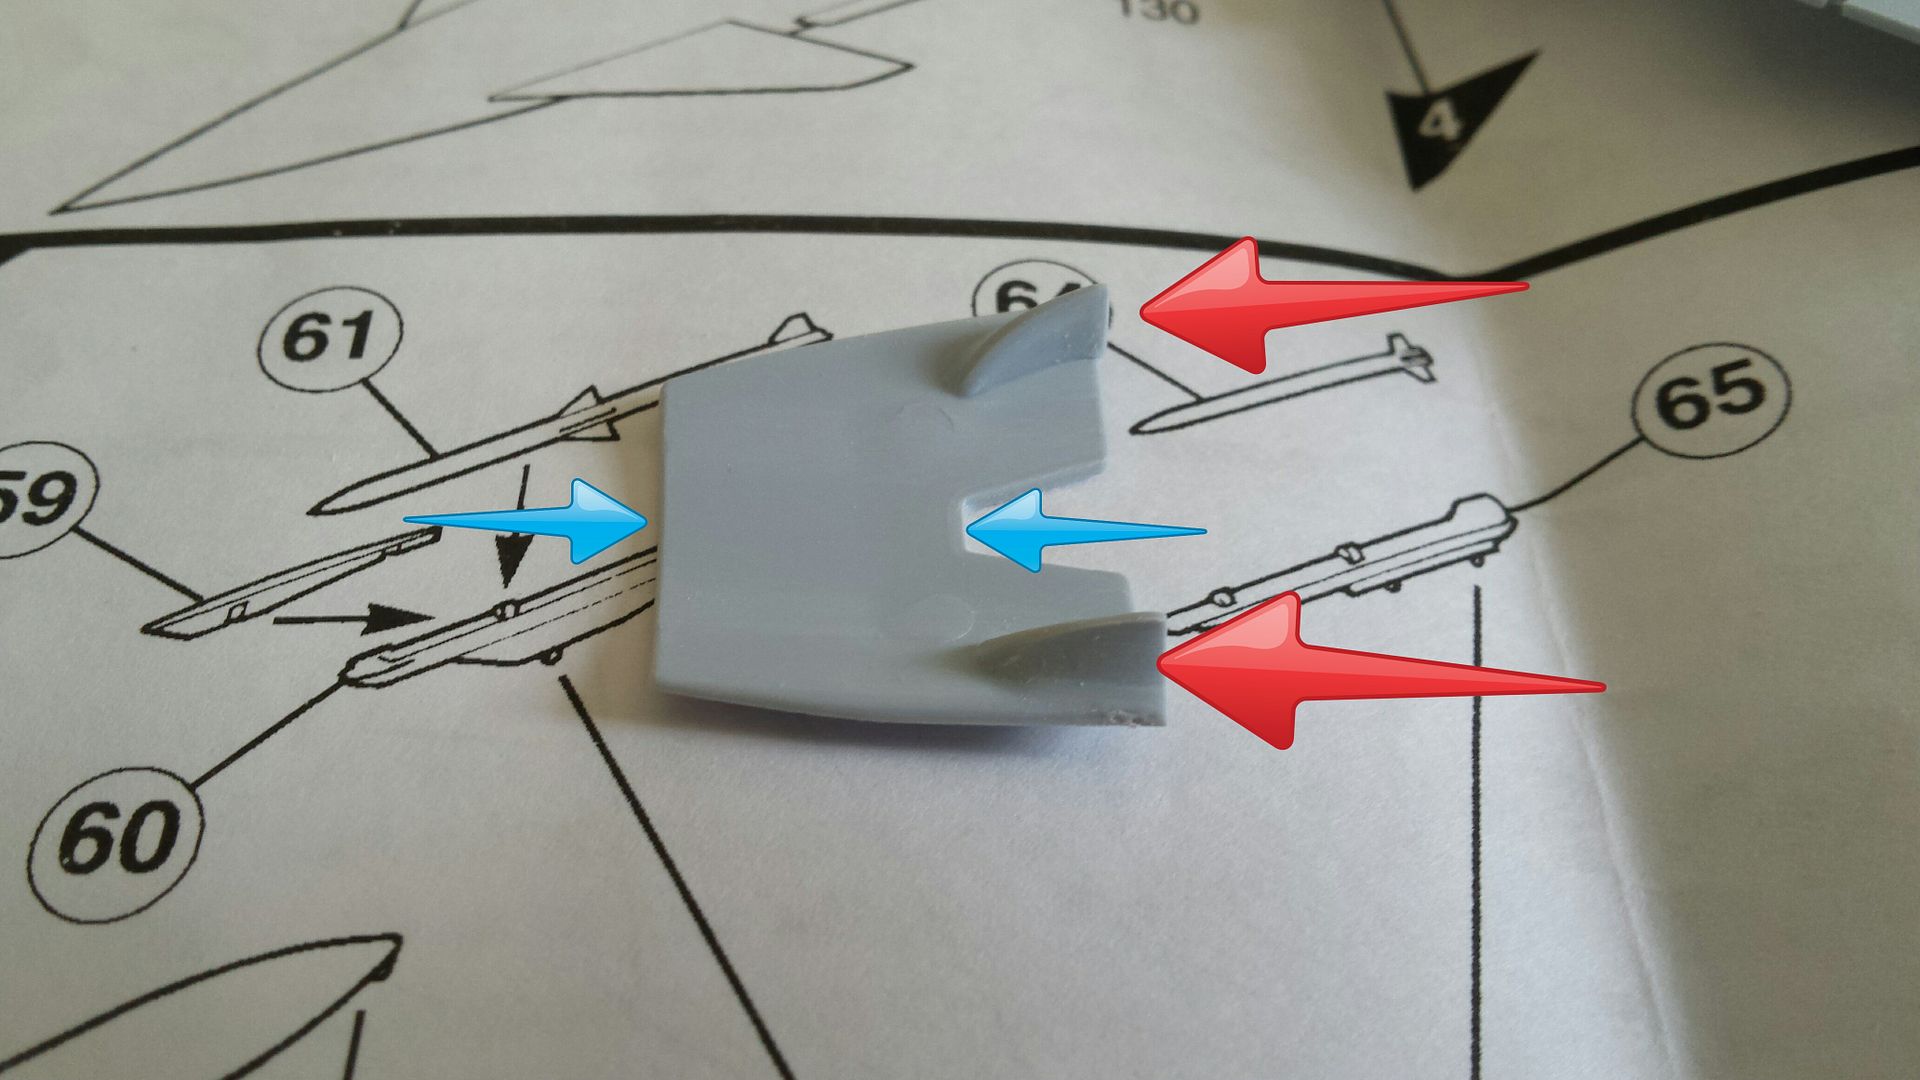
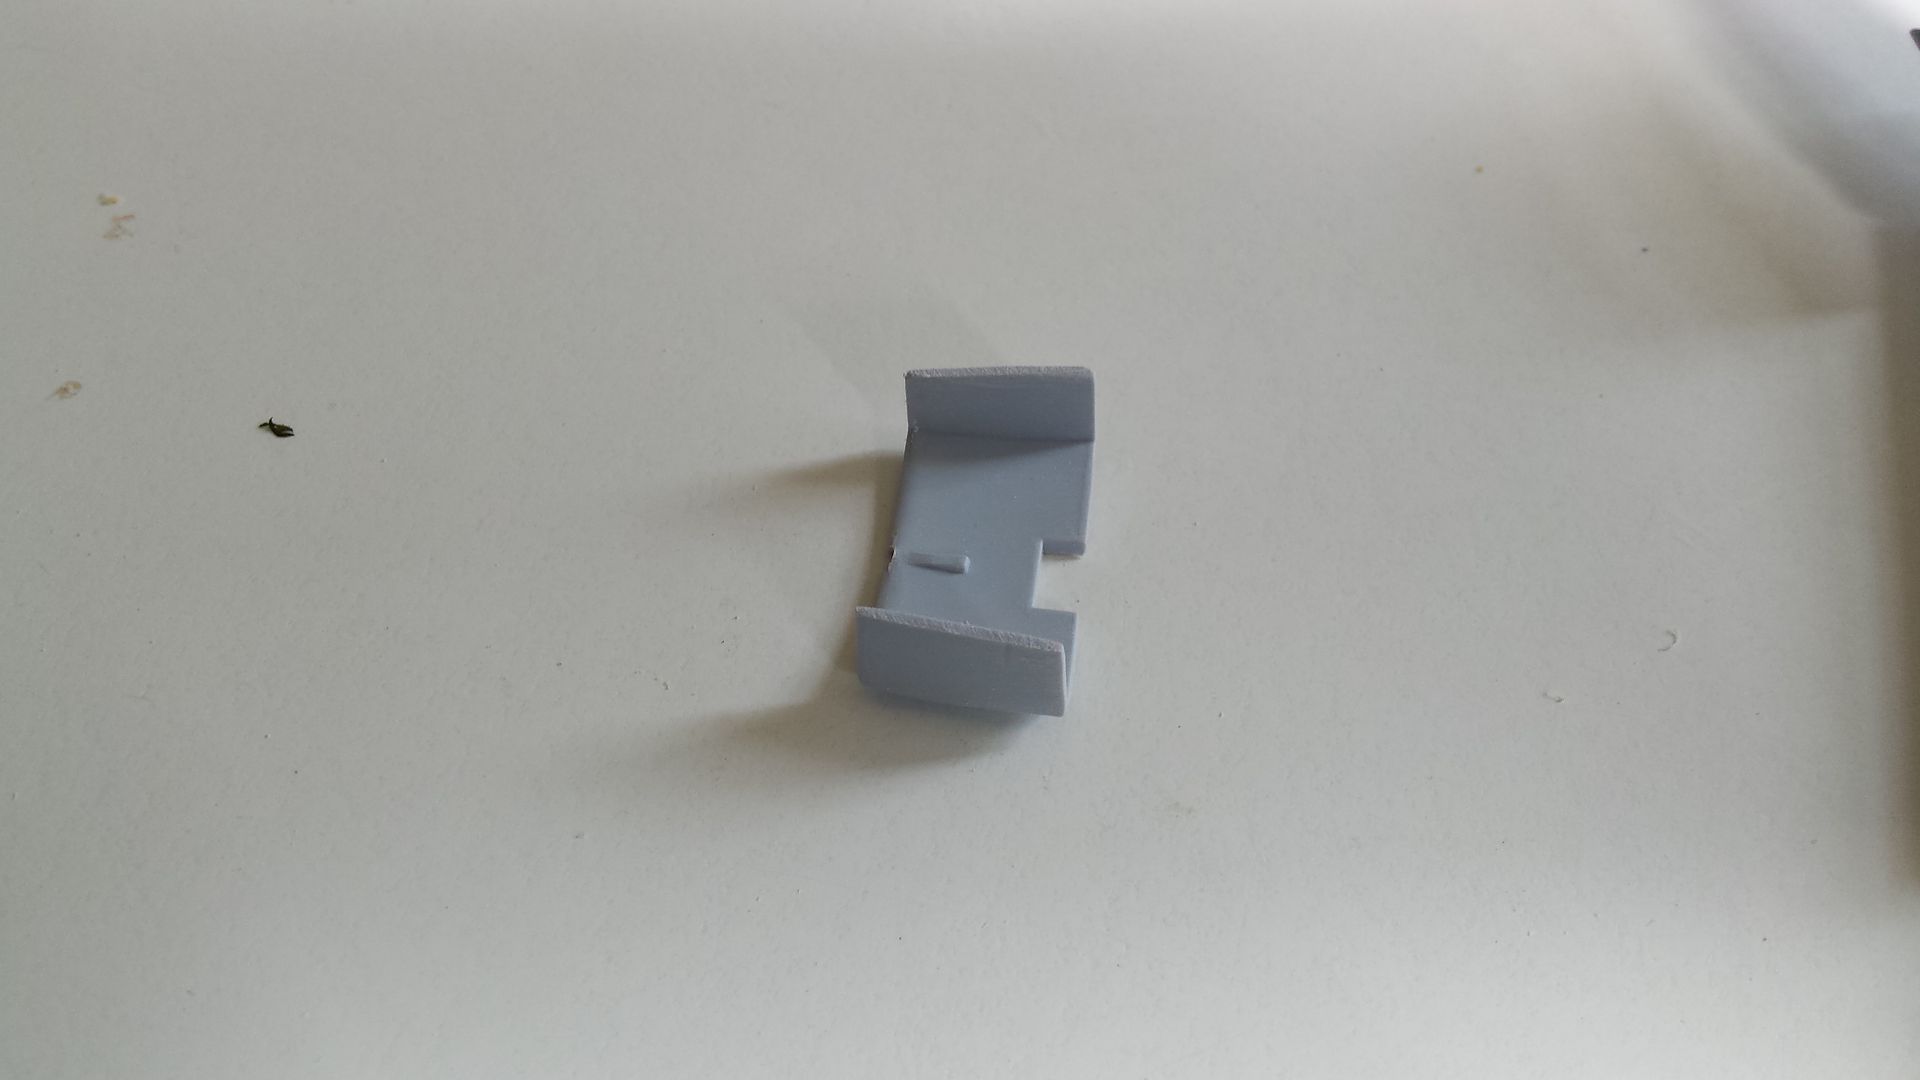
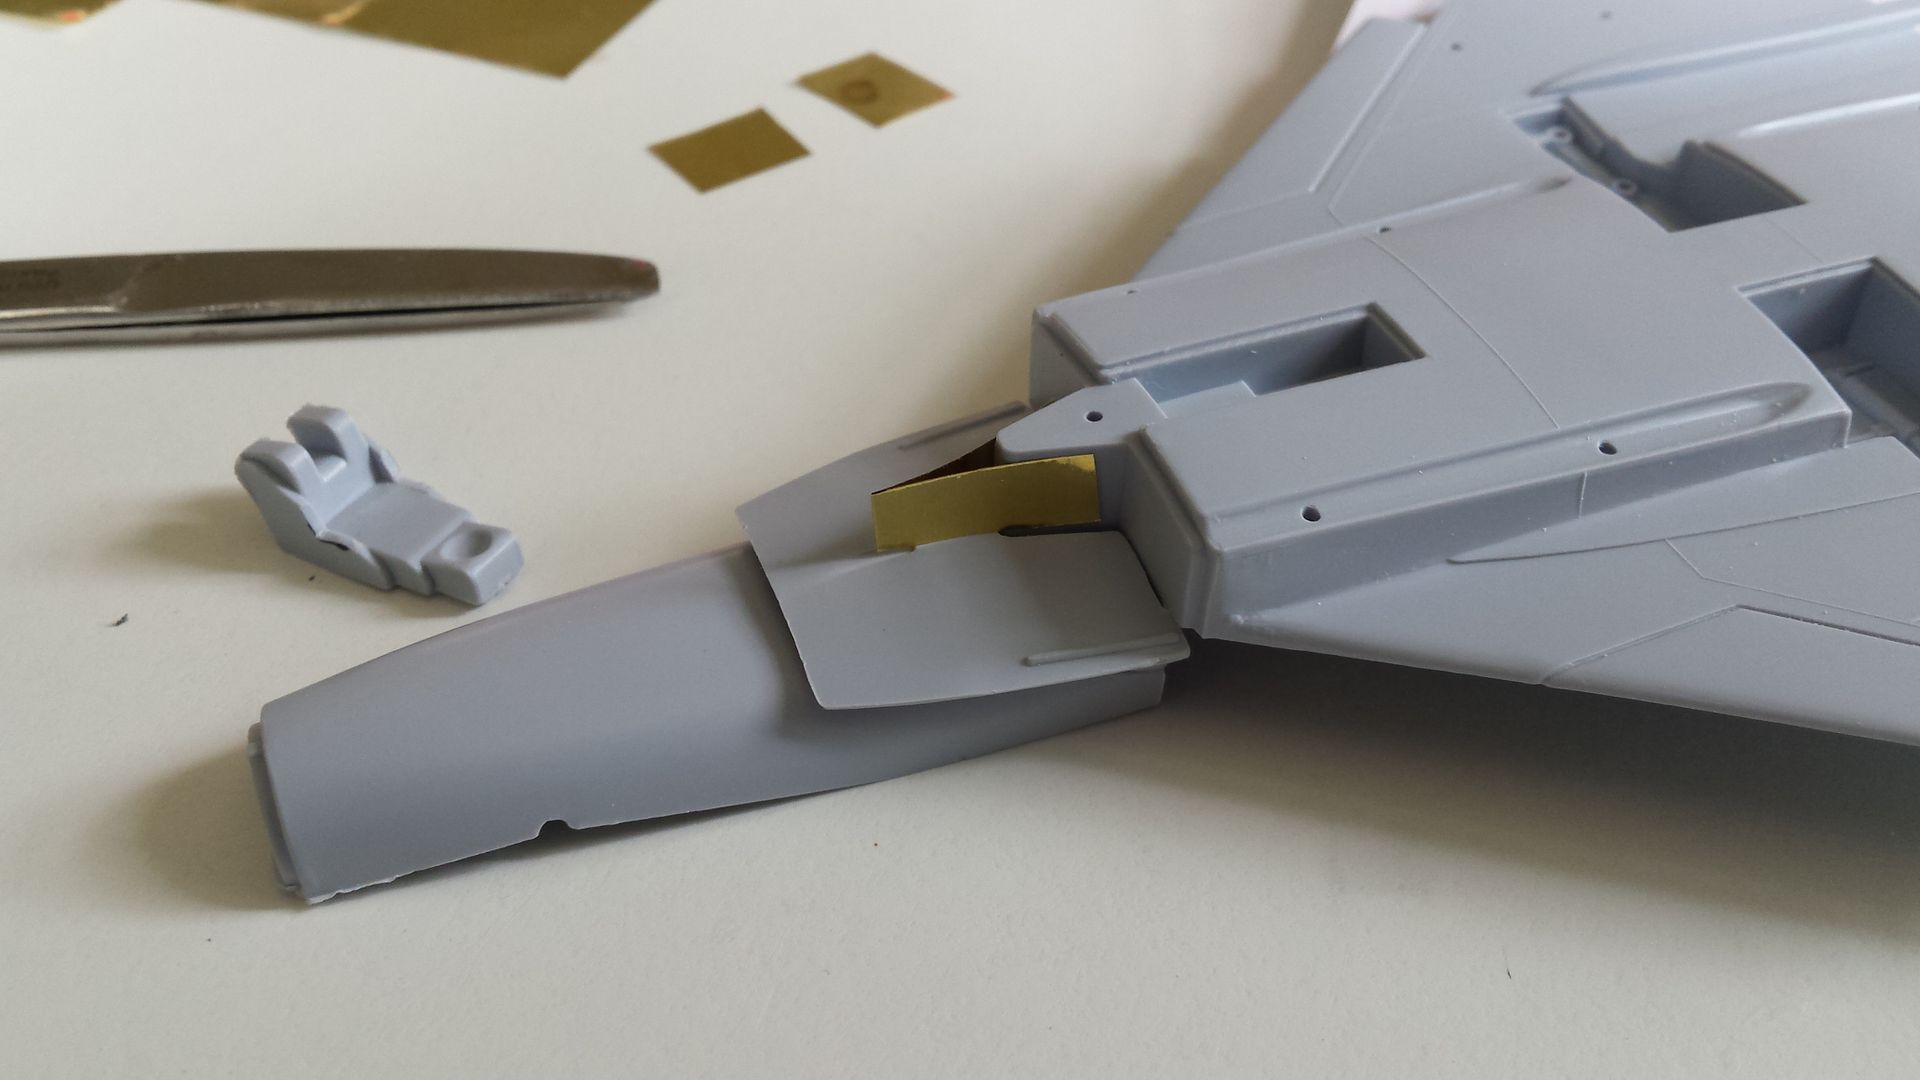
The splitter plate needs replacing entirely, as it does not protrude out of the intake in real life. Plus it's very chunky!
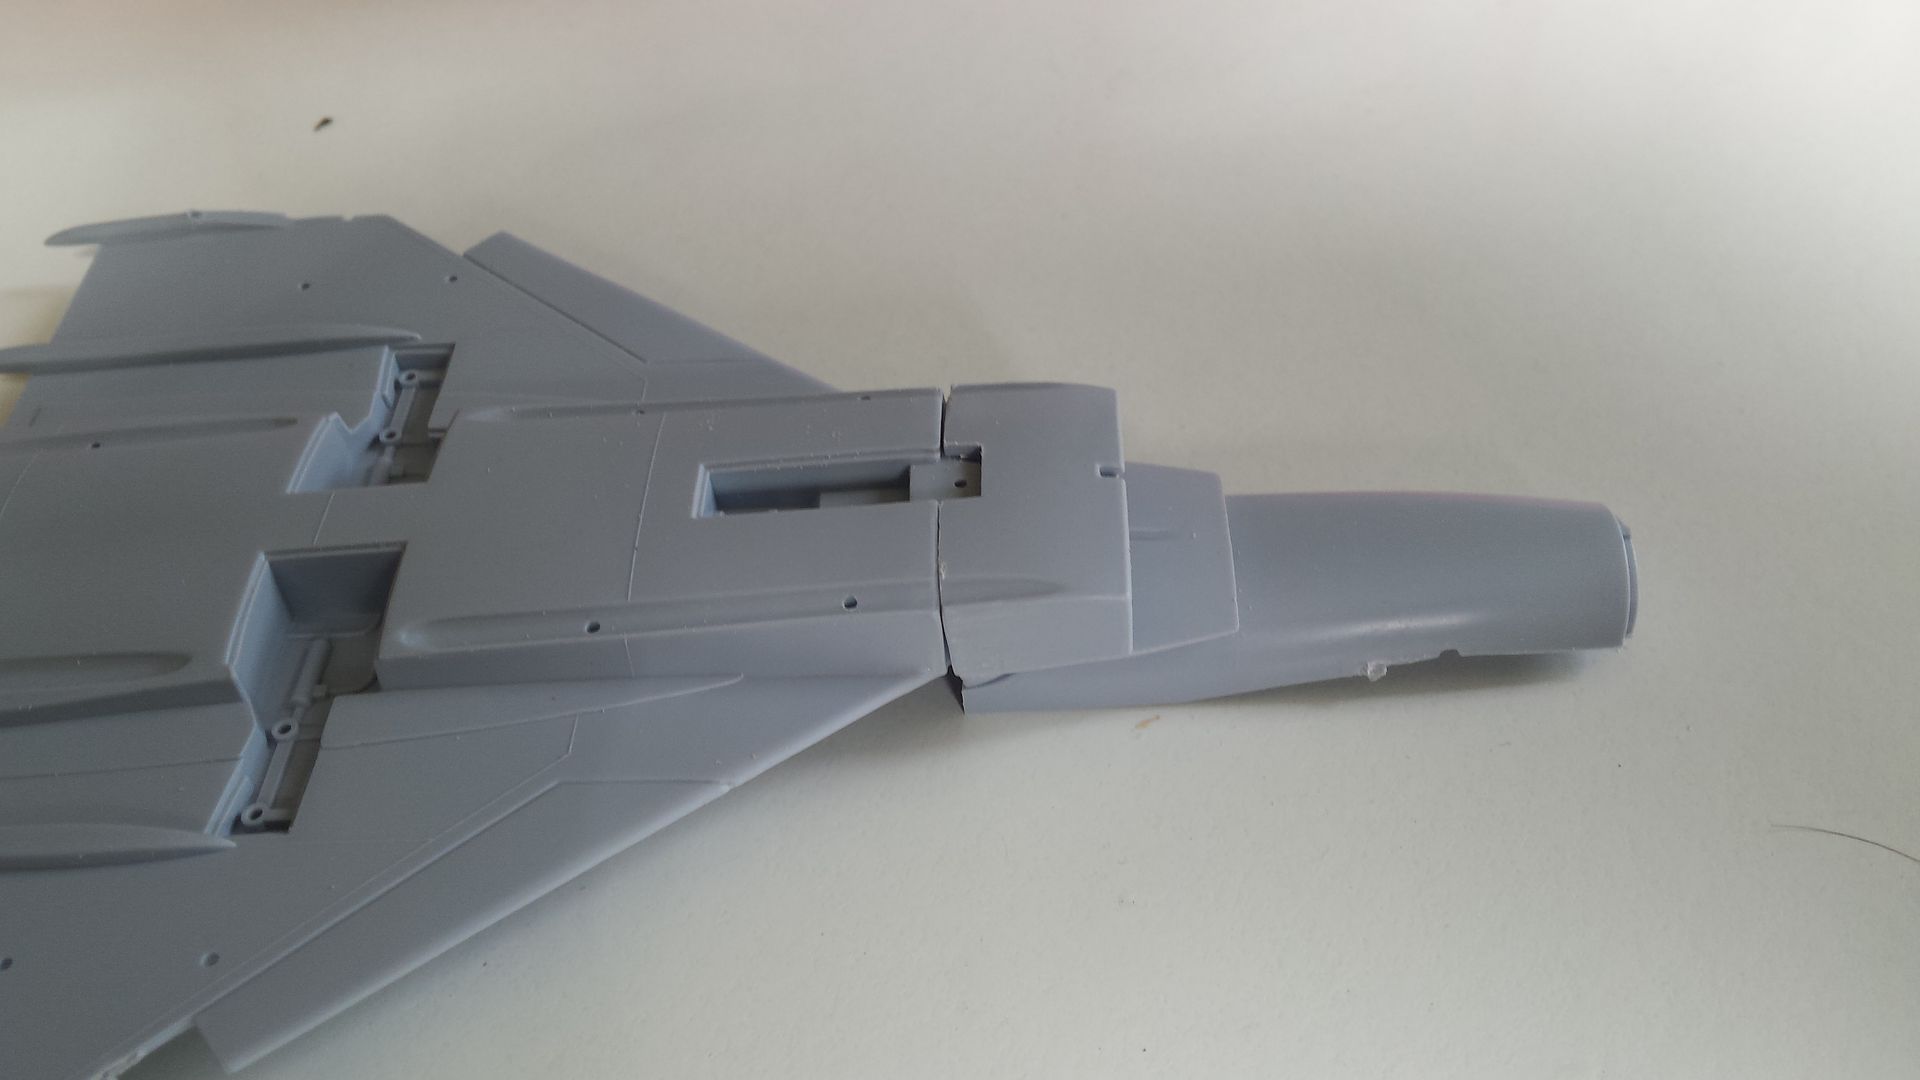
The plate between fuselage and intake does not blend in well to the fuselage. However, a much better fit can be obtained by gently bending it to a more rounded shape along the line indicated by the blue arrows.
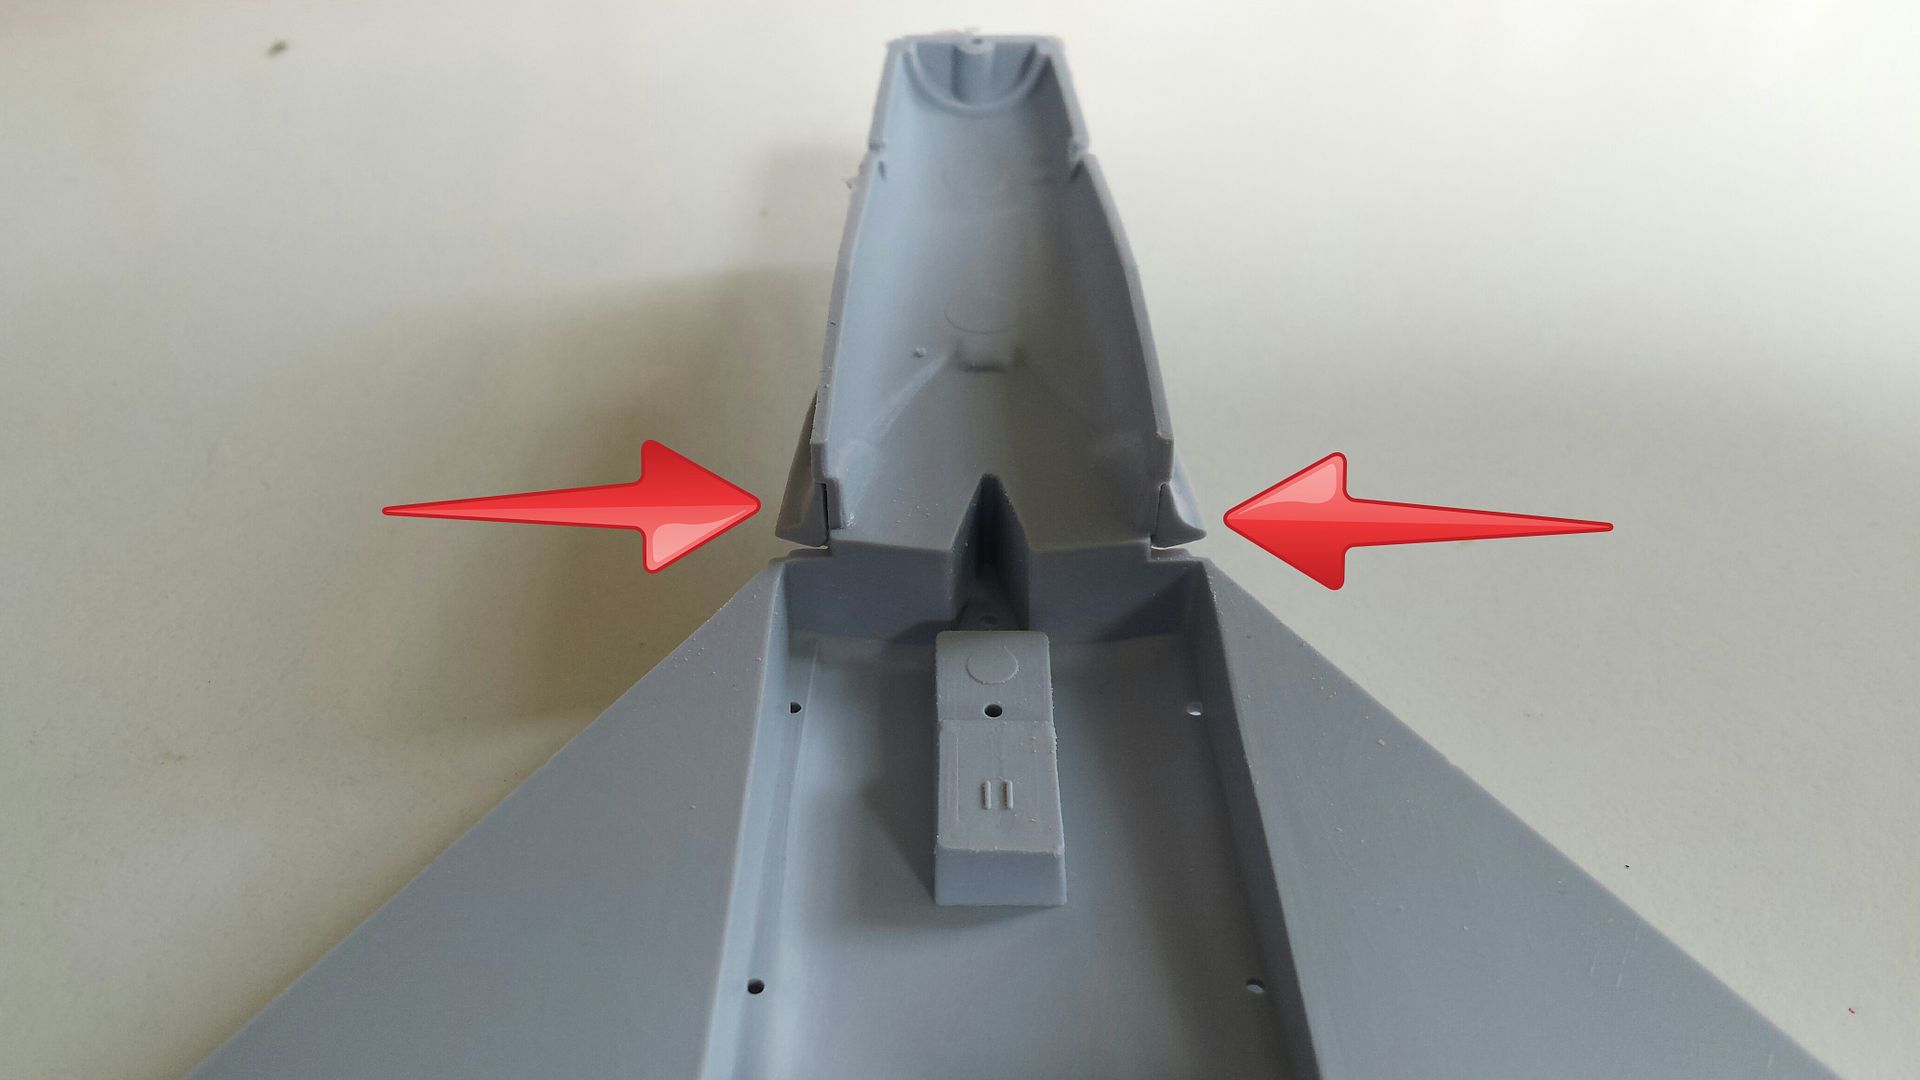
The other thing to do is thin the protruding "horns" (the red arrows). They look to me as if they have sink marks in them anyhow, so polish those out.
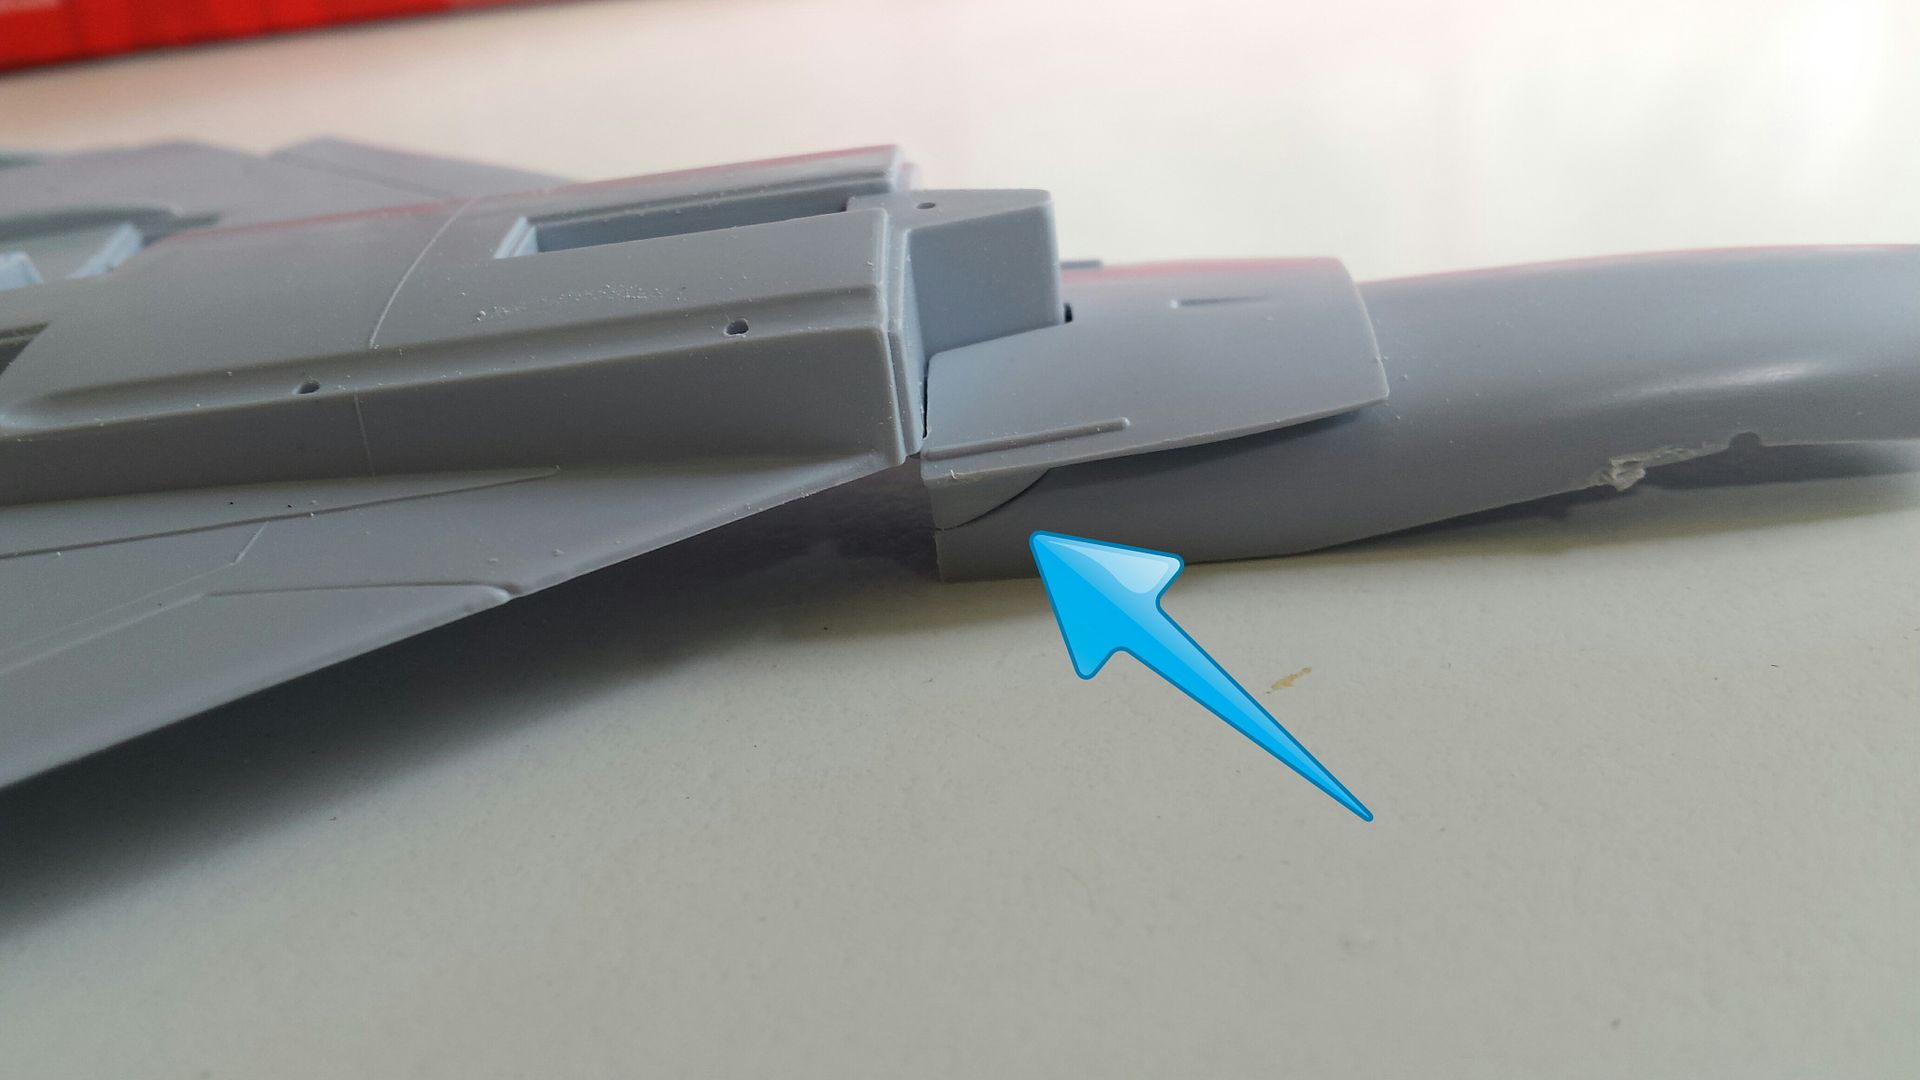
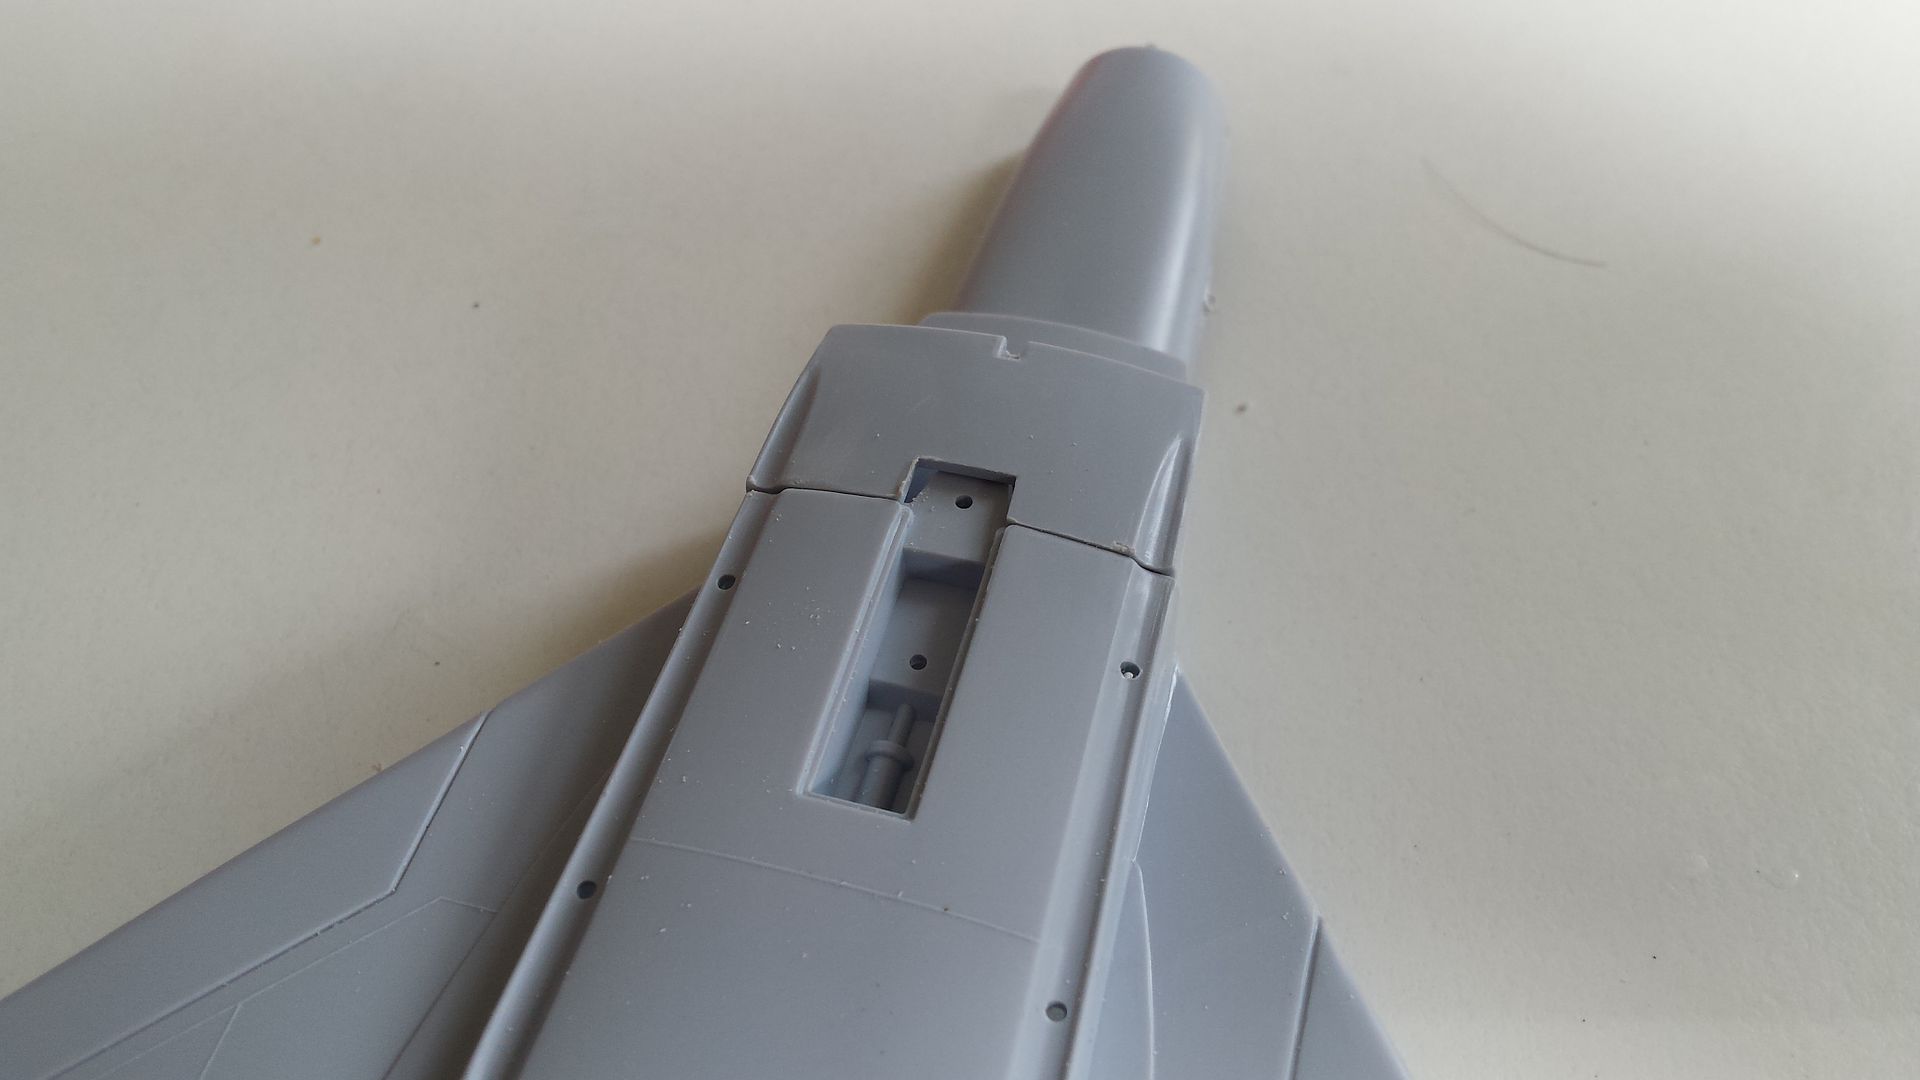
This greatly improves the fit. A little filler will still be needed, but not so much in that really awkward spot where the intake blends into the fuselage. You can check the fit by looking along the lower fuselage, to see if you have thinned those horns enough.
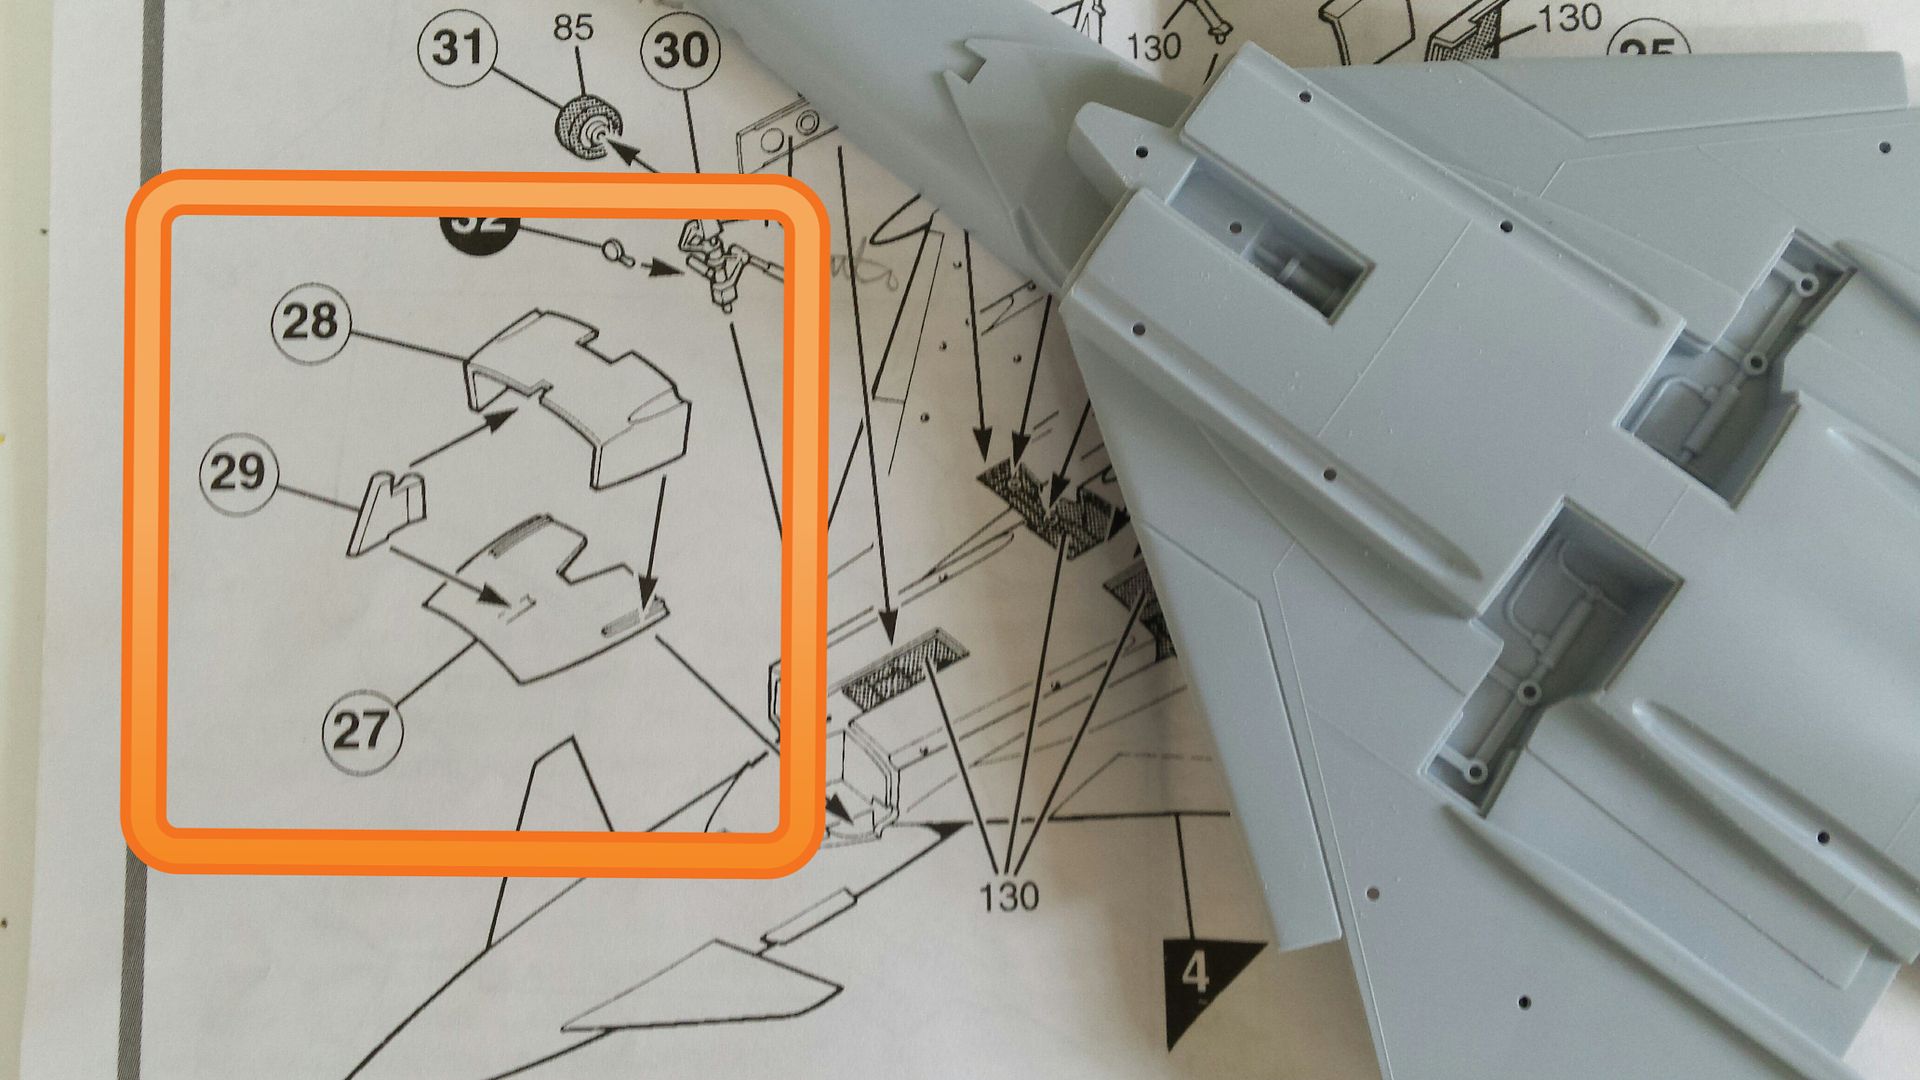
The outer casing, part 28, does need 0.5mm taking off the height. Something went wrong in the design process there!
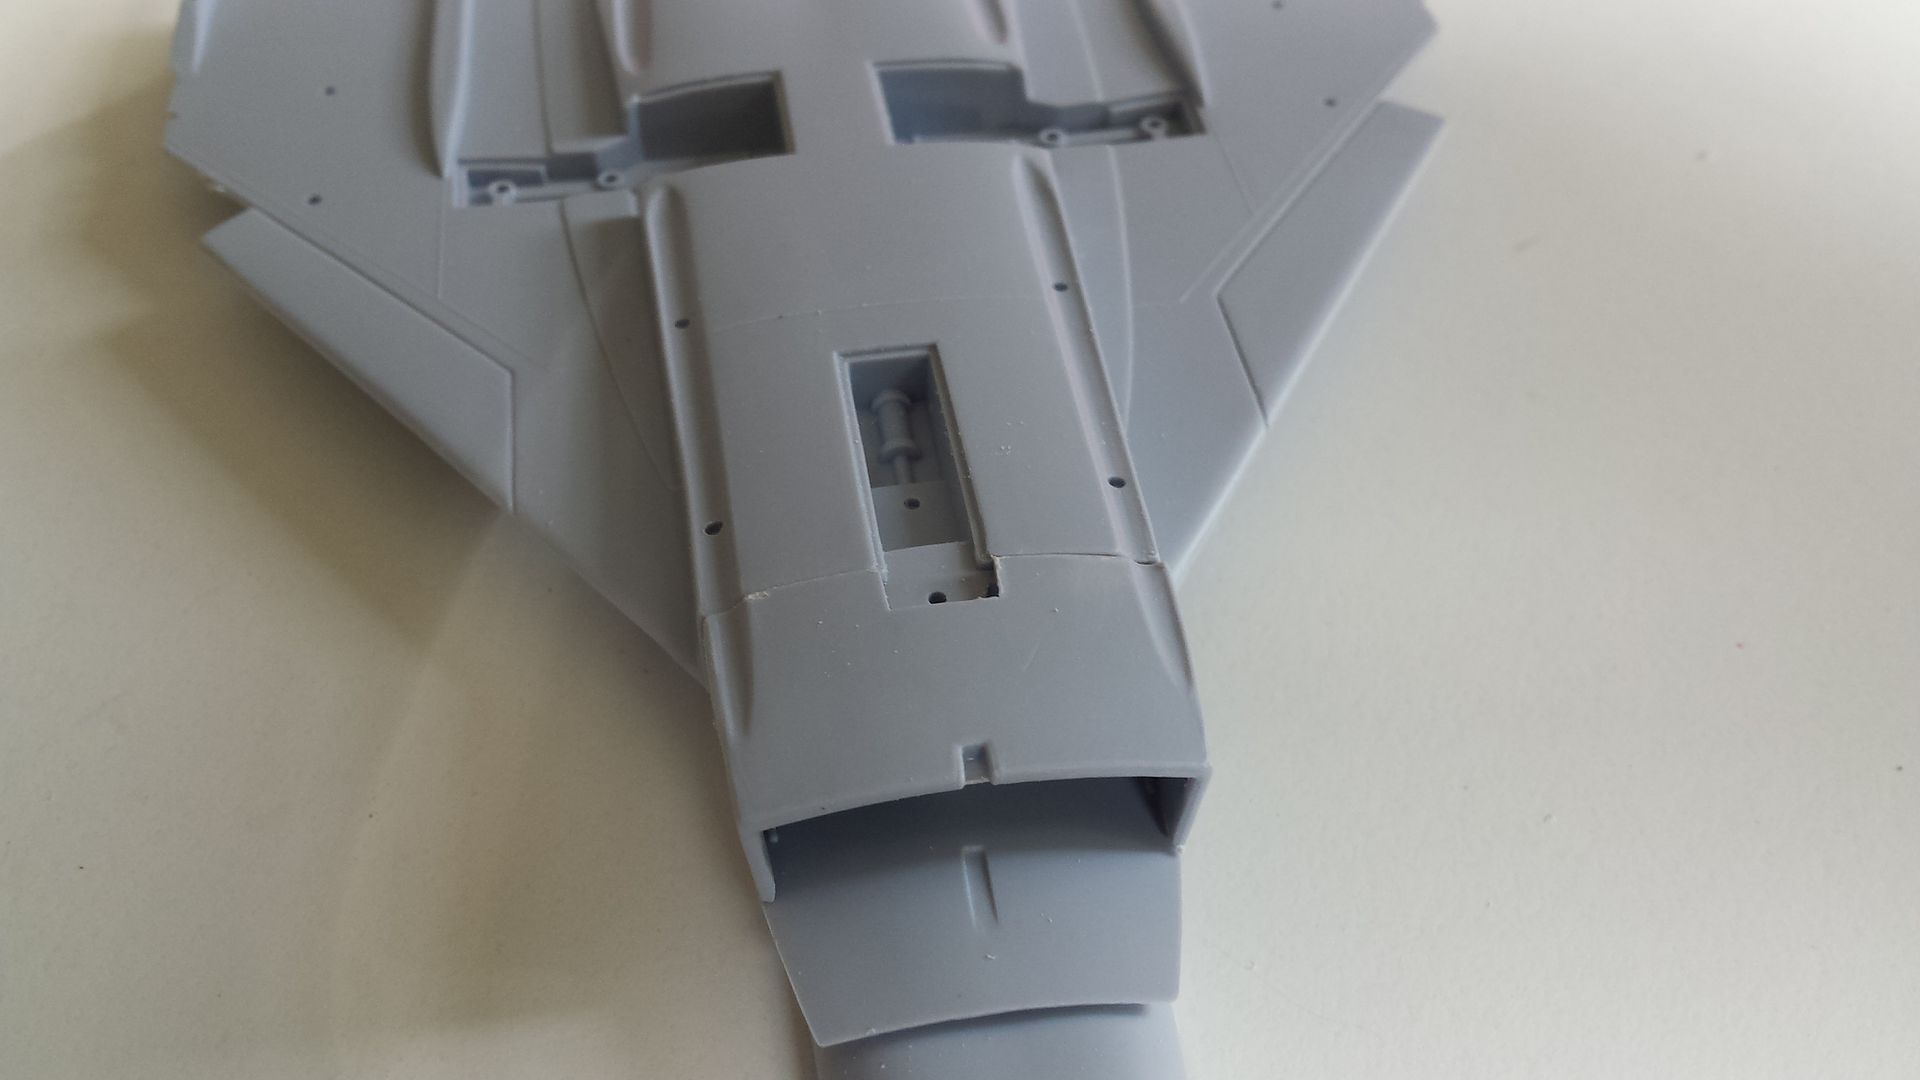
Once that has been sanded back, a dry fit shows that things are much better.
The splitter I will replace by a piece of thin brass shim. This can be creased to a fine edge, and trimmed with scissors.
Nothing very difficult about any of those modifications.
Cheers
Andrew


