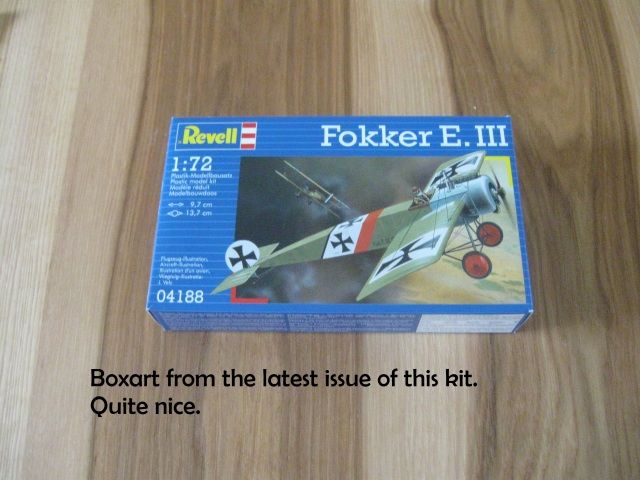
This is the latest issue of the venerable, nay, well worn, kit which John Fokker is also building.
The latest boxart isn't bad, but I wish Revell would stop using side-opening boxes.
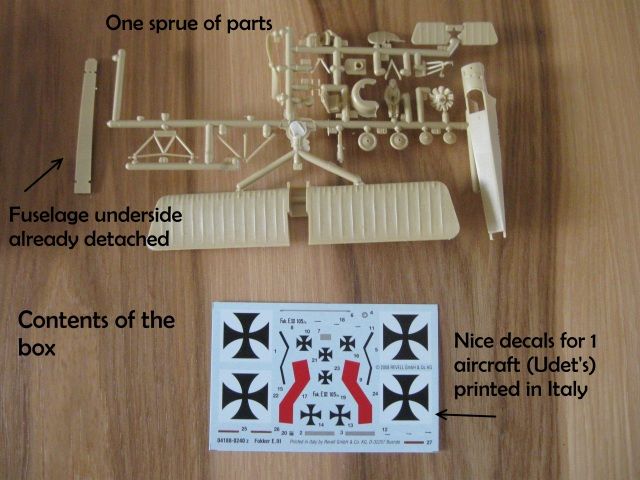
There's not much inside apart from the multilingual safety leaflet, which is rather larger than the instructions
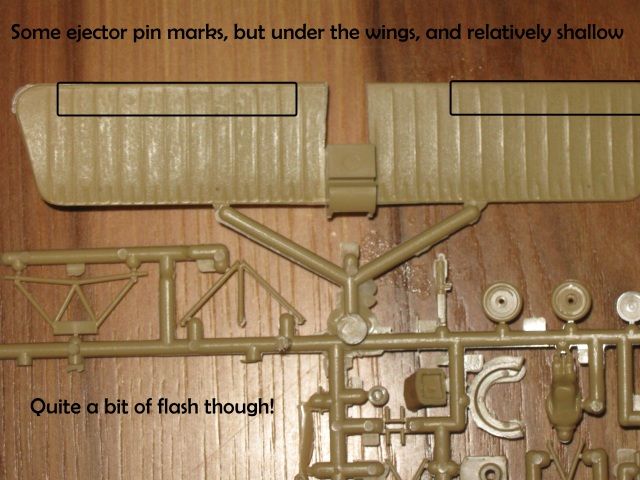
I fear that the tooling is wearing out, as there is a considerable amount of flash, and the plastic can hardly be described as "crisply moulded"
There are also some ejector pin marks, which are relatively shallow, and to be fair, are on the lower wing. Some cleanup will be needed. The rotary engine will certainly need a little fettling. The ribbing detail is very exaggerated, and might benefit from a little toning down.
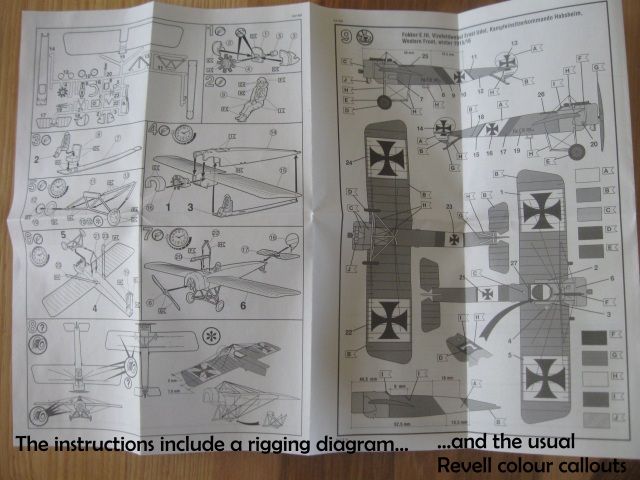
As you might expect, as there are few parts in this kit, the instructions are rather short. The painting guide does include a rigging diagram, which makes a nice change from the Revell DVII and the Airfix Albatros.
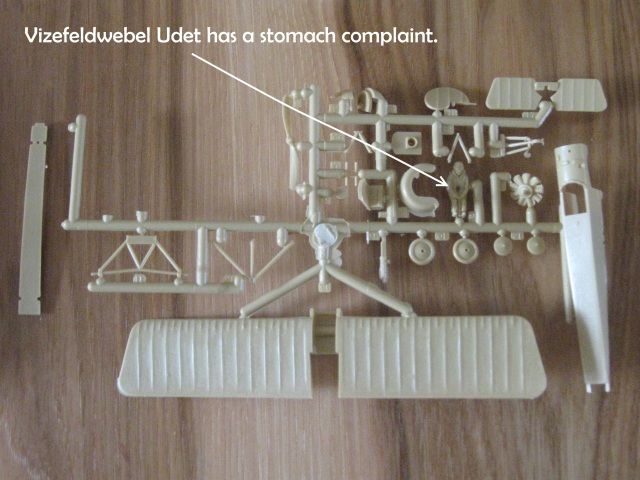
The machine gun looks pretty sad
cheers
Andrew