I'm glad you guys have been enjoying this, and I apologize for not updating sooner, but I'm going through some stuff right now, and modeling has not been high on the priority list.
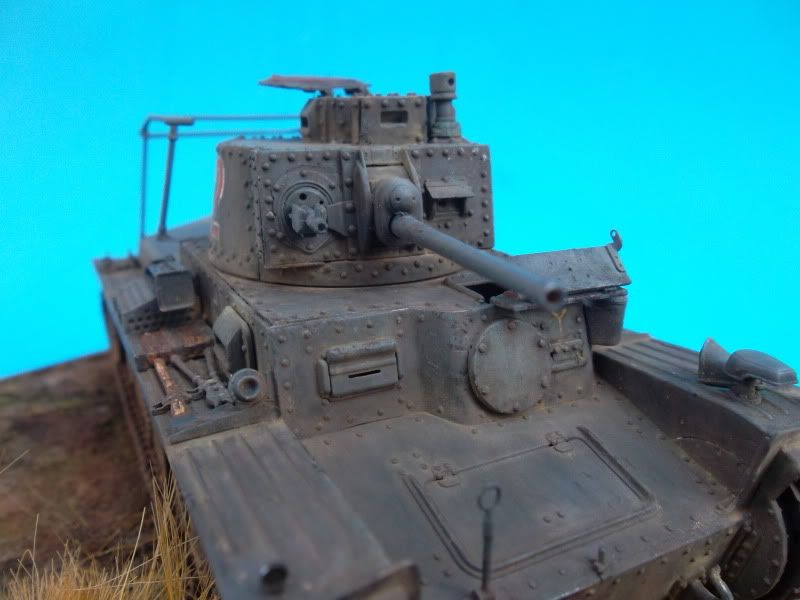
I did manage to do some more work on the 38(t) though. These are the final detailing steps.
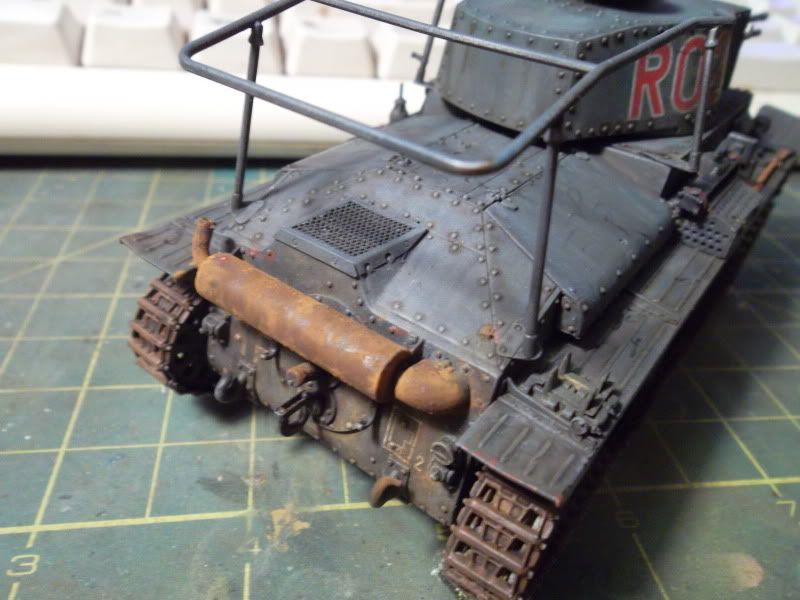
1) The muffler.
Rusting up a muffler is probably the easiest weathering step on an AFV. On this particular model I started by sloppily painting the muffler and associated pipage with Vallejo rust color. I intentionally left the color coverage uneven.
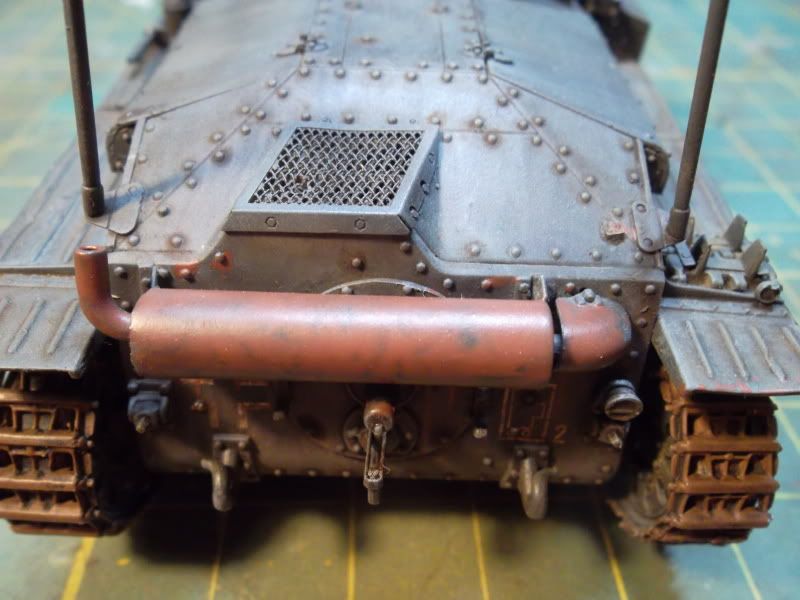
Once the paint was dry I dampened it all with thinner and began to stipple and daub deposits of ground pastels with a frayed old brush. I used a mixture of brown, black, and mostly orange pastels.
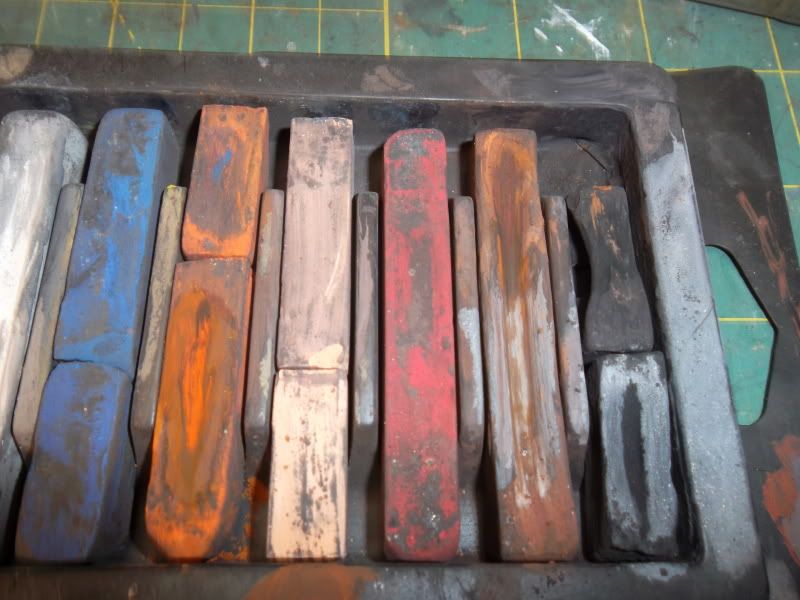
I made sure that there was variations in the color. Nothing looks worse than monochrome rust. In some portions I applied the pastels especially thick, so that their coarse grains showed in the finish. This was done by tapping the brush over the muffler and allowing the pastel dust to fall onto the wet/damp thinner. As the thinner dries the colors all turn a shade brighter and become somewhat fixed to the muffler. Do keep in mind that pastel finishes are fragile, and avoid handling the muffler directly after they dry.
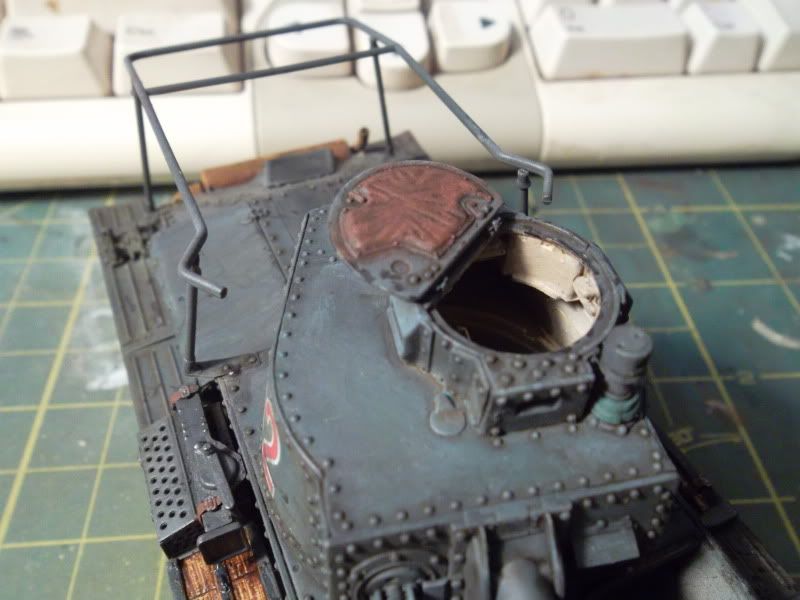
2. Leather
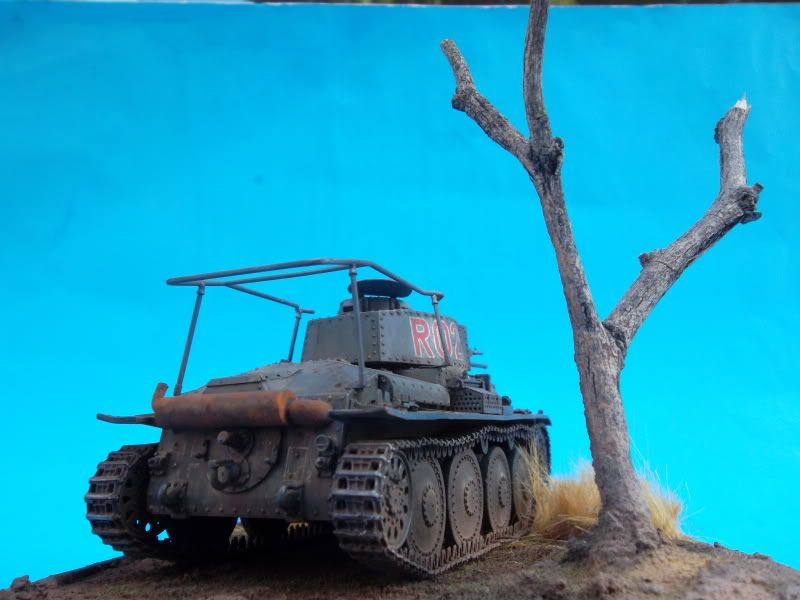
There aren't much leather-clad areas on the 38(t), but I decided to give the commander's hatch padding a leathery look. This was very simple as well. I first painted the pad in a mix of black and dark brown paint. Once it had dried, I dry brushed Vajello's shadows flesh.
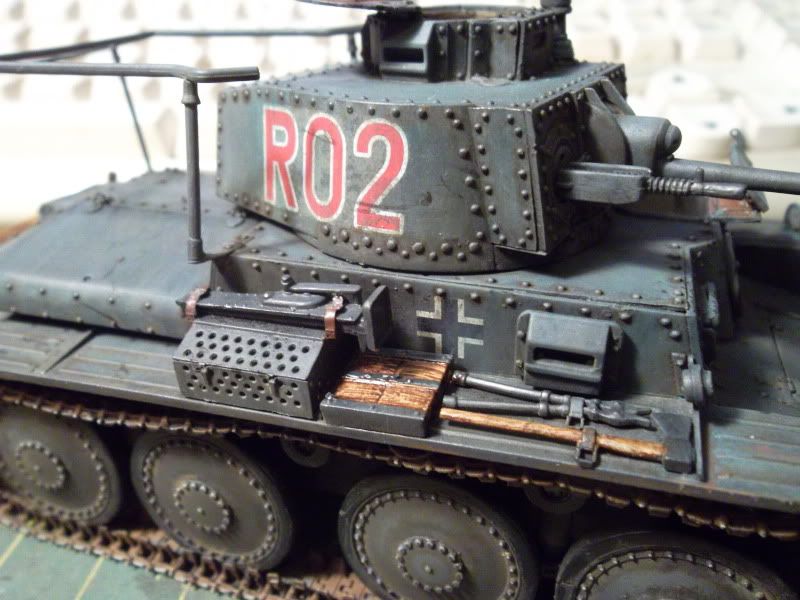
To finish off the hull, I applied a few paint chips using Model Master burnt Iron. I use this effect sparingly, and it often goes unnoticed, but it does add to the overall effect. I also decided to add a final wash coat of Vandyke brown oil around all of the bolts to help them pop out more. (this is not a necessary step, but all the filters had muted my original washes).
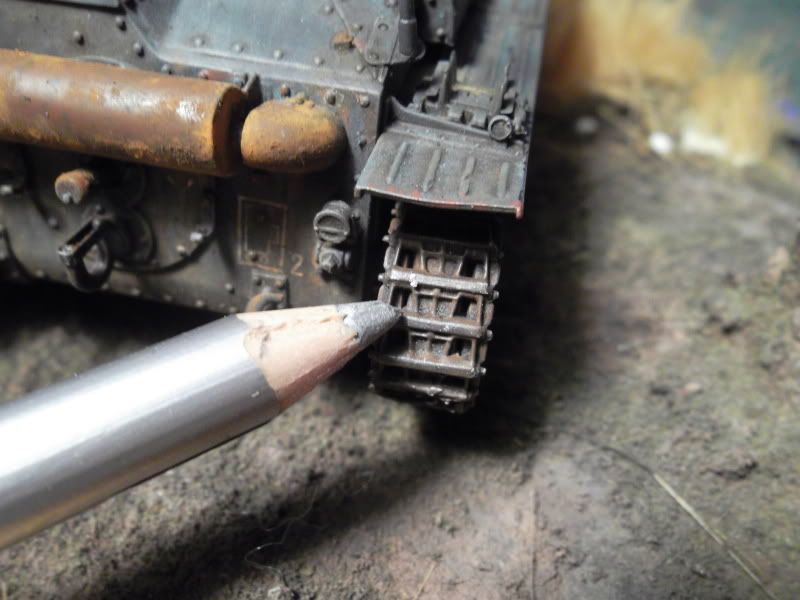
The final weathering step was to metalize the track. I did this by simply rubbing powdered graphite on the track teeth, the drive wheel sprockets, and the inner and outer faces of the track.
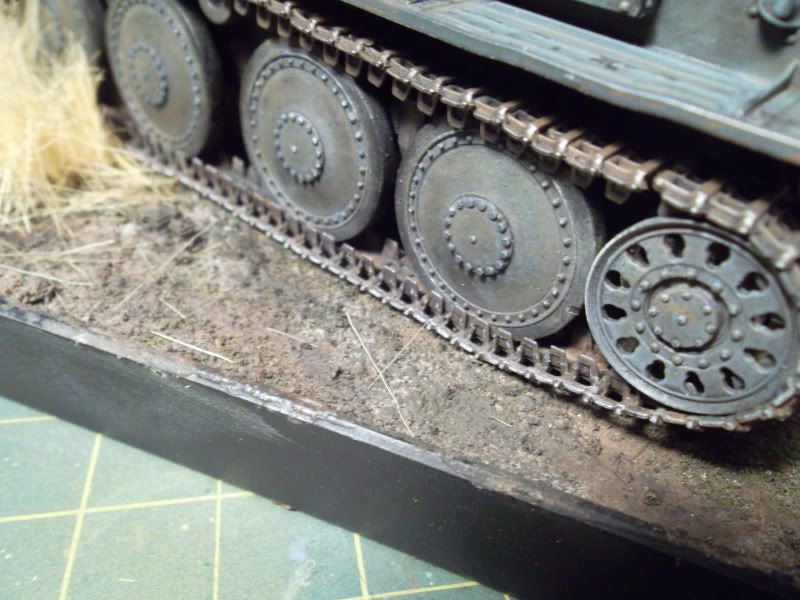
A final step was to rub the highest points of the outer faces of the track with a silver prismacolor pencil.
The kit is in effect finished at this point, but as its being set on a diorama base, I will add one final step to integrate it with the base. That's coming very soon.
Softscience's Step by Step AFV finishing guide
- Softscience
- Staring out the window
- Posts: 7488
- Joined: April 5th, 2011, 4:34 pm
- Location: Maryland, near Washington DC
- montessa315
- Modelling Gent and Scholar
- Posts: 1564
- Joined: May 1st, 2011, 9:34 am
- Location: Rugby - UK
Re: Softscience's Step by Step AFV finishing guide
A great job and very informative.
Always nice to see how people use different methods to achieve similar results.
Alan........
Always nice to see how people use different methods to achieve similar results.
Alan........
_______________________________________________________________________
If you always do what you've always done, you'll always get what you've always got.
- Beowulf Shaeffer
- Earning Reputation Points
- Posts: 823
- Joined: May 1st, 2011, 12:01 am
- Location: Monkey Hanger Town, UK
Re: Softscience's Step by Step AFV finishing guide
great progress
ive started playing around with oils trying the dot-filter..............just how long do you give the oils to dry?
The time you enjoy wasting is not wasted time........Bertrand Russell
On the Bench: Beagle
Next on the bench: not sure yet lol
On the Bench: Beagle
Next on the bench: not sure yet lol
- Beowulf Shaeffer
- Earning Reputation Points
- Posts: 823
- Joined: May 1st, 2011, 12:01 am
- Location: Monkey Hanger Town, UK
Re: Softscience's Step by Step AFV finishing guide
a question.........
im trying to get the order of things in my head.....
paint model (i use acrylics)
i coat with klear
add decals
add wash (i use citadel washes so need the klear for that to work)
acrylic matt varnish to seal and matt down
oil dot filter coat
leave alone for ages to dry properly
add mud/dust as required
is that how you do it?
The time you enjoy wasting is not wasted time........Bertrand Russell
On the Bench: Beagle
Next on the bench: not sure yet lol
On the Bench: Beagle
Next on the bench: not sure yet lol
- Softscience
- Staring out the window
- Posts: 7488
- Joined: April 5th, 2011, 4:34 pm
- Location: Maryland, near Washington DC
Re: Softscience's Step by Step AFV finishing guide
More or less. The oil dot filters don't take so long to dry though. Once the thinner evaporates out, you can seal the oils with a clear coat after 24 hours.
- Beowulf Shaeffer
- Earning Reputation Points
- Posts: 823
- Joined: May 1st, 2011, 12:01 am
- Location: Monkey Hanger Town, UK
Re: Softscience's Step by Step AFV finishing guide
thanks for that
*goes off to practice more*
The time you enjoy wasting is not wasted time........Bertrand Russell
On the Bench: Beagle
Next on the bench: not sure yet lol
On the Bench: Beagle
Next on the bench: not sure yet lol
- Softscience
- Staring out the window
- Posts: 7488
- Joined: April 5th, 2011, 4:34 pm
- Location: Maryland, near Washington DC
Re: Softscience's Step by Step AFV finishing guide
The final step in this model was to glue it to a diorama base. Once done I used a 0/0 brush to apply pastel powders into areas where the tank would collect dust. I tried to match the pastel colors to drier, dustier versions of the diorama ground colors (color sympathy). I began with the lightest (driest) shade, a yellow ocher, and followed up with darker browns over it.
The result
More photos are in a separate thread in the AFV subforum
The result
More photos are in a separate thread in the AFV subforum