I was in two minds about joining in this GB. I had bought a couple of Gnats and the S&M Silk decal sheet but, with my commitment to the Victor for the Falklands GB, I didn't know whether I'd actually have the time. I did think about saving the kits for the creepy crawly GB (Gnats are insects too) but with the Victor heading into the paint stage and thus needing more drying time, I thought I'd take the plunge. I actually started work several days ago but my computers motherboard decided to commit hara kiri and I've been PC-less for a while
Anyway, this is my master plan
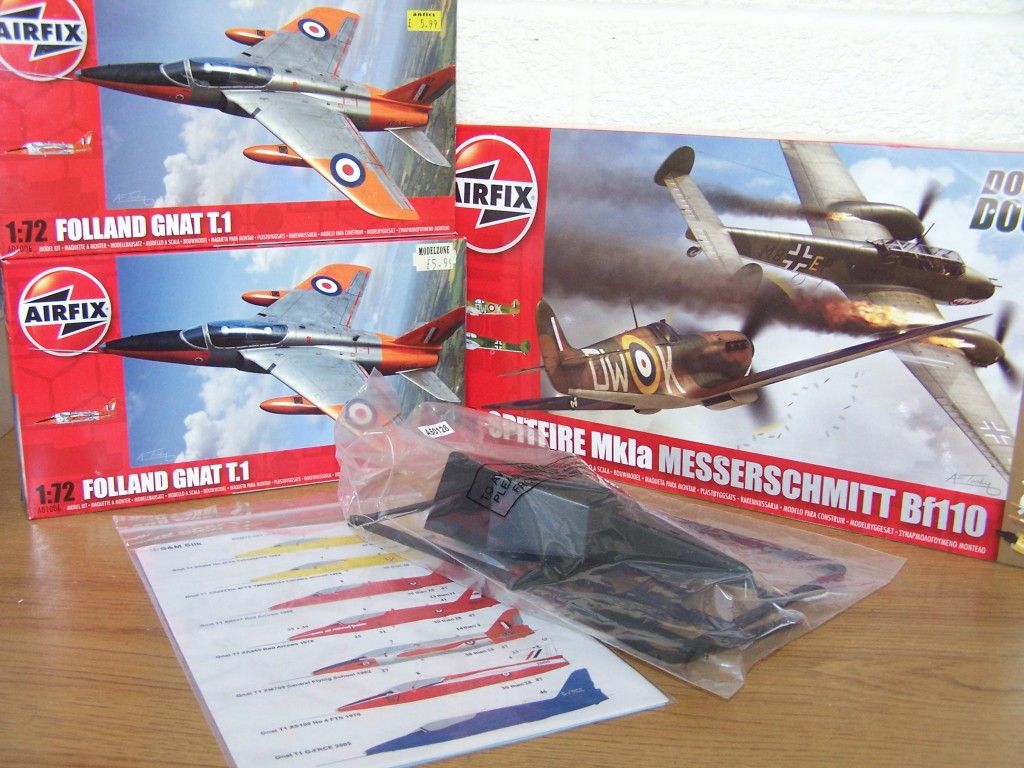
Yes, that's right. Two Gnats, a Spitfire and an Me110.
Seriously, I picked up the dogfight double at a TK Maxx store a couple of weeks ago for the princely sum of £7.99. The box had been opened but it was all there and, at that price, too good to leave. It's just a shame that there was only one of them.
As the Spit and the 110 are just sooo nice I want to build them on the ground rather than in the air, perhaps with different decals too. While I was examining these ("fondling" might be a more appropriate term) I had a flash of inspiration. It had always been my intention to build the two Gnats as Yellowjacks, a team leader and a team member, and, preferably, in flight. What I had in the dogfight kit was the perfect stand. The Gnat even hes holes provided for this type of stand. As we say in Wales - Tidy Darts.
So it was on with the dual build.
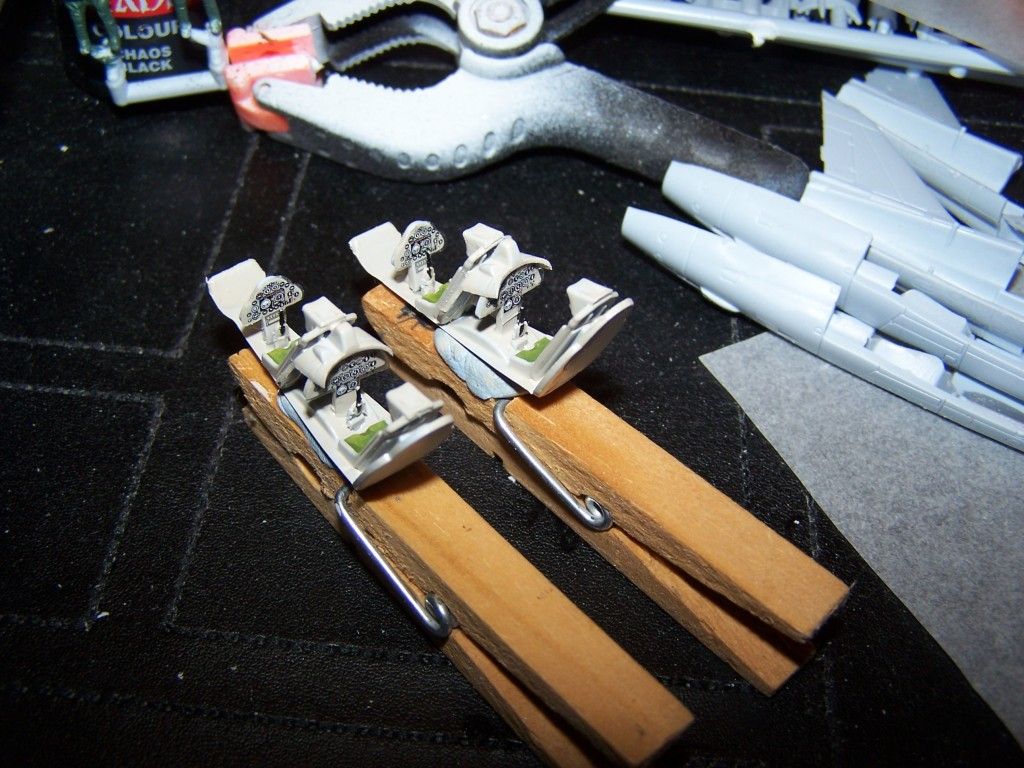
First, just to be original, I started with the cockpit(s)
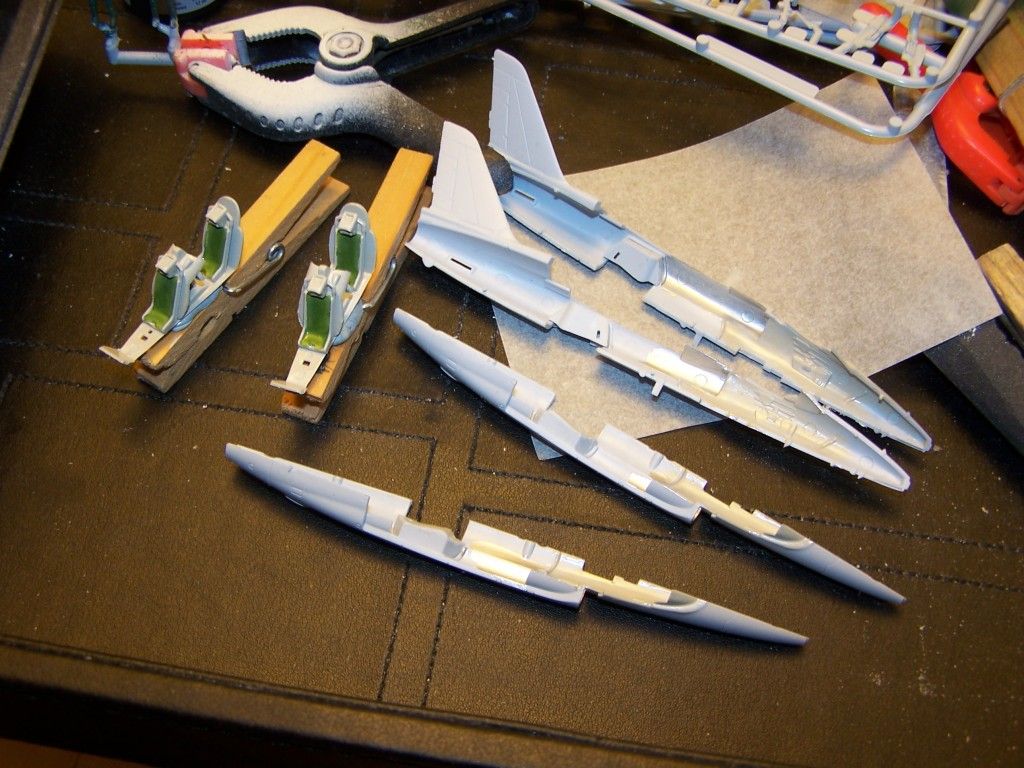
A bit of assembly and a coat of light grey, followed by some H80 for the seat cushions and backs. The sidewalls got some more light grey and a bit of silver, as per the instructions. So far, so good.
Then the instrument decals went on and the control columns were fitted. This kit does make an impressive cockpit with very little work.
With no reason to prevaricate, a black wash was applied to lift the internal detail, the intake inserts were fitted and the fuselage halves joined together.
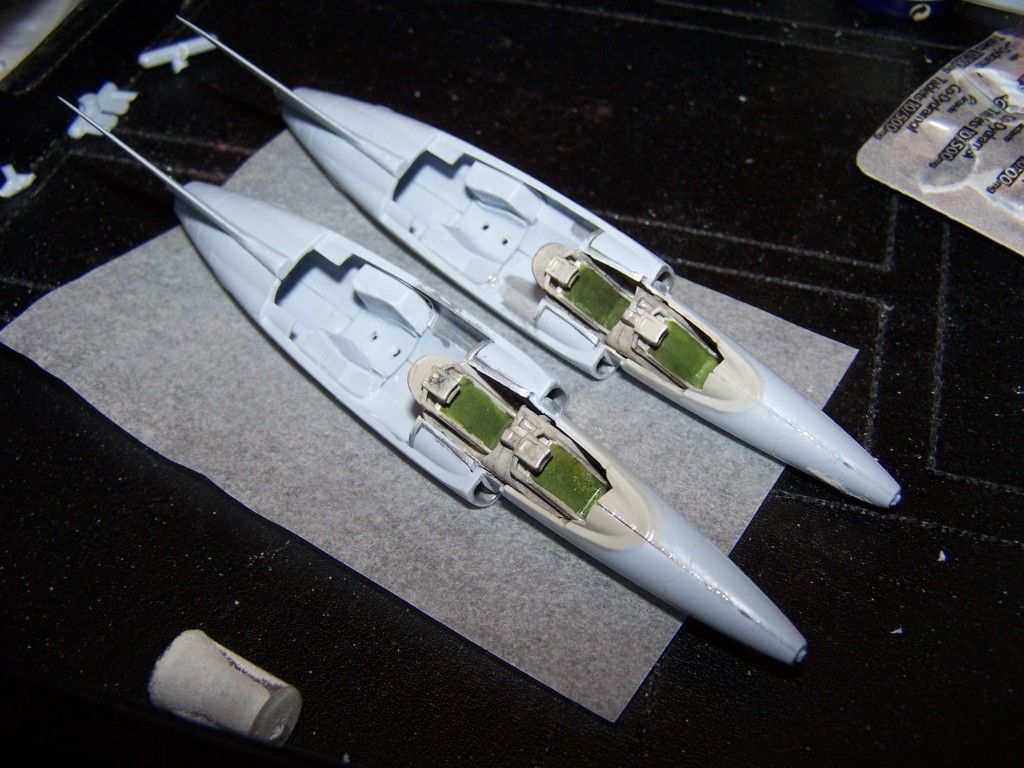
Both kits needed some material removed from the right hand side to make the halves close properly. Zap-a-gap soon put a stop to any arguements over what went where.
Next up were the flying surfaces. As I'm sure you've all experienced, the mainplanes are an absolute delight to construct. If only all kits were like this.
Then they were attached to their respective fuselages along with the tailplanes.
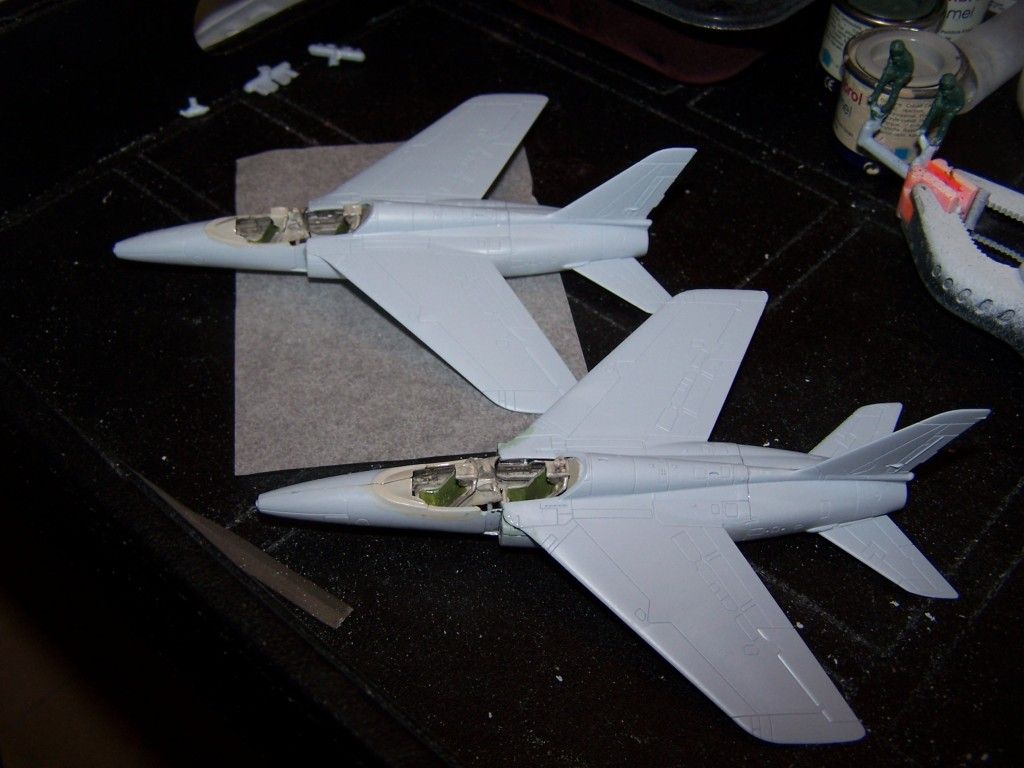
I didn't experience any real problems with this fit. The only things that needed any attention was to very lightly sand a little from underneath the rear edges to improve the fit and one of the kits required a little filler at the front shoulders and along the fuselage join. I did this with Citadel Green Stuff immediately smoothed with a damp cotton bud (Q-Tip to our American friends).
And this is where they are now. A quick build with pleasing results and a real panacea from my epic Victor wresting match. More soon.
Two for One
- Dazzled
- Modelling Gent and Scholar
- Posts: 9592
- Joined: October 1st, 2011, 11:08 pm
- Location: Mid Glamorgan, South Wales
- Contact:
Two for One
COLD WAR S.I.G. LEADER
Wherever there's danger, wherever there's trouble, wherever there's important work to be done....I'll be somewhere else building a model!
- Dazzled
- Modelling Gent and Scholar
- Posts: 9592
- Joined: October 1st, 2011, 11:08 pm
- Location: Mid Glamorgan, South Wales
- Contact:
Re: Two for One
Intakes, nose u/c doors and pitot probes fitted. A little filling, a modicum of sanding, pilots butchered to fit the forward seats and canopies stuck on with clearfix. I need to leave the Clearfix overnight to set up and then the Yellowjacks will be ready for masking and painting.
This is how they look now.
COLD WAR S.I.G. LEADER
Wherever there's danger, wherever there's trouble, wherever there's important work to be done....I'll be somewhere else building a model!
- JamesPerrin
- Looks like his avatar
- Posts: 13684
- Joined: April 5th, 2011, 8:09 pm
- Location: W. Yorkshire
- Contact:
Re: Two for One
Well done you've got this far a lot quicker than I have. One thing I would say I thing the cockpit grey is too light on yours and some other builds. I think dark sea grey is a better choice with the console being black after looking at several photos, .
Classic British Kits SIG Leader Better to fettle than to fill
(2024 A:B 5:2) (2023 13:8:7) (2022 21:11) (2021 15:8) (2020 8:4:4)
- Dazzled
- Modelling Gent and Scholar
- Posts: 9592
- Joined: October 1st, 2011, 11:08 pm
- Location: Mid Glamorgan, South Wales
- Contact:
Re: Two for One
I think you're probably right James but I'm OK with the colour of mine and I did apply a very dark black wash to the details. As I remember from the one that was in the museum hangar where I used to work, the pit was considerably darker than the colours called for in the kit. Although it was about 15 years ago and, old fart that I'm getting to be, the memory does fade a little.
COLD WAR S.I.G. LEADER
Wherever there's danger, wherever there's trouble, wherever there's important work to be done....I'll be somewhere else building a model!
- splash
- Senior Service Rotorhead
- Posts: 13828
- Joined: May 1st, 2011, 11:02 am
- Location: Somerset England
Re: Two for One
I like the green you used on the seats, what is it?
Regards
Splash
Regards
Splash
My work bench is starting to look like Portsmouth Naval Dockyard.