Pro-Modeller 1/48 Me.410 Hornisse (...and a Revell 1/48 Bf.110 Wespe, but don't tell no-one)
As my initial proposal to build an Bf.110 Wespe has been disallowed I have decided to go with the very similar kit of the Me.410 Hornisse.
That being the case, and as both aircraft are very similar, I will build both simultaneously and just report on the Hornisse (with the occasional Wespe picture thrown in for good measure). After all, if you've got the RLM grey paints open for one 1/48 kit, you may as well do the other at the same time don't you think?!
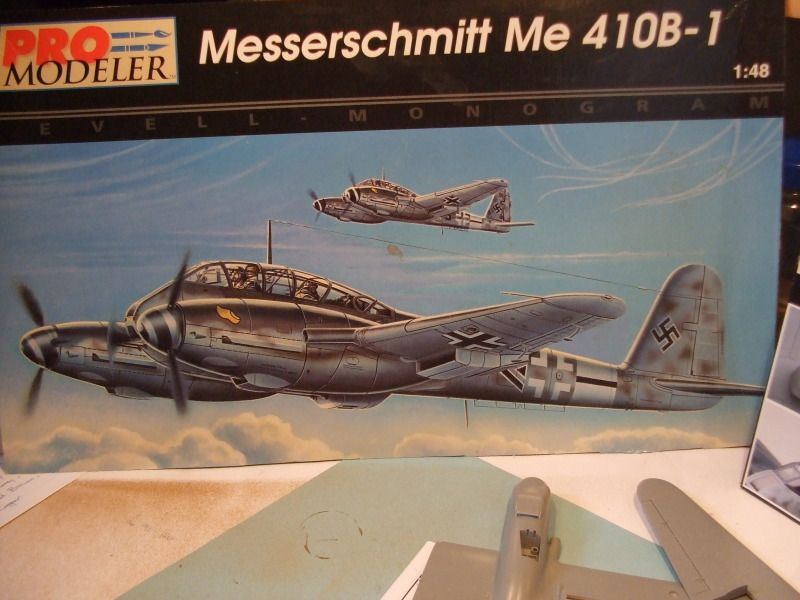
The Me.410 is the Revell-Monogram ProModeller boxing out of Morton Grove, Illinois, with @1997 on the instructions.
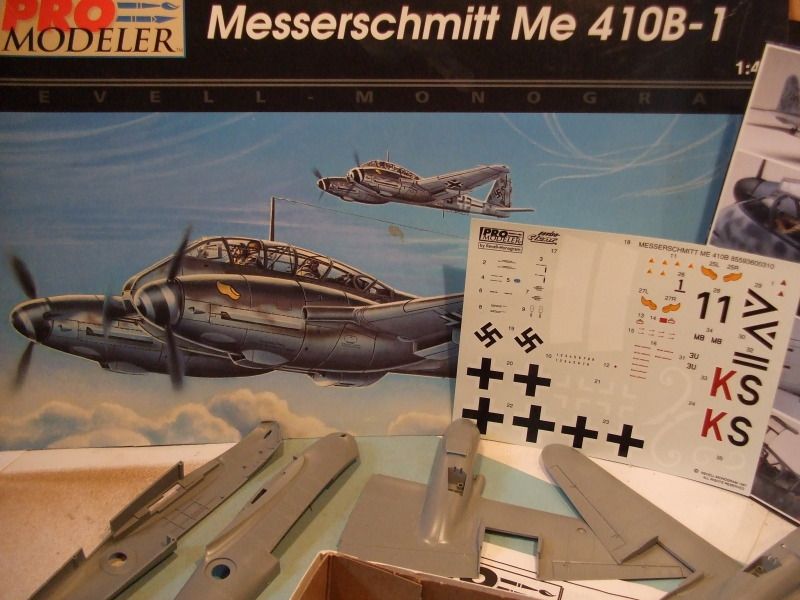
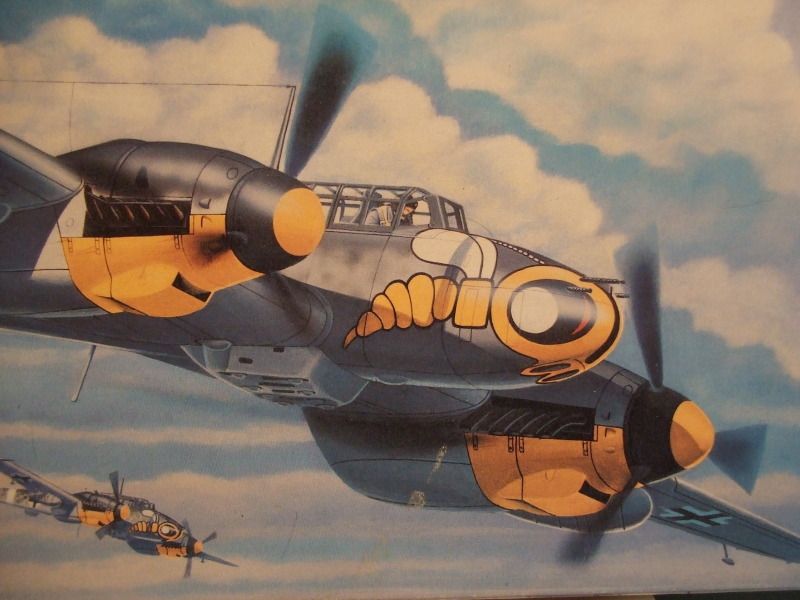
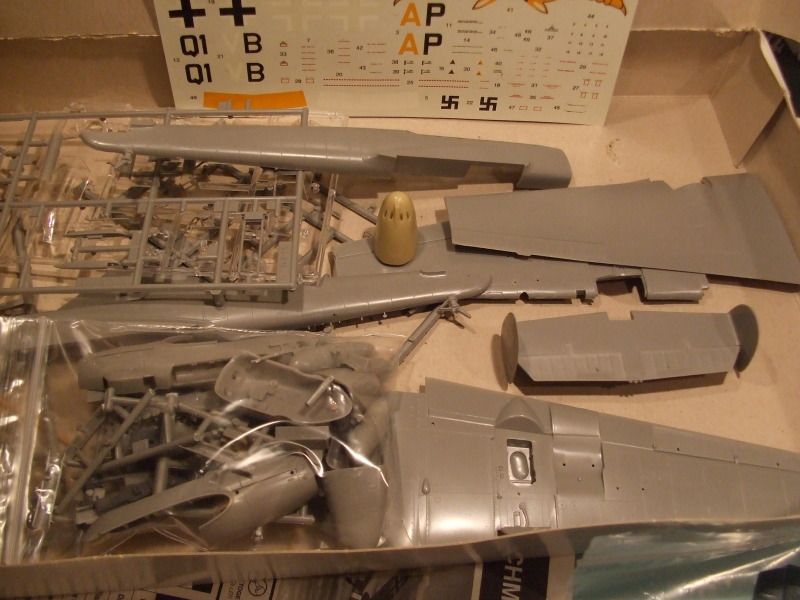
The box art and decal sheet (for both of these kits) clearly show Swastikas.
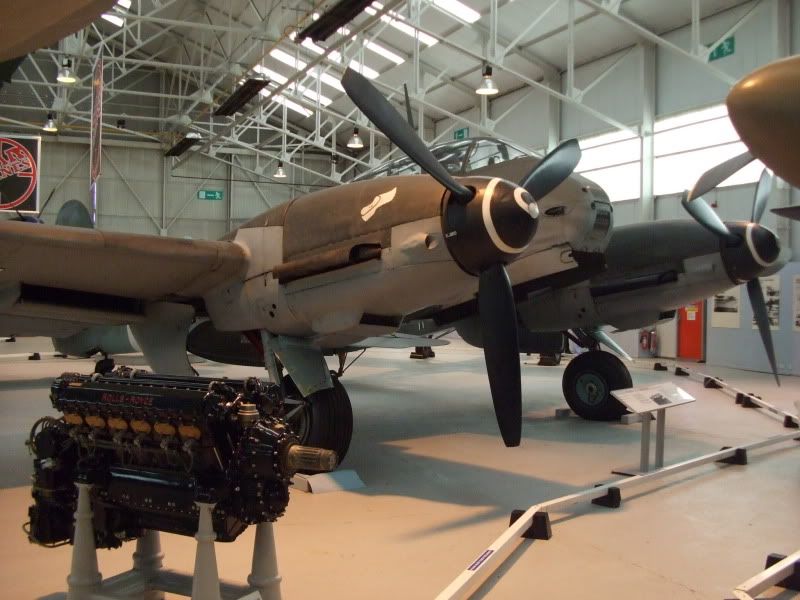
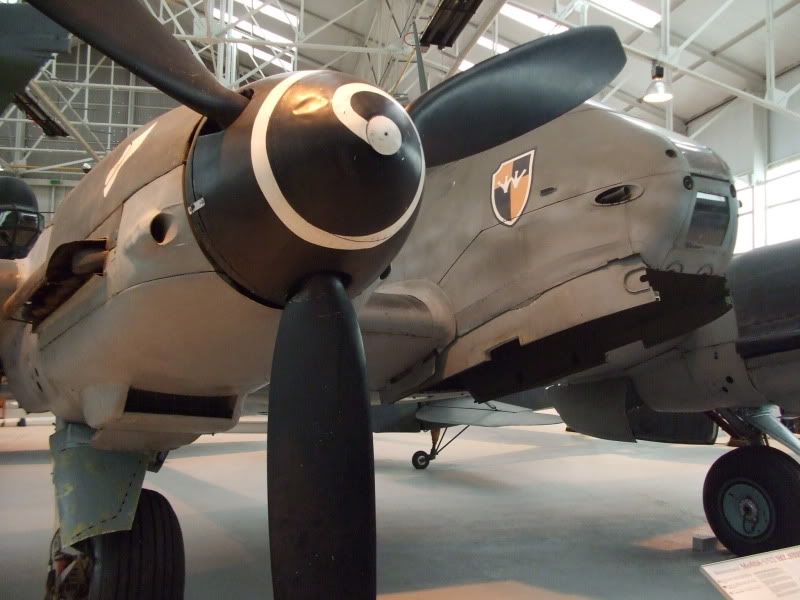
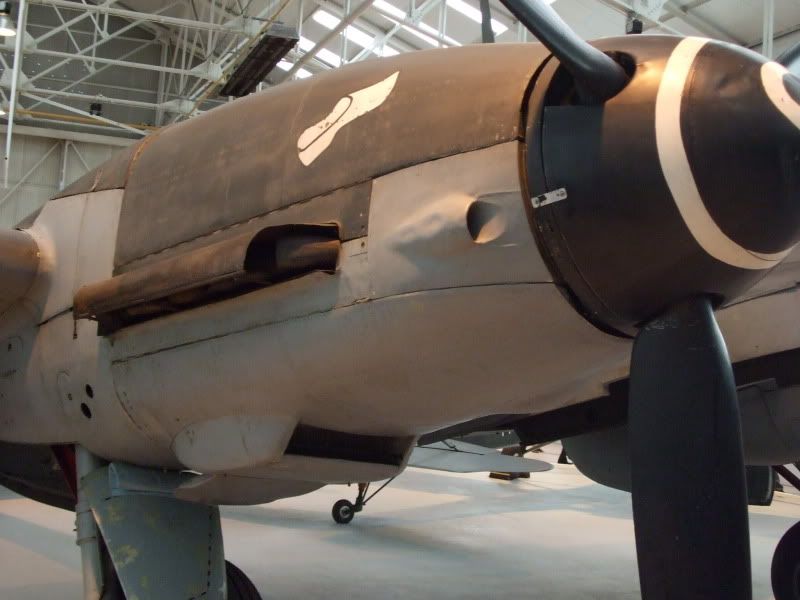
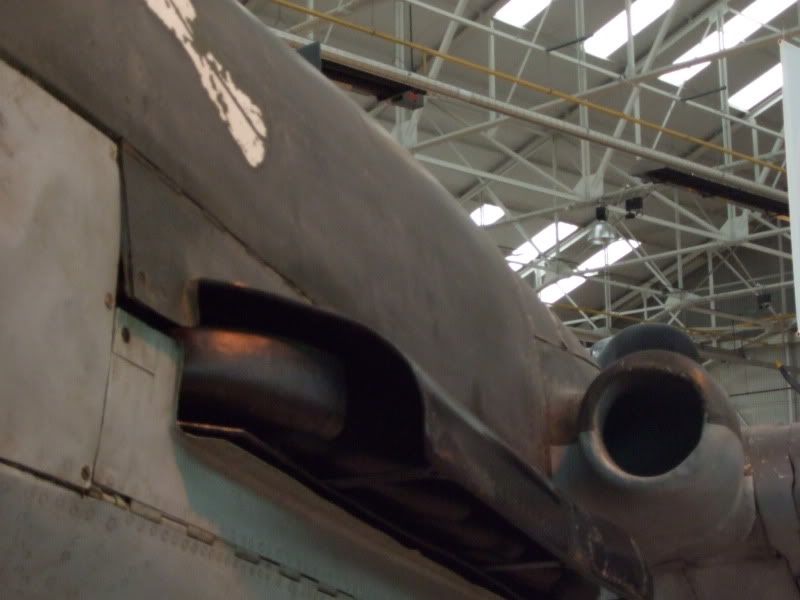
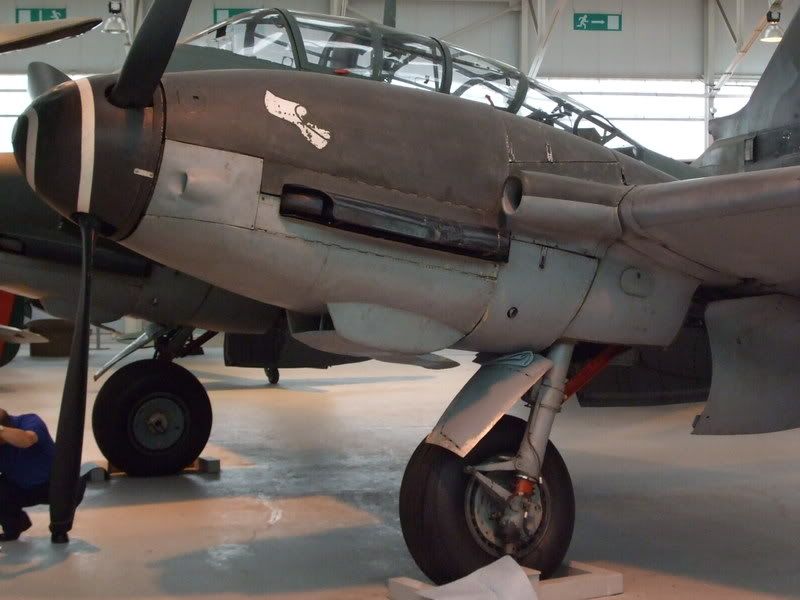
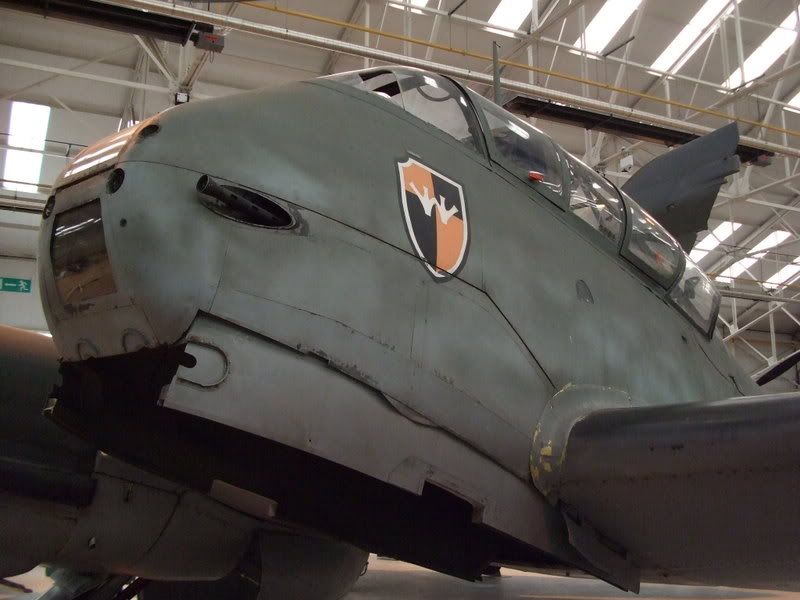
The very nicely detailed instructions have large, clear exploded views as well as lots of written directions and useful black and white photos of an actual aircraft (it doesn’t say so anywhere but it is obviously the one in the RAF Museum at Cosford, which is nice, as I have lots of close up photos of that one myself from my trips there.
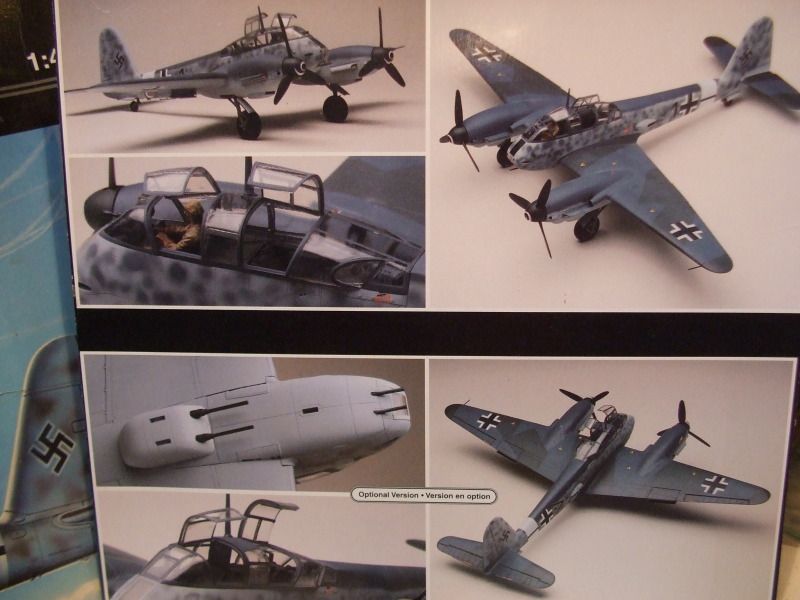
Decals are provided for 3 different schemes, all of which are similar and all include the dreaded mottled camouflage.
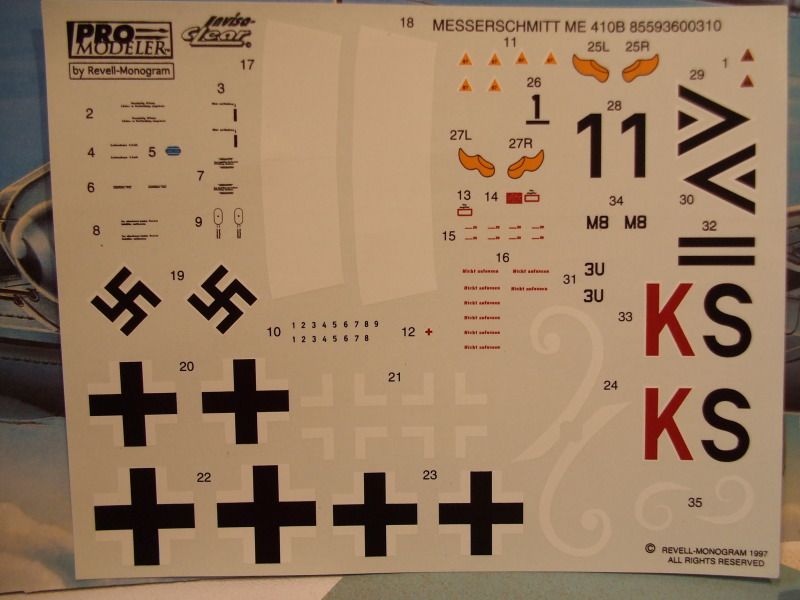
The paint call-out letters are very usefully referenced back to a table that gives the colour description and also the RLM number where appropriate.
The usual Luftwaffe splinter type camouflage for each of the three schemes is RLM 74 and RLM 75 uppers over RLM 76.
The mottling is given as (sprayed) RLM74, RLM02 and RLM75 over RLM 76 for the aircraft sides.
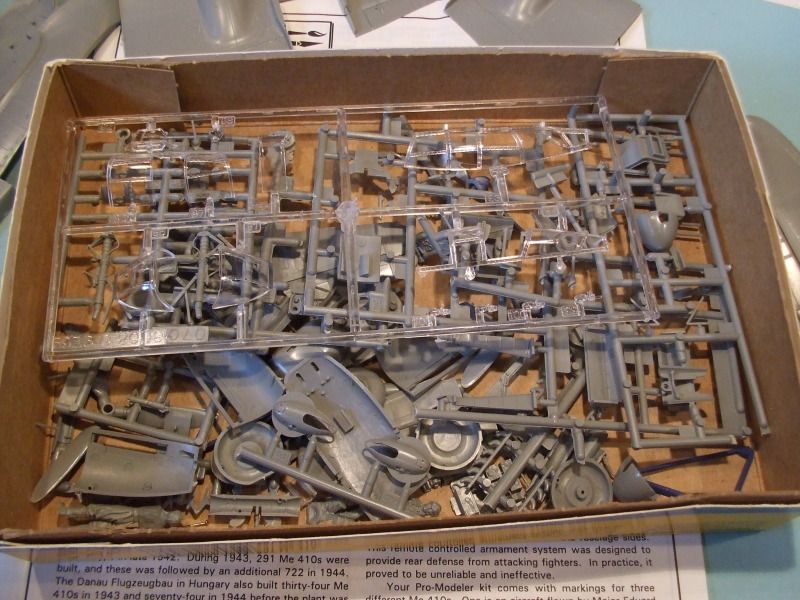
The instructions (approx. A4 size) run to 24 sides, with 12 constructions steps. There are also some very nice hints and tips for both construction and painting – very user friendly all in all.
The kit has had parts cut from the sprues already, but all of my kits are like that because that the bit I enjoy doing most!
The Revell Bf110 is also from Morton Grove, has a @1999 and also gives RLM paint reference.
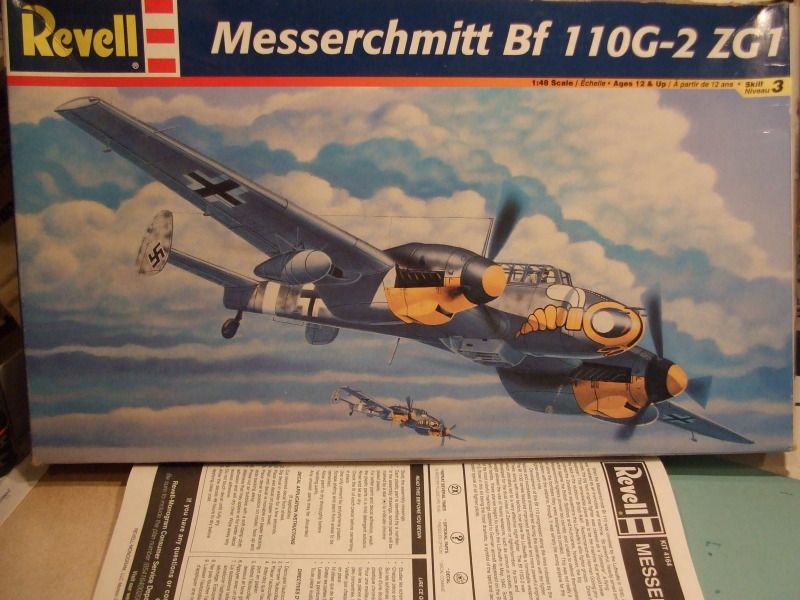
Missing are the photos of a real aircraft – these are straight-forward instructions – same size as the Me.410 instructions but with only 16 sides and 15 assembly steps. The colour scheme is effectively the same as for the Me.410.
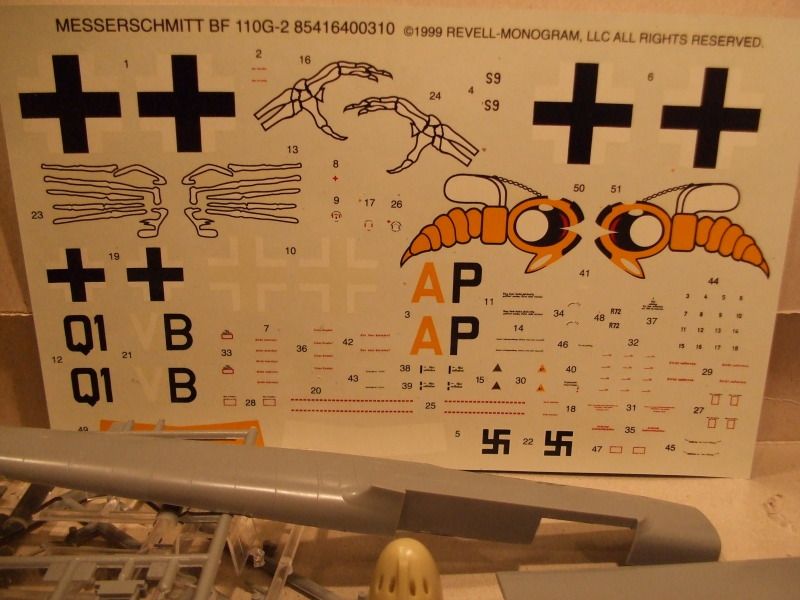
There are decals for two aircraft, one being the beautiful Wespe scheme. The other has a very nice skeletal hand image either side of the nose and on the wings behind the engine. I may have to source another kit just to use these decals!
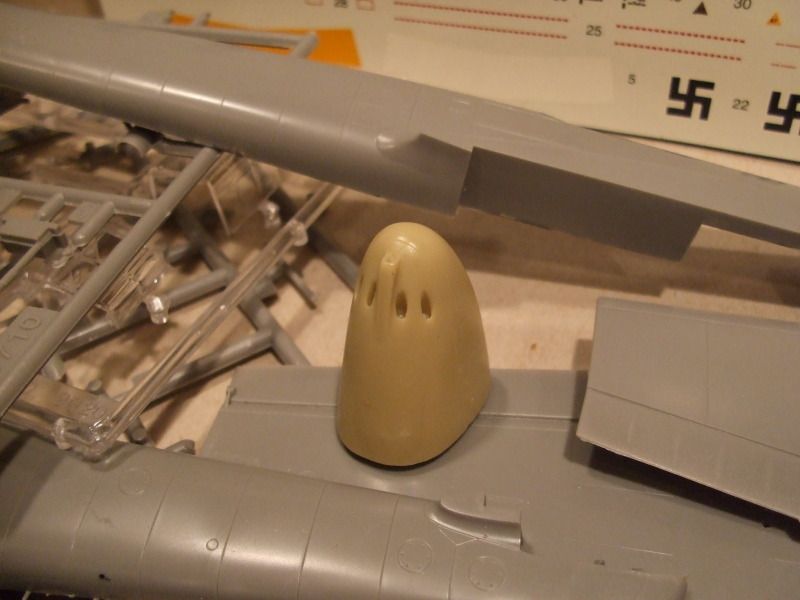
This kit surprisingly comes with a resin nose, but there is no other resin or photo-etch or anything?!
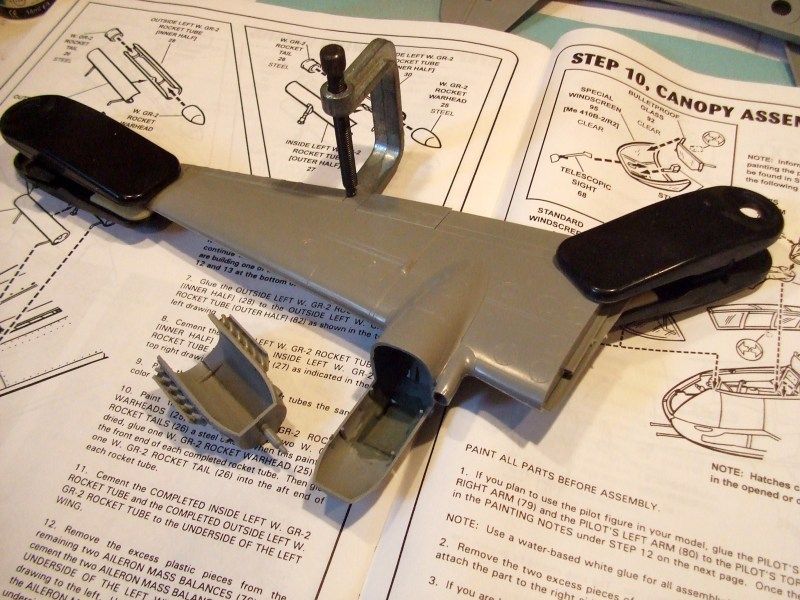
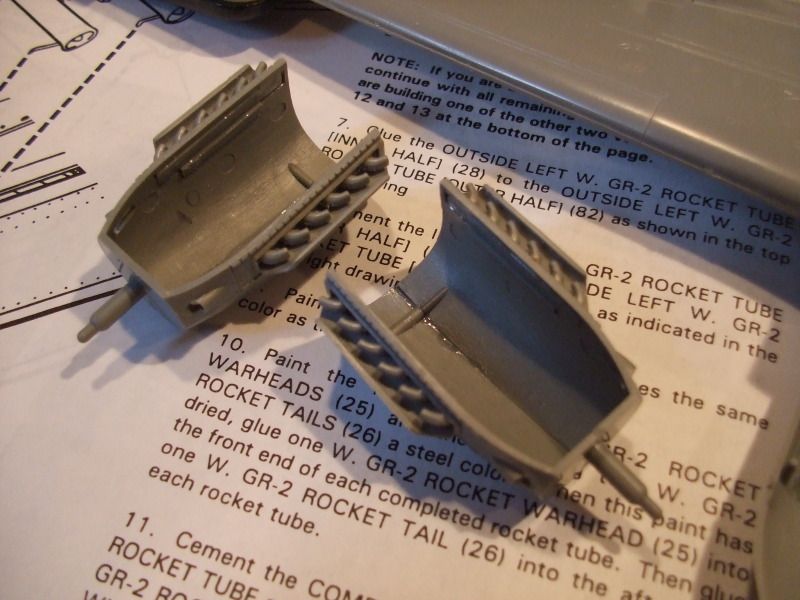
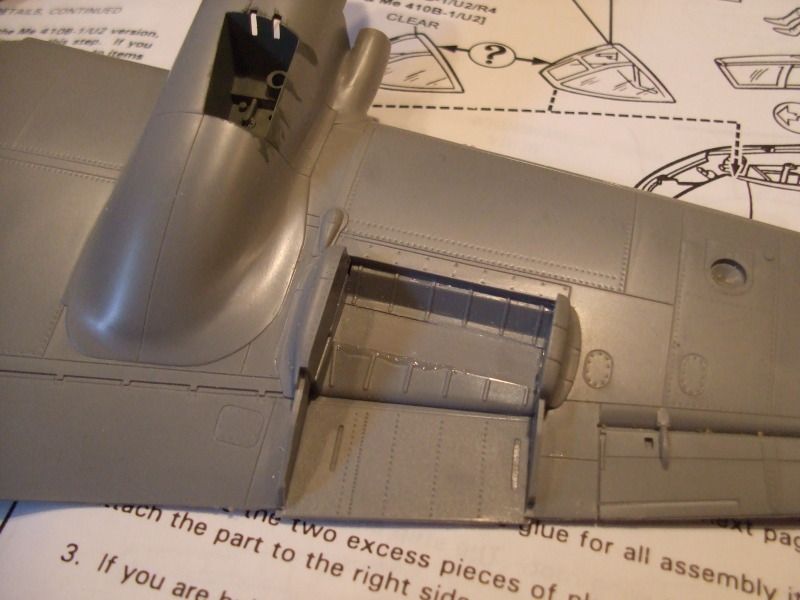
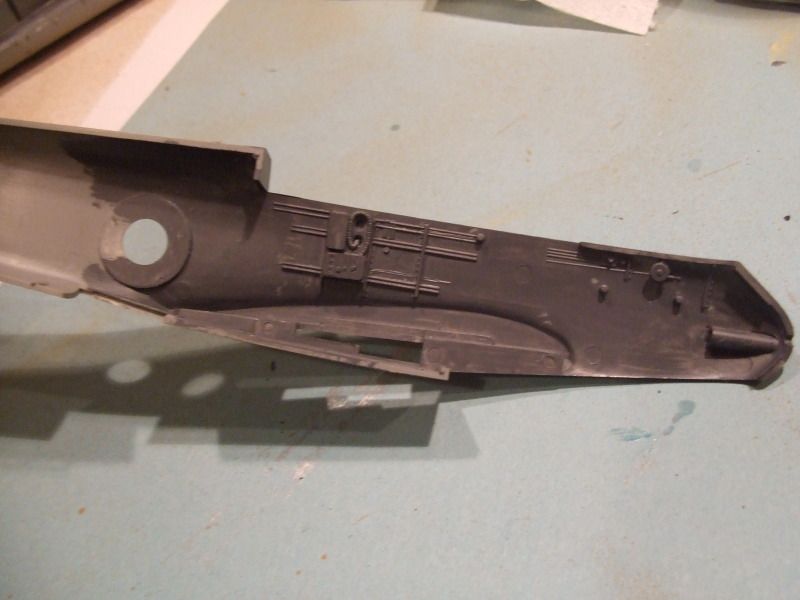
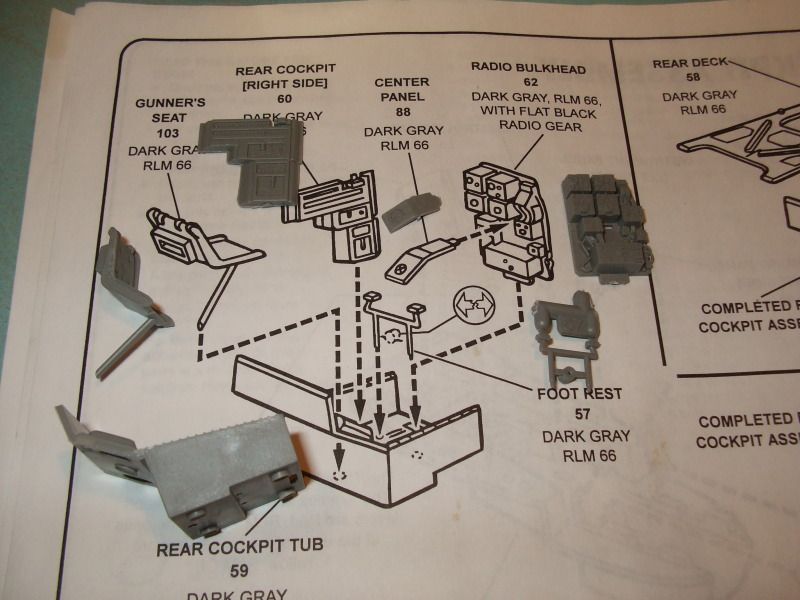
Anyway, back to the 410, here is the first construction step, with the parts placed alongside the drawings.
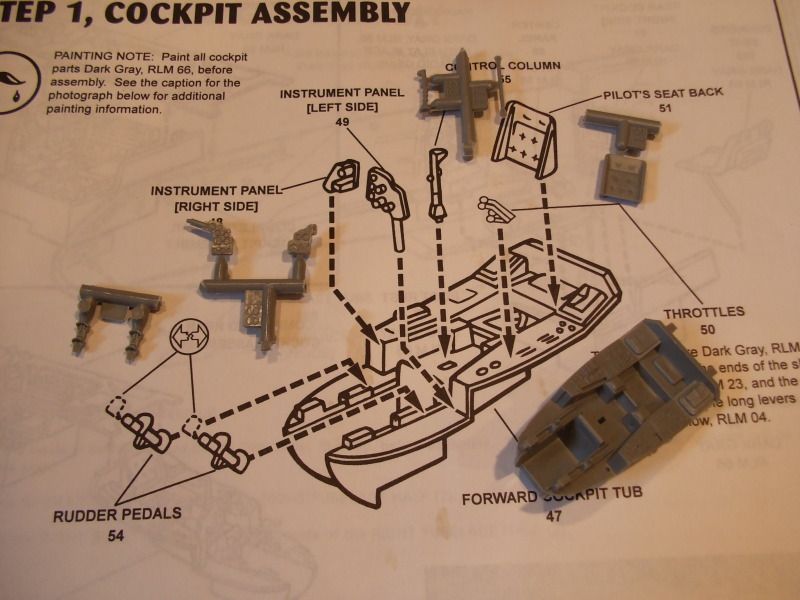
I've decided to paint all of the interior detail before construction as it would be nigh- on impossible afterwards having done a dry fit first.
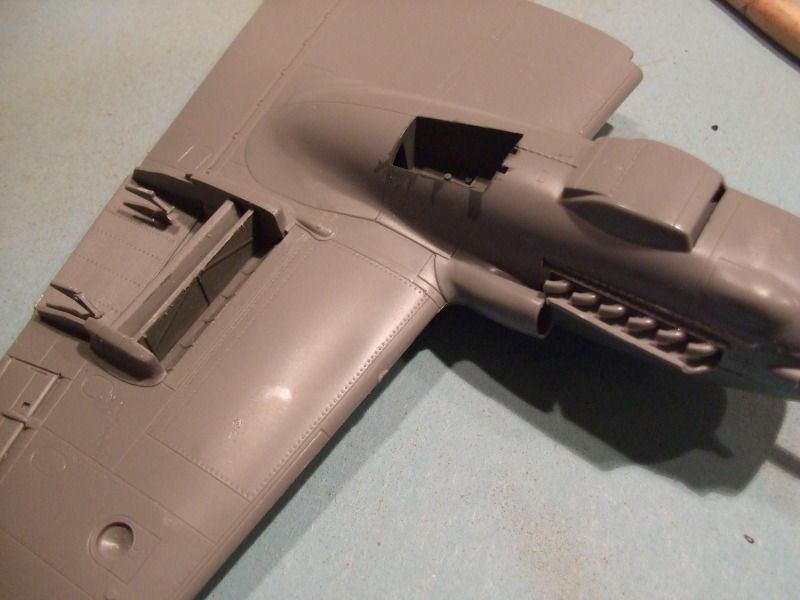
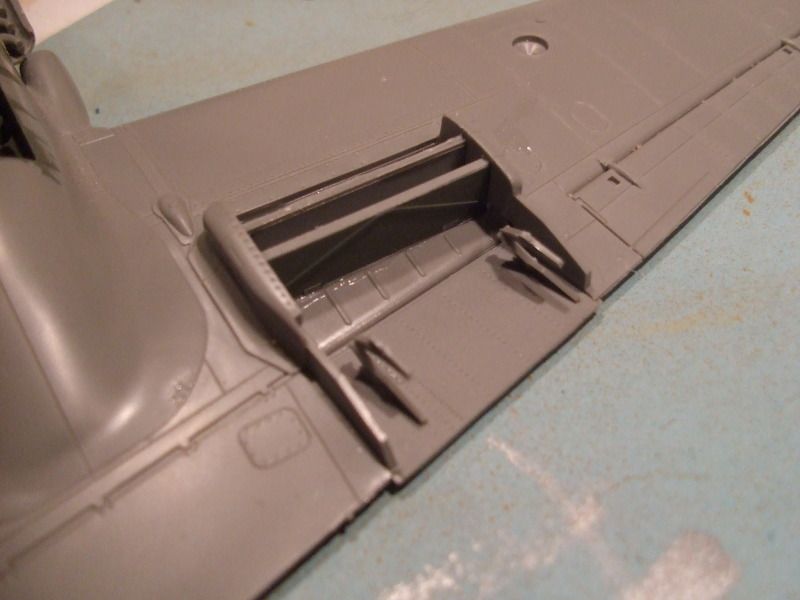
Here is the area for the 2nd man - the guys sat in tandem rather than back to back apparently.
So far I have talked a good build(s), so now I'm off to do some.
Cheers
Al.
Beany's German Hornet (and a sneaky German Wasp)
- beany
- Fat git, glasses, goatie - Avoid!
- Posts: 4333
- Joined: April 6th, 2011, 11:05 am
- Location: Chellaston, Derby
Beany's German Hornet (and a sneaky German Wasp)
2024 Acquired: 9 Built: 1
- TomW
- Modelling Gent and Scholar
- Posts: 2279
- Joined: May 1st, 2011, 8:09 am
- Location: Devizes, Wiltshire
Re: Beany's German Hornet (and a sneaky German Wasp)
Those are two very nice looking kits Al, I shall be following your progress intently.
Regards
Tom
Regards
Tom
Veni, Venari, Vamoosi
Coastal Command SIG Leader 2012 - 2016
We'll call him Dinghy Watts...... - Paul Bradley
2016 A:B = 29:11
2015 A:B = 38:14
2014 A:B = 25:9
2013 A:B = 20:17
2012 A:B = I didn't keep score
2011 A:B = 39:11
2010 A:B = 51:10
Coastal Command SIG Leader 2012 - 2016
We'll call him Dinghy Watts...... - Paul Bradley
2016 A:B = 29:11
2015 A:B = 38:14
2014 A:B = 25:9
2013 A:B = 20:17
2012 A:B = I didn't keep score
2011 A:B = 39:11
2010 A:B = 51:10
- beany
- Fat git, glasses, goatie - Avoid!
- Posts: 4333
- Joined: April 6th, 2011, 11:05 am
- Location: Chellaston, Derby
Re: Beany's German Hornet (and a sneaky German Wasp)
Some pictures if the real McCoy at Cosford:
The mottling looks to be extremely subtle, even allowing for wear and tear and paint fade over the years.
cheers
Al.
The mottling looks to be extremely subtle, even allowing for wear and tear and paint fade over the years.
cheers
Al.
2024 Acquired: 9 Built: 1
- beany
- Fat git, glasses, goatie - Avoid!
- Posts: 4333
- Joined: April 6th, 2011, 11:05 am
- Location: Chellaston, Derby
Re: Beany's German Hornet (and a sneaky German Wasp)
Progress pics:
Wing assembly - the black clamps are the sawn off ends of those types of clothes hanger used for hanging trousers - I'm surprised the wife hasn't noticed that they keep going missing.
Nacelles, exhaust and exhaust guards assembled - my own photos of the real machine at Cosford give good colour references for painting these parts authentically.
RLM02 (Tamiya XF20) painted inside the wheel well. It should also go inside the radiator duct but as you can see the glue is still wet.
Radiator faces fitted and brackets, ready for painting and then the outer cover fitting to complete the wing assembly.
Nacelle now fitted to the wing. Seams will be filed down once the glue is dry.
1st coat of RLM66 applied to the cockpit side walls (by brush - couldn't be bothered to get the airbrush out).
Cheers
Al.
2024 Acquired: 9 Built: 1
-
- NOT the sheep
- Posts: 26188
- Joined: November 26th, 2011, 6:11 pm
- Location: Pontefract West Yorkshire
Re: Beany's German Hornet (and a sneaky German Wasp)
Nice one, looking good so far. I can rarely, if ever, be bothered to airbrush cockpit interiors, it's too much of a faff! Most of the older kits I build don't have clear enough glazing to make the effort worthwhile in any event.
Doing - Tamiya 1/35th Universal Carrier.
Work is the curse of the modelling classes!
IPMS#12300
Work is the curse of the modelling classes!
IPMS#12300
- AndrewR
- In the basement lab
- Posts: 24100
- Joined: April 5th, 2011, 4:13 pm
- Location: Ottawa, Ontario, The Great White North
- Contact:
Re: Beany's German Hornet (and a sneaky German Wasp)
Your trousers keep going missing Al?beany wrote:Progress pics:
Wing assembly - the black clamps are the sawn off ends of those types of clothes hanger used for hanging trousers - I'm surprised the wife hasn't noticed that they keep going missing..
I see your workbench is a hive of activity, you are a busy bee (or is that Busy Bee-ny?).
Nice work, I rarely build Luftwaffe stuff myself, but these are looking good.
Cheers
Andrew
Up in the Great White North
- wbk666
- The Bug Has Well And Truly Bitten
- Posts: 351
- Joined: May 9th, 2012, 10:10 pm
- Location: Leigh, Lancashire. UK
Re: Beany's German Hornet (and a sneaky German Wasp)
so im not alone thenShaunW wrote:Nice one, looking good so far. I can rarely, if ever, be bothered to airbrush cockpit interiors, it's too much of a faff! Most of the older kits I build don't have clear enough glazing to make the effort worthwhile in any event.
nice build, the 410 is a fave of mine
2012 - A-133 B-55 C-1
Build What You Want, The Way You Want To, but above all, HAVE FUN!!!
- Jagewa
- Modelling Gent and Scholar
- Posts: 2752
- Joined: April 6th, 2011, 2:18 am
- Location: Christchurch, New Zealand
- Contact:
Re: Beany's German Hornet (and a sneaky German Wasp)
Great pics of the real deal Beany.
Storming along with this.
Cheers
Jim
Storming along with this.
Cheers
Jim